A collection of my XR prototypes as apk files. All apk files are in the Builds folder.
- Numeric Keyboard with Eye Tracking
- Keypad with Eye and Hand Tracking
- Keypad with Eye and Hand Tracking 2
- Finger Menu 2
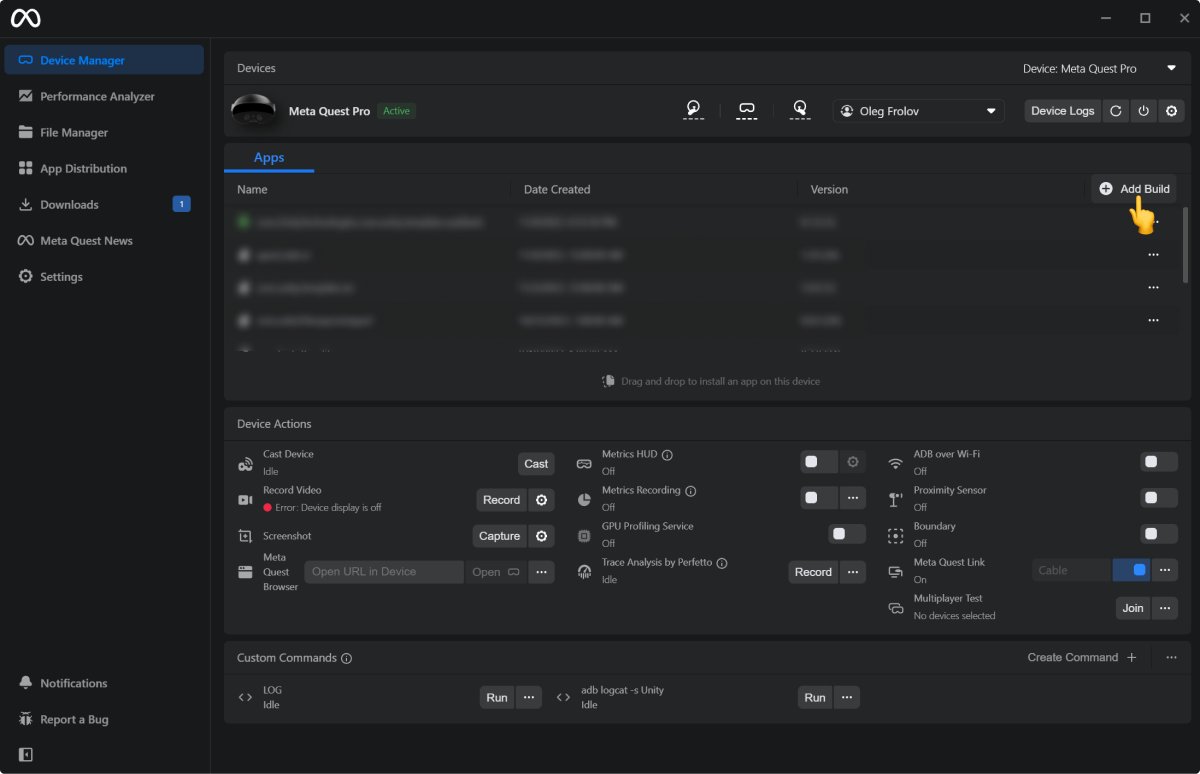
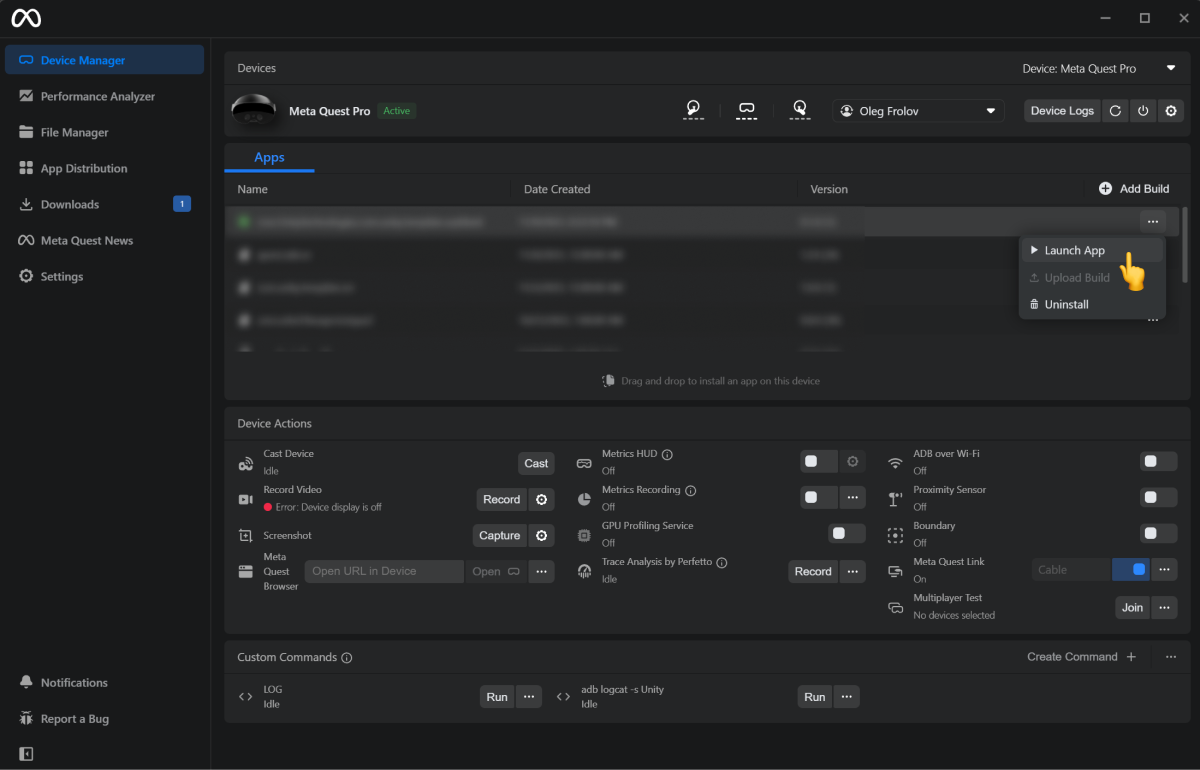
The simplest way to do it is to intall the apps via Meta Quest Developer Hub.
Press the Add Build button and select an app on your disk.
Open the context menu ("three dots") and hit the Launch App button.
Prototyped a numeric keypad with eye-tracking and hand-tracking inputs similar to what we saw on Apple's Vision Pro demo. I used Oculus Integration and ran it on Quest Pro (it's the only Quest that supports eye-tracking).
It feels very natural and familiar. We already use the same principles for regular keyboard-based, non-blind typing. First, you visually allocate a target, and then your hand confirms an intended action. But the eye-tracking version is less laborious since this hand confirmation is remote, and you don't need to "physically" interact with the keyboard.
I made a prototype inspired by a telephone keypad. It uses eye-tracking to hover over a key and finger pinches to define which letter you will type.
As you can see, each key encodes up to 4 signs (with SYM mode, it's 8) in a single mode:
Pinch Invocation:
Index-> Top Left -> "A"Middle-> Top Right -> "B"Ring-> Bottom Right -> "C"Pinky-> Bottom Left -> "1"
Observations:
- Sometimes, during typing, I accidentally triggered the system menu. Adding visual signifiers to the virtual hand to specify a dedicated typing mode would help. It would visually guide users to stay in the mode. Or, OS holders might add the signifiers to the mode where you invoke system commands. The point is it should be easy for users to recognize when they switch from an app interaction layer to a system one.
- The current Computer Vision-based hand tracking is not reliable enough. There are a lot of false positives for detecting Ring/Pinky Pinches. A dedicated hand-tracking device would improve the experience. As a quick hack — since there are no significant issues with Index/Middle pinches recognition — to type the left side symbols ("A 1" column), you use index/middle pinches on your left hand, and for the right side ones ("B C" column), you use your right hand respectively.
- The key layout doesn't consider the letters' use frequency. Arranging the layout based on it would speed up typing dramatically. But it would involve training and make the learning curve steeper.
- Smart suggestions ("T9") would allow us to use only Index Pinch for typing.
Overall, it's a very promising approach that massively reduces physical fatigue for spatial typing. With dedicated, accurate hand-tracking devices, input systems like this will make spatial interactions truly approachable.
Prototyped another variation of the previous keypad concept with eye-tracking. Quest Pro didn't track Ring/Pinky pinches accurately, so I used both hands to leverage only the Index and Middle pinches for decoding key signs.
Pinch Invokation Map:
Left Index-> Top Left -> "A"Left Middle-> Bottom Left -> "1"Right Index-> Top Right -> "B"Right Middle-> Bottom Right -> "C"
As you can see, the left hand decodes the left side of a key's signs, and the right hand does the right side, retrospectively. The mapping feels natural, and there are no significant issues with detecting the Index/Middle pinches. The typing experience is comfortable and fairly quick, with minimal physical strain. You use your eyes to select and your hands to 'click' - either resting on a table or on your lap.
There's room for improvement in the layout. One might arrange the most frequently used letters near the keyboard's center to minimize eye movement. It would be especially beneficial for professionals who prioritize speed and efficiency. Learning a new layout would pay off.
However, a layout with a sequential order of signs is more practical for everyday users. Since most people are familiar with the alphabetical order and basic counting, this knowledge will help them locate the desired letter easily.
The sorted order of the signs on the keypad enables users to leverage a binary search strategy to find a specific sign. This method has an O(log n) complexity, which is more efficient than the O(n) complexity for unsorted sequences. Therefore, a layout with a sorted sequence of signs is more effective for the majority.
By the way, this point above is one of the reasons why there is no sense in using QWERTY for spatial inputs like this: 1. You can't leverage your muscle memory because of the lack of haptic feedback and the wrong posture; 2. It's an arbitrary unsorted sequence from the common sense perspective.
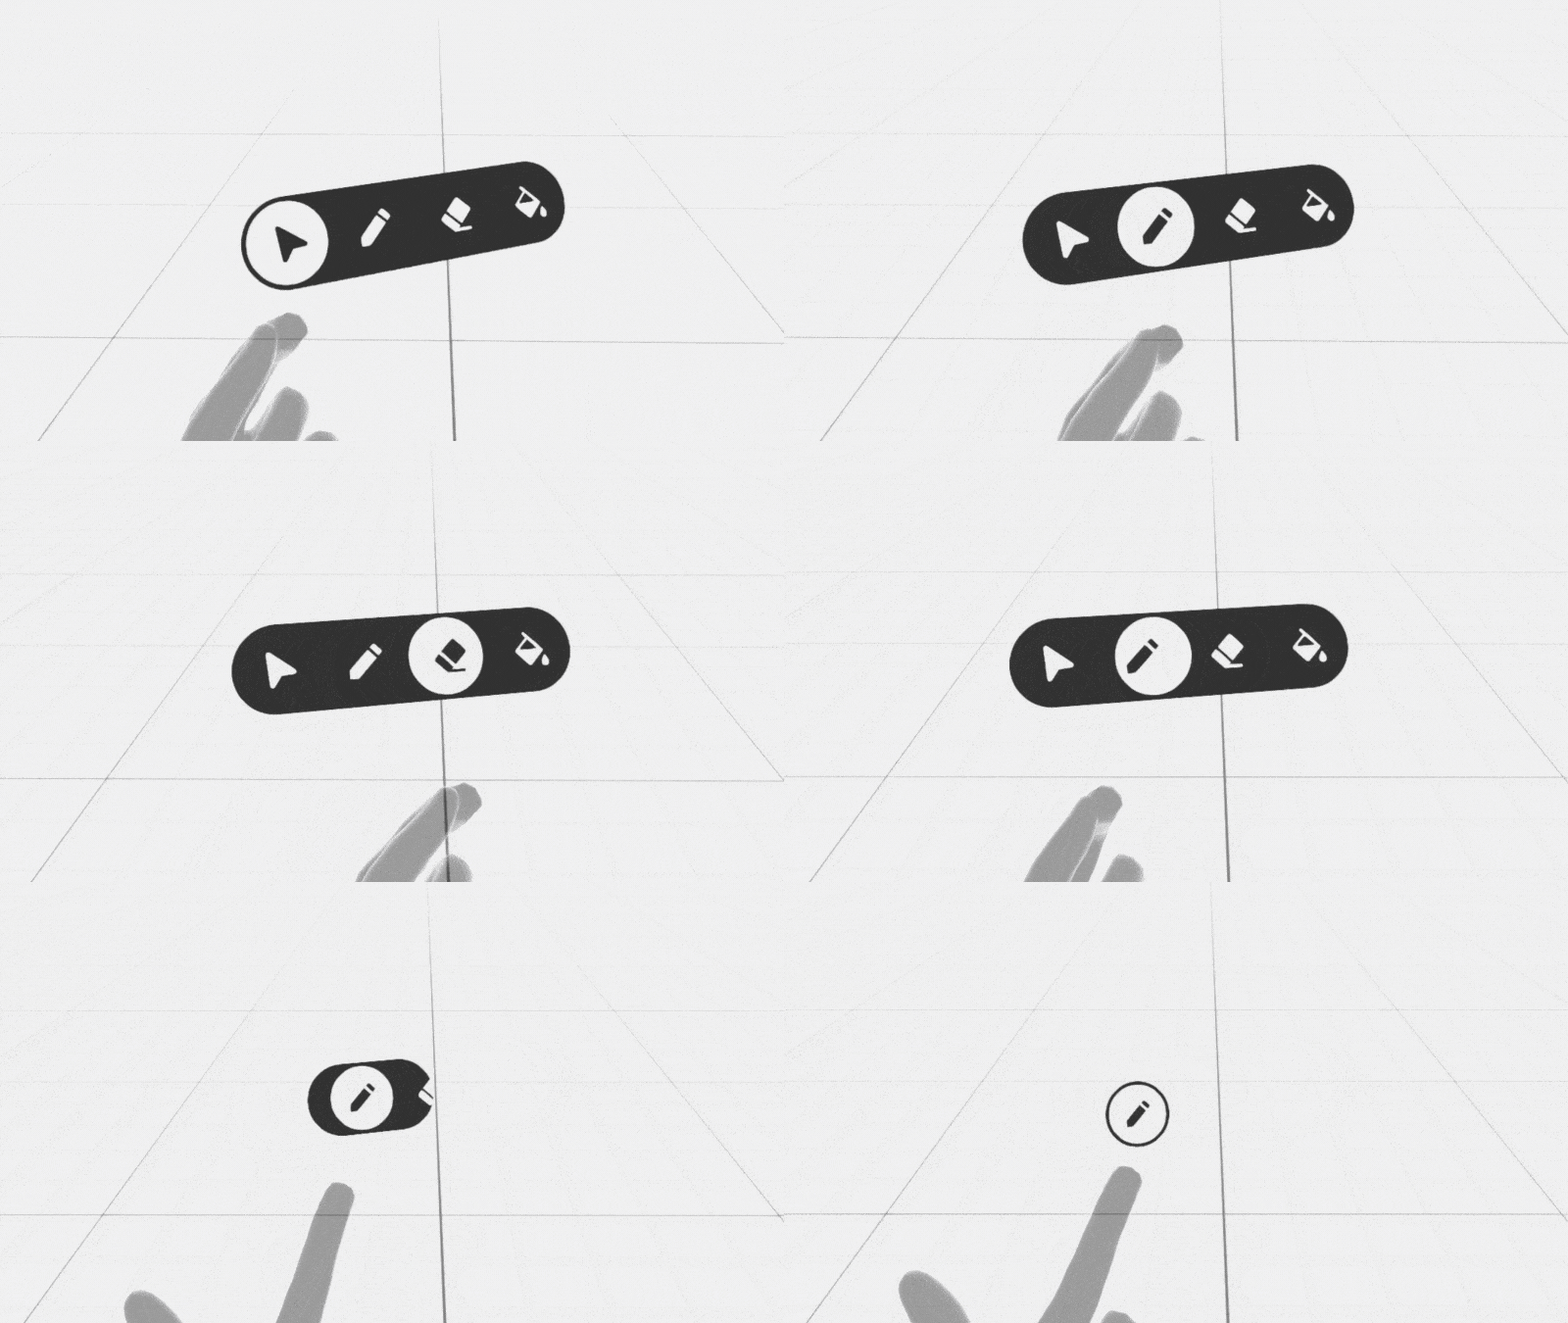
Prototyped another version of my earlier spatial finger menu concept. In this iteration, the menu remains stationary once you start pinching.
Keep these points in mind with this design:
- A short trigger distance for state switching can lead to false positives. Be cautious with the UI's size and layout - ideally, the triggering distance should align with the spacing between elements for a smoother transition. In the previous design, I used an animated offset that followed your movements, which masked the longer triggering distance and made it more tolerant of hand-tracking errors and inaccuracies. If false positives become an issue, consider reverting to that first version.
- Use the fixed mode only within the specific range needed to trigger state changes. Once you hit the limit, switch back to the following mode. This approach prevents the violation of the proximity principle, where the user input is too distant from an interactive element. Additionally, it ensures the interaction remains fluid and natural, freezing the UI only when necessary.


