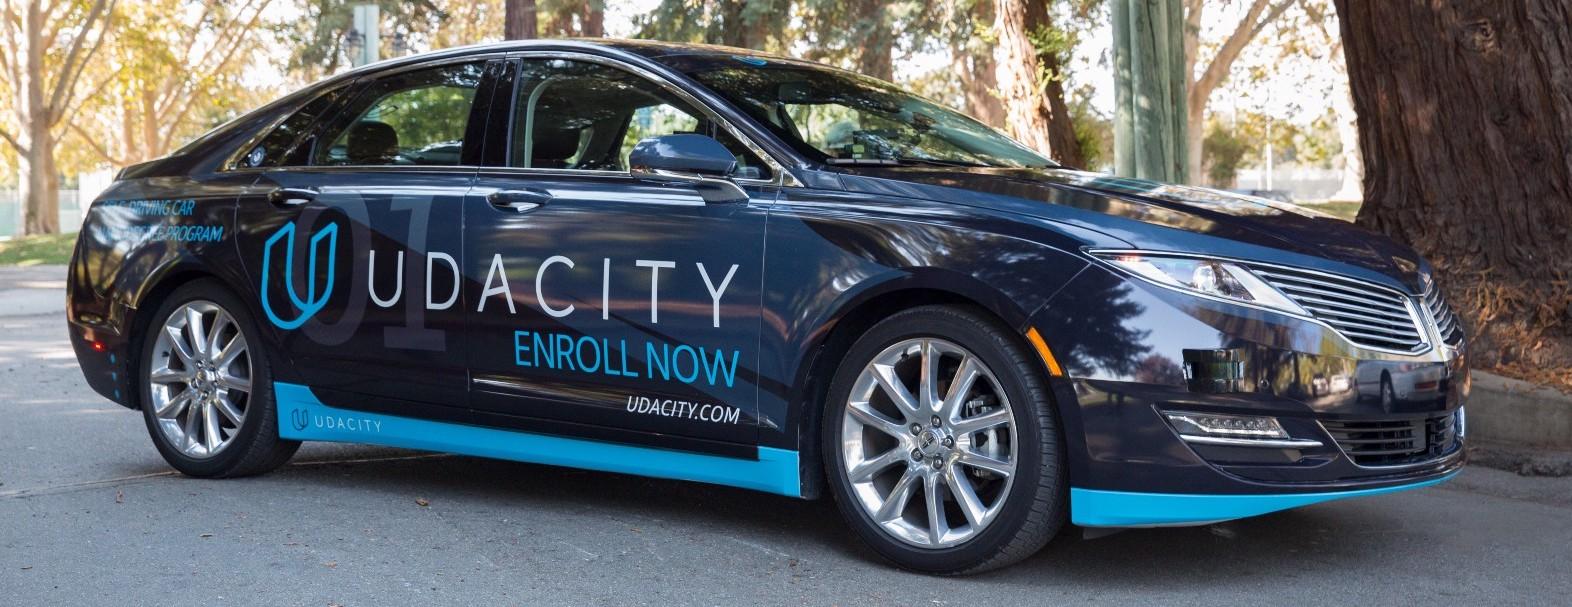
- Rodrigo Saad (Team Lead) digaots@gmail.com
- Alexandre Nogueira alexandre.nogueira@gmail.com
- Pablo Elizalde pelizcar@gmail.com
- Simão Luiz Stanislawski Júnior simaoluizjr@gmail.com
- Alper Sunar alper_sunar@yahoo.com
This node publishes the next LOOKAHEADWPS number of waypoints that are closest to vehicle's current location and are ahead of the vehicle. This node also considers obstacles and traffic lights to set the velocity for each waypoint.
This node subscribes to following topics:
-
/base_waypoints: Waypoints for the whole track are published to this topic. This publication is a one-time only operation. The waypoint updater node receives these waypoints, stores them for later use and uses these points to extract the next LOOKAHEADWPS number of points ahead of the vehicle.
-
/traffic_waypoint: To receive the index of the waypoint in the base_waypoints list, which is closest to the red traffic light so that the vehicle can be stopped. The waypoint updater node uses this index to calculate the distance from the vehicle to the traffic light if the traffic light is red and the car needs to be stopped.
-
/current_pose: To receive current position of vehicle.
-
/current_velocity: To receive current velocity of the vehicle which is used to estimate the time the car needs to reach the traffic light’s stop line.
For the traffic light detection part we have decided to use two classifiers. One classifier to detect the traffic lights in the image, and a second one to detect the status of the traffic light (gree/yellow/red).
For the first classifier we chose to use TensorFlow's Object Detection API. First step was to select one of the pre-trained models that offers the tool. This models have been trained with the COCO dataset and are able to detect many objects out of the box.
We tested several models with different images, taking also into account the performance
We finally decided to go for the MobileNet model.
Once traffic lights are detected, from the resulting bounding boxes we get the traffic light images that we use in our second classifier.
This classifier follow the same approach that we followed in the Traffic Sign Classifier. We trained a Convolutional Neural Network (CNN) with the udacity simulator and real data images. We used augmentation to increase the number of images for the training.
With more than one detection:
NOTE: We faced a big issue in case several traffic lights are detected with different status. That issue was adding a lot of clomplexity to the task, since we should have calculated which traffic light is the one that our car should obey. For simplicty we decided to follow the following rules:
- In case that we have at least a red traffic light detected we return TrafficLight.RED.
- In case none of the traffic lights is detected as red, we return TrafficLight.UNKNOWN.
So basically our is reduced to two states: stop and go.
The twist controller does receive all the arguments that are related to the car properties and the PID controller. It is the software node that is responsible to receive the inputs/arguments from the topics gathered from dbw_node.py and translate it into steering commands to the car.
It also calls the PID controller to be reset and to receive the incoming data from the waypoints. Such node contains the PID parameters that are required to tune the vehicle operation, for the steering operation. In this script we also set the parameters for the PID controller that has been implemented. This PID parameters were set manually and the values obtained were the best we reached.
The yaw controller is an unchanged node from the original git deploy. The only change in this node is the addition of a check on the current velocity, that increases the accuracy for steering for small angles.
This is the project repo for the final project of the Udacity Self-Driving Car Nanodegree: Programming a Real Self-Driving Car. For more information about the project, see the project introduction here.
-
Be sure that your workstation is running Ubuntu 16.04 Xenial Xerus or Ubuntu 14.04 Trusty Tahir. Ubuntu downloads can be found here.
-
If using a Virtual Machine to install Ubuntu, use the following configuration as minimum:
- 2 CPU
- 2 GB system memory
- 25 GB of free hard drive space
The Udacity provided virtual machine has ROS and Dataspeed DBW already installed, so you can skip the next two steps if you are using this.
-
Follow these instructions to install ROS
- ROS Kinetic if you have Ubuntu 16.04.
- ROS Indigo if you have Ubuntu 14.04.
-
- Use this option to install the SDK on a workstation that already has ROS installed: One Line SDK Install (binary)
-
Download the Udacity Simulator.
Build the docker container
docker build . -t capstoneRun the docker file
docker run -p 4567:4567 -v $PWD:/capstone -v /tmp/log:/root/.ros/ --rm -it capstone- Clone the project repository
git clone https://github.com/udacity/CarND-Capstone.git- Install python dependencies
cd CarND-Capstone
pip install -r requirements.txt- Make and run styx
cd ros
catkin_make
source devel/setup.sh
roslaunch launch/styx.launch- Run the simulator
- Download training bag that was recorded on the Udacity self-driving car (a bag demonstraing the correct predictions in autonomous mode can be found here)
- Unzip the file
unzip traffic_light_bag_files.zip- Play the bag file
rosbag play -l traffic_light_bag_files/loop_with_traffic_light.bag- Launch your project in site mode
cd CarND-Capstone/ros
roslaunch launch/site.launch- Confirm that traffic light detection works on real life images


