- Purpose - To gain familiarity with HTML list elements
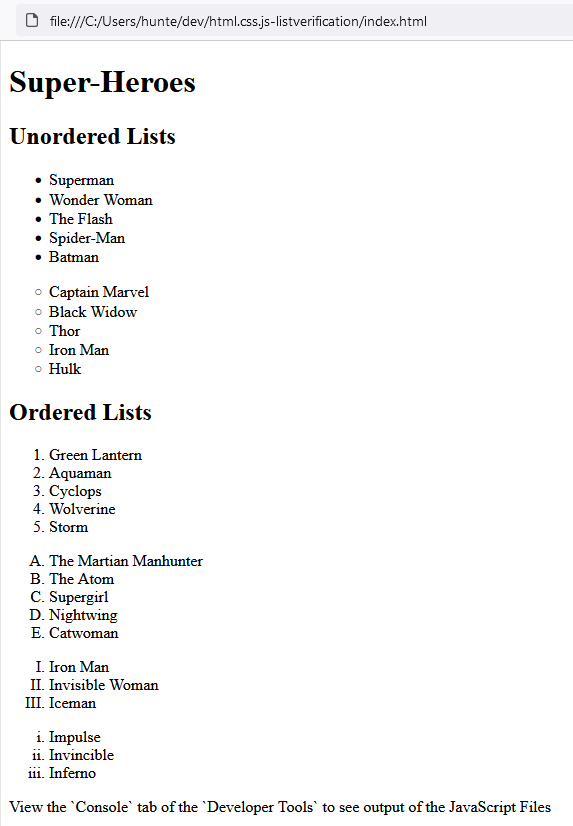
- For this assignment, learners will need to create an HTML file with the following elements:
- An unordered list with in-line style of
list-style-type:disc;. This list should contain 5 super-hero names, each item being a list item. - An unordered list with in-line style of
list-style-circle;. This list should contain 5 super-hero names, each item being a list item. - An ordered list with
type="1". This list should contain 5 super-hero names, each item being a list item. - An ordered list with
type="A". This list should contain 5 super-hero names, each item being a list item. - An ordered list with
type="I". This list should contain 5 super-hero names, each item being a list item. - An ordered list with
type="i". This list should contain 5 super-hero names, each item being a list item.
- An unordered list with in-line style of
Here is an example of what the HTML file may look like:
- To fork the project, click the
Forkbutton located at the top right of the project.
- Navigate to your github profile to find the newly forked repository.
- Copy the URL of the project to the clipboard.
- Clone the repository from your account into the
~/devdirectory.- if you do not have a
~/devdirectory, make one by executing the following command:mkdir ~/dev
- navigate to the
~/devdirectory by executing the following command:cd ~/dev
- clone the project by executing the following command:
git clone https://github.com/MYUSERNAME/NAMEOFPROJECT
- if you do not have a
- Ensure that the tests run upon opening the project.
- You should see
Tests Failed: 99 of 99 tests
- You should see
- from a terminal navigate to the root directory of the cloned project.
- from the root directory of the project, execute the following commands:
- add all changes
git add .
- commit changes to be pushed
git commit -m 'I have added changes'
- push changes to your repository
git push -u origin master
- add all changes
- from the browser, navigate to the forked project from your github account.
- click the
Pull Requeststab. - select
New Pull Request
