This repository shows how to implement runtime environment variables. Unlike traditional solutions, this allows you to configure your React application via environment variables without need to build once again.
This repository is explained deeply within Medium blog post:
There are many ways to configure your React application, in this post I will aim to show you approach which respects Twelve-Factor App methodology, meaning that it enforces reconfiguration during runtime, therefore no build per environment would be required.
We want to be able to run our React application as Docker container that is built once and runs everywhere. We want to reconfigure our container **during runtime. **The output should be lightweight and performant container which serves our React application as static content, which we achieve by using Ngnix Alpine. Our application should allow configuration within docker-compose file such as this:
version: "3.2"
services:
  my-react-app:
    image: my-react-app
    ports:
      - "3000:80"
    environment:
      - "API_URL=production.example.com"
We should be able configure our React application using -e`` flag (environment variables) when usingDocker run` command.
Basic users might not need this approach and can be satisfied with buildtime configuration which is easier to reason about on the short run, but if you are targeting dynamic environments that might change or you are using some kind of orchestration system, this approach is something that you might consider.
First of all, it must be clear that there is no such thing as environment
variables inside browser environment. Whichever solution we use nowadays, is
nothing but a fake abstraction. But, then you might ask, what about .env files
and REACT_APP prefixed environment variables which come straight from
documentation?
Even inside source code these are used as process.env just like we use
environment variables inside Node.js.
In reality, object process does not exist inside browser environment, it's
Node specific. CRA by default doesn't do server-side rendering, so it can't
inject environment variables during content serving (like
Next.js does), it doesn't include server as
such, so in this case, ** during transpiling**, Webpack process replaces all
occurrences of process.env with string value that was given. This means it
can only be configured during build time.
There is specific moment when it is still possible to inject environment
variables, it happens when we start our container. Then we can read environment
variables from inside container and write them into file which can be served via
Nginx (which also serves our React app) and imported into our application using
<script> tag inside head section of index.html. So at that moment we run
bash script which creates JavaScript file with environment variables assigned as
properties of the global windowobject. Injected to be globally available
within our application the browser way.
Let's start with simple create-react-app project and create .env file with our first
environment variable that we want to expose.
# Generate React App
create-react-app cra-runtime-environment-variables
cd cra-runtime-environment-variables

# Create default environment variables that we want to use
touch .env
echo "API_URL=https//default.dev.api.com" >> .env
Then let's write a small bash script which will read.env file and extract
environment variables that will be written into file. If you set environment
variable inside the container, its value will be used, otherwise it will
fallback to default value from .env file. It will create JavaScript file which
puts environment variable values as object which is assigned as property of
window object.
#!/bin/sh
# line endings must be \n, not \r\n !
echo "window._env_ = {" > ./env-config.js
awk -F '=' '{ print $1 ": \"" (ENVIRON[$1] ? ENVIRON[$1] : $2) "\"," }' ./.env >> ./env-config.js
echo "}" >> ./env-config.js
env.sh
We need to add following line to <head> element inside index.html which then
imports file created by our bash script.
<script src="%PUBLIC_URL%/env-config.js"></script>
index.html
Let's display our environment variable within application:
<p>API_URL: {window._env_.API_URL}</p>
src/App
During development, if we don't want to use Docker, we can run bash script via npm script runner by modifying package.json:
  "scripts": {
    "dev": "chmod +x ./env.sh && ./env.sh && cp env-config.js ./public/ && react-scripts start",
    "test": "react-scripts test",
    "eject": "react-scripts eject",
    "build": "react-scripts build'"
  },
package.json
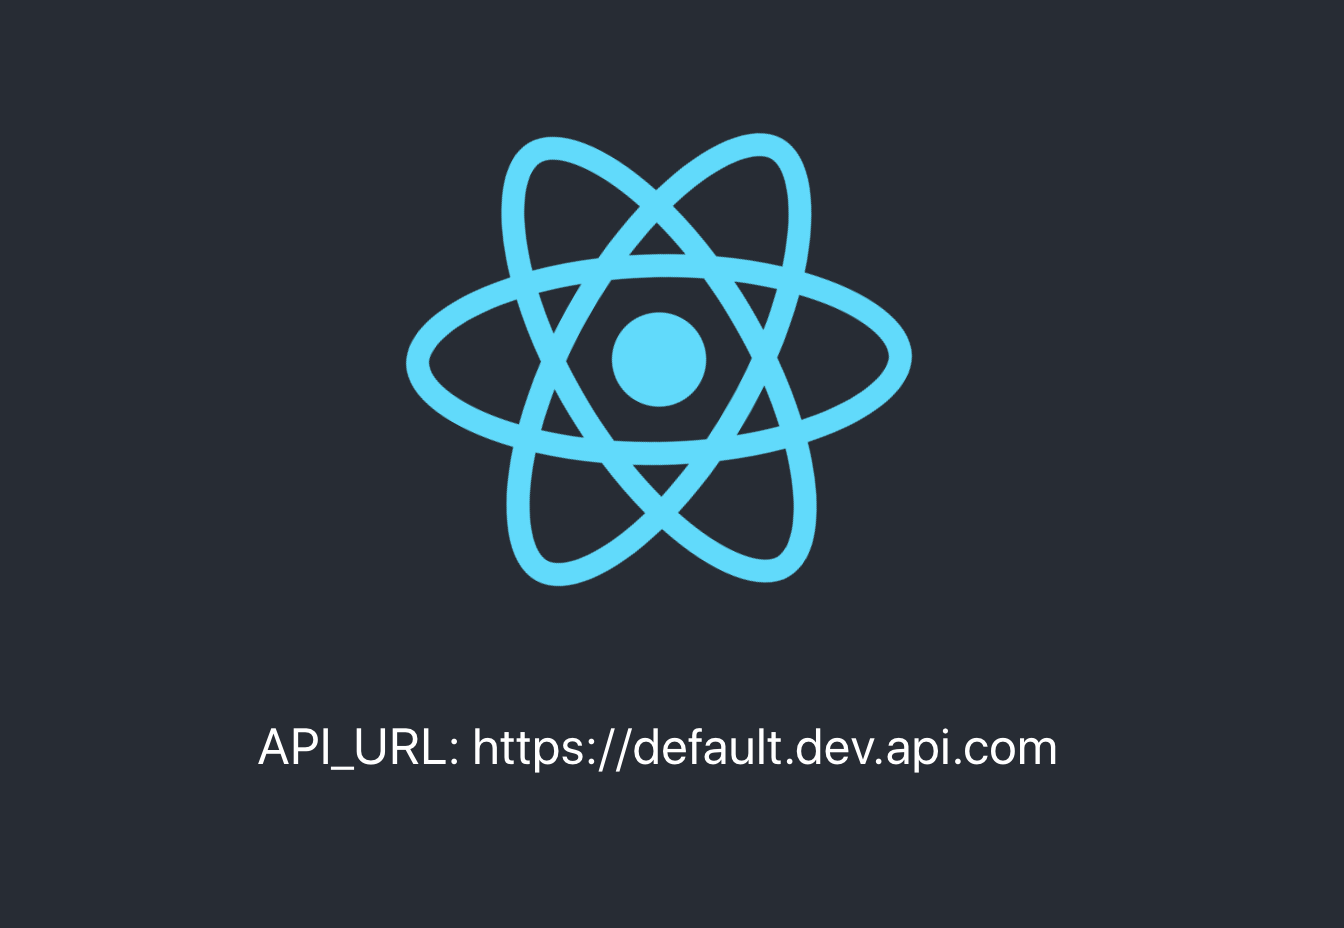
And if we run yarn dev we should see output like this:
There are two ways to reconfigure environment variables within development;
either change default value inside .env file or override defaults by running
yarn devcommand with environment variables prepended:
API_URL=https://my.new.dev.api.com yarn dev
And finally edit .gitignore so that we exclude environment configurations out
of source code:
# Temporary env files
/public/env-config.js
env-config.js
As for development environment, that's it! We are half-way there. However, We didn't make a huge difference at this point compared to what CRA offered by default for development environment, however, the true potential of this approach shines in production.
Now we are going to create minimal Nginx configuration so that we can build optimized image which serves production-ready application.
# Create directory for Ngnix configuration
mkdir -p conf/conf.d
touch conf/conf.d/default.conf conf/conf.d/gzip.conf
Main configuration file should look somewhat like this:
server {
  listen 80;
  location / {
    root   /usr/share/nginx/html;
    index  index.html index.htm;
    try_files $uri $uri/ /index.html;
    expires -1; # Set it to different value depending on your standard requirements
  }
  error_page   500 502 503 504  /50x.html;
  location = /50x.html {
    root   /usr/share/nginx/html;
  }
}
conf/conf.d/default.conf
It's also useful to enable gzip compression so that our assets are more lightweight during network transition:
gzip on;
gzip_http_version  1.0;
gzip_comp_level    5; # 1-9
gzip_min_length    256;
gzip_proxied       any;
gzip_vary          on;

# MIME-types
gzip_types
  application/atom+xml
  application/javascript
  application/json
  application/rss+xml
  application/vnd.ms-fontobject
  application/x-font-ttf
  application/x-web-app-manifest+json
  application/xhtml+xml
  application/xml
  font/opentype
  image/svg+xml
  image/x-icon
  text/css
  text/plain
  text/x-component;
conf/conf.d/gzip.conf
Now that our Nginx configuration is ready, we can finally create Dockerfile and docker-compose files:
touch Dockerfile docker-compose.yml
Initially, we use node:alpine image to create optimized production build of
our application. Then, we build runtime image on top of nginx:alpine .
# => Build container
FROM node:alpine as builder
WORKDIR /app
COPY package.json .
COPY yarn.lock .
RUN yarn
COPY . .
RUN yarn build

# => Run container
FROM nginx:1.15.2-alpine

# Nginx config
RUN rm -rf /etc/nginx/conf.d
COPY conf /etc/nginx

# Static build
COPY --from=builder /app/build /usr/share/nginx/html/

# Default port exposure
EXPOSE 80

# Copy .env file and shell script to container
WORKDIR /usr/share/nginx/html
COPY ./env.sh .
COPY .env .

# Make our shell script executable
RUN chmod +x env.sh

# Start Nginx server
CMD ["/bin/sh", "-c", "/usr/share/nginx/html/env.sh && nginx -g \"daemon off;\""]
Now our container is ready. We can do all standard stuff with it. We can build container, run it with inline configurations and push it to repository provided by services such as Dockerhub.
docker build . -t kunokdev/cra-runtime-environment-variables
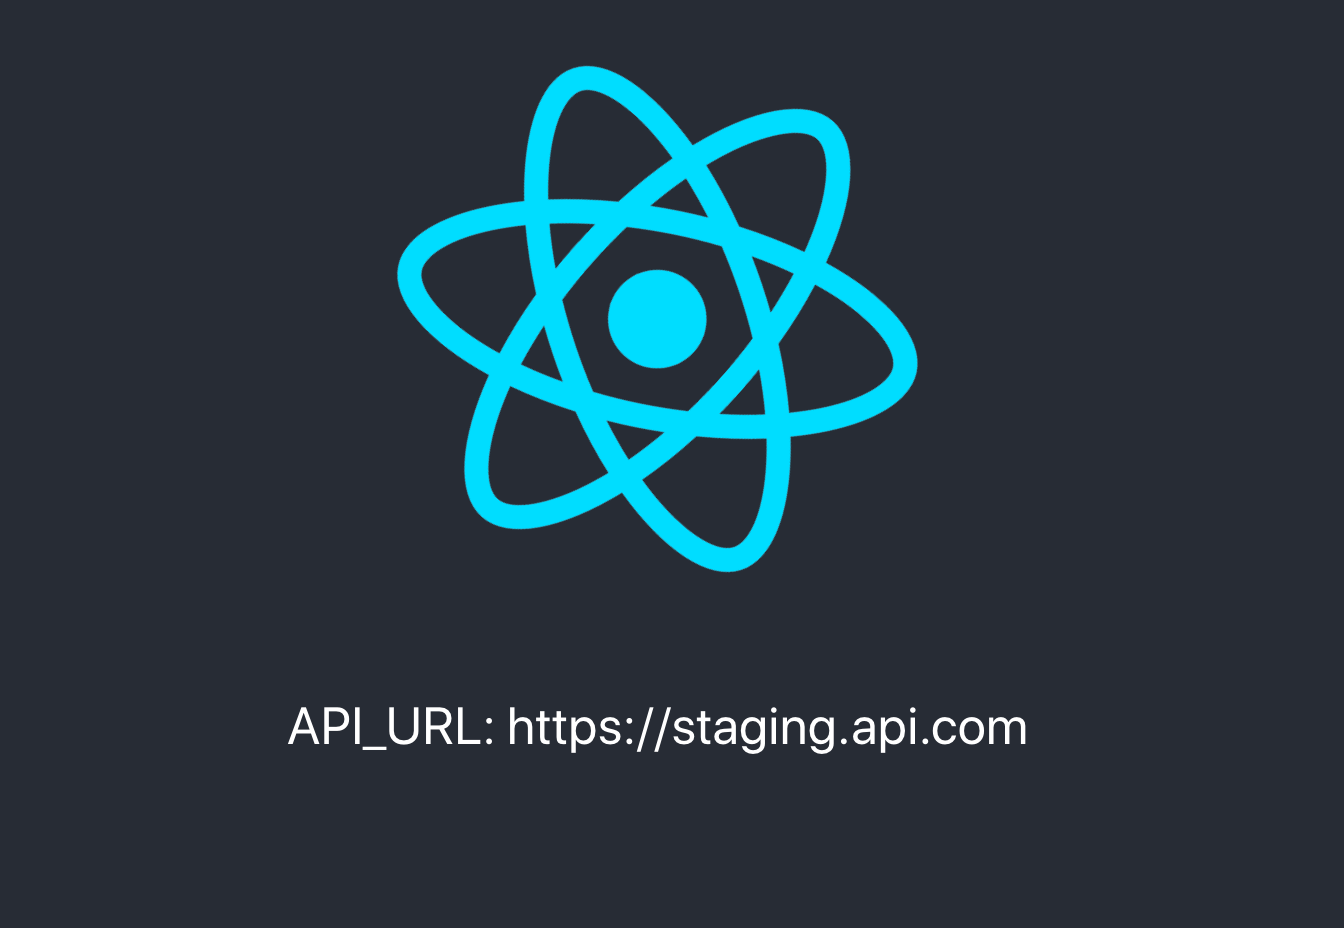
docker run -p 3000:80 -e API_URL=https://staging.api.com -t kunokdev/cra-runtime-environment-variables
docker push -t kunokdev/cra-runtime-environment-variables
Above docker run command should output application like so:
Lastly, let's create our docker-compose file. You will usually have different
docker-compose files depending on environment and you will use -f flag to
select which file to use.
version: "3.2"
services:
  cra-runtime-environment-variables:
    image: kunokdev/cra-runtime-environment-variables
    ports:
      - "5000:80"
    environment:
      - "API_URL=production.example.com"
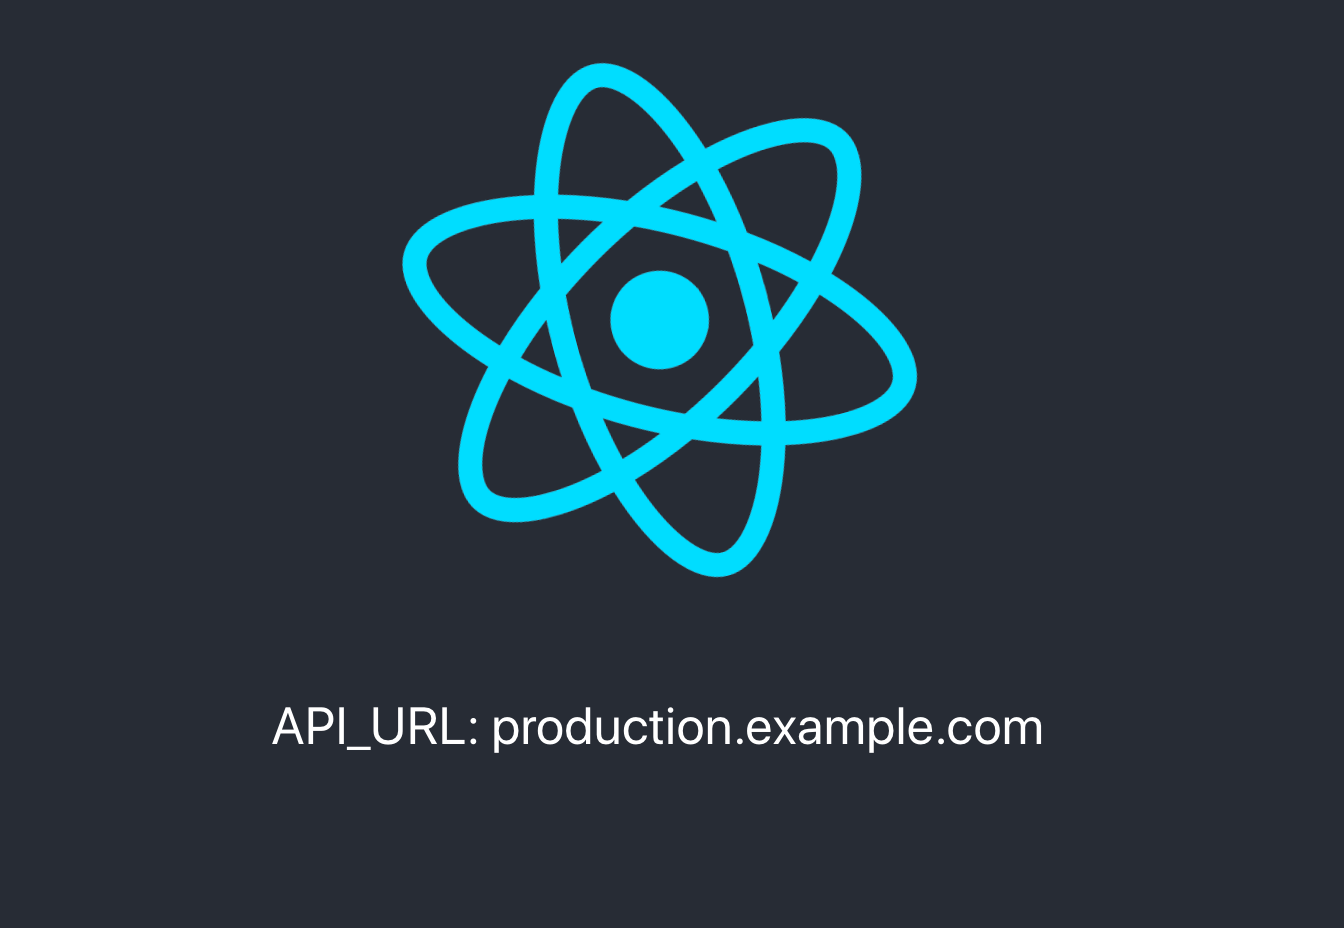
and if we do docker-compose up we should see output like so:
Great! We have now achieved our goal, we can reconfigure our application easily in both development and production environments in a very convenient way. We can now finally build only once and run everywhere!
Current implementation of shell script will print all variables included within .env file, but most of the time we don't really want to expose all of them. You could implement filters for variables you don't want to expose using prefixes or similar technique.
You may run into Type errors as mentioned in this issue. To solve this, extend window object or rewrite global window type as suggested in issue comments.
As noted above, buildtime configuration will satisfy most use cases and you can rely on default approach using .env file per environment and build container for each environment, inject values via CRA Webpack provided environment variables.
You could also have a look at CRA Github repository issue which covers this problem. By now, there should be more posts and issues which cover this topic and each offers similar solution as above, it's up to you to decide how are you going to implement specific details, you as well might use Node.js to serve your application which means that you can also replace shells script with Node.js script, but note that Nginx is more convenient to serve static content.


