GitWizard is your hassle-free companion for seamless Git workflows. Effortlessly manage branching, merging, squashing, releases, and commits with this user-friendly tool. Say goodbye to complexity and embrace a wizardly approach to professional Git workflows for developers.
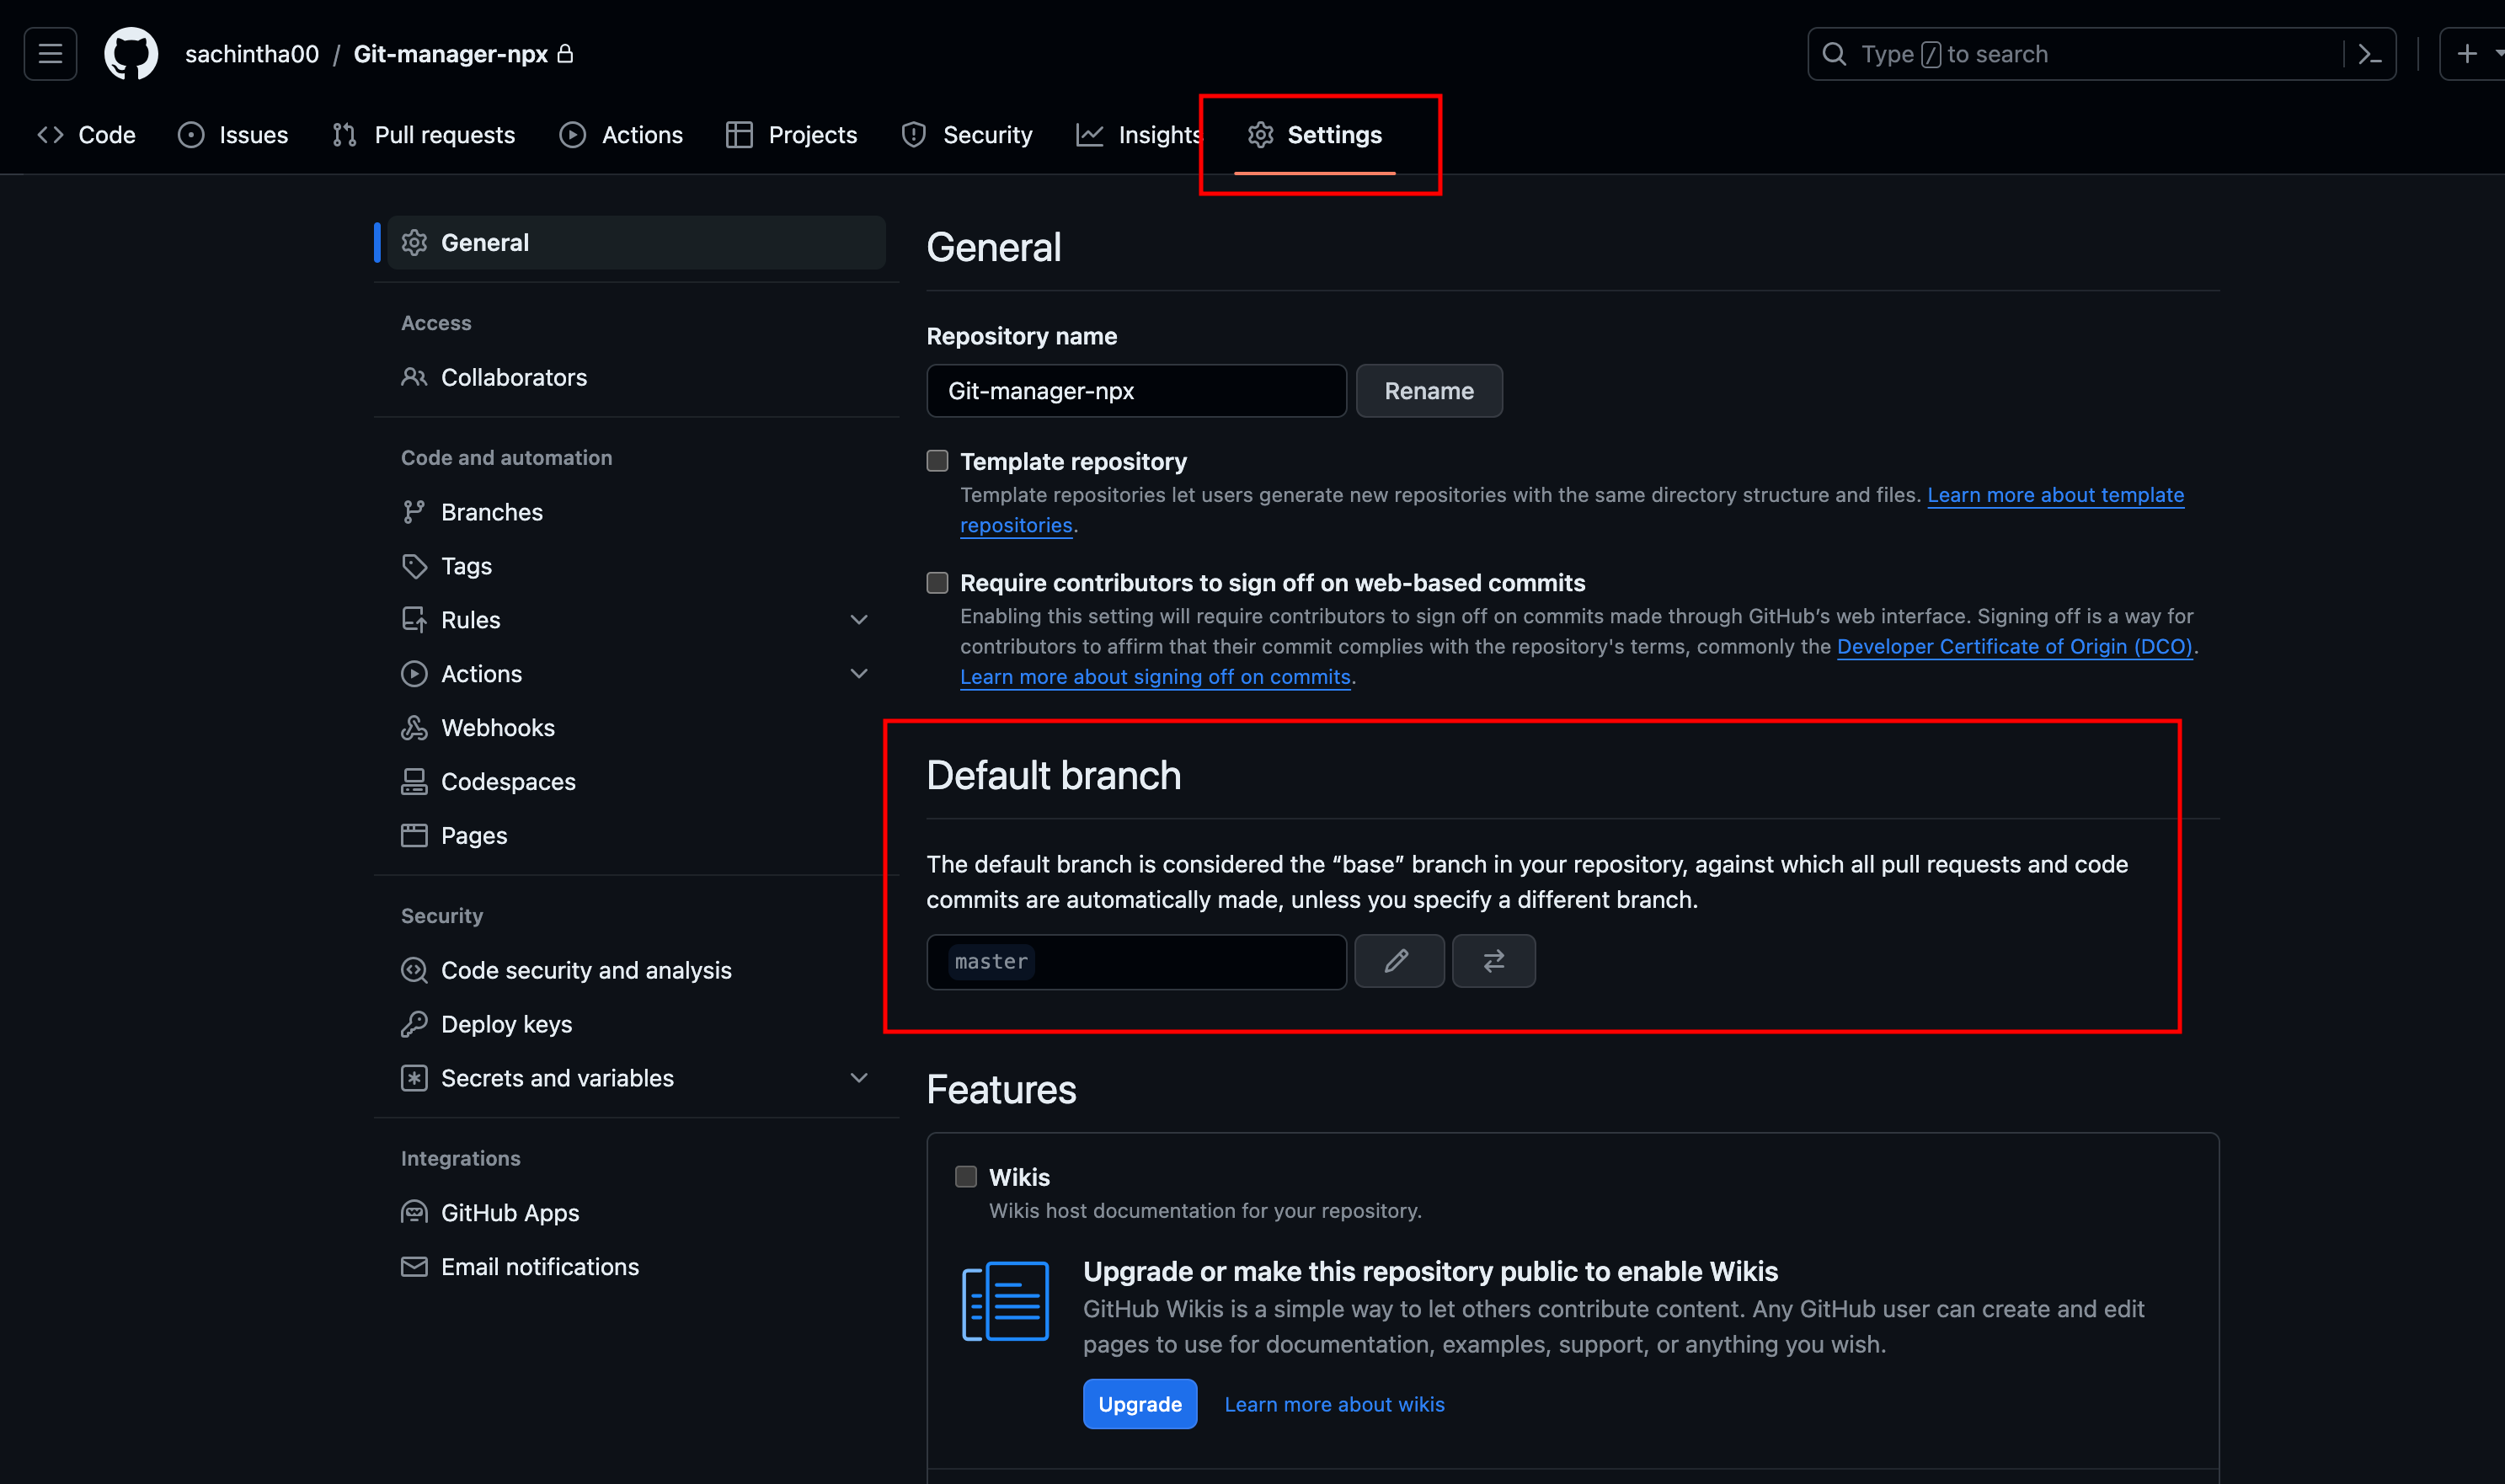
To ensure compatibility with your Git project, it's important to verify and, if necessary, update the branch name. Start by confirming the current branch name; if it's main, proceed with the update.
Navigate to the Settings tab of your GitHub repository. Within the Repository section, locate the Default branch dropdown. If the current branch is main, modify it to master.
Once you've made this adjustment, scroll down to find the "Save changes" button and apply the update. Your Git project is now configured with the master branch.
If you encounter any challenges during this process, reference the attached screenshot for visual guidance.
- Light/dark mode toggle
- Live previews
- Fullscreen mode
- Cross platform
-
If you wish to install this into your project, execute the following command:
npm install git-wizard
OR
npm i git-wizard
-
For a global installation, utilize the following command:
npm install -g git-wizard
OR
sudo npm install -g git-wizard
-
For usage without installation, follow this approach:
npx git-wizard
-
Begin by creating a branch named
Devbased on themasterbranch, as illustrated below. Subsequently, push the newly createddevbranch to the origin.You can use the following command to create and push the
devbranch to the origin:git push --set-upstream origin dev
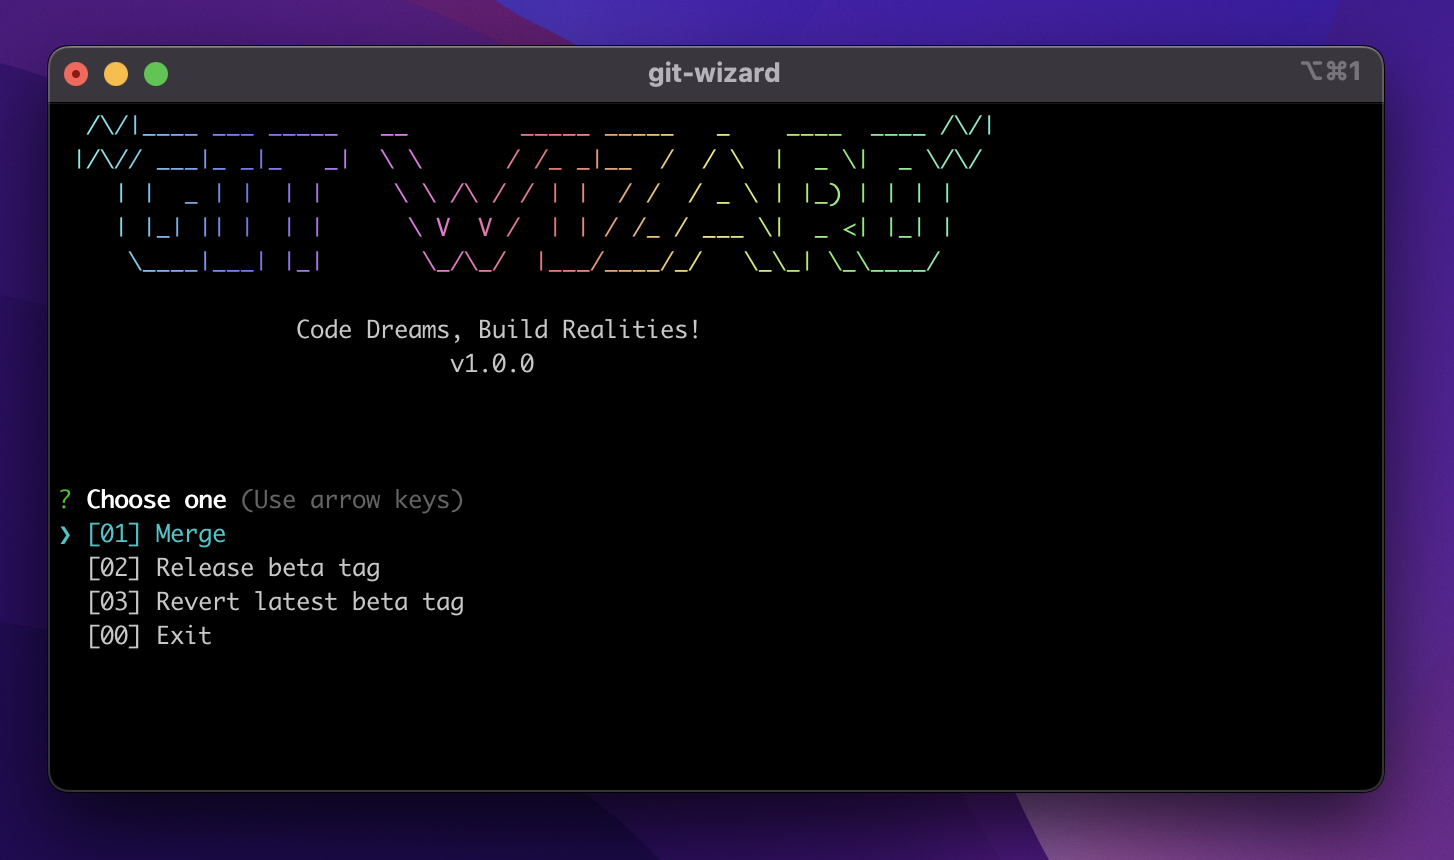
This tool is visible within the
devbranch, as illustrated below. -
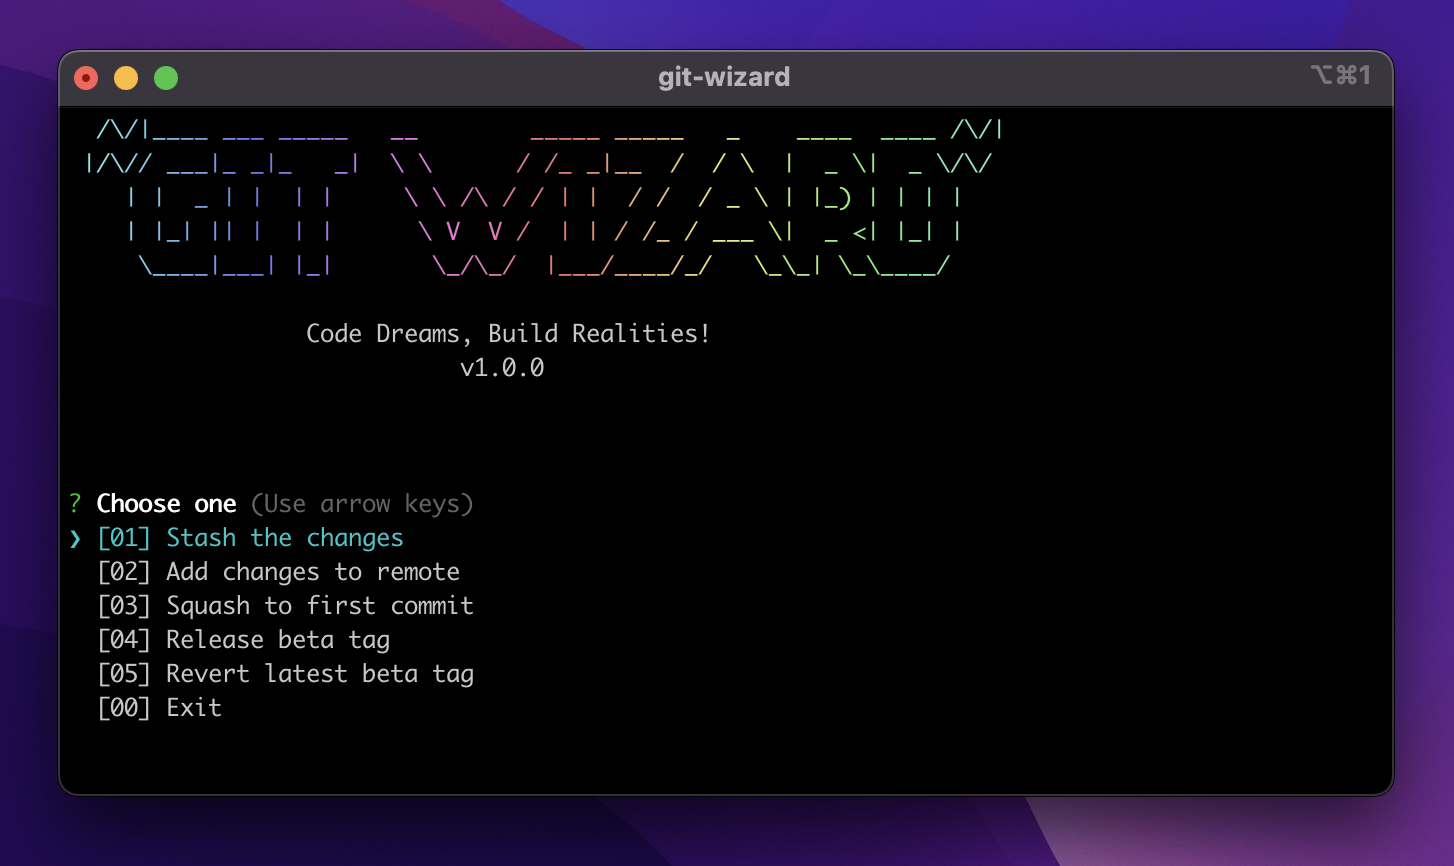
To initiate the development of a new feature, it is recommended to create a
dobranch off thedevbranch, following the steps below:This tool is accessible within the
dobranch, as demonstrated below. -
To address a bug fix, it is advisable to create a
fixbranch based on themasterbranch, following the steps outlined below:This tool is visible within the
fixbranch, as illustrated below. -
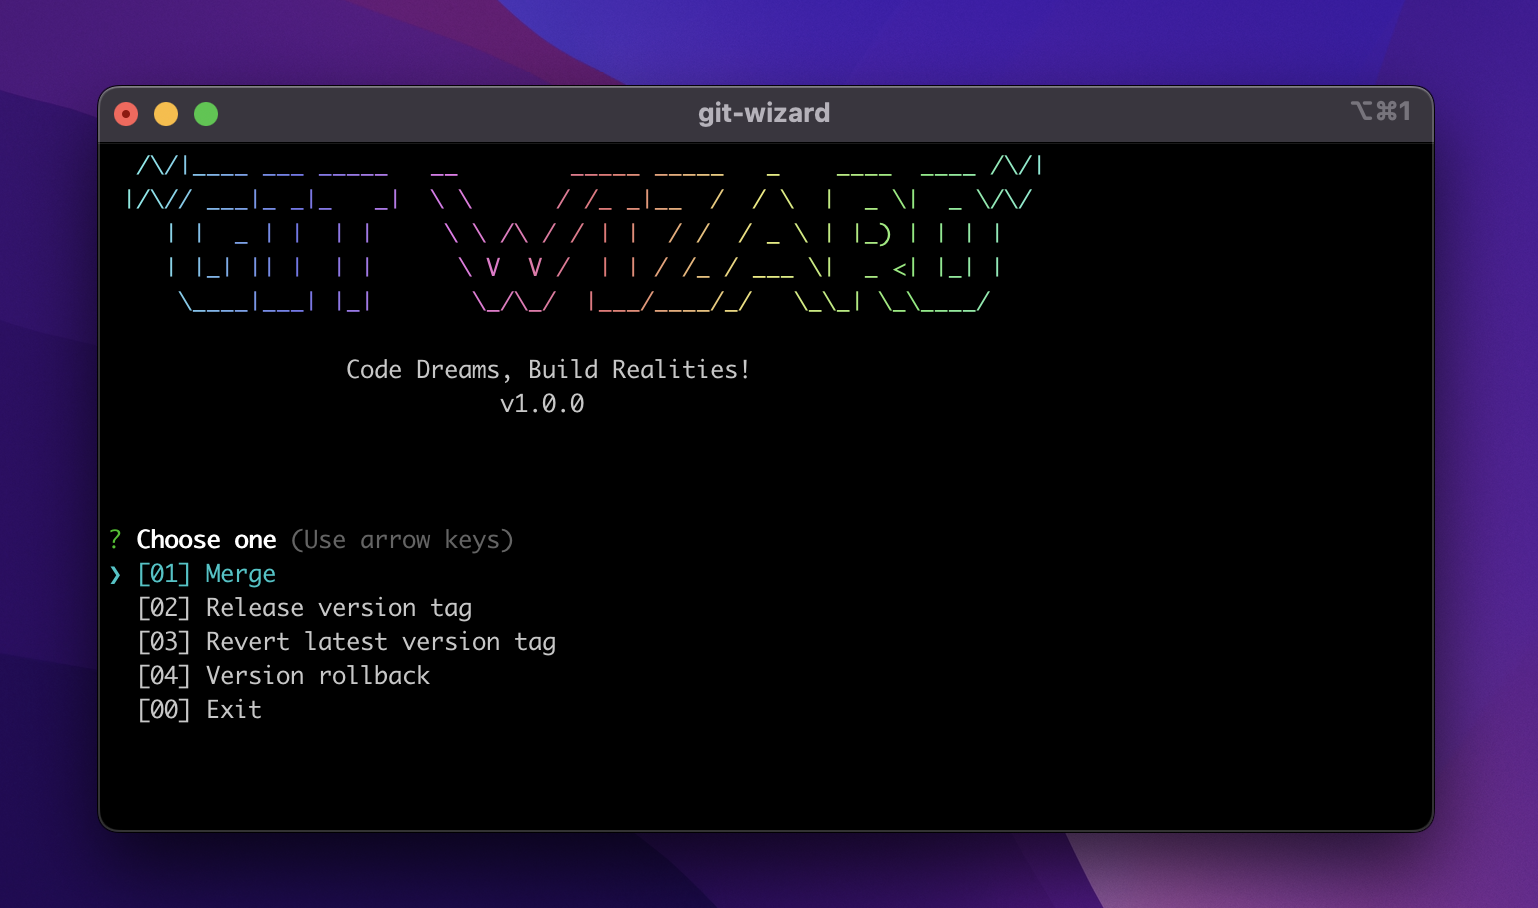
Upon executing this in the
masterbranch, you will encounter a menu resembling the one below.


