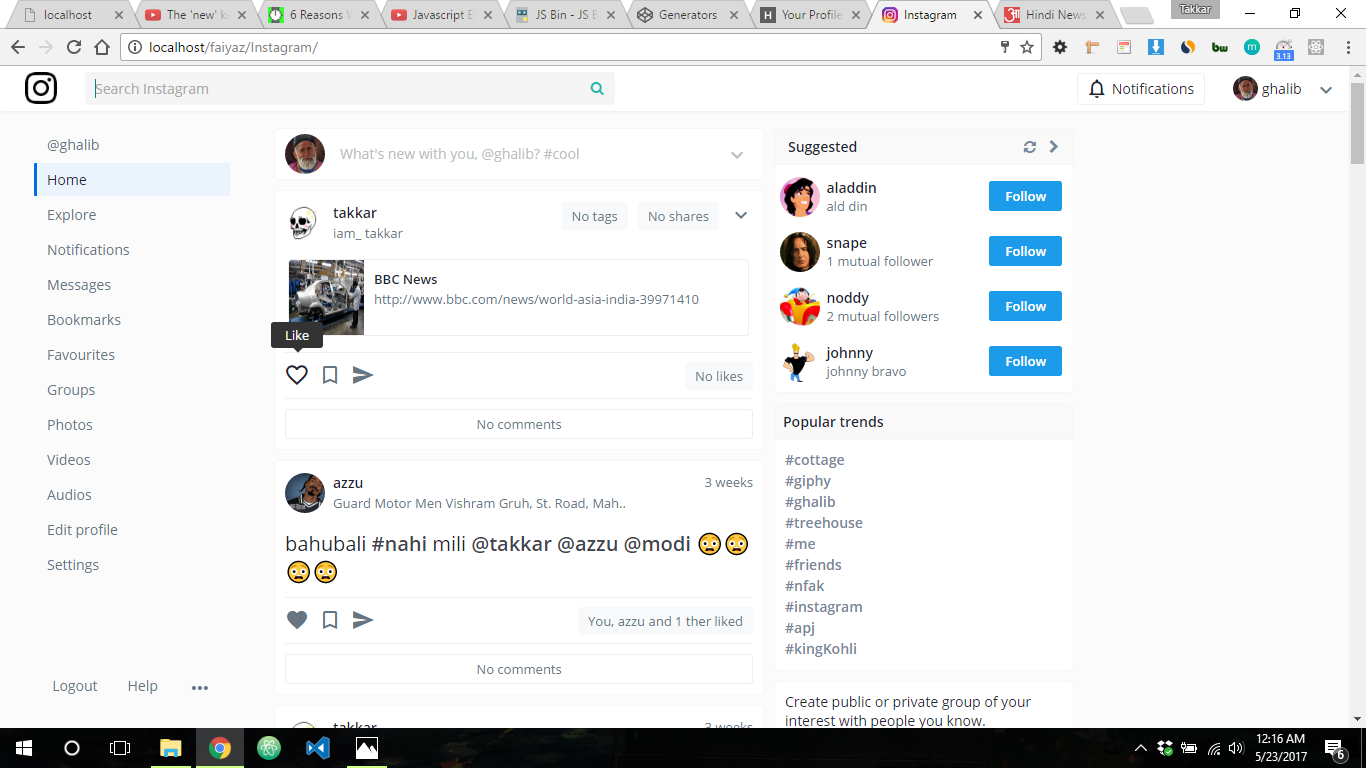
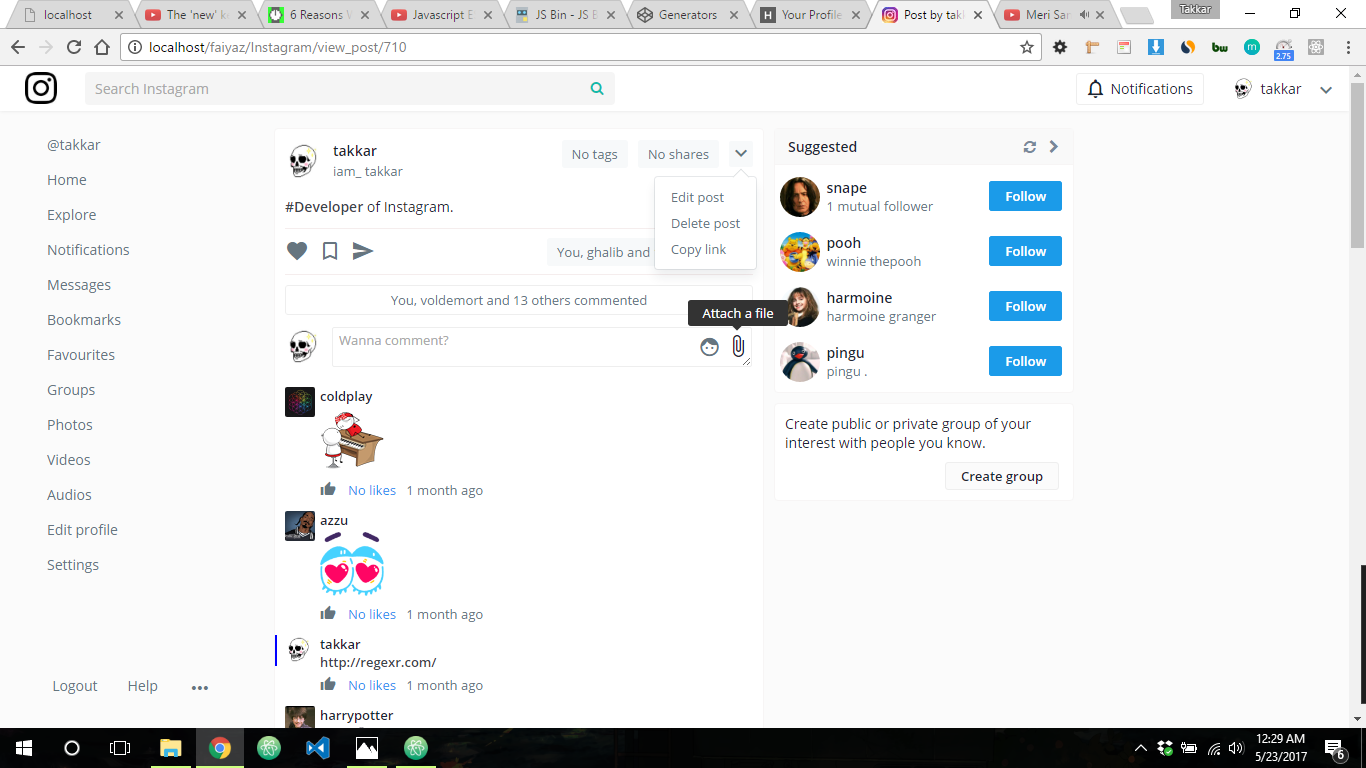
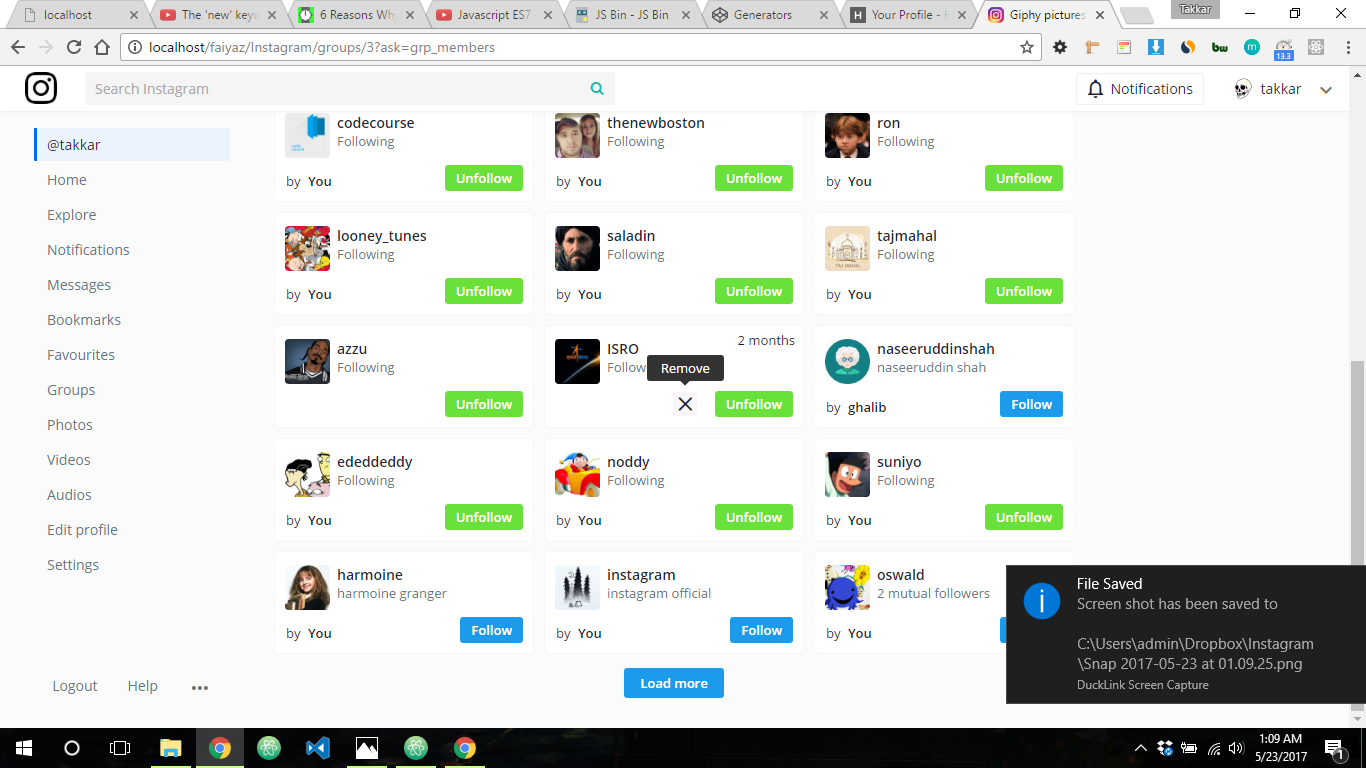
A very simple & useful toolkit that can be used easily with very simple API. Screenshots below.
If you're reading on npmjs website, please visit GitHub page for better documentation!!
These screenshots are from Instagram-clone I created & you can use the code with 5 simple & straight-forward steps!!
- jQuery
- First install the package with
npmorYarn.
npm install handy-tooltip
or
yarn add handy-tooltip
- Create a div with id
hoverdiv.
<div id='hoverdiv'></div>-
Go to
handy-tooltip.css& copy everything of it into your stylesheet. -
And here comes the fun part.
import HandyTooltip from 'handy-notification'
HandyTooltip({
    value: "Like",            // Message to be displayed
    selector: $('.like_btn')  // selector you want tooltip of
})
You can also work with attributes.
<a href='#' class='link' data-tooltip='Link!' >I am a cool link</a>import HandyTooltip from 'handy-notification'
HandyTooltip({
selector: $('.link') // selector you want tooltip of
})If you think Hoverdiv is not at your desired position, see the API.
- Copy
handy-tooltip-plugin.jsinto your project & include it.
<script src='/handy-tooltip-plugin.js'></script>- Create a div with id
hoverdiv.
<div id='hoverdiv'></div>-
Go to
handy-tooltip.css& then copy everything of it` into your stylesheet. -
And here comes the fun part.
$('.like_btn').HandyTooltip({
  value: "Like"
})
You can also work with attributes.
<a href='#' class='link' data-tooltip='Link!' >I am a cool link</a>$('.like_btn').HandyTooltip()If you think Hoverdiv is not at your desired position, see the API.
HandyTooltip(options:Object)
options = {
    value,
    selector,
    extraTop,
    extraLeft
}- value
- This will be the message.
- selector
- Selector you want to show tooltip of (NOTE: Not availabe to jQuery plugins).
- extraTop
- If hoverdiv is not at your desired position, adjust this property for top position.
- extraLeft
- If hoverdiv is not at your desired position, adjust this property for left position.
Thanks for reading!!


