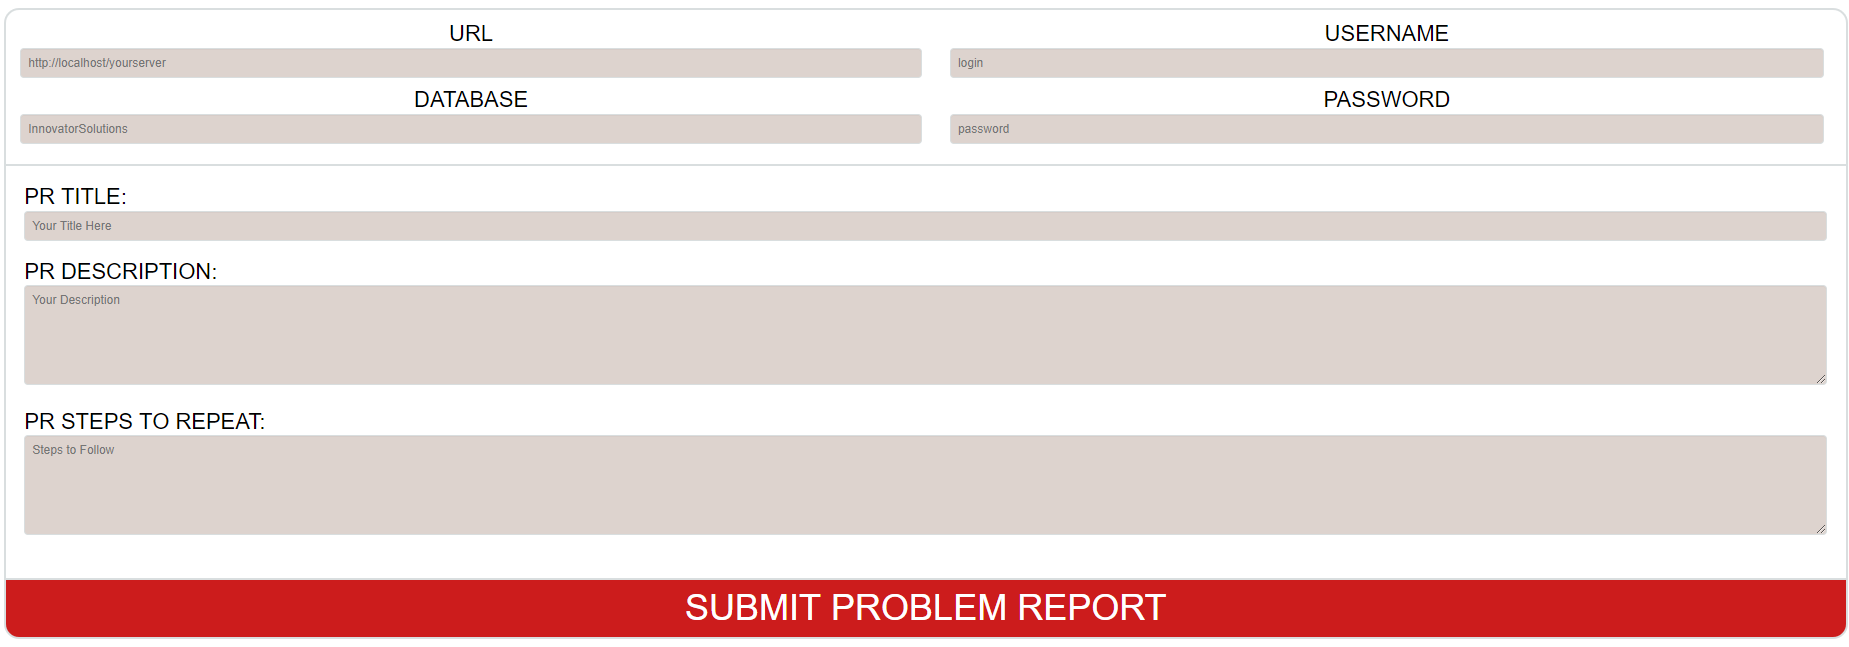
This is a very simple Visual Studio Web Application that includes several text boxes and a button.
A user will be able to fill in data into the text boxes, and once the user clicks the "Submit" button, a connection to Aras Innovator is made during which it creates a new PR with the given data provided by the user.
| Release | Notes |
|---|---|
| v1.0.1 | Tested 11.0 SP12, SP15; 12.0. Tested on IE/Edge, FF 60 ESR, Chrome |
| v1.0.0 | First release. Tested on IE 11, Firefox 38 ESR, Chrome. Though built and tested using Aras 11.0 SP9, this project should function in older releases of Aras 11.0 |
| Project | Aras |
|---|---|
| v1.0.1 | 11.0 SP7+, SP12+, SP15; 12.0 |
| v1.0.0 | 11 SP7, SP9; Old Community Board Migration |
- Aras Innovator installed
- Visual Studio (2015+)
You will need to point the solution at the correct IOM file for your instance of Innovator. It should default to the last version of IOM you have used with Visual Studio, but resetting it to your current version is advised. Steps are as follows:
- Open the solution in Visual Studio.
- In the Solution Explorer pane:
- Under References, remove the IOM package
- Go to the CD Image for your version of Aras and unzip the IOM folder under Utilities to the location of your choice (you will need the .Net folder for this )
- Alternate for if you do not have a CD Image: go to the Innovator/Client/bin folder on your install and select the IOM.dll file from there in the below step to add the reference.
- Return the project and add a reference
- Point to the location of the DLL
- In the Project Properties (Project pulldown > [project name] Properties…) set the target framework to the version required by your install of Innovator or what the system warnings say regarding the correct version for your IOM file. (You can find this in the system requirements section of the installation documentation.)
- Build/rebuild the solution. (And skip to step 2 of usage.)
- Open the solution in Visual Studio.
- Start the External_Input_Example project.
- Select the browser you want to run it in.
- Wait for the web page to load.
- Enter the log in credentials for the preferred Aras Innovator instance and the new PR data.
- Click the submit button.
- Once the connection is made and the new PR is created with the data provided by the user, a confirmation window will appear.
 The PR Web Page with placeholders
- Fork it!
- Create your feature branch:
git checkout -b my-new-feature - Commit your changes:
git commit -am 'Add some feature' - Push to the branch:
git push origin my-new-feature - Submit a pull request
For more information on contributing to this project, another Aras Labs project, or any Aras Community project, shoot us an email at araslabs@aras.com.
Original code written by Aras Corporation Support for Aras Corporation.
Updated and Documented by Jillian Jakubowicz and Sam Poe for Aras Labs. @JillJakubowicz, @sampoearas
Aras Labs projects are published to Github under the MIT license. See the LICENSE file for license rights and limitations.