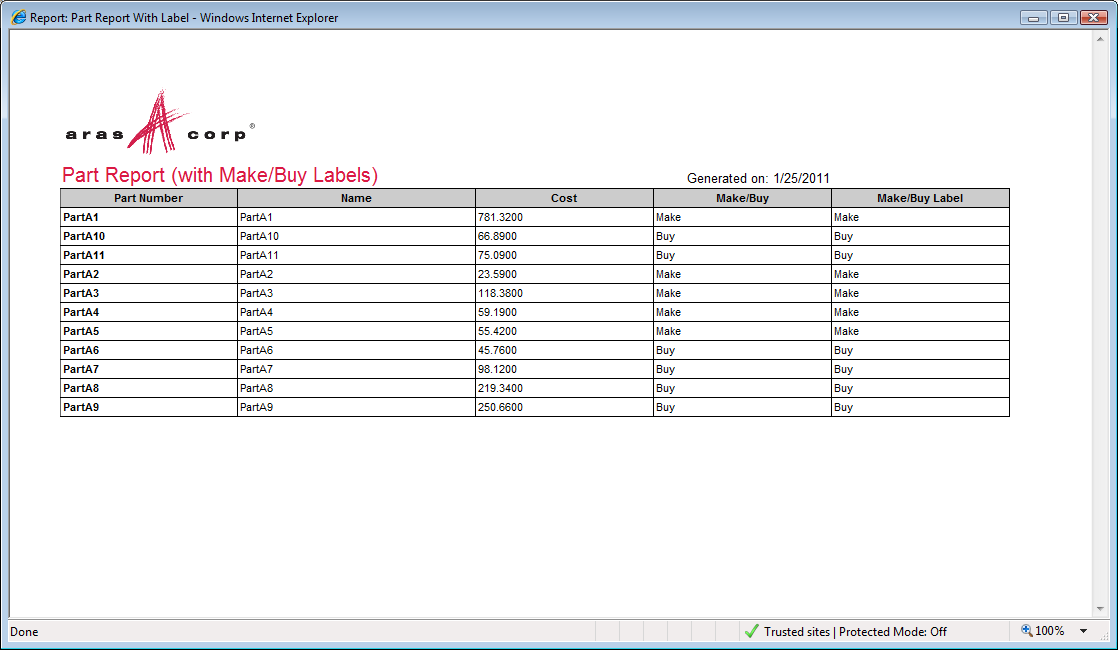
This sample shows a way to get and display "Labels" in Reports by customizing Stylesheet of Report item. Normally Reports show "values" of differrent Fields/Properties.
This project and the following release notes have been migrated from the old Aras Projects page.
| Release | Notes |
|---|---|
| v1 | Initial Release |
| Project | Aras |
|---|---|
| v1 | 9.2.0 |
Always back up your code tree and database before applying an import package or code tree patch!
- Aras Innovator installed
- Aras Package Import tool
- SampleForLabelsInReports import package
- Backup your database and store the BAK file in a safe place.
- Open up the Aras Package Import tool.
- Enter your login credentials and click Login
- Note: You must login as root for the package import to succeed!
- Enter the package name in the TargetRelease field.
- Optional: Enter a description in the Description field.
- Enter the path to your local
..\SampleForLabelsInReports\Import\imports.mffile in the Manifest File field. - Select all in the Available for Import field.
- Select Type = Merge and Mode = Thorough Mode.
- Click Import in the top left corner.
- Close the Aras Package Import tool.
- Login to Aras as admin.
- Navigate to Administration > ItemTypes in the TOC.
- Search for the Part ItemType and open for editing.
- In the Reports tab of the Part ItemType select Pick Related, and then click New Relationship icon next to it.
- In the resulting Dialog Box search and select Part Report With Label, and then click Return Selected icon (checkmark icon).
- Go to the Method[...] column and press "F2". Search and select Part Report With Label Method, and then click Return Selected icon (checkmark icon).
- Save, unlock, and close the Part ItemType.
- Login to Aras.
- Navigate to Design > Parts.
- Create a few Parts. Make sure to select either Make or Buy in the Make/Buy field.
- Run a Search to display the items just created.
- From the Menu at the top, select Reports > Part Report With Label. This will run the report and display results similar to the screen capture file included with this package.
- Fork it!
- Create your feature branch:
git checkout -b my-new-feature - Commit your changes:
git commit -am 'Add some feature' - Push to the branch:
git push origin my-new-feature - Submit a pull request
Created by Aras Corporation Support.
Published to Github under the MIT license. See the LICENSE file for license rights and limitations.
