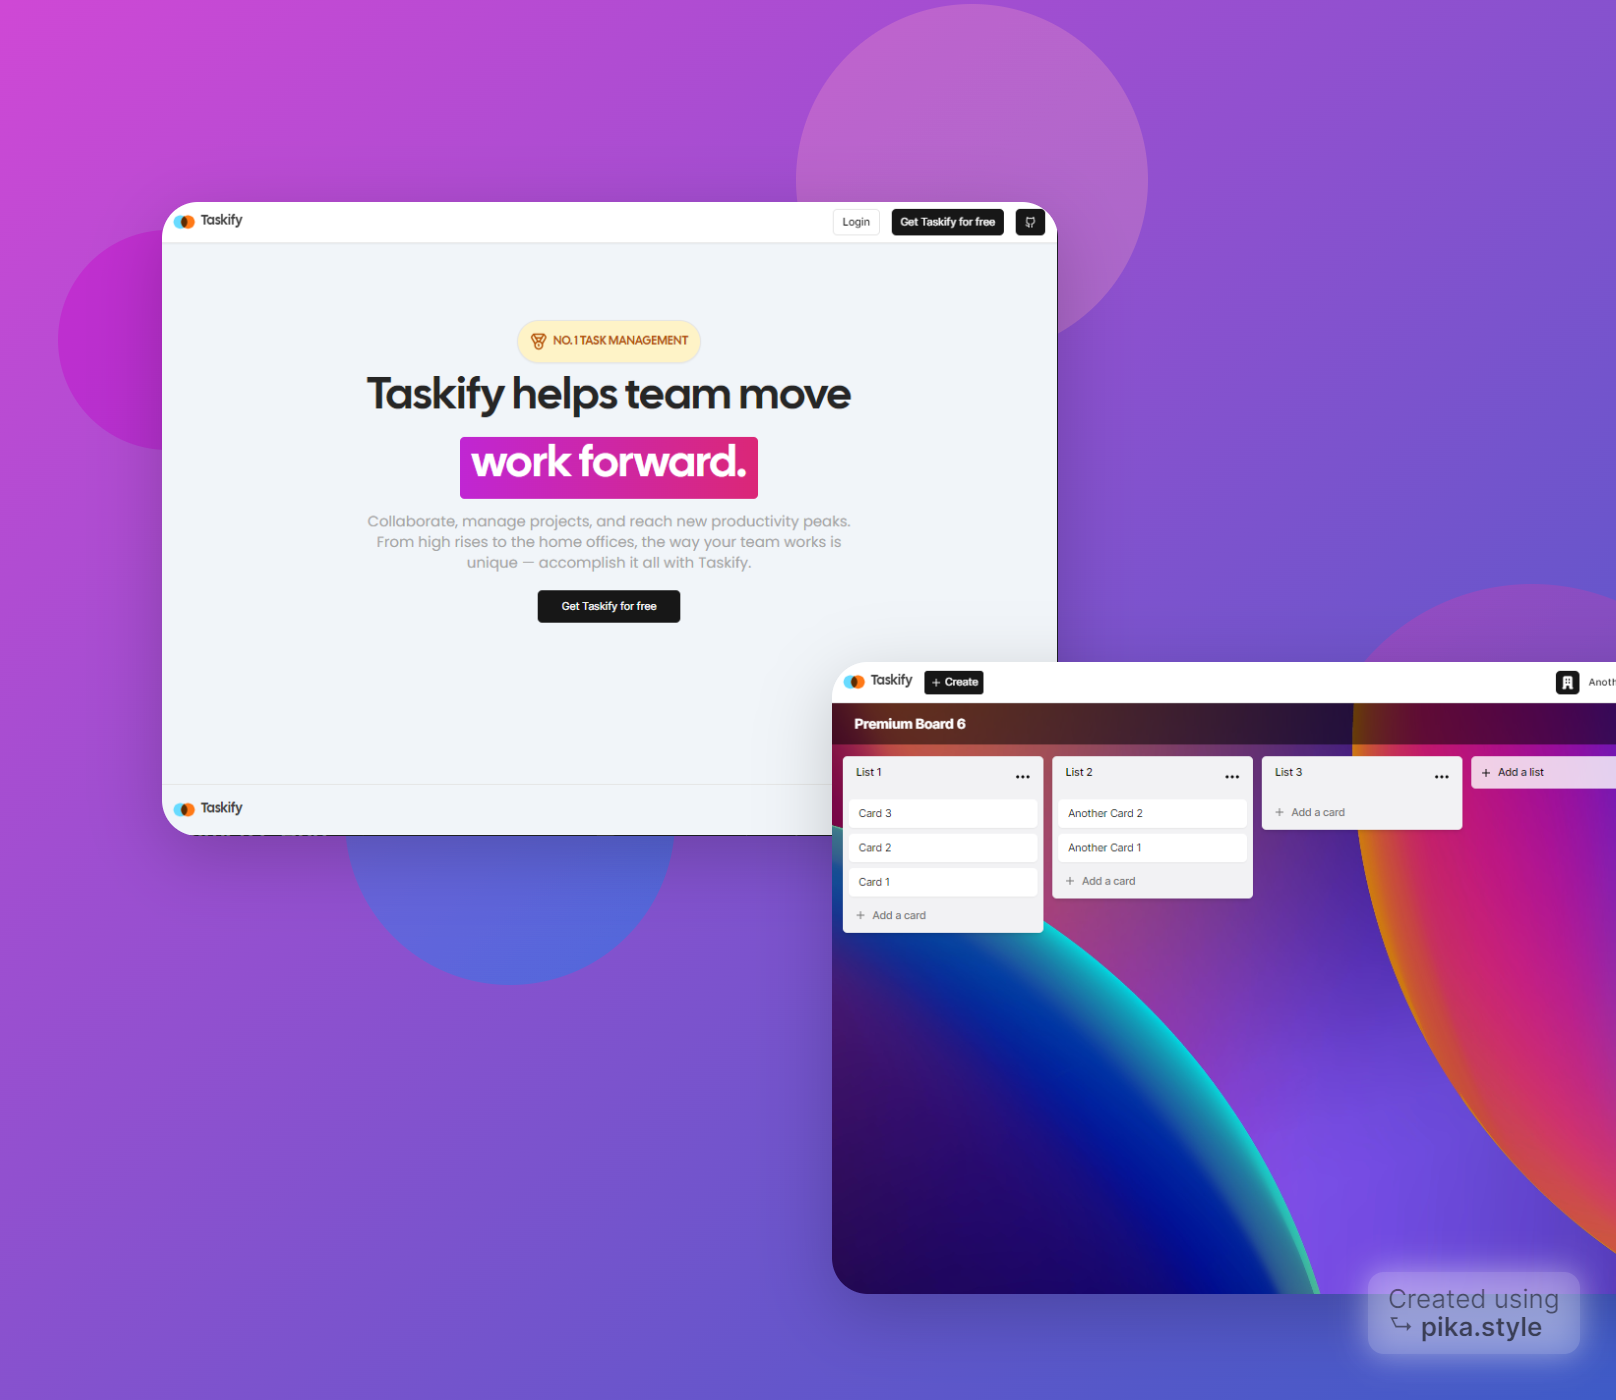
Here is the folder structure of this app.
trello-clone/
  |- actions/
    |-- copy-card/
    |-- copy-list/
    |-- create-board/
    |-- create-card/
    |-- create-list/
    |-- delete-board/
    |-- delete-card/
    |-- delete-list/
    |-- stripe-redirect/
    |-- update-board/
    |-- update-card/
    |-- update-card-order/
    |-- update-list/
    |-- update-list-order/
  |- app/
    |-- (marketing)/
    |-- (platform)/
        |--- (clerk)/
            |---- select-org/[[...select-org]]/
            |---- sign-in/[[...sign-in]]/
            |---- sign-up/[[...sign-up]]/
        |--- (dashboard)/
            |---- board/
            |---- organization/
    |-- api/
        |--- cards/[cardId]/
        |--- webhook/
  |- components/
        |--- form/
        |--- modals/
            |---- card-modal/
        |--- providers/
        |--- ui/
  |- config/
  |- constants/
  |- hooks/
  |- lib/
  |- prisma/
    |-- schema.prisma
  |- public/
    |-- fonts/
    |-- icons/
  |- .env
  |- .env.example
  |- .eslintrc.json
  |- .gitignore
  |- components.json
  |- middleware.ts
  |- next.config.js
  |- package-lock.json
  |- package.json
  |- postcss.config.js
  |- tailwind.config.ts
  |- tsconfig.json
|- types.ts- Make sure Git and NodeJS is installed.
- Clone this repository to your local computer.
- Create
.envfile in root directory. - Contents of
.env:
# .env


# clerk auth keys
NEXT_PUBLIC_CLERK_PUBLISHABLE_KEY=pk_test_XXXXXXXXXXXXXXXXXXXXXXXXXXXXXXXXXXXXXXX
CLERK_SECRET_KEY=sk_test_XXXXXXXXXXXXXXXXXXXXXXXXXXXXXXXX

# clerk redirect url(s)
NEXT_PUBLIC_CLERK_SIGN_IN_URL=/sign-in
NEXT_PUBLIC_CLERK_SIGN_UP_URL=/sign-up
NEXT_PUBLIC_CLERK_AFTER_SIGN_IN_URL=/
NEXT_PUBLIC_CLERK_AFTER_SIGN_UP_URL=/

# mysql db url
DATABASE_URL=<your-db-url>

# unsplash api key
NEXT_PUBLIC_UNSPLASH_ACCESS_KEY=XXXXXXXXXXXXXXXXXXXXXXXXXXXXXXXXXXXX

# stripe api & webhook key
STRIPE_API_KEY=sk_test_XXXXXXXXXXXXXXXXXXXXXXXXXXXXXXXXXXXXXXXXXXXXXXXXXX
STRIPE_WEBHOOK_SECRET=whsec_XXXXXXXXXXXXXXXXXXXXXXXXXXXXXXXXXXXXXXXXXXX

# app base url
NEXT_PUBLIC_APP_URL=http://localhost:3000- Clerk Keys:
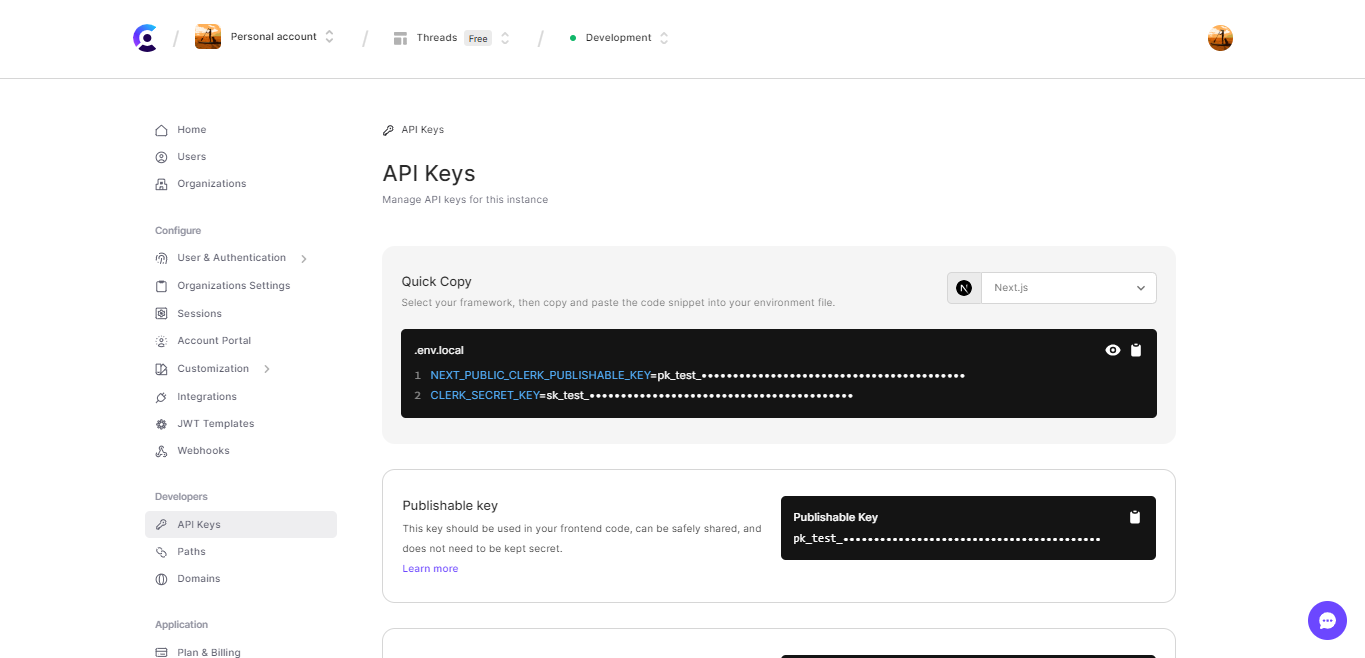
NEXT_PUBLIC_CLERK_PUBLISHABLE_KEYandCLERK_SECRET_KEYare provided by Clerk. You need to sign up for an account on Clerk (https://www.clerk.dev/), log in, and access these keys in your account settings.
- Stripe Secret Key:
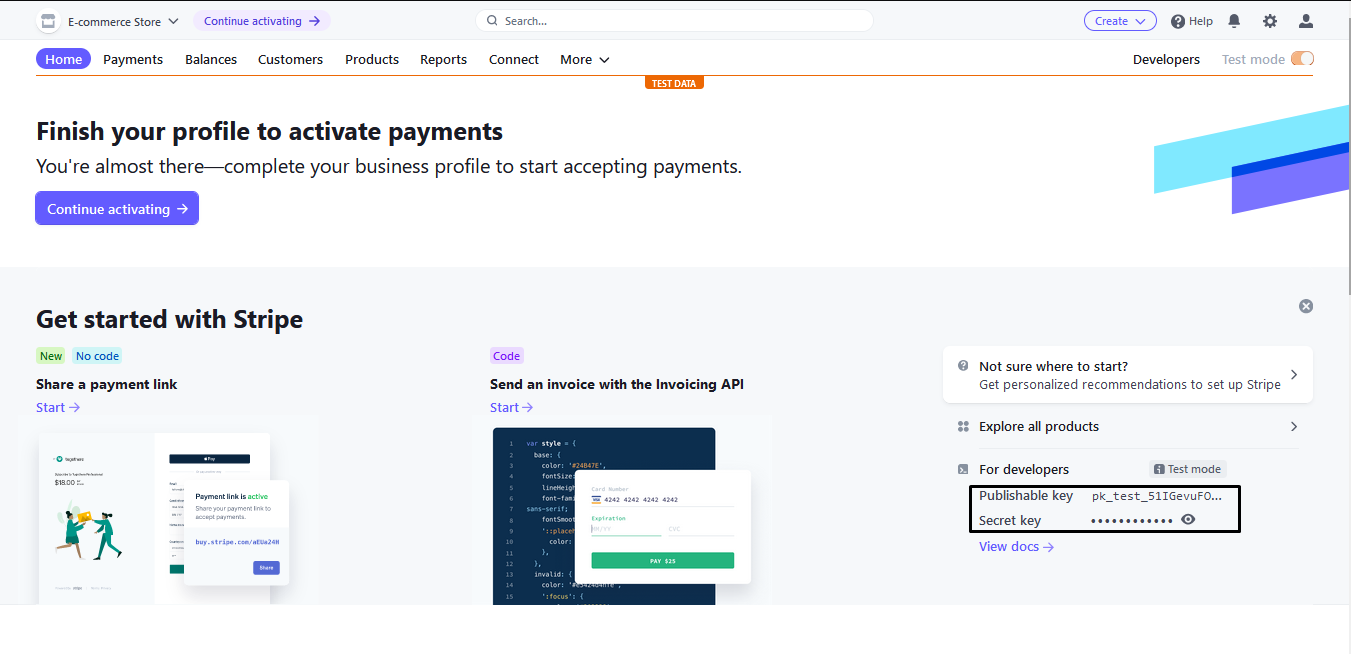
STRIPE_API_KEYis provided by Stripe in order to setup online payments. You need to sign up for an account on Stripe (https://stripe.com/), log in, and access these keys in your account dashboard.
-
Stripe Webhook Secret:
STRIPE_WEBHOOK_SECRETis required for handling Stripe webhooks securely. Follow these steps to obtain the webhook secret:- Sign in to your Stripe account (https://dashboard.stripe.com/).
- In the Dashboard, go to "Developers" > "Webhooks".
- Click the "Add endpoint" button.
- Set up the endpoint details and select
checkout.session.completedandinvoice.payment_succeededevent. - After saving, you'll see the webhook signing secret. Copy this value to use as
STRIPE_WEBHOOK_SECRET.
-
URLs for Clerk:
NEXT_PUBLIC_CLERK_SIGN_IN_URL,NEXT_PUBLIC_CLERK_SIGN_UP_URL,NEXT_PUBLIC_CLERK_AFTER_SIGN_IN_URL, andNEXT_PUBLIC_CLERK_AFTER_SIGN_UP_URLare endpoints or URLs related to your Clerk setup. You can configure these in your Clerk dashboard.
-
Prisma Database URL:
DATABASE_URLis the connection URL for your Supabase PostgreSQL database. You will need to create a Supabase account (https://supabase.com/) or use an existing one. Obtain the connection URL from your Supabase dashboard after creating a new project.
-
Public App URL:
NEXT_PUBLIC_APP_URLare endpoints or URLs related to this Project. You can configure/copy this from your needs.
-
Unsplash API Key:
- Sign up on Unsplash if you haven't already.
- Join the Unsplash Developer Community here.
- Create a new application in the Developer Dashboard.
- Obtain your
Access Keyfrom the created application. - Set the
NEXT_PUBLIC_UNSPLASH_ACCESS_KEYenvironment variable in your project with the obtained key.
-
Open terminal in root directory. Run npm install or yarn install.
-
Now app is fully configured 👍 and you can start using this app using npm run dev or yarn dev.
- Clerk Documentation: https://www.clerk.dev/docs/
- Stripe Documentation: https://stripe.com/docs/
- Unsplash Documentation: https://unsplash.com/documentation/
- Aiven Documentation: https://docs.aiven.io/
- Prisma Documentation: https://www.prisma.io/docs/
NOTE: Please make sure to keep your API keys and configuration values secure and do not expose them publicly.
You might encounter some bugs while using this app. You are more than welcome to contribute. Just submit changes via pull request and I will review them before merging. Make sure you follow community guidelines.
Useful resources and libraries that are used in My Portfolio
- Thanks to CodeWithAntonio: https://codewithantonio.com/
- Clerk
- ShadCN UI
- CLSX
- Usehooks TS
- Unsplash JS
- Date FNS
- Stripe
- Recharts
- ZOD
- Sonner
- Lucide Icons
- Prettier
- ESLint
- Next PWA
To learn more about Next.js, take a look at the following resources:
- Next.js Documentation - learn about Next.js features and API.
- Learn Next.js - an interactive Next.js tutorial.
You can check out the Next.js GitHub repository - your feedback and contributions are welcome!
The easiest way to deploy your Next.js app is to use the Vercel Platform from the creators of Next.js.
Check out Next.js deployment documentation for more details.
You can also give this repository a star to show more people and they can use this repository.


