DIY Controller for Ongeki.
- Add Main pcb files and documentation
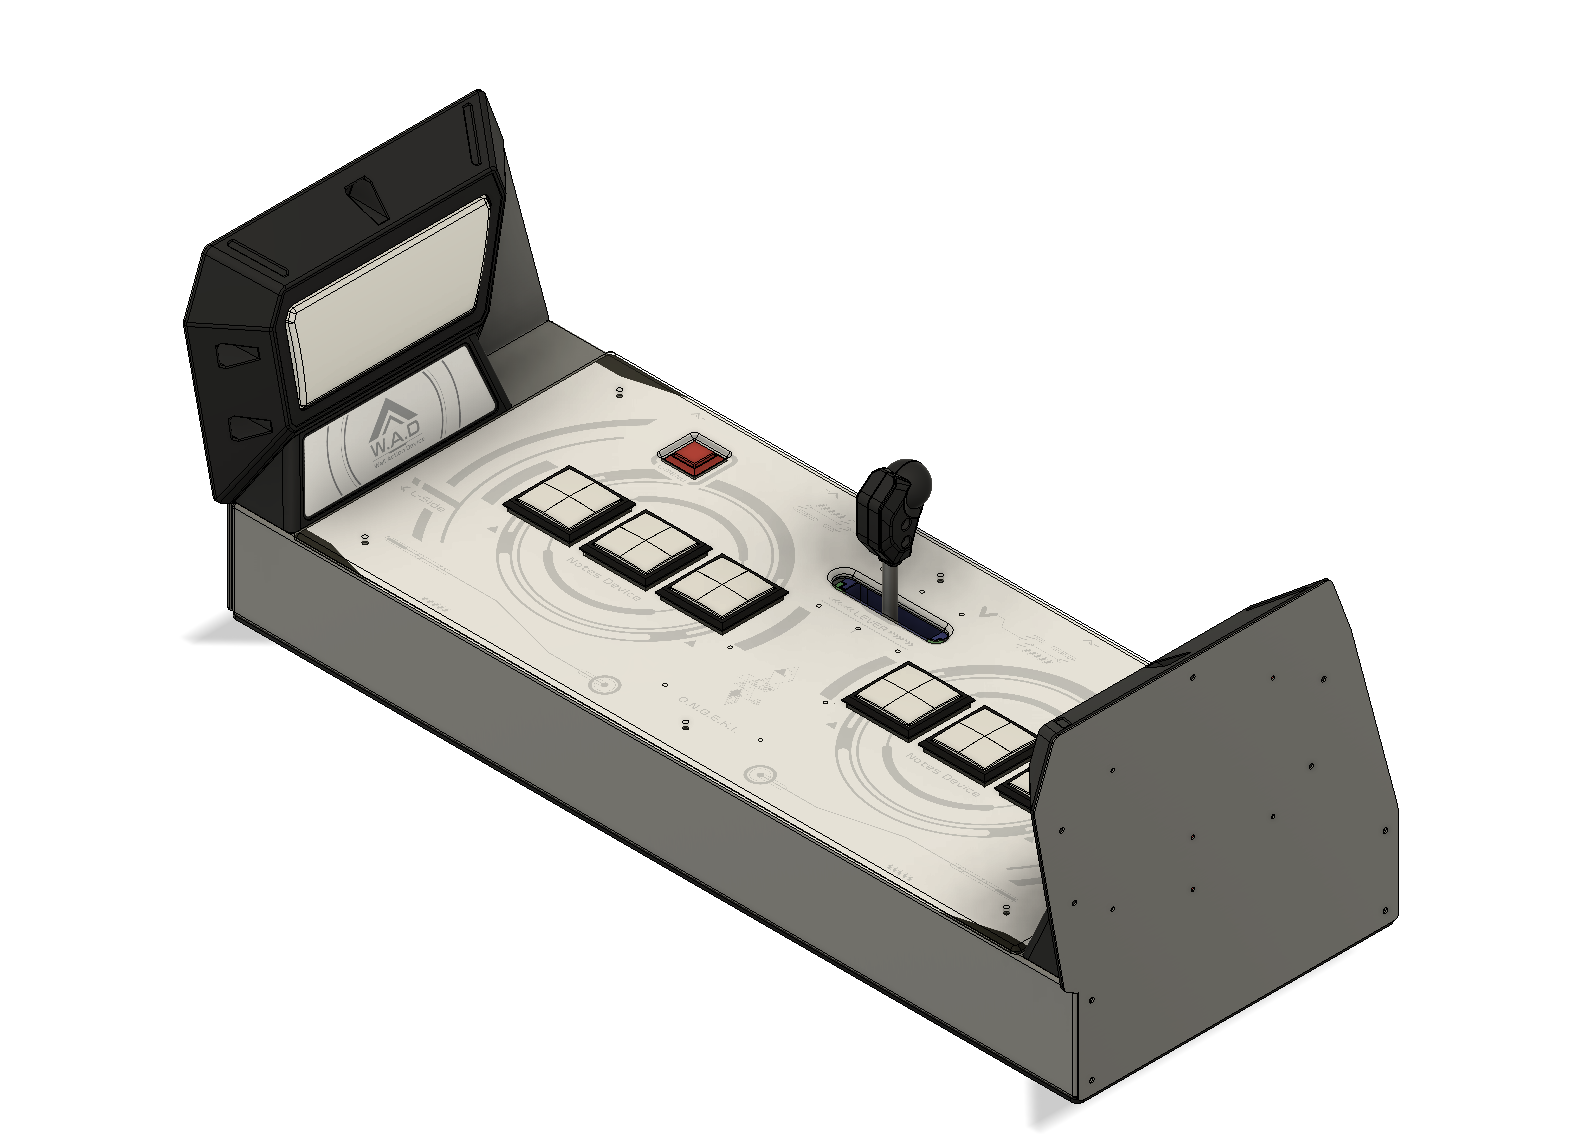
- Complete case design
- 22AWG wire
- various XH connectors
- various Female Spade Crimp Terminals for buttons
- USB-C breakout board
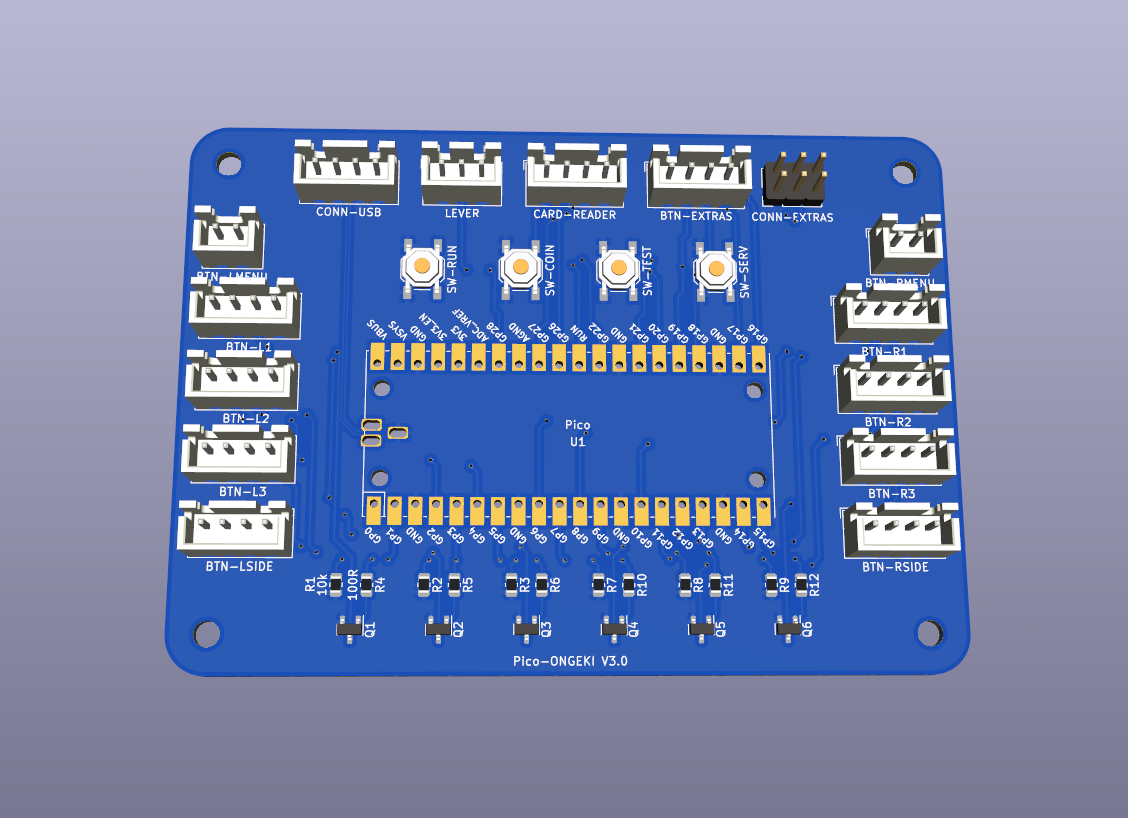
Documentation in main-PCB.

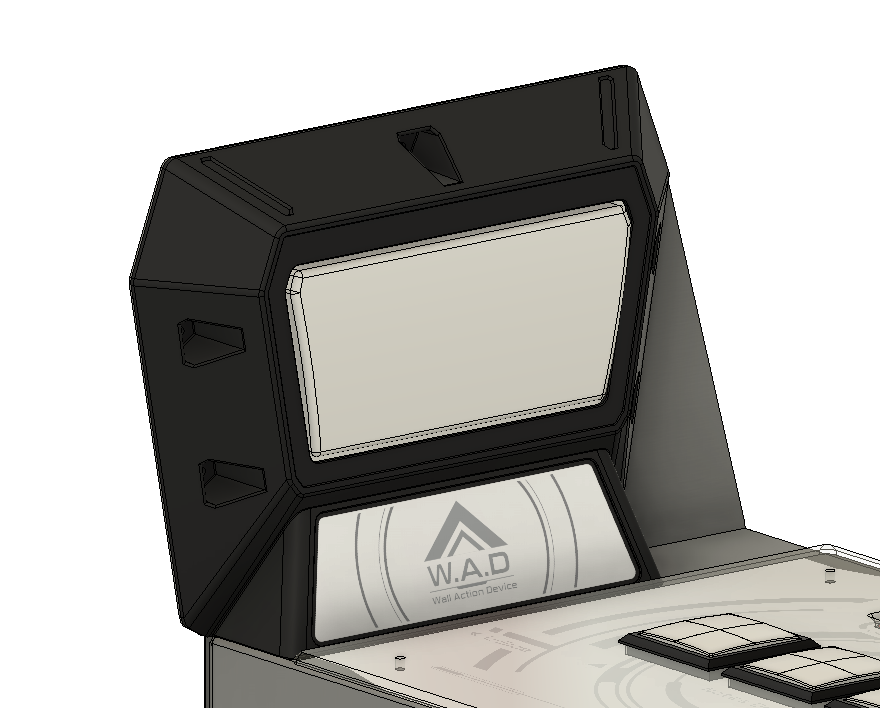
Documentation in WAD assembly.

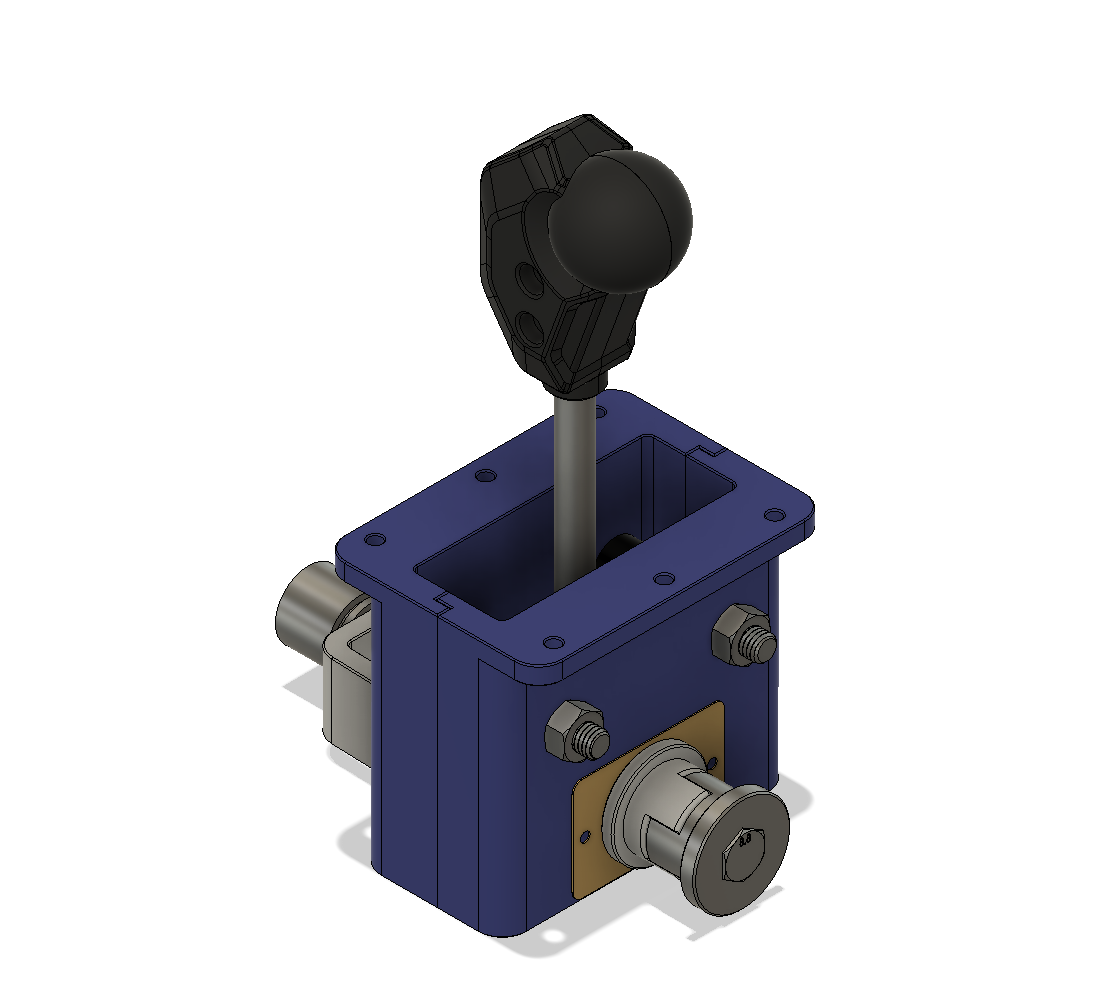
Documentation in Swing assembly.

Rhythm-cons.wiki: Buttons Guide
- Sanwa OBSA-60UK 60mm Square button
- using Mintyleds
- Links
- Sanwa Official Store
- IST 60UK
- AliExpress: 60mm square arcade button
- OBSF-24KK YELLOW & RED 24mm square button
- Links
- Sanwa Official Store
- AliExpress: 24mm square arcade button
- Sanwa OBSF-24 24mm round buttons
- Links
- Sanwa Official Store
- IST 24mm
- AliExpress: 24mm round arcade button
- mdf / sheet-metal
- Dimensions: 783x295x90mm (WxDxH)
- mdf / sheet-metal
- T-Nut to attach side wall to Main body
- slide down from top to attach
- Dimensions: 669x295mm (WxD)
- 5mm thick
- 3mm chamfers
- 5mm rounded corner
- silkscreen printing
- UV printing
- Poster Paper
This work is licensed under CC BY-NC-SA 4.0


