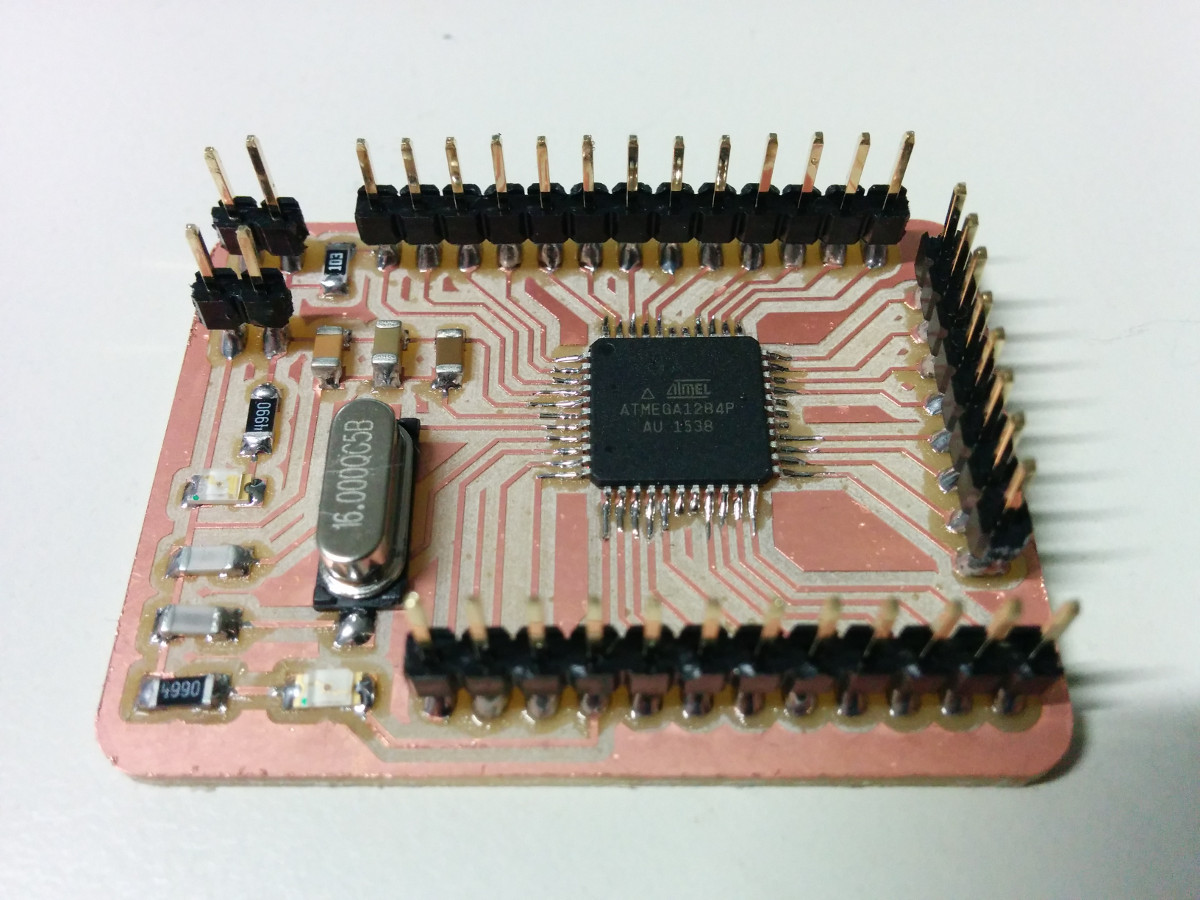
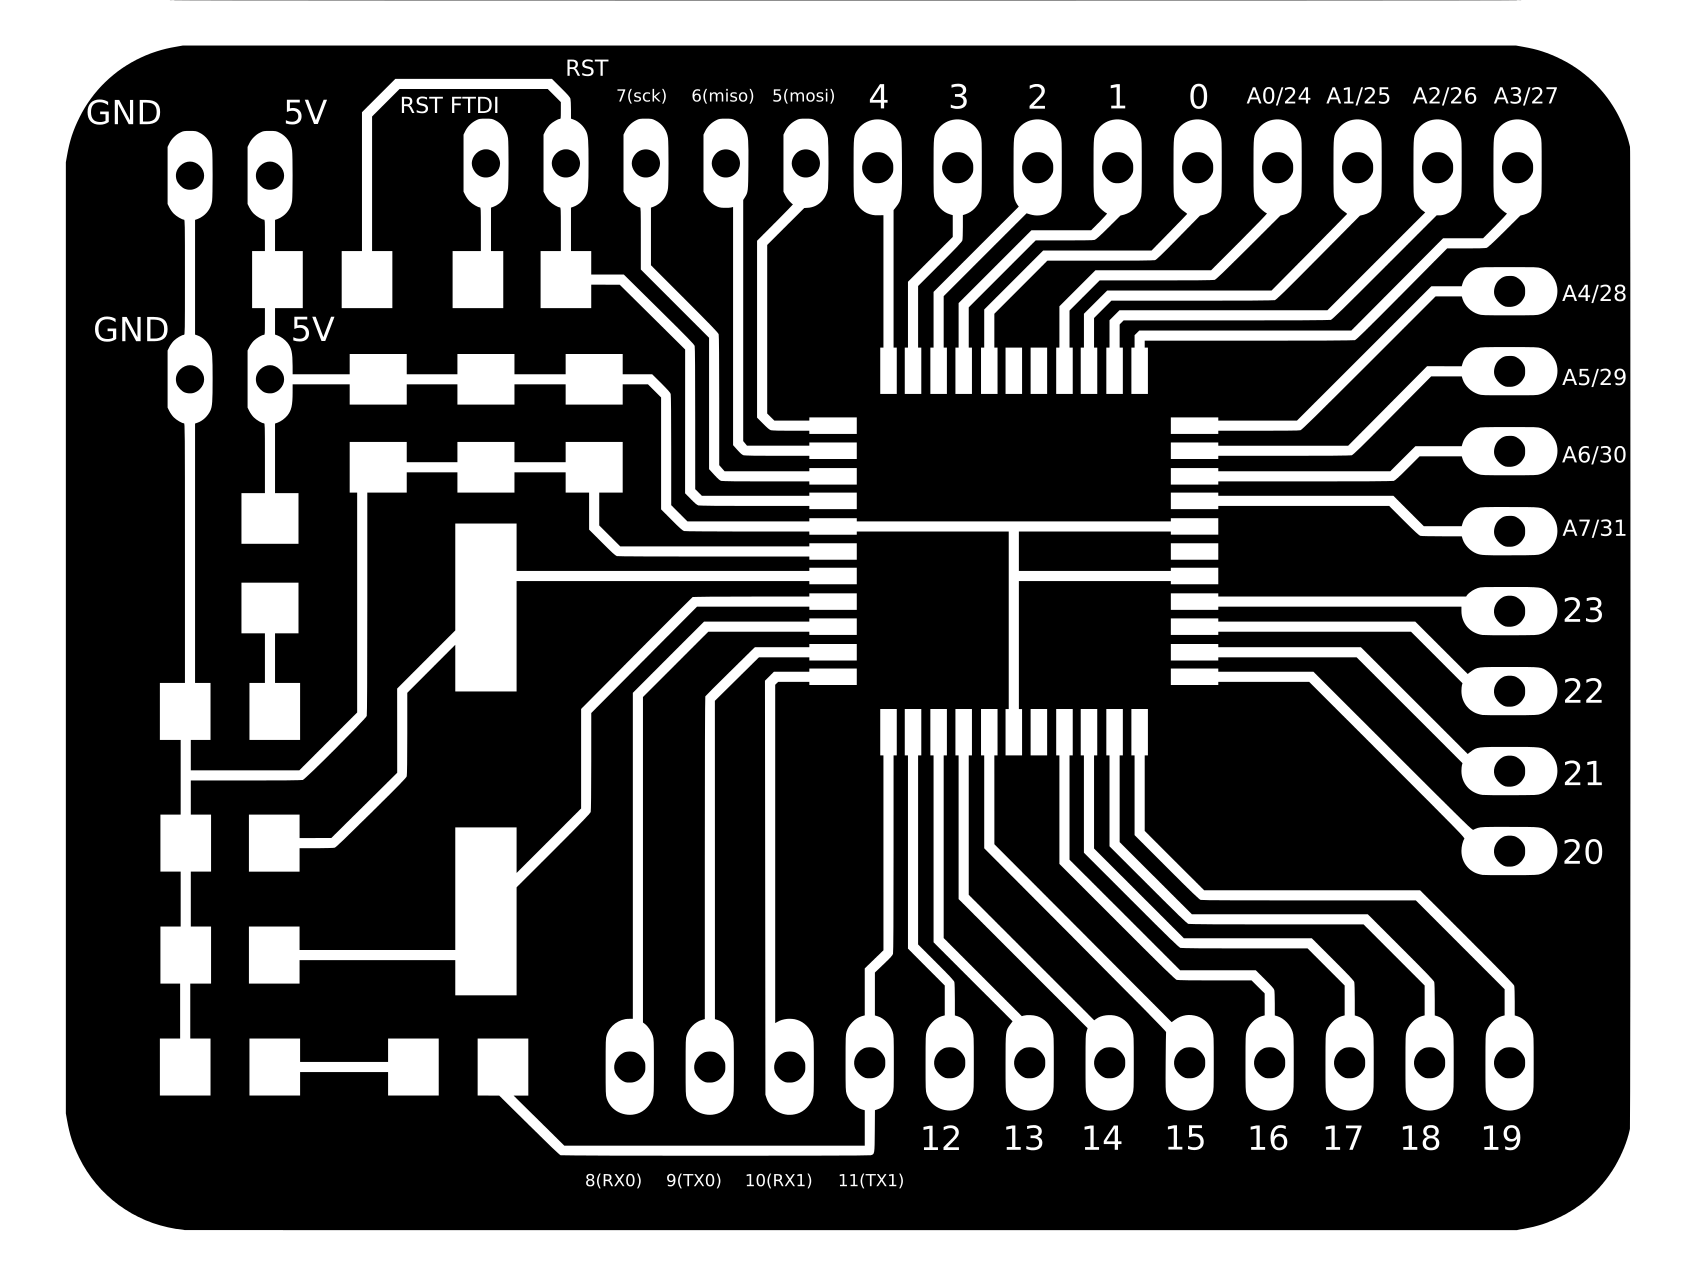
satshakit is a Arduino IDE and libraries compatible, fabbable and open source board, and also an improved version of Fabkit.
Here you can find all of the satshakit boards: satshakit organization.
satshakit 128 is microcontroller board designed around the ATMega1284P chip and it is suitable for complex scenarios in which is needed to have more flash and ram memory, but also the possibility to use 2 serial simultaneously.
In comparison with the other satshakits based on ATMega328P satshakit 128 has:
- 128k flash memory instead of 32k
- 2 serials instead of 1
- 16k of ram instead of 2k
- 32 IO pins instead of 23
Finally satshakit 128 is smaller than satshakit cnc and it costs 13 euro each (much less for more).
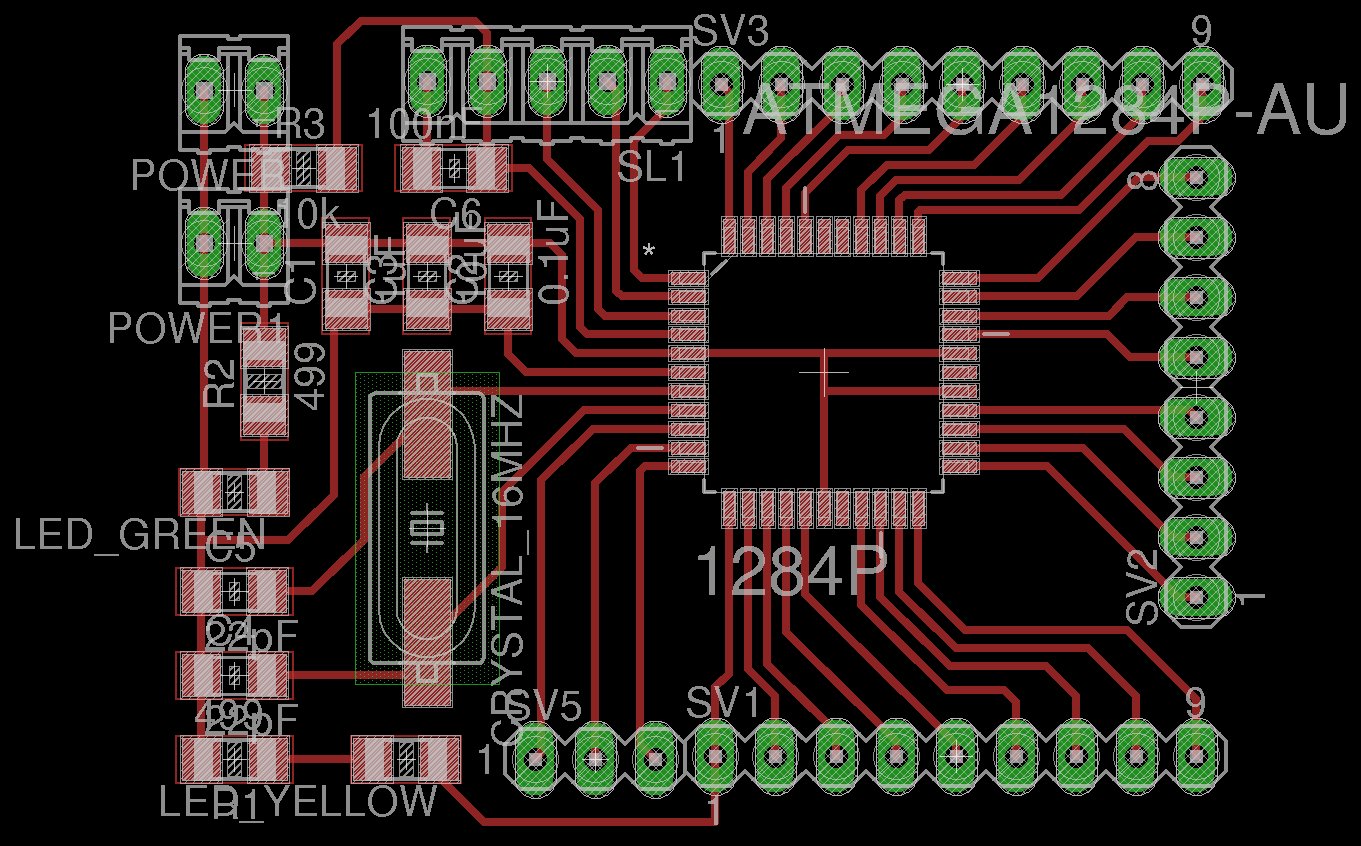
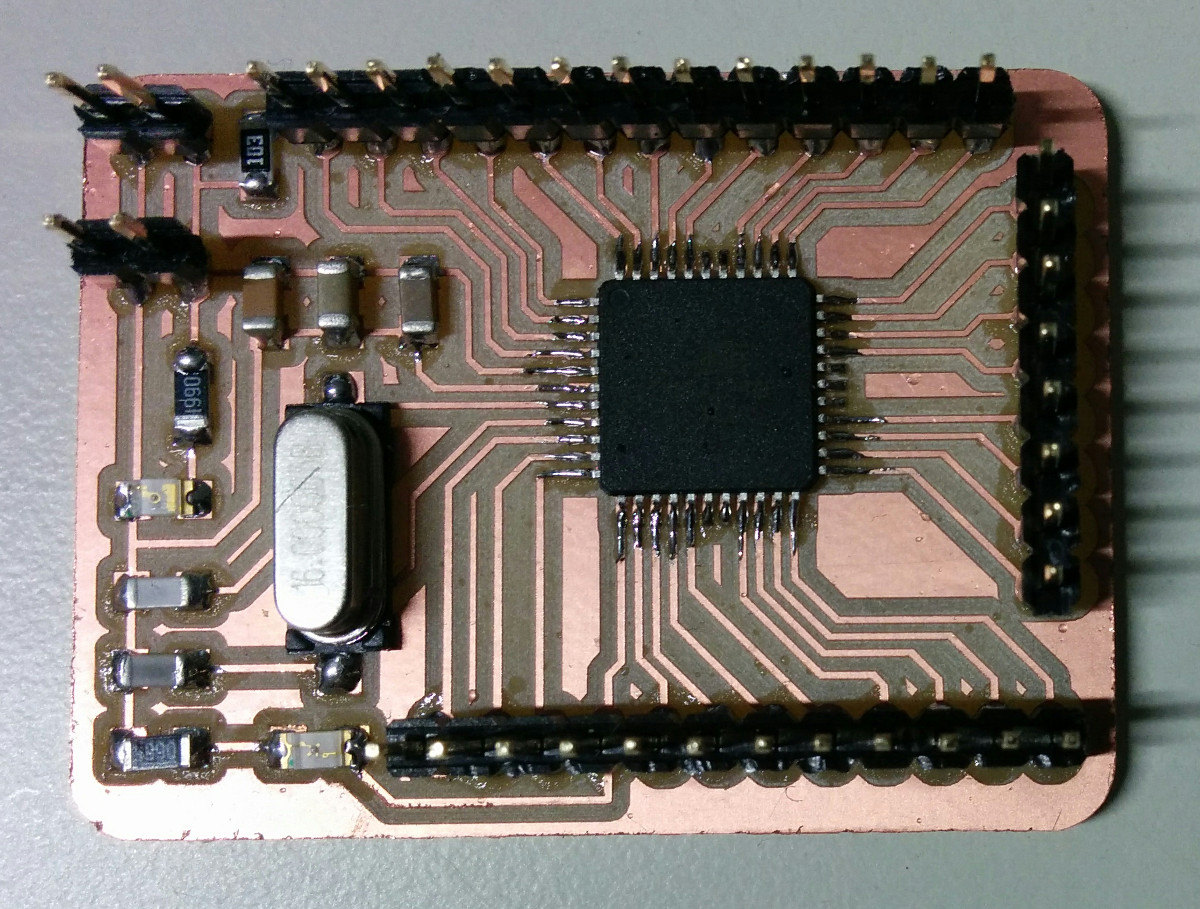
Here you can have a look on satshakit 128 board:
downloads (right click, download as)
- satshakit 128 svg
- satshakit 128 internal png
- satshakit 128 cut png
- satshakit 128 schematic
- satshakit 128 board
- satshakit 128 BOM Open Document
- satshakit 128 BOM Excel
media
satshakit 128 uploading bootloader:
satshakit 128 uploading blink:
A satshakit board is very similar to an Arduino board, thus is possible to use the Arduino IDE and its libraries. When you finish solder satshakit 128, you have to program it. If you want to use satshakit as an Arduino, you first need to upload Arduino bootloader. This will also set the ATmega1284P fuses. Before doing any programming you need to patch your arduino IDE using a specific set of files that will add the satshakit 128 as an available board to use.
To add the support for satshakit 128 you can use the Mighty 1284P, that is provided in this repo inside the mighty-1284p folder.
To do so follow these steps:
- download satshakit 128 repository
- close Arduino IDE before doing anything
- copy the folder named mighty-1284p inside the Arduino IDE hardware folder, arduino-1.6.x/hardware/ in Linux, Documents/Arduino/hardware in MacOS
- open again the Arduino IDE
- select avr-developers.com pinouts 16MHz using Optiboot board
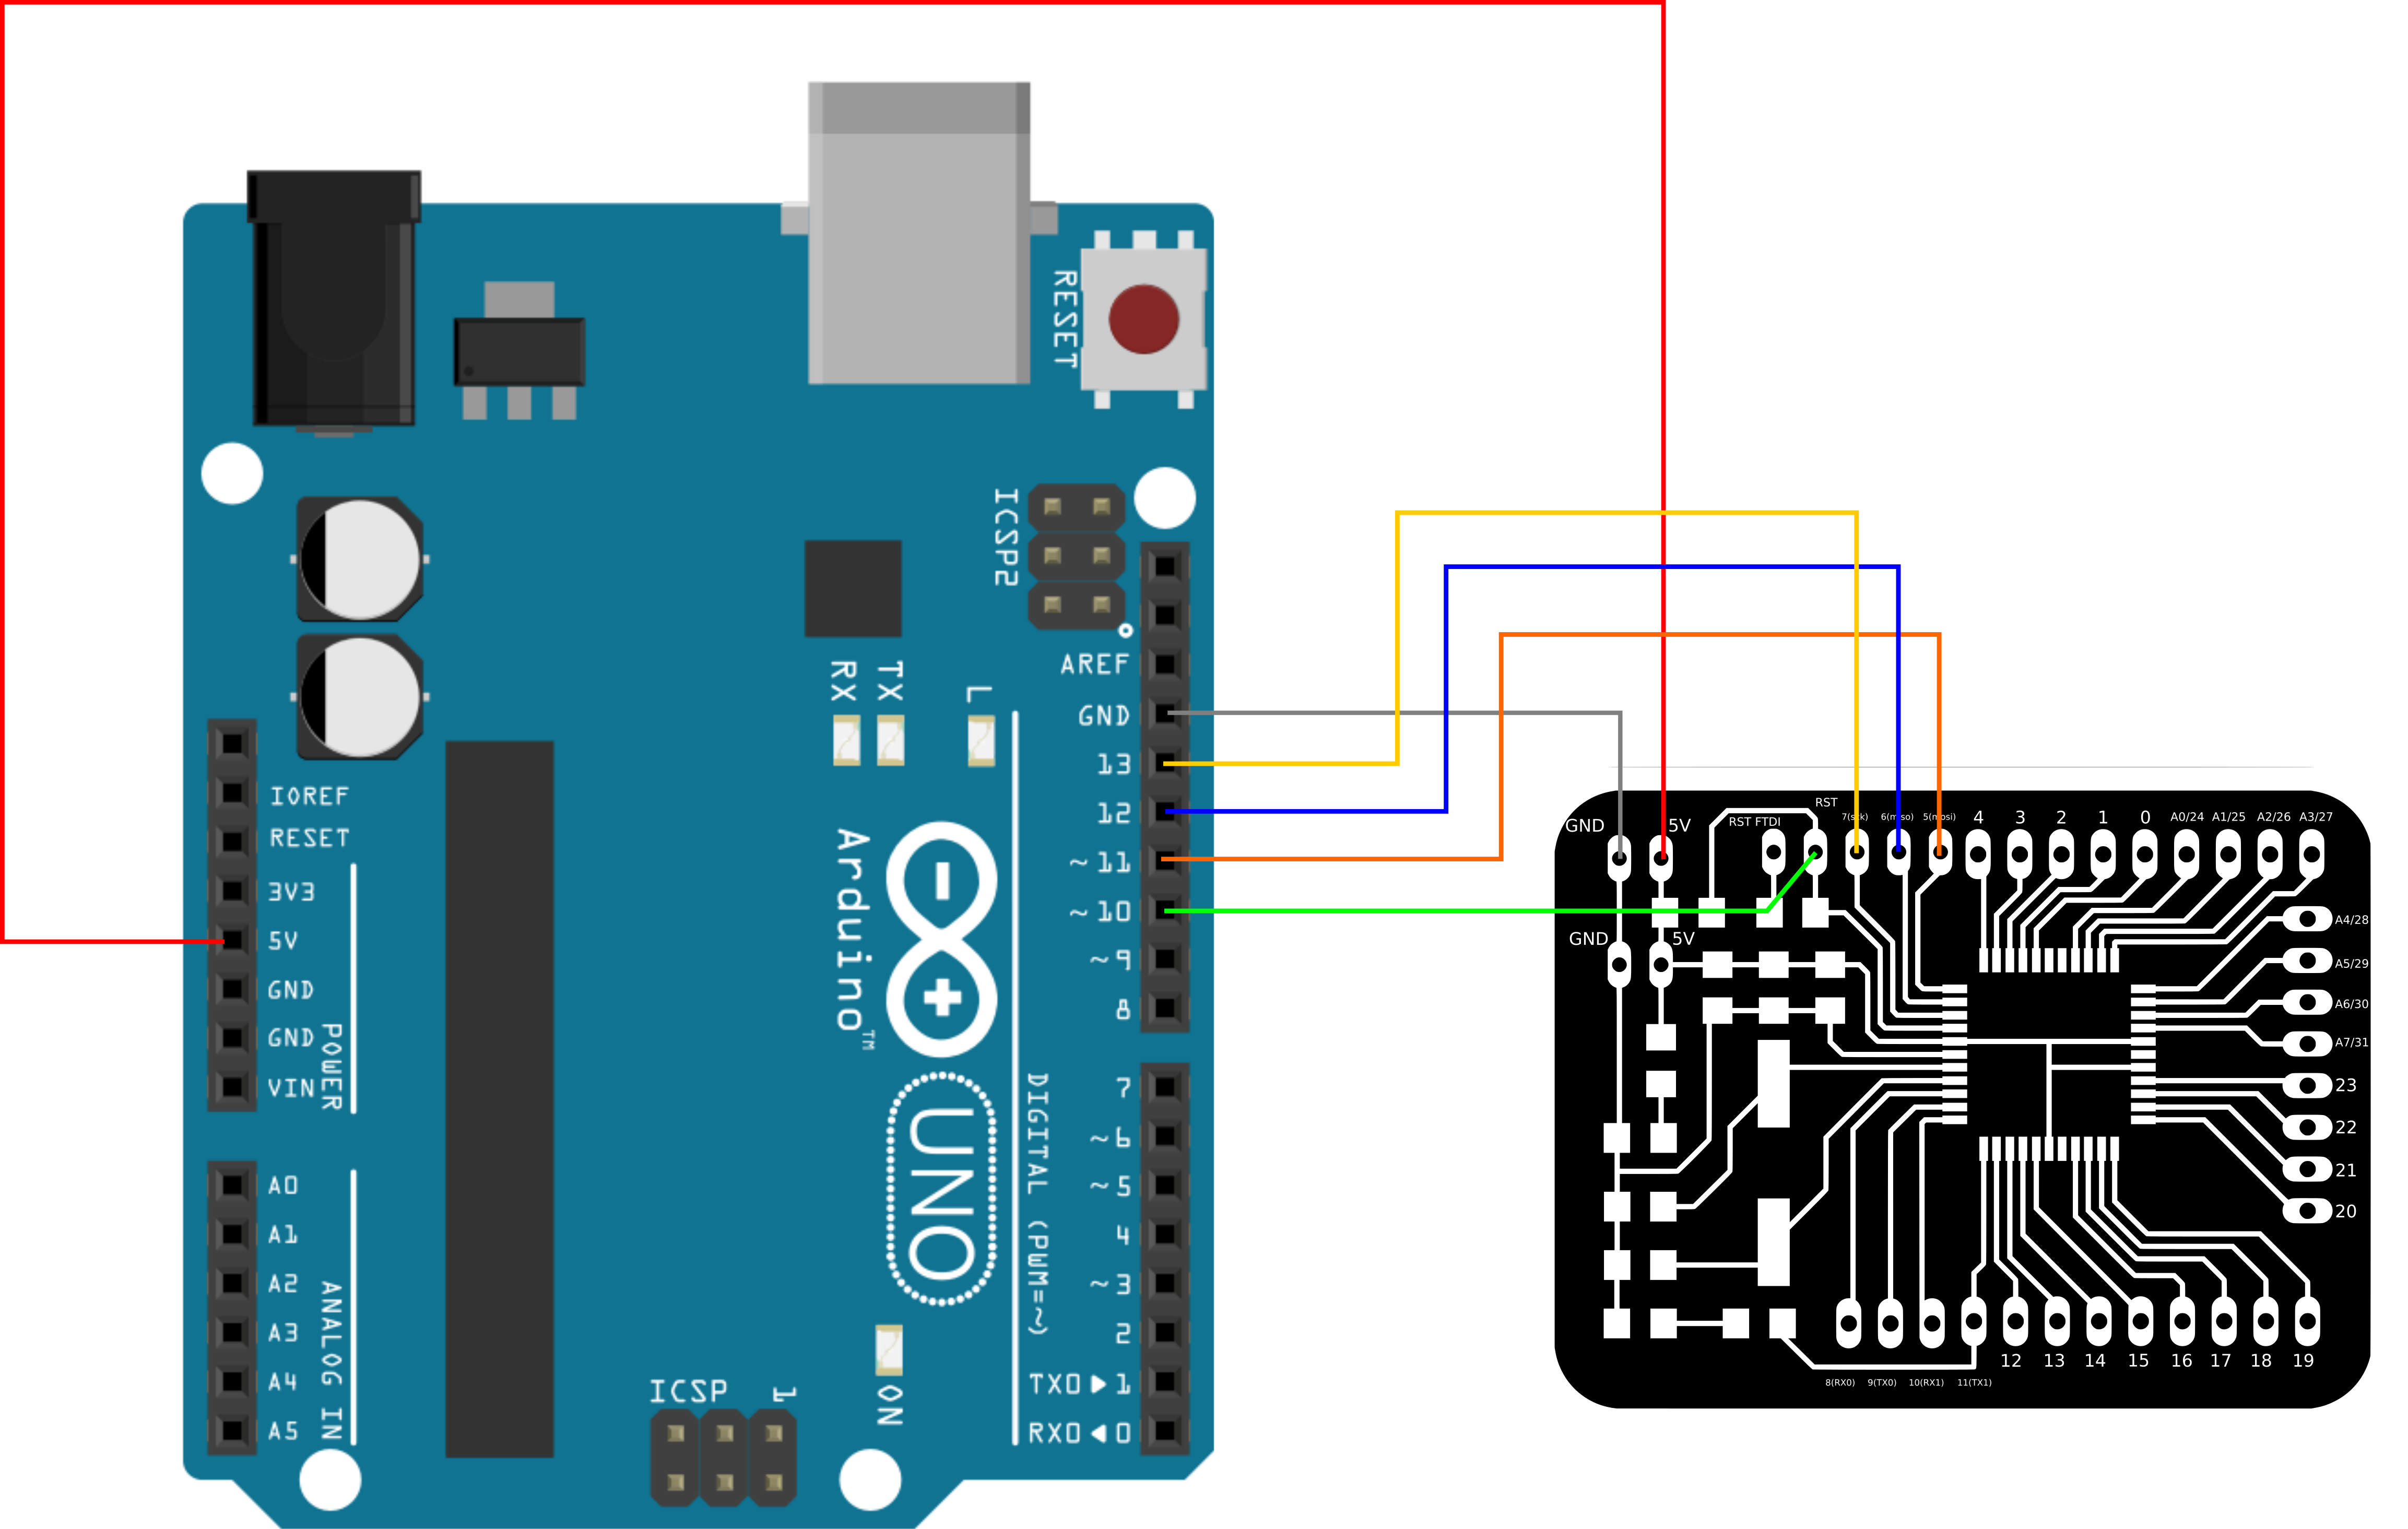
Now you can use an Arduino as ISP to burn the bootloader and any Arduino sketch you want. To upload a program you connect Arduino to the satshakit 128 as follows:
Once everything is connected, follow these steps to upload Arduino bootloader:
- open Arduino IDE
- select proper programmer Arduino as ISP
- select avr-developers.com pinouts 16MHz using Optiboot board
- click on tools->Burn Bootloader
After you burnt the bootloader you can also use an FTDI usb cable to program the satshakit 128. Here is the connection schema to program the satshakit 128 using an FTDI cable:
Remember that if you try to program the satshakit 128 using an Arduino, then you will also delete the bootloader, losing the capability to be programmed using the FTDI cable. To hae back this possibility burn again the bootloader.
Here is the Arduino pinout of the satshakit 128:
- docs: BOM files for Farnell
- egle projects: eagle projects of satshakit
- media: svg of satshakits, connections schemas, images for cnc milling machine and fiber laser cutter, other images
- Daniele Ingrassia
Fablab Kamp-Lintfort
Hochschule Rhein-Waal
Friedrich-Heinrich-Allee 25, 47475 Kamp-Lintfort, Germany
fablab@hochschule-rhein-waal.de
This work is licensed under the terms of the open source license: Creative Commons Attribution-ShareAlike 4.0 International (CC BY-SA 4.0).
