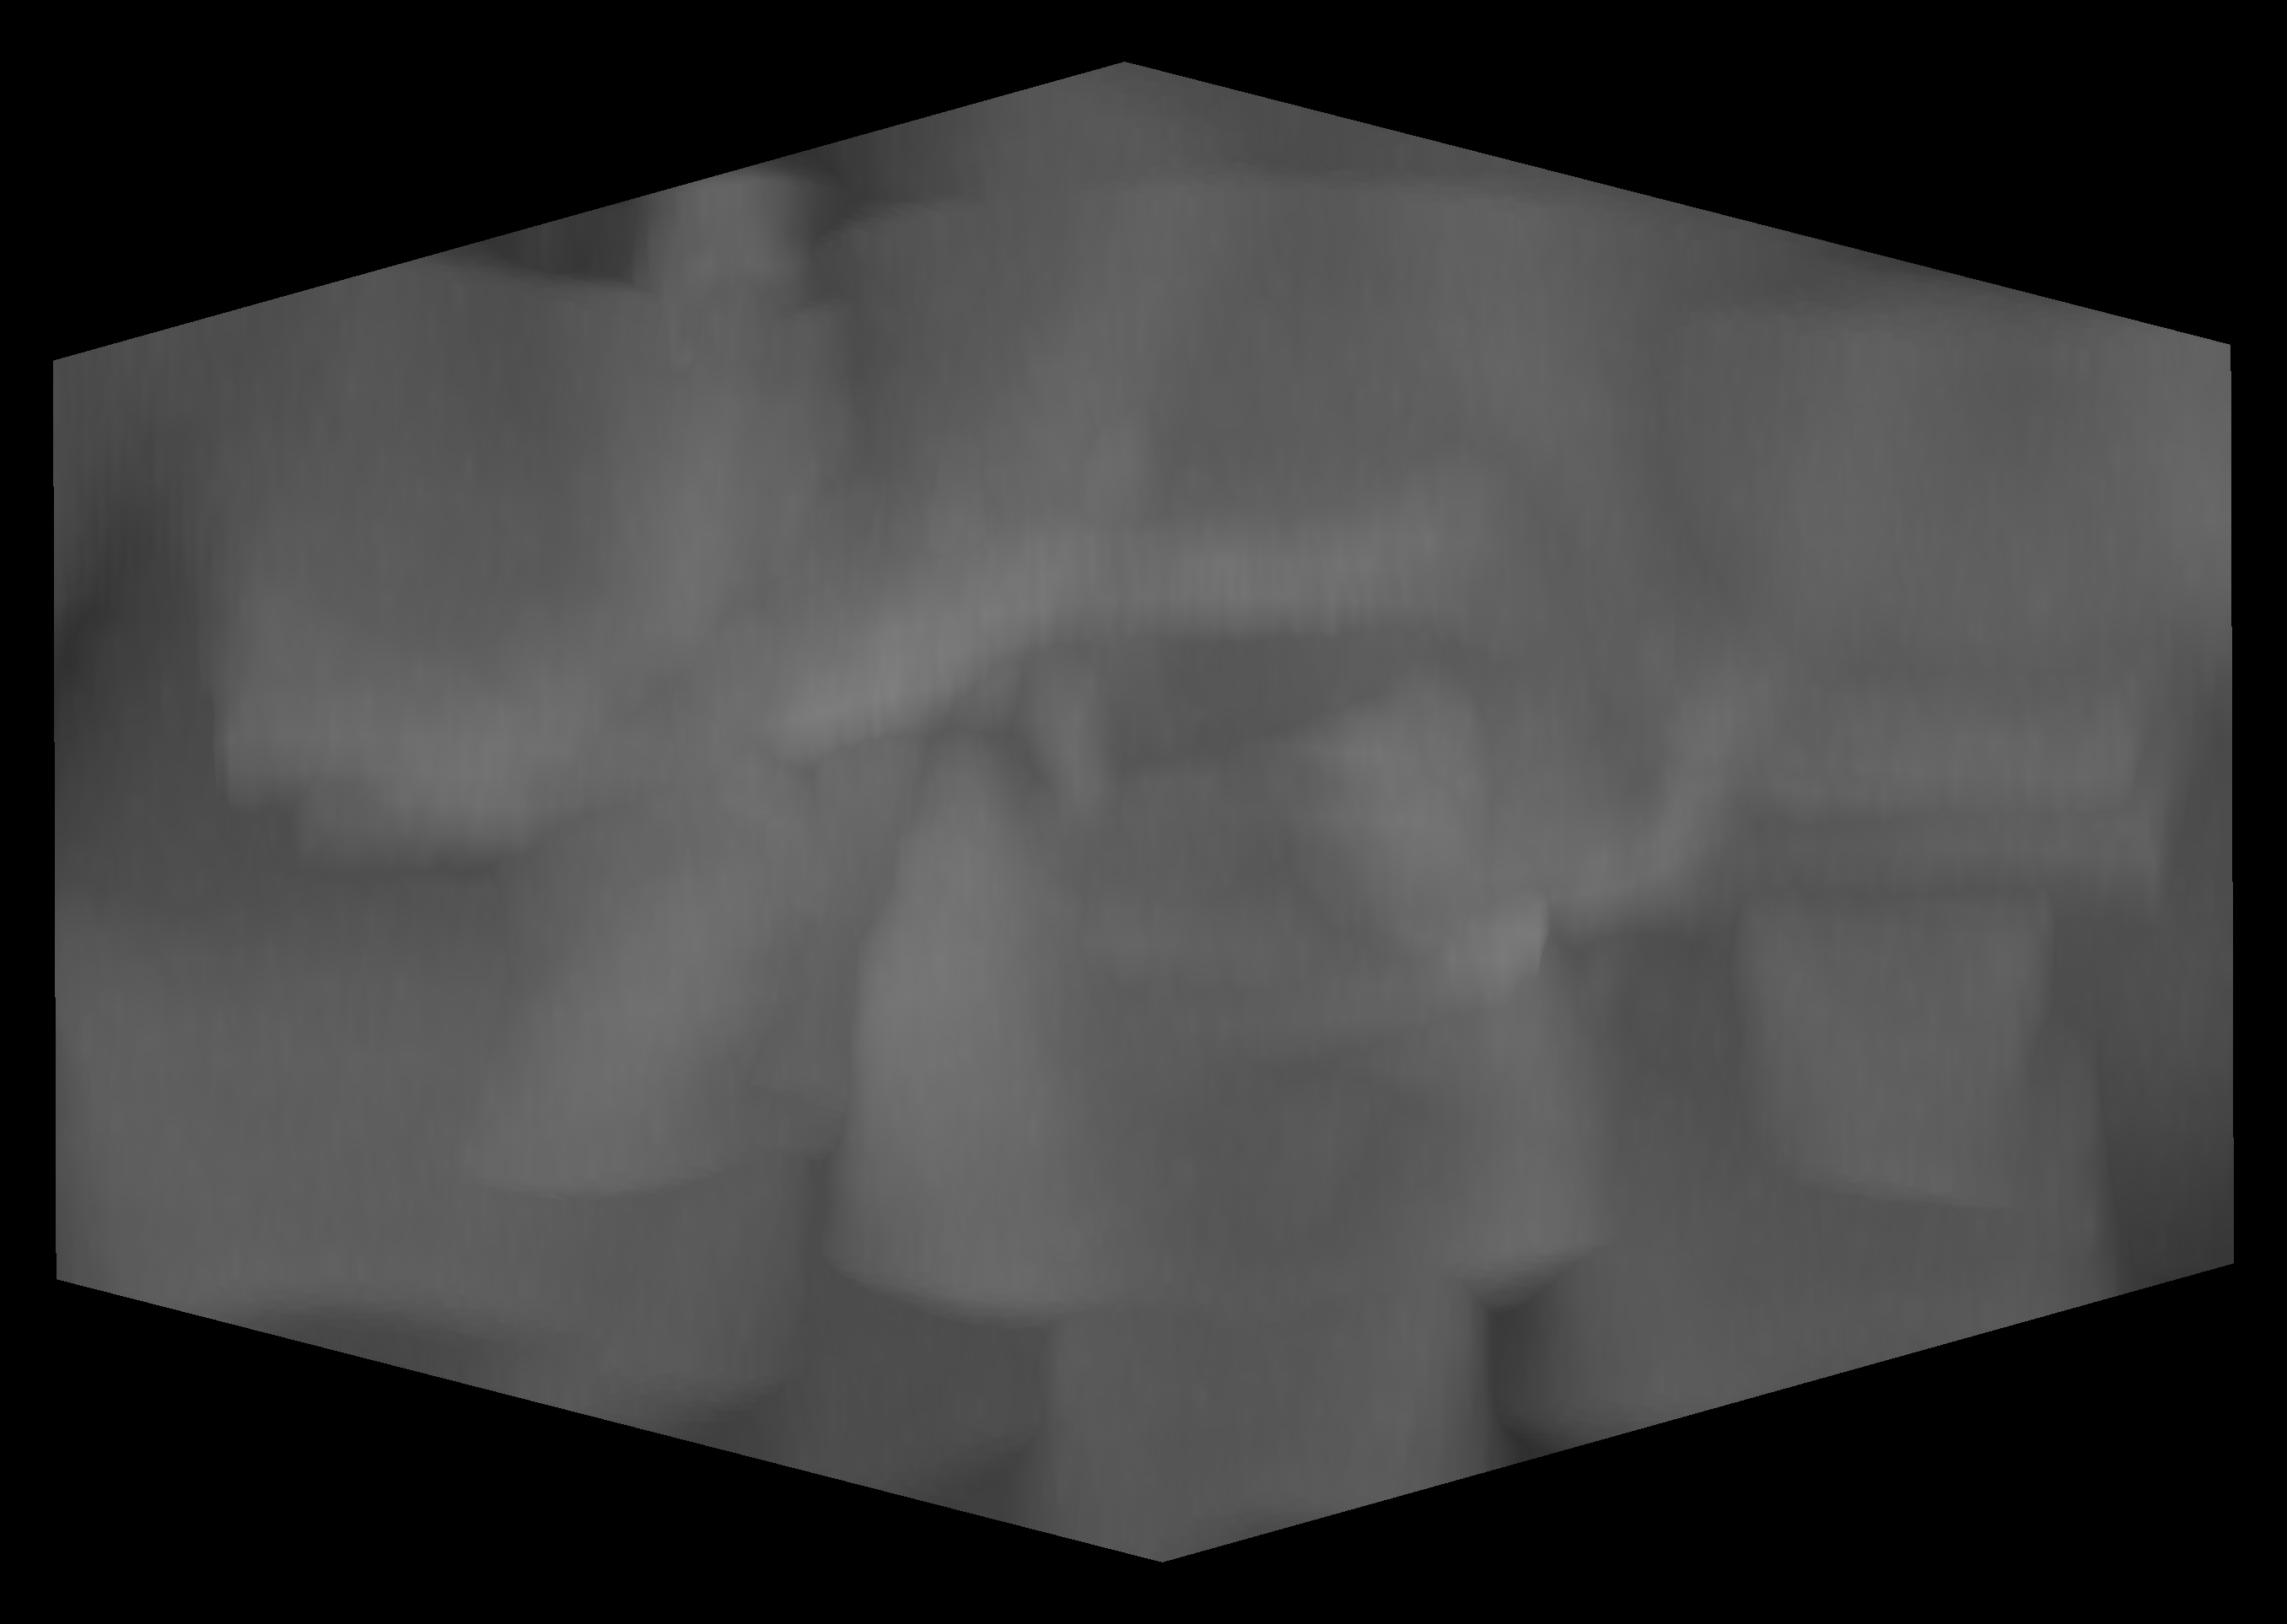
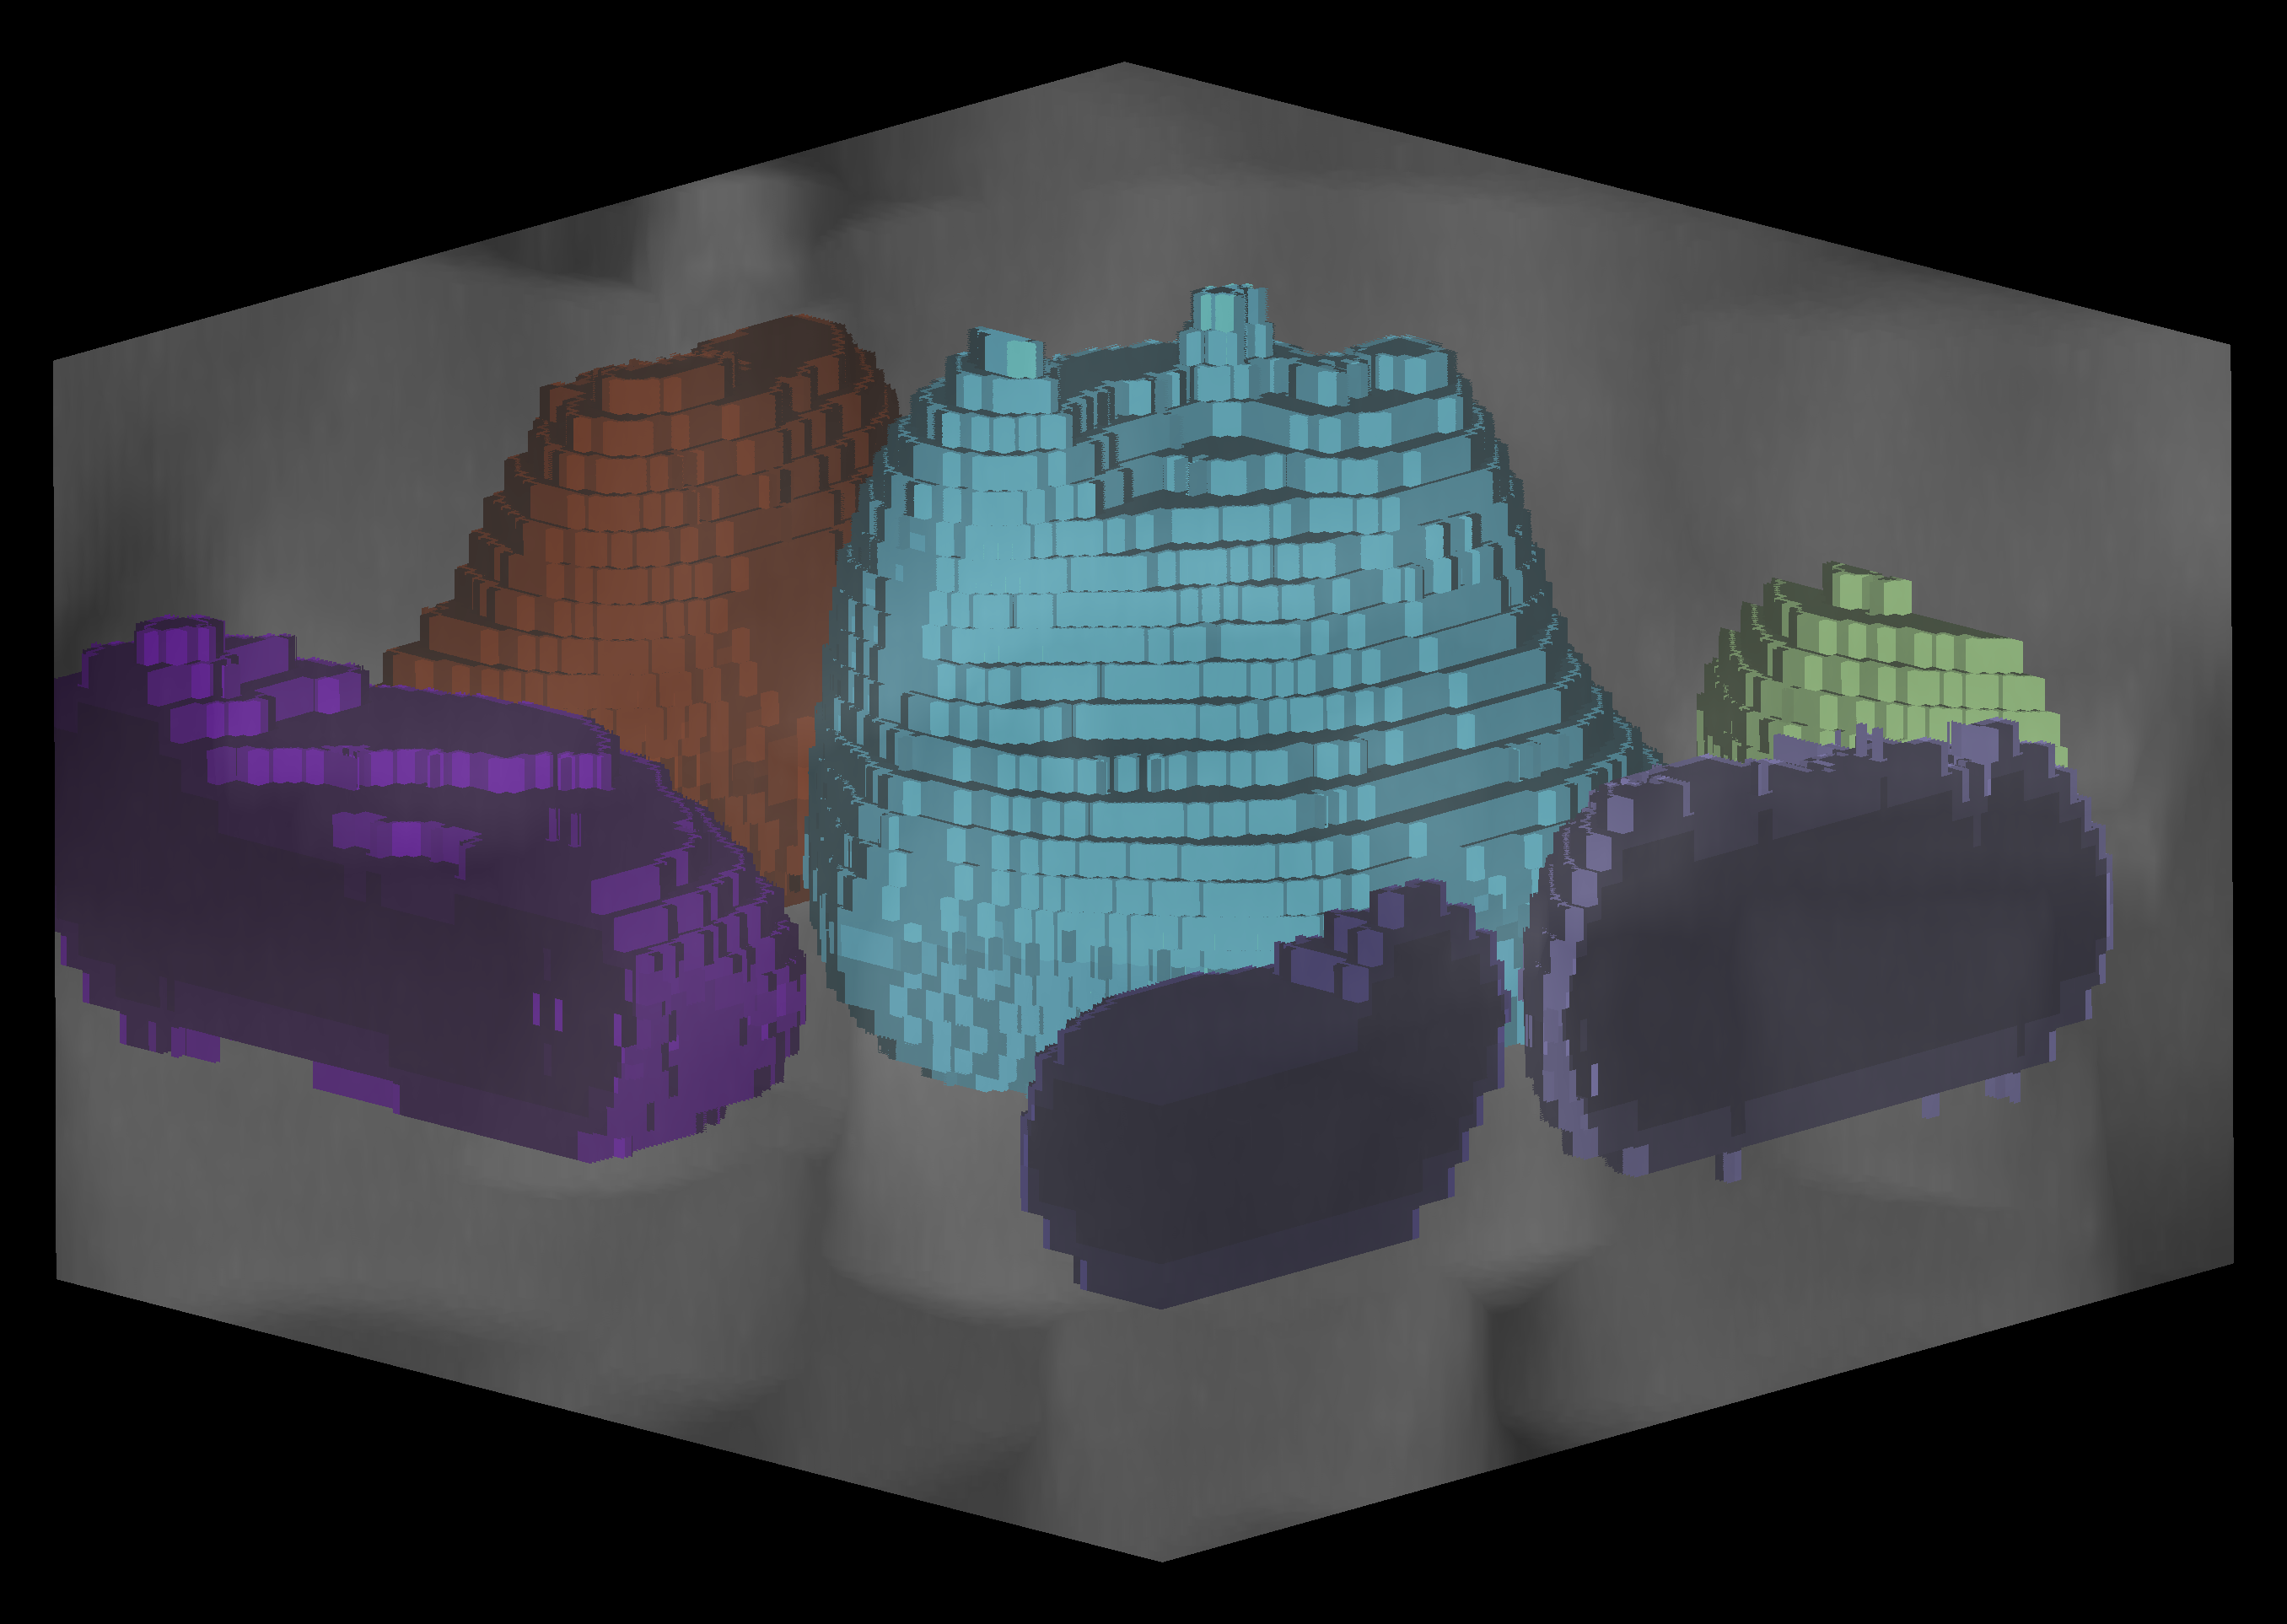
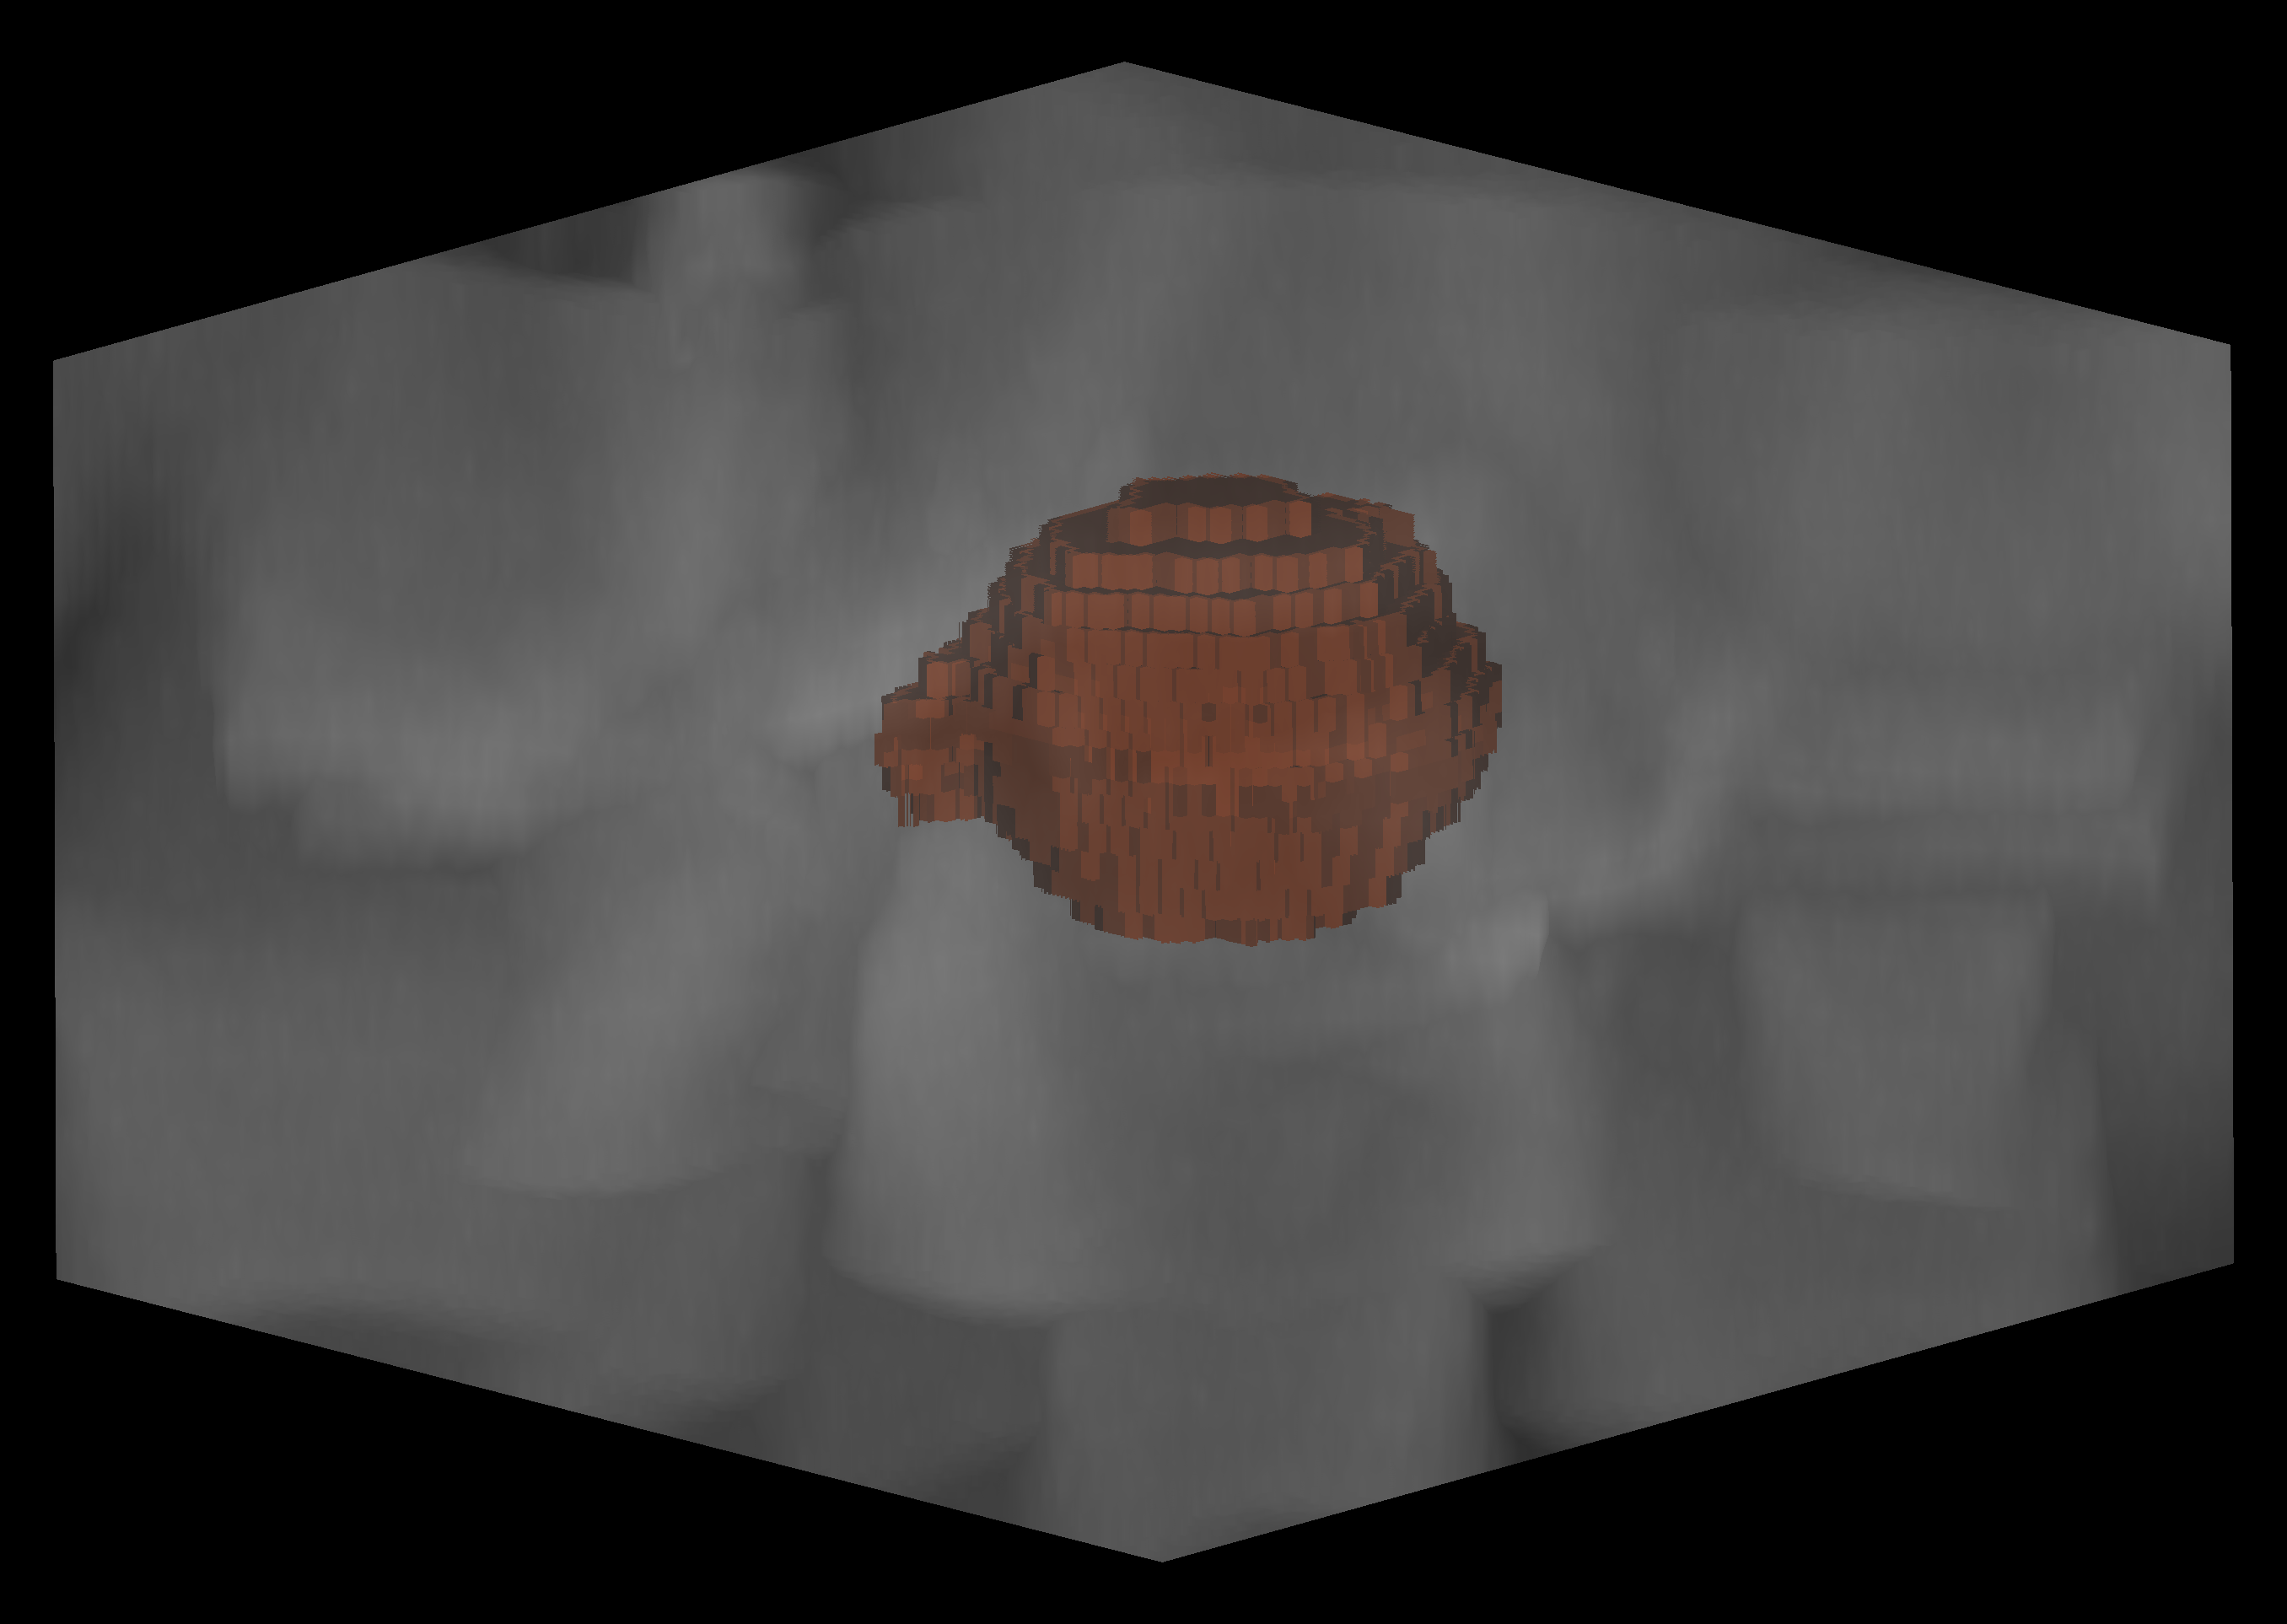
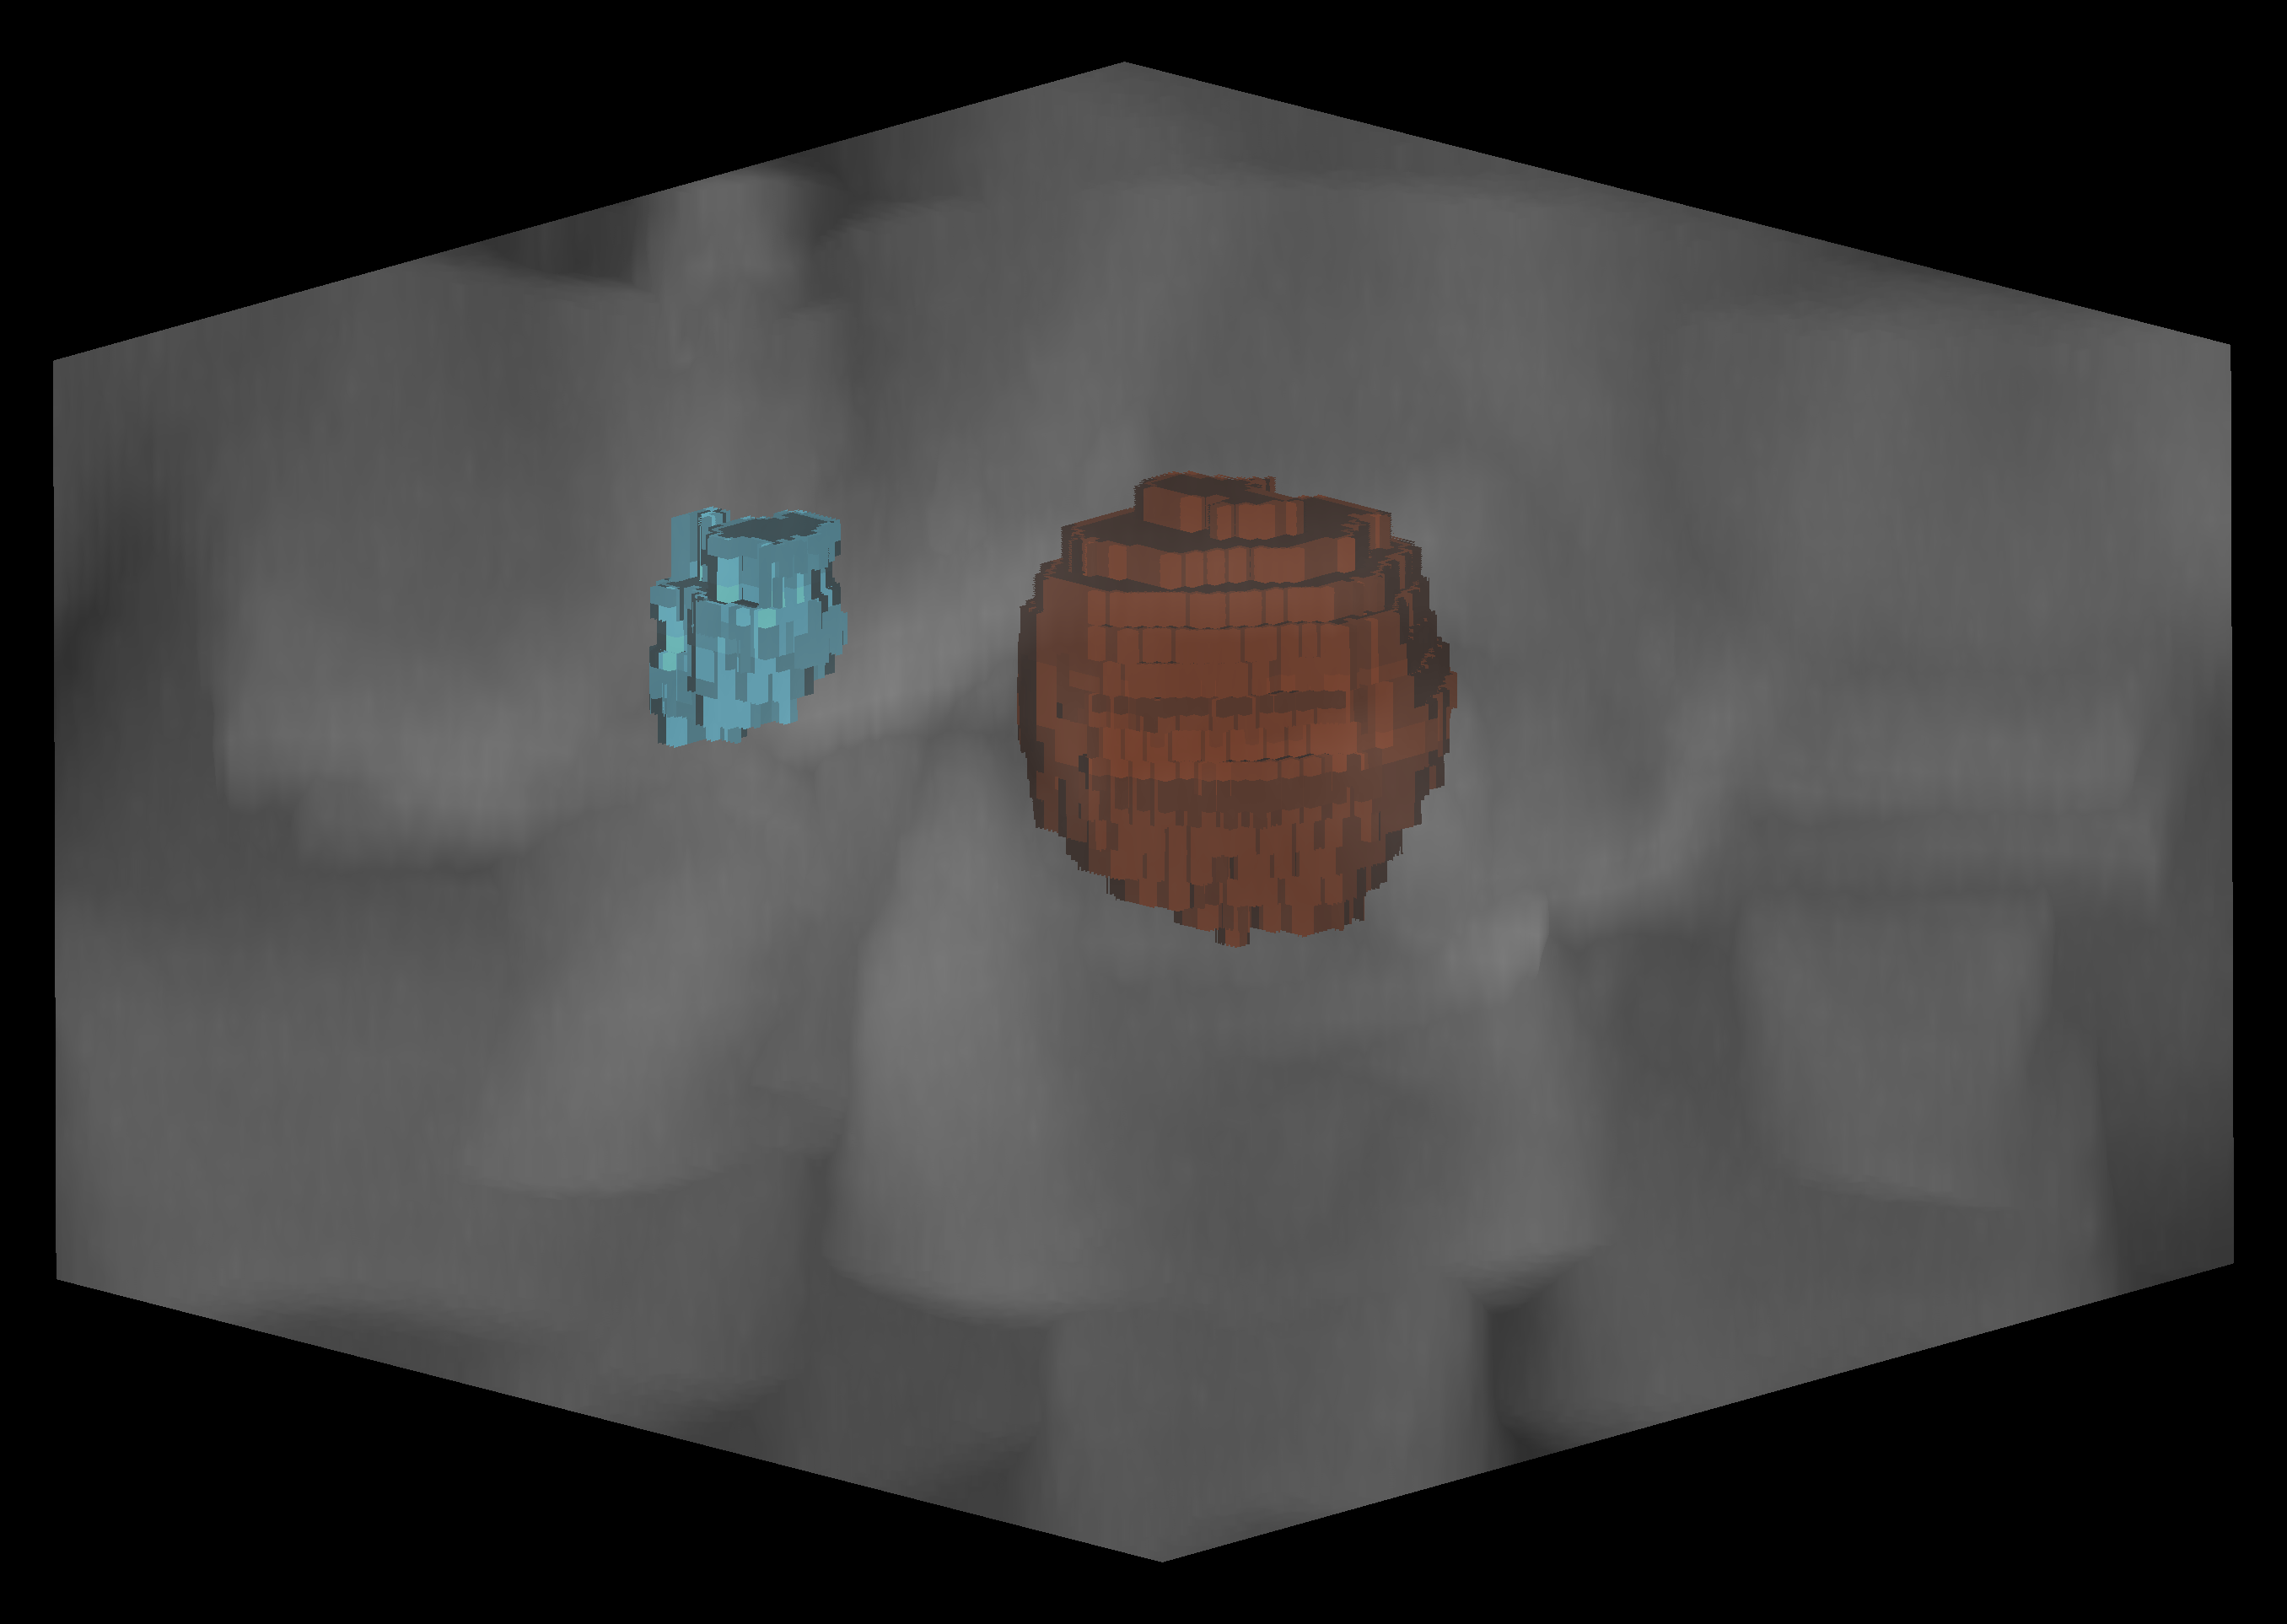
This repo contains code for segmenting RBCs and malaria parasites in confocal 3D image stacks and accomparnies the paper "Deep learning image analysis for continuous single-cell imaging of dynamic processes in Plasmodium falciparum-infected erythrocytes".
The main workhorse is cellpose, which is fine-tuned to specifically segment RBCs and parasites.
- Install miniconda.
- Install the dependencies:
conda env create -f environment.yml
- Activate the environment
conda activate kahrp
- Install the utils
python setup.py install
We provide two trained models in the models directory. The erythrocyte_model was trained to segment RBCs, the model
late_stage_model is trained to segment late-stage parasites, and the model joint_model was jointly trained
on ring- and late-stage parasites. To try out these models on the sample image,
run
python run_cellpose.py
The three results will be saved in data/sample_data/sample_stack/results, a .png showing the segmentation masks for
one z-slice will be saved in data/figures, and a .tiff image containing all the full segmentation stacks will be saved
there to. To inspect it, run
python run_napari.py
and click the Split Channels botton.
To obtain membrane segmentations, run utils.get_shells on the segmented images.
import h5py
from utils.utils import get_shells
with h5py.File("rbc_segmentation.h5", "r") as f:
    rbc_seg = f["seg"][:]
rbc_shells = get_shells(rbc_seg)
The file path contains a path to the location of the data. By default, it is set
to the data directory in the repo, but can be changed. All data, results, trained
models and figures will be saved there.
The data is hosted at Zenodo. Please download and unpack it. Then
place it into the data directory. The data should be structured following the convention
data/major_dataset/subsets, where subsets are datasets that might be used
jointly for training. Models trained on subsets of major_dataset will be saved in
data/major_dataset/models. Each subset should contain a subdirectory data,
where the actual data lies, and one subdirectory results, where predictions and metrics
for this subset will be saved.
You can also place your own data in to this directory following the same structure to segment your raw data.
For the main functionality, set the parameters in full_pipeline.py and post_process.py. Then run both scripts. This
will train the models on the specified data, segment the data, perform cross-validation, and finally post-process the
results. The post-processed results will be saved as .tif images in the results directory of the subset.
python full_pipeline.py
python post_process.py
The scripts can also be run separately, to only execute parts of the pipeline. Set the parameters in the respective main functions. For instance, to segment the sample image with the full models provided in the repo, run
python run_cellpose.py
The resulting segmentations will be saved in data/sample_data/sample_stack/results.
Description of the lower-level scripts:
train_cellpose.py: Code for fine-tuning cellpose
run_cellpose.py: Use a trained cellpose model to segment data
evaluate.py: Compute metrics for segmented data
full_pipeline.py: Pipeline combining the three above
post_process.py: Postprocess segmented data and save as .tif images
run_napari.py: Starts a custom version of napari that can split .tif channels.
utils.py: Utilities.
These notebooks are used to create the quantitative evaluation panels in Figure 3
eval_volume: Depicts metrics of the RBC model on the full volume RBCs before post-processing
eval_membrane: Depicts metrics of the RBC model on shells. Also, finds good parameters for
the shells
eval_parasites: Depicts metrics of the parasite model before post-processing
These notebooks provide utilities
save_predictions: Saves segmented images without post-processing
post_prosessing: Computes metrics after postprocessing and finds good parameters for both RBCs
and parasites (not all are used as default as the "wholelifecycle" data had different issues than the
train data.)


