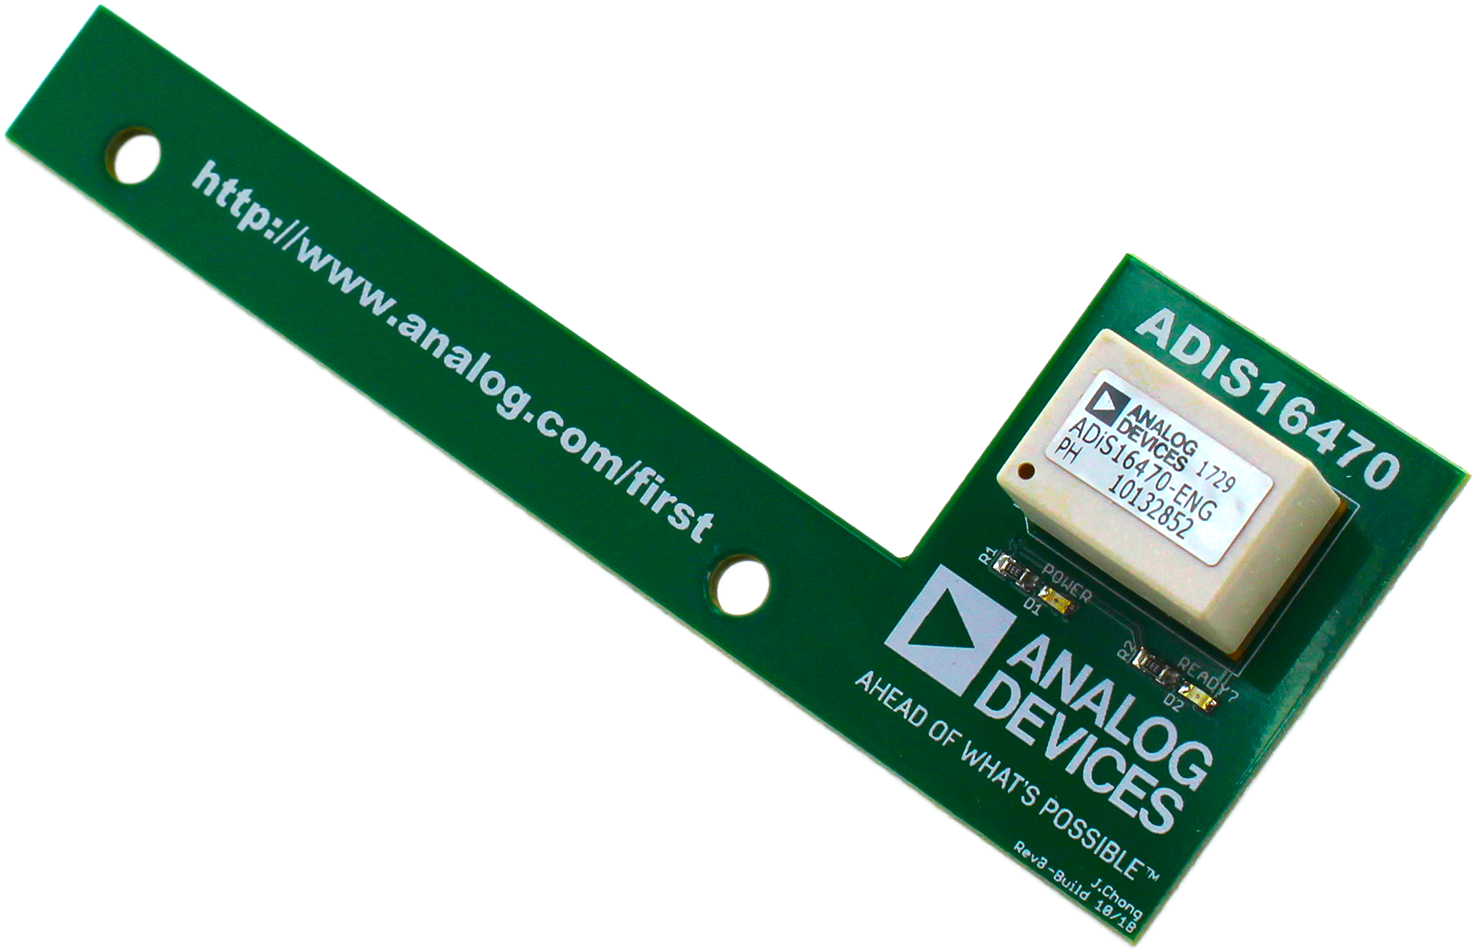
These libraries allow mentors, students, and engineers to quickly get started using the ADIS16470 Inertial Measurement Unit (IMU). This compact module provides teams with a high-performance, six-degree-of-freedom (DoF), calibrated, feedback for their FRC robots. The module packages several gyroscopes and accelerometers in a tiny, robust package, perfect for high-performance robotics (such as FRC).
To simplify the library as much as possible for the 2020 season, only a few, key IMU features are exposed to the user by default.
- X, Y, or Z (Pitch, Roll, or Yaw) Integrated Gyroscope Output (user-selectable) calculated from 32-bit register outputs
- Registers read from the IMU can easily be customized for each application
- 16-bit X, Y, and Z instantaneous sensor outputs
- IMU register reads and writes using discrete SPI transactions and the Auto SPI peripheral built into the FRC 2020 RoboRIO image
- IMU heading initialization and continuous bias compensation routines
- Complementary filter outputs useful for measuring X-Y tilt
Tutorial videos, how-to guides, and additional resources can be found on the ADI FIRST Robotics Wiki Page.
The IMU driver currently supports all three official FRC languages (C++, Java, and LabVIEW).
You can use the online method to install the latest C++ and Java API if your development machine can be connected to the internet:
- Open your robot project in WPILib VSCode
- Click on the WPI icon in the corner to open the WPI Command Pallet
- Select Manage vendor libraries
- Select Install new library (online)
- Enter the installation URL listed below and press ENTER
http://maven.highcurrent.io/vendordeps/ADIS16470.json
- Be sure to check out the example repository if you have questions about the installation
https://github.com/juchong/ADIS16470-RoboRIO-Driver-Examples
An offline installation option is available for users whose machines do not have acces to the internet:
- Open your robot project in WPILib VSCode
- Click on the WPI icon in the corner to open the WPI Command Pallet
- Select Manage vendor libraries
- Select Install new library (offline)
- Enter the path to the latest .zip file downloaded from the releases page of this repository link
LabVIEW libraries should be installed using the NI Package Manager. Check out the releases page for the latest package installer.
https://github.com/juchong/ADIS16470-RoboRIO-Driver/releases
Additional LabVIEW instructions and API details can be found in the LabVIEW subdirectory in this repository.
https://github.com/juchong/ADIS16470-RoboRIO-Driver/tree/master/LabVIEW
Yes, it is! The C++ Doxygen is located here. The Java version is coming soon!
The schematic, layout, and manufacturing files can be found in this repository under hardware/PCB Reference Files/.
Copies of this board may be purchased from OSH Park by following this link.
To use the software, you need access to a RoboRIO and the ADIS16470 RoboRIO Breakout Board. This software is based on the FRC 2020 software distribution and relies on the latest WPILib libraries and RoboRIO image to interface with the IMU. Previous (pre-2020) versions of LabVIEW and WPILib libraries are not supported.
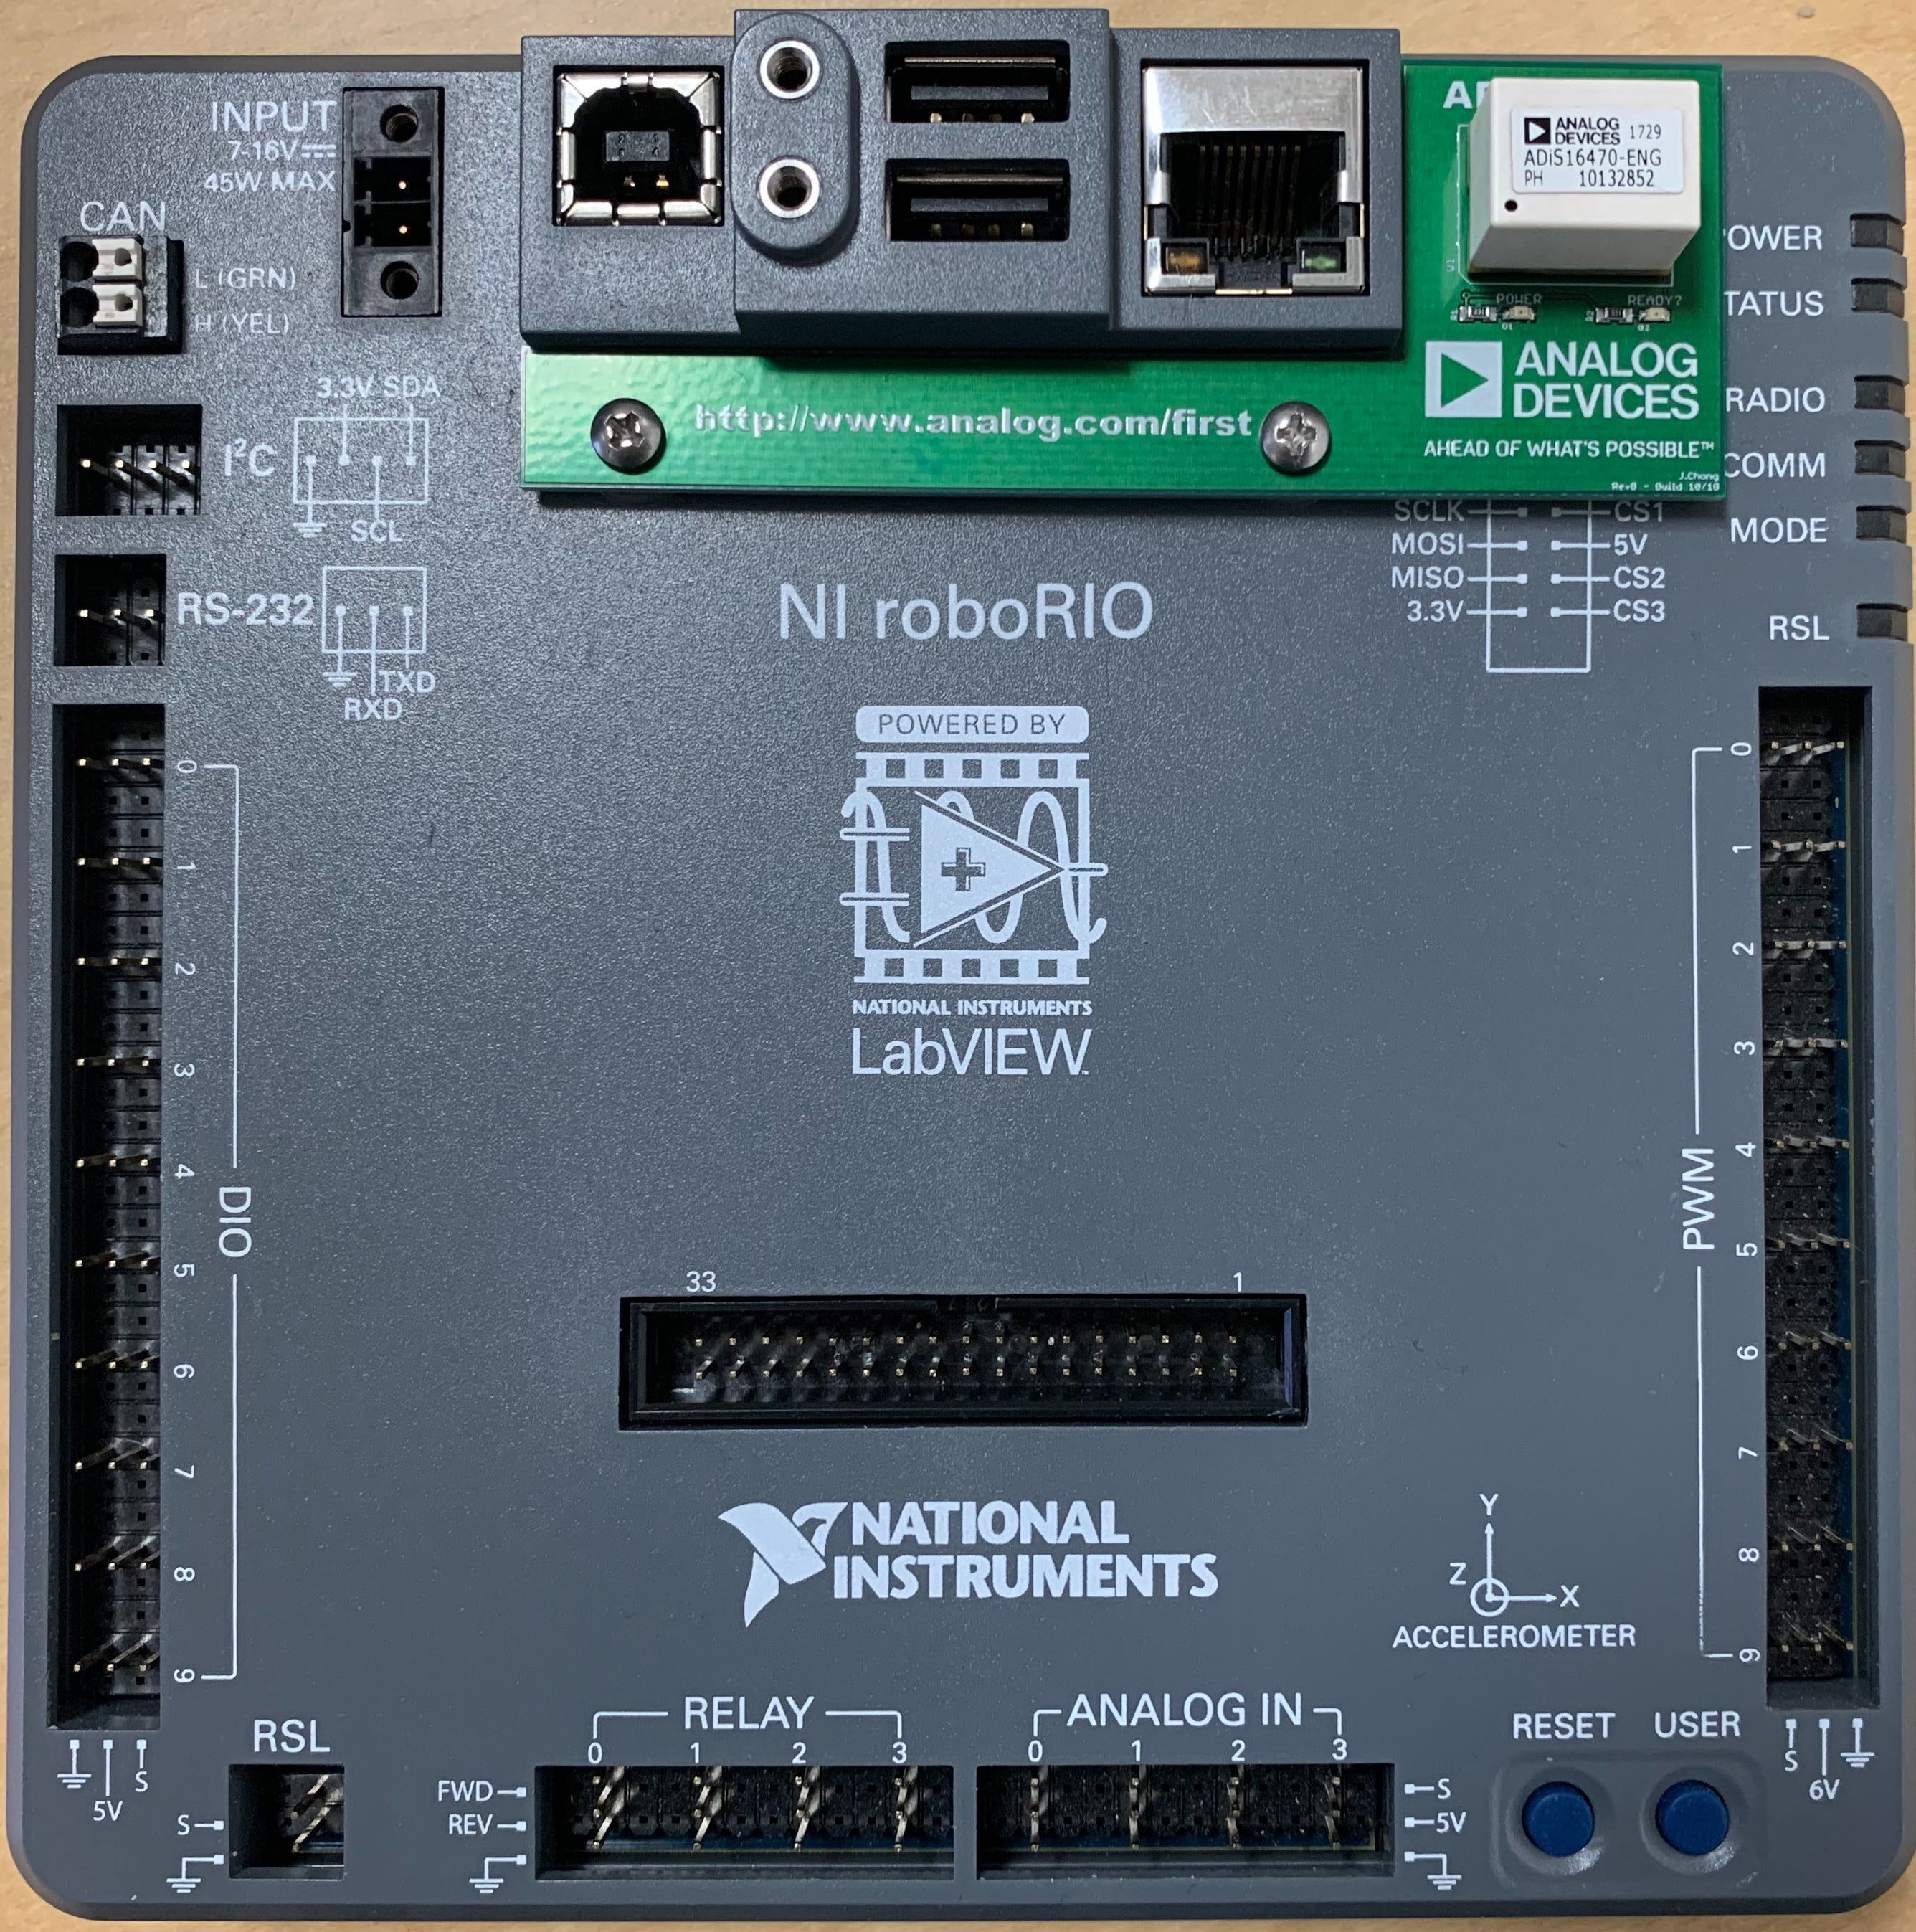
Plug in the expansion board as shown below. Be careful not to offset the connector!! If installed correctly, the Power LED should turn on once the RoboRIO is powered on. The Status LED will only light up once the IMU has successfully communicated with the RoboRIO.
Your RoboRIO should be imaged to match the version of the NI Update Suite installed on your PC. For example, if you have the latest (of this writing) update suite installed (2020.0.0), then you must also have the FRC_roboRIO_2020_v10 image and roboRIO_6.0.0f1 firmware installed. This driver relies heavily on the FPGA image loaded in the RoboRIO and will not work on older versions. The most current NI Update Suite can be found here.

