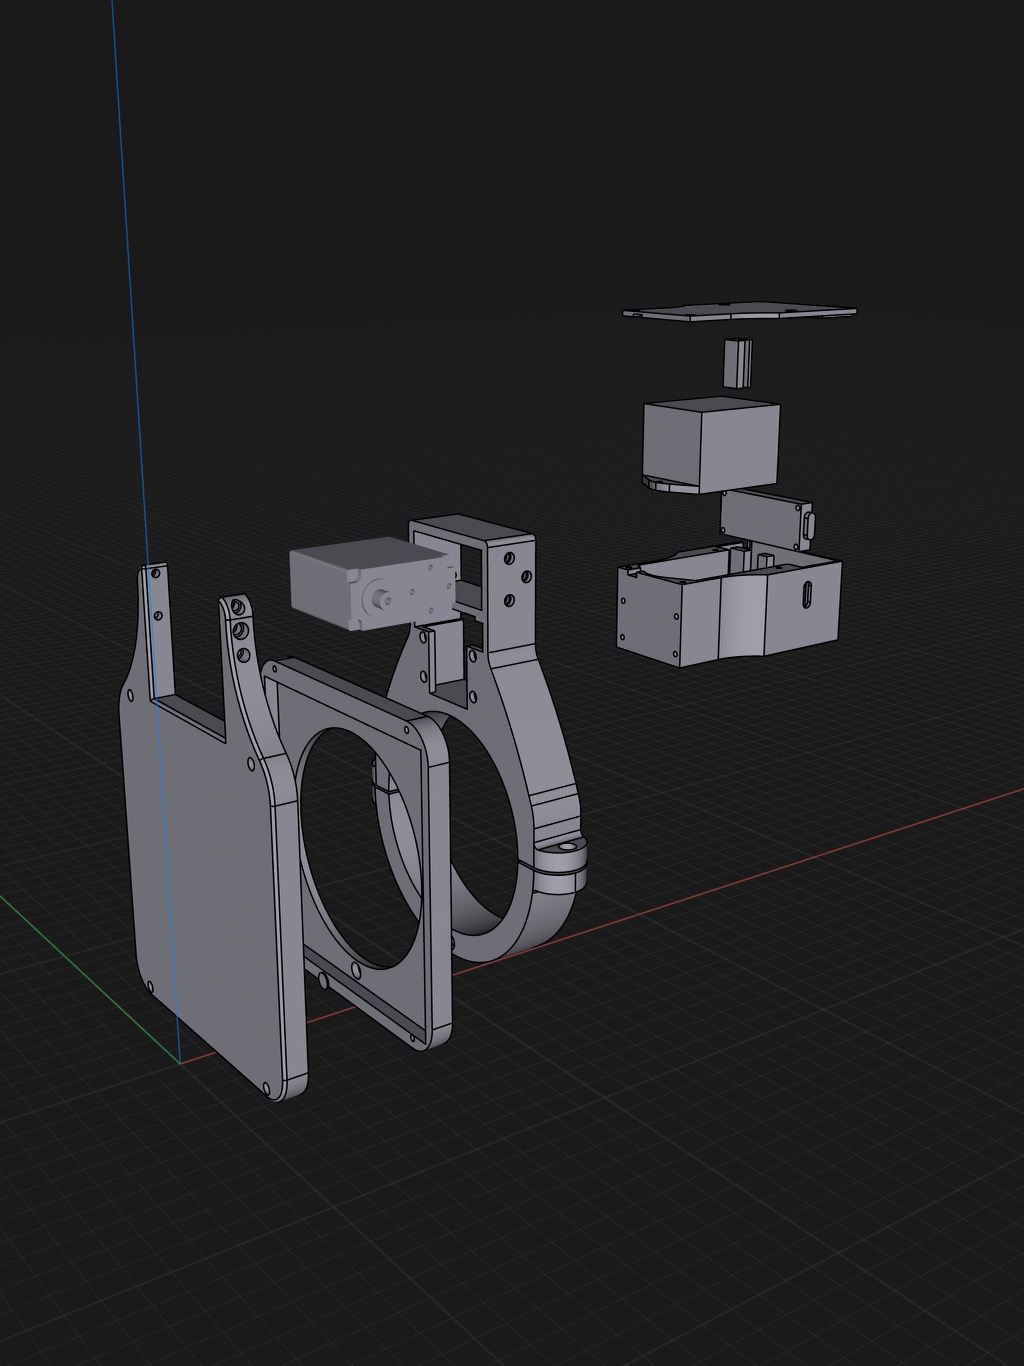
ArduinoFlatBox - PC controlled lightbox implmented using the Alnitak (Flip-Flat/Flat-Man) command set found here: https://www.optecinc.com/astronomy/catalog/alnitak/resources/Alnitak_GenericCommandsR4.pdf

- Created By: Jared Wellman - jared@mainsequencesoftware.com here https://github.com/jwellman80/ArduinoLightbox
- Adapted to V4 protocol, motor handling added By: Igor von Nyssen - igor@vonnyssen.com
- Modified to work with servo motors by Marco Cipriani, (GitHub @marcocipriani01)
- Modified to work with LDX-227 servo motor,kstars,EKOS by Seadogger, (Github @seadogger)
Last modified: 2022/May/22
Typical usage on the command prompt below. Please note that commands end in CR '\r' and responses end in LF '\n'. Neither end in both, so do not use Serial.println. The character in OOO is the letter O, not the digit 0.
Send     : ">SOOO\r"      //request state
Recieve  : "*S19OOO\n"    //returned state
Send     : ">B128\r"      //set brightness 128
Recieve  : "*B19128\n"    //confirming brightness set to 128
Send     : ">JOOO\r"      //get brightness
Recieve  : "*B19128\n"    //brightness value of 128 (assuming as set from above)
Send     : ">LOOO\r"      //turn light on (uses set brightness value)
Recieve  : "*L19OOO\n"    //confirms light turned on
Send     : ">DOOO\r"      //turn light off (brightness value does not change, just the state of the light)
Recieve  : "*D19OOO\n"    //confirms light turned off
-
Tested with an Arduino Nano and the NINA imaging software (https://nighttime-imaging.eu)
-
Tested with an Arduino Nano and the kStars and StellarMate imaging software with Altinak INDI Driver
| Part Description | Cost | Min Quantity |
|---|---|---|
| EL Panel | $19.96 | 1 |
| EL Panel Inverter | $9.99 | 2 |
| Driver Board | $11.99 | 10 |
| Arduino Nano | $19.99 | 2 |
| Screws | $28.99 | 50 |
| Magnets | $6.99 | 100 |
| Capacitors | $10.56 | 10 |
| Board Terminal Block | $8.99 | 10 |
| Servo Motor | $19.99 | 1 |
| 3D Printer PETG Spool | $23.99 | 1 |
| Frosted Acrylic Diffuser | $9.80 | 1 |
| Arduino Firmware | ||
| 3D Printer Files | ||
| Build Video | ||
| Total Cost | $171.24 |
- RedCat 51mm AstroFlat 3D Print Files
- PC to program Arduino
- USB cable to program Arduino
- Soldering Iron and Solder
- Allen Wrench Set
- Small Phillips Screwdriver
- Switch the PWM and 5V Signal Pin on the LDX-227
- Solder Header Pins on the Arduino for the El Inverter
- Solder the Cap and Resistor on the Proto Board
- Solder the Proto Board to the Arduino Head Pins
- Assemble Electronics Chassis
-
Make sure the PWM Pin and 5V line on Servo are swapped and make sure to label the 5V pin. Connecting this backwards can damage the Arduino (You have been warned)
-
This design was meant for a low voltage El Panel and Low Current Servo Motor to make this a single USB connection to the Telescope controller. Increasing the EL Panel Size or Servo Motor size you do at your own risk and increase the likelihood of damaging your controller
-
If you notice the servo motor becoming warm then it is likely that the closed or open position is restricted and the servo is in a high current mode. You should disassemble the LID arm and adjust the closing poition of the servo arm. You can also change the PWM open and closed PWM values in the Arduino Sketch to match the swing arm rotation using the constants defined at the top of the sketch
-
If you are not electronics savy or have a 3D printer then I suggest you buy an off the shelf component such as the DeepSkyDad FP1 or the Alnitak FLipFlat. I had several components above already on hand which lowered my cost to about $100 bucks so I decided to build my own but the Deep Sky Dad solution looks fairly robust and will save you a lot of time tinkering.
- ATIK 383L+ Mono (Camera has a shutter so I target exposures on my Flats to be no less than 10sec)
- EFW 7 position filter wheel
- Optolong 36mm LRGB SHO filters
| Filter | Shutter Duration | PWM Setting |
|---|---|---|
| LPR | 30 sec | 119 |
| Red | 30 sec | 129 |
| Green | 30 sec | 126 |
| Blue | 30 sec | 127 |
| H-Alpha | 30 sec | 190 |
| SII | 30 sec | 255 |
| OIII | 30 sec | 149 |
| Filter | Shutter Duration | PWM Setting |
|---|---|---|
| LPR | 10 sec | 128 |
| Red | 10 sec | 141 |
| Green | 10 sec | 137 |
| Blue | 10 sec | 137 |
| H-Alpha | 16 sec | 255 |
| SII | 30 sec | 255 |
| OIII | 10 sec | 173 |
| Filter | Shutter Duration | PWM Setting |
|---|---|---|
| LPR | 10 sec | 128 |
| Red | 10 sec | 141 |
| Green | 10 sec | 137 |
| Blue | 10 sec | 137 |
| H-Alpha | 30 sec | 190 |
| SII | 30 sec | 255 |
| OIII | 10 sec | 173 |