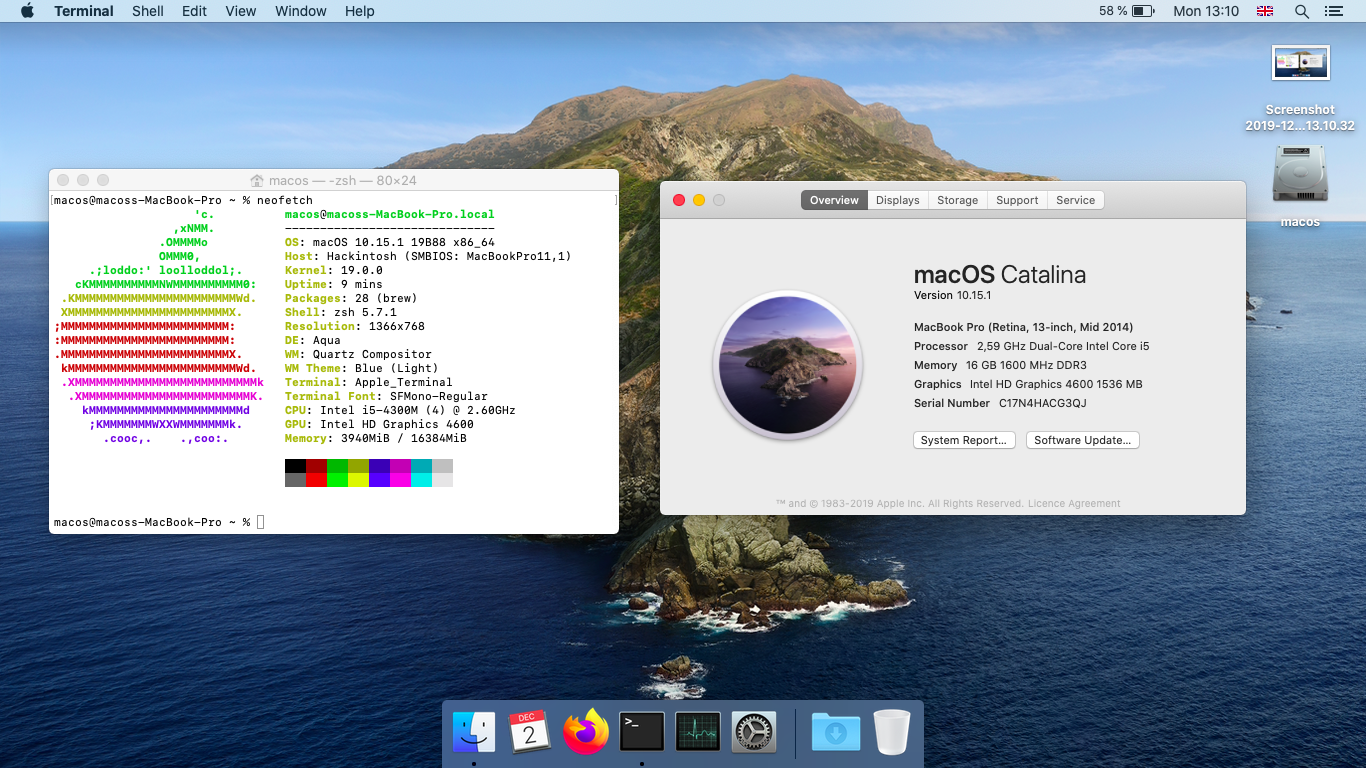
 T440p running on MacOS Catalina with i5-4300m, 16GB RAM and 128GB mSata SSD Transcend MTS430S
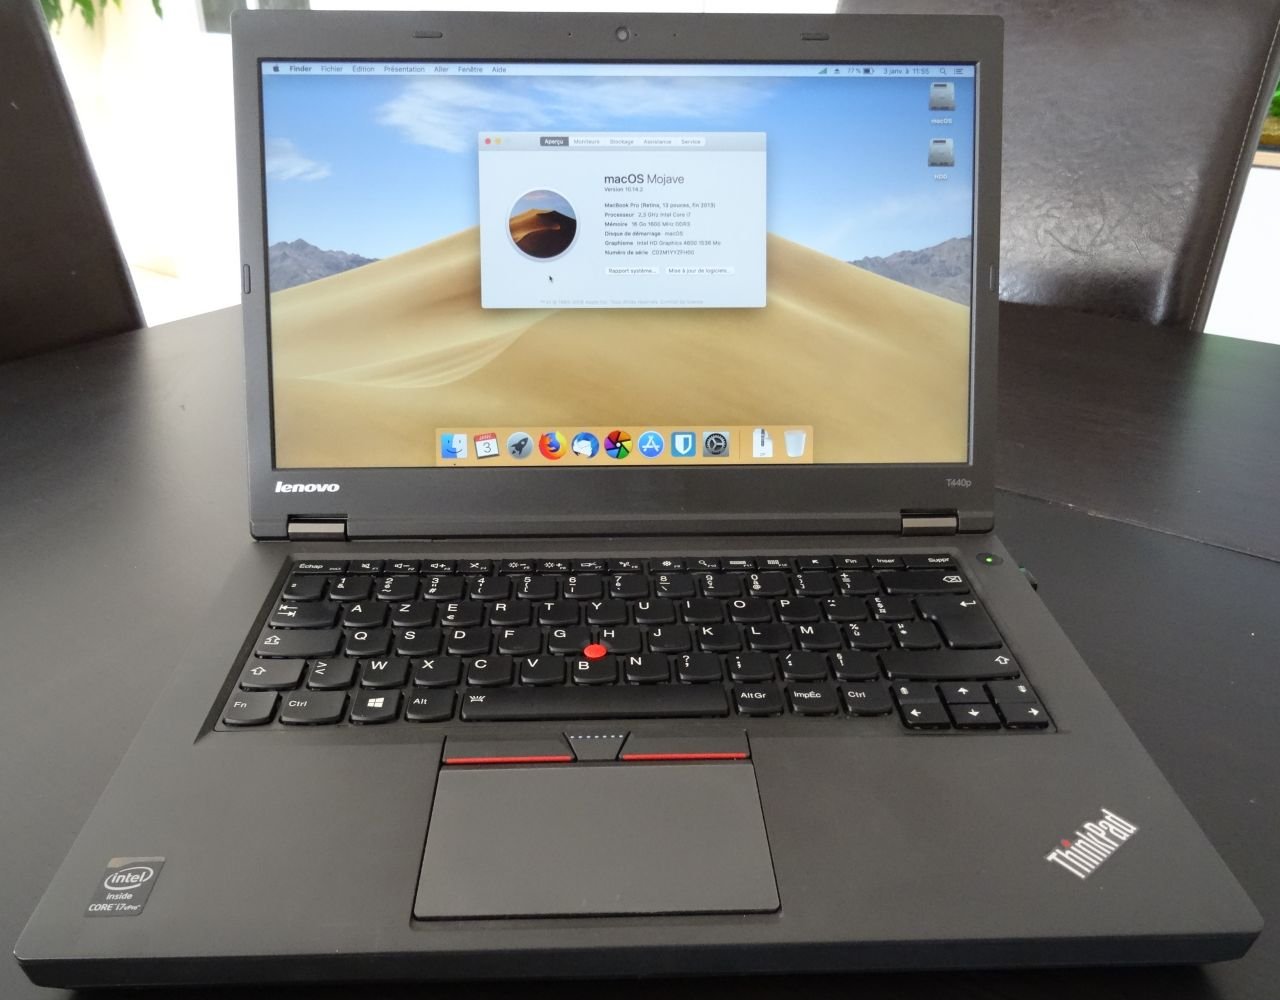
 T440p running on MacOS Mojave with i7 4712MQ, 16GB RAM and Western Digital 500GB SSD + 1TB HDD in Sata Ultrabay
=======
- Clover r5112
USBPorts.kext=>USBInjectAll.kext- AppleALC
1.4.8 - Lilu
1.4.3 - WhatEverGreen
1.3.8 - VoodooPS2Controller
2.1.3
Custom USBPorts.kext (instead of USBInjectAll.kext) with support for docking station. (USB ports / Audio)
Updated AppleALC, Lilu, WhatEvergreen and VoodooPS2.
Experimental Support for MacOS Catalina 10.15.x. Tested on 10.15.1.
Separate DW1820 wifi card config.
Special thanks to @ameeno for this release.
- DW1820A wifi card support (Full 5GHZ wifi and Bluetooth 4.1),
- Lighter Clover Theme,
- Modified Patched SSDT to have better working touchpad,
- Deleted all the unecesary ._ files in his repo,
- Removed unecesary drivers and kexts,
- Updated all the kexts and clover to the latest version,
- Removed unecessary Kext Files That could cause issues,
- Tested on Mojave
10.14.6.
- Revert renaming LPC to LPCB (both in ACPI patch and config.plist) as it seems not to work properly.
- Updated configuration tested with 10.14.4.
- Remove unnecessary Kernel Extensions. Add HFS+ driver to support MacOS Journalized filesystem.
Initial Release.
Thinkpad T440p Hackintosh configuration. This repository contains the following folders:
EFI: put this in your EFI partition inEFIfolder, includingBootandCLOVERsub-folders,EFI/CLOVER/kexts/Other: kexts to install in/Library/Extensionsor your local drive once macOS has been installed.
Tested on High Sierra 10.13.6 and Mojave 10.14.4, 10.14.5 & 10.14.6.
It's a 99.99% working hackintosh, including:
- Apfs and HFS disk partitions: using
ApfsDriverLoader-64.efiandHFSPlus-64.efirespectively, - Power management, Temperature sensors: Thanks to FakeSMC, which also emulates macbook pro hardware,
- Battery status: handled by ACPIBatteryManager kext,
- Brightness control: Thanks to WhatEverGreen kext,
- Audio on speakers: using AppleALC kext,
- USB ports: custom made inside SSDT-T440p.aml & USBInjectAll kext (Thanks to rehabman & Snikii,
- Graphical acceleration (QE/CI): thanks to WhatEverGreen kext.
- Audio Jack connector,
- And Display Port external display.
The bios must be properly configured prior to installing MacOS.
In Security menu, set the following settings:
Security > SecurityChip: must be Disabled,Memory Protection > Execution Prevention: must be Enabled,Internal Device Access > Bottom Cover Tamper Detection: must be Disabled,Anti-Theft > Current Setting: must be Disabled,Anti-Theft > Computrace > Current Setting: must be Disabled,Secure Boot > Secure Boot: must be Disabled.
In Startup menu, set the following options:
UEFI/Legacy Boot: Both,UEFI/Legacy Priority: UEFI First,CSM Support: Yes.
Now you can go through the install.
The guide how to create a Mojave USB Installer Drive explains how to create a USB flash drive to install MacOs on your T440p.
Copy the content of the EFI folder provided here on your USB flash drive EFI partition. The EFI partition is usually hidden. Use Clover Configurator to mount the EFI partition of your flash drive on your mac (it appears as a disk on the desktop once done).
Install macOS by booting on the USB key. It takes about 30min. The computer will restart multiple times. Make sure to select Install macOS ... each time. Once installed, choose to boot from local drive in Clover boot menu.
To finish the setup, you need to:
- Copy EFI folder from USB flash drive to local drive
EFIpartition (like you did for the USB drive). It will make the local drive bootable (so you can get ride of the USB drive now), - Install Kexts: install kernel extensions provided by
EFI/CLOVER/kexts/Otherfrom this repository into/Library/Extensions.
Once kexts copied, run in Terminal:
sudo kextcache -i /
You're almost done! Reboot and enjoy macOS on your Thinpad T440p.
-
Please see the contents of DW1820A folder:
-
Copy the kexts into EFI/CLOVER/kexts/Other/
-
Copy the config.plist into EFI/CLOVER/ and overwrite the other config.plist file.
-
If you struggle to install macOS with the card installed, it is recommended to remove the card, install the OS via ethernet, and put the card back in once setup completes.
Other drivers for Other Operating systems can be found here:
https://github.com/ameeno/DELL-DW1820A-Drivers
Thanks Tony's T440p Guide for help in getting this to work. By default, speaker audio should work, but audio via the headhpone jack does not.
Installing ALC Fix
- Copy the .zip file called
alc_fix.zipinside the foldrAudioto the desktop, - Open terminal and run:
cd Desktop/alc_fix
sudo su
./install.sh
The provided config.plist is already configured to use Audio layout 28.
Reboot after installation. If you hear a strong white noise when connecting to audio jack, disconnect and reconnect your hearphones.
If you Sata ssd hasn't trim enabled, run the following command from the Terminal to enable it:
sudo trimforce enable
The trackpoint / Touchpad driver used here is the one from tluck on Insanelymac.
Improving scrolling responsiveness
Turn off 'inertia' at system-pref/accessibility/mouse & trackpad/trackpad options.
Insstall Smart Scroll. under 'Scroll Wheel+' - Turn up 'Range for a single tick' to max. (this gives the appearance that scrolling becomes more sensitive) Then you can adjust the speed and inertia under the same tab.
Fix Stuttering
To solve the jittery mouse, increase the speed with BetterTouchTool to about '8'. The touchpad feels almost the same as on my MacBook now, but the scrolling is still slow and awful. I will solve it somehow!
Special thanks to Romeo Blues for these tweaks. Those definitely improve how the touchpad feels!
When using HDD in Ultrabay (instead of optical drive): install AHCIPortInjector.kext and AppleAHCIPort.kext in /Library/Extensions.
AHCIPortInjector.kext fixes the Disk not initialized issue (disk cannot be read). AppleAHCIPort.kext fixes the disk being detected as an external drive (instead of internal).
For FHD (1920x1080) panels, I recommend to install One Key HiDPI.
Once the upgrade complete, make sure to rebuild the kext cache to fix brightness control issue, by running in Terminal:
sudo kextcache -i /
Then reboot.
Make sure to following this guide to configure iMessage, iCloud and Facetime properly.
To fix get the card reader working on T440P, do the following (thank you to NoobsPlanet for the initial guide which I have modified specifically for the T440P):
- Open Finder and Goto S/L/E (System/Library/Extensions) and look for AppleStorageDriver.kext and copy this kext to Desktop
- Right Click in AppleStorageDriver.kext located at Desktop and select Show Package Contents and navigate to Contents > Plugins > Then find
AppleUSBCardReader.kext, - Right Click on
AppleUSBCardReader.kextand select Show package Contents. - Navigate to Contents and you'll find Info.plist,
- Right Click on Info.plist and open with Xcode or Plist Editor to edit a file.
- Find
IOKitPersonalities > AppleSDCardReader > Physical Interconnect Locationand then edit Physical Interconnect Location value section as External, - Again find Vendor Identification and change value section to "Generic Reader by NoobsPlanet",
- Again find Apple_Internal_SD_Card_Reader_1_00 and edit sting value idProduct and idVenedor to decimal idProduct and idVendor, you can find Product ID and Vendor ID information in System Info into HEX value, so you need to convert it to Decimal Value. You can convert it online through https://www.binaryhexconverter.com/hex-t. On my T440P Product ID is 5227 and the HEX value is 21031. The Vendor ID is 10EC and the Hex value is 4332.
- Again find Apple_Internal_SD_Card_Reader_2_00 and edit the string value idProduct and idVendor to decimal value. (Use the same decimal value we did in above step)
- Make sure you change value for Physical Interconnect Location on Apple_internal_SD_Card_Reader_1_00 and Apple_Internal_SD_Card_Reader_2_00 to External
- Rename extension of original AppleStorageDriver.kext to .old
- Save the edited file and Copy AppleStorageDriver.kext and paste it into /System/Library/Extensions/ and replace the kext if asked.
- Open Terminal and fix permission and rebuild Kernel cache with following commands :
sudo chmod -R 755 /System/Library/Extensions/
sudo chown -R root:wheel /System/Library/Extensions/
sudo touch /System/Library/Extensions && sudo touch /Library/Extensions && sudo kextcache -u /
Reboot and enjoy working memory card!