Description: This is a two-part workshop exploring NLP use cases using Amazon SageMaker and Amazon Comprehend.
The workshop is broken down as follows:
-
Lab Setup: Instructions for setting up your AWS account that will be used for the workshop.
-
1-Amazon SageMaker: Explore the end-to-end process and considerations for utilizing Amazon SageMaker for machine learning specifically looking at a text classification use case.
-
2-Amazon Comprehend Custom: Explore capabilities within Comprehend custom for building customized NLP models.
-
Click on the Event Engine URL that is provided by your moderators
-
Perform the following to set your "team" name:
- click Set Team Name and enter a Team Name (Be Creative!)
- click Set Team Name green button on the bottom left to confirm
-
Click on AWS Console followed by Open AWS Console to login to your lab account
-
Once logged in, ensure that you are on the US East (N.Virginia) us-east-1 region. You can verify this by checking the upper right hand corner showing the regions.
- Go to Amazon SageMaker Service
- Ensure you are in us-east-1/N.Virginia
- Select Notebook instances from the left menu
- Select Create notebook instance in the upper right corner
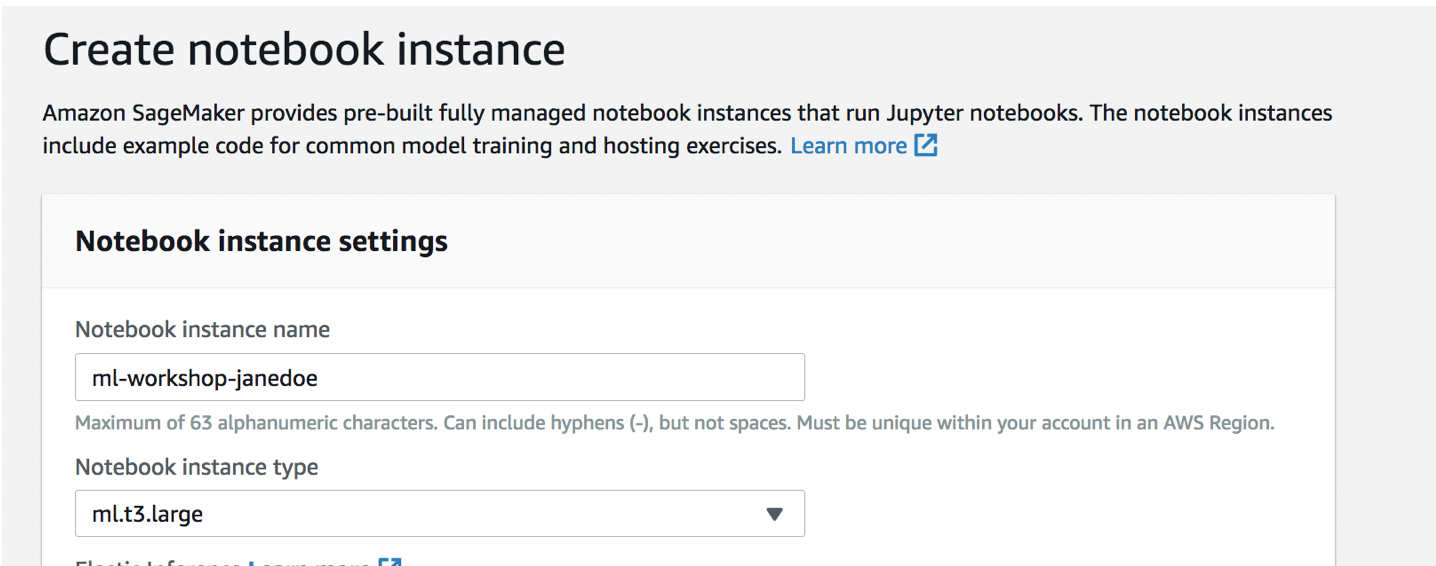
- Under Notebook Instance Settings, complete/update the following:
- Notebook instance name: Enter a name for the notebook instance (Ex: ml-workshop-janedoe)
- Notebook instance type: ml.t3.large
- Under Permissions and encryption, complete/update the following:
- IAM Role: Create a new role --> Select 'any S3 bucket' --> Create Role
- Under Git Repositories:
- select 'Clone a public git repository to this notebook instance only' from the dropdown
- Enter 'https://github.com/seigenbrode/ml-workshop' under Git Repository URL
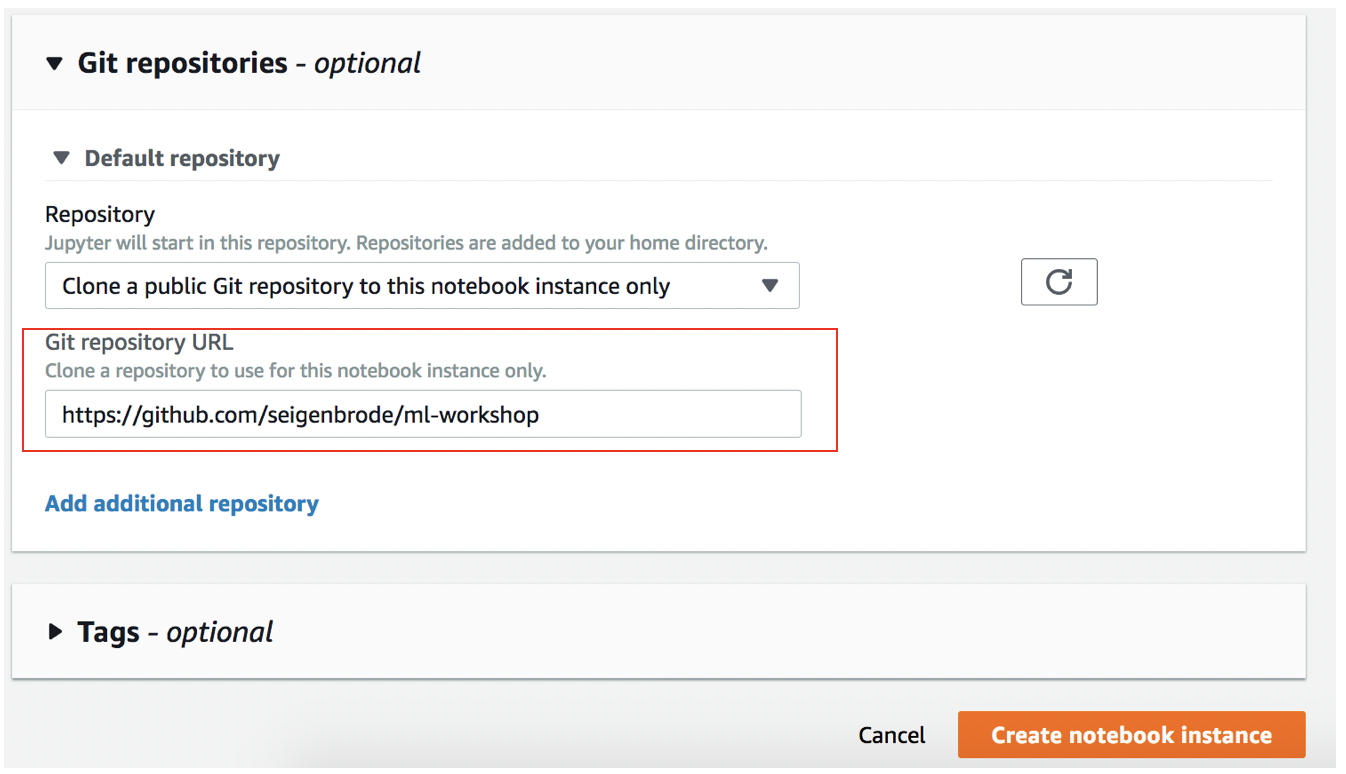
- Leave all other sections using default settings, then click Create notebook instance
- It will take a few moments for the Status to change to InService
- Once the notebook is showing InService, click the Open Jupyter link to open your hosted notebook instance


For today's labs we will be working inside Jupyter Notebooks. If you are unfamiliar with Jupyter, below are a few quickstart resources you can review or reach out to your moderator for assistance:
From within the notebook instance we created in Lab Setup above:
- Go to the Files tab
- Click ml-workshop
- Click 01-blazingtext_text_classification_dbpedia.ipynb to open Lab 1
- The remaining steps for this lab are performed within the notebook instance
Please Stop at the point indicated in the notebook instance
From within the notebook instance we created in Lab Setup above:
- Go to the Files tab
- Click ml-workshop
- Click 01-blazingtext_text_classification_dbpedia.ipynb and scroll down to the heading inside the notebook indicating the beginning of Lab #2 - Training & Model Hosting
- The remaining steps for this lab are performed within the notebook instance
From within the notebook instance we created in Lab Setup above:
- Go to the Files tab
- Click ml-workshop
- Click 02-Amazon-Comprehend-Custom-Entities.ipynb to open Lab 3
- The remaining steps for this lab are performed within the notebook instance