An alternative for the Corona-Warn-App for the ESP32.
Goal of the project is to create a do it yourself coronatracker and replace the CWA-App on your phone with this device. Advantages of using it is its cheapness and availability, as well as not having to use the app on your phone.
The program mimics the Exposure Notification Protocol by Apple/Google, that is used by CWA. Parts that could not be done on the microcontroller itself are done by our server (mainly Google's Protocol Buffers)
This project is still work in progress and some features are incomplete/not yet implemented.
The software should work on most ESP32 boards. Internally we use LILYGO® TTGO ESP32 WiFi + Bluetooth 18650 Battery Protection Board, mainly because of usability of 18650 batteries. We recommend using this board as the software as well as the installation process was tested on it.
Depending on how the pins on your board are configured you may need to change them.
All you need to do is follow this tutorial as well as a suitable ESP32 board.
You can either flash the ESP with our precompiled binaries or use the source code from this repository. There are tutorial for both approaches below.
-
Download the Flash Download Tools from Espressif.
-
Download and unzip the latest release binaries. (These are called
release_[version].zip) -
Unpack the Flash Download Tool and start it.

-
Add the binary files.
-
Input the addresses to the corresponding binaries. Those are located after the second
_of the file name and before.bin. For example, the address corresponding to_a_0x1000.binwould be0x1000.
-
Check all checkmarks for the added binaries.

-
If not already connected plug in your ESP32. Make sure the Flash Download Tool has recognized your device. Open the
COMdrop-down menu and select the available port. (There should only be one port selectable if only one device is connected)You can also check this image to see if your settings are correct.

-
Hold down the
Bootbutton on your ESP and then press theENbutton to enter bootloader mode. Let go of both buttons. -
Flash your ESP.
-
Press the
ENbutton. The ESP should restart now and the display will turn on. -
You can now setup your ESP.
-
Download and install Visual Studio Code.
-
Install PlatformIO for VS Code. (Instructions) There may be a prompt to restart VS Code after installing.
-
Clone or download this project. You can use
Download ZIPon the top right of this site. Alternatively the source code can be downloaded here. Unzip it in a suitable directory.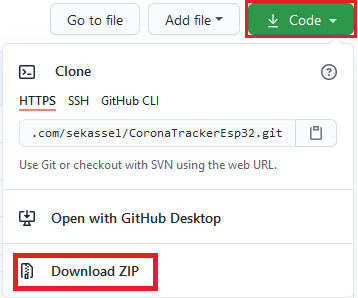
-
Open the project with PlatformIO.
-
Connect your ESP32 via USB and upload the project. (If you are using our board you have to press the
Bootbutton, when the console readsConnecting...)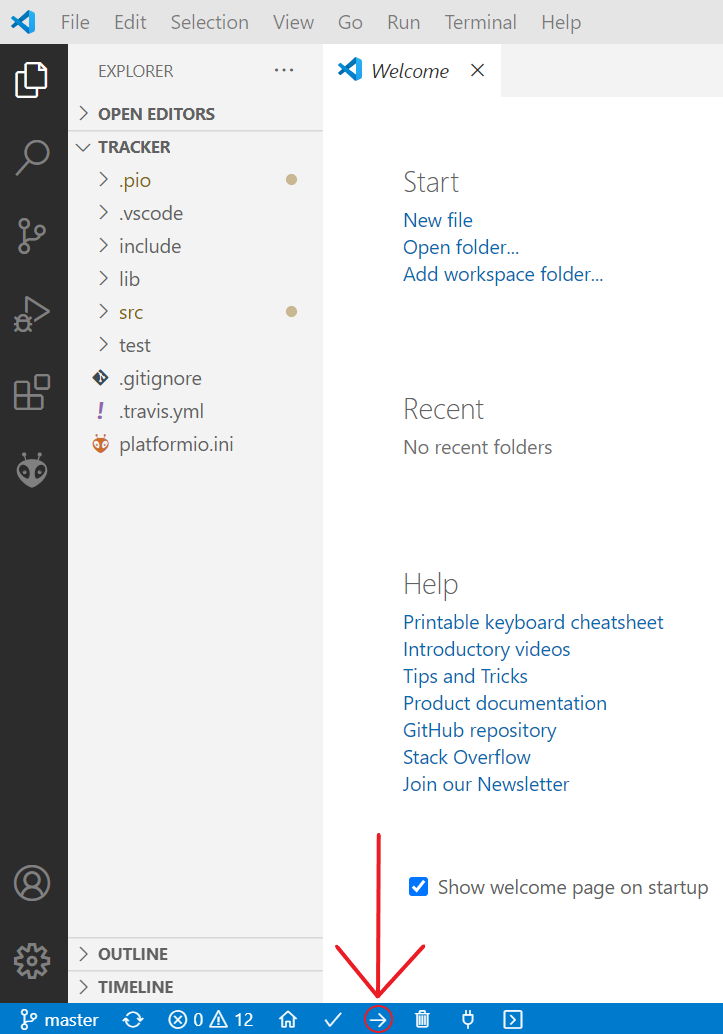
This message should appear at the bottom of the terminal if the upload was successful.

-
You can now setup your ESP.
-
After a successful flash the ESP will start an access point called
Coronatrackerto set up WiFi. Connect to the AP and open192.168.4.1. (Depending on the device you might get a notification that there is no connection to the internet) Enter your WiFi credentials and click safe.On your phone (or desktop):
On the device:
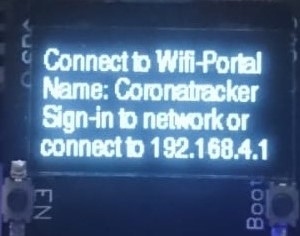
If the WiFi configuration was successful the display says:
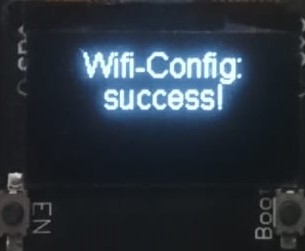
Otherwise it says:
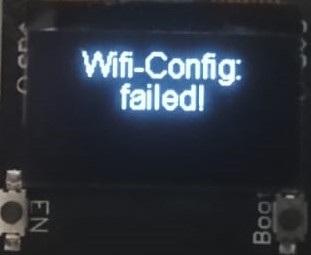
If the WiFi configuration failed the device starts from the beginning. The tracker also restarts and prints "Wifi-Config: failed!" after a few minutes if the WiFi was not configured.
-
After the WiFi configuration is done the device needs a few seconds to initialize and afterwards it starts simulating the CWA-App.
You can press the "Boot" button to activate the display and press it again to deactivate the display. Most of the time the screen shows something like this.
The time is shown as marked.
The action is shown in the second line as marked.
Possible other actions are:
- Advertise: The tracker announces that it is present.
- Scan: The tracker searches for present devices.
- CWA update: The tracker receives an update from the server.
In the third line you can see how many devices the tracker has seen during the last scan. Before the first scan there is a little dash instead of a number.
In the last line you can see your exposure status. The status tells you if a contact with a registered person was detected.
Possible other exposure statuses are:
While the tracker is being updated, the screen is permanently on and remains unchanged until the end of the update.
After the update, the display shows the result and switches back to the previous display after a few seconds. One of the following results are possible.
- After initial configuration, WiFi credentials can not be changed without re-flashing the device.
- WiFi credentials will be lost if the device looses power.
- There is no official protocol for uploading infected keys.
- Time displayed is always in CEST.
- There is no real solution for full storage.
- Power consumption is a problem on small batteries.