| page_type | languages | products | description | urlFragment | ||
|---|---|---|---|---|---|---|
sample |
|
|
Deploy Spring Boot app using Azure Spring Cloud and Redis Enterprise |
brewdis |
Azure Spring Cloud enables you to easily run a Spring Boot based microservices application on Azure.
This quickstart shows you how to deploy an existing Java Spring Cloud application to Azure. When you're finished, you can continue to manage the application via the Azure CLI or switch to using the Azure portal.
You will:
- Build an existing application locally
- Provision an Azure Spring Cloud service instance
- Deploy the application to Azure
- Open the application
In order to deploy a Java app to cloud, you need an Azure subscription. If you do not already have an Azure subscription, you can activate your MSDN subscriber benefits or sign up for a free Azure account.
In addition, you will need the following:
| Azure CLI version 2.0.67 or higher | Java 11 | Gradle | Git |
Create an instance of Azure Cache for Redis Enterprise: | Step-by-step directions | Start here https://aka.ms/redis-enterprise which includes preview feature flag |
Install the Azure Spring Cloud extension for the Azure CLI using the following command
az extension add --name spring-cloud mkdir source-code
git clone https://github.com/selvasingh/brewdis cd brewdis
./gradlew buildThis will take a few minutes.
Create a bash script with environment variables by making a copy of the supplied template:
cp .scripts/setup-env-variables-azure-template.sh .scripts/setup-env-variables-azure.shOpen .scripts/setup-env-variables-azure.sh and enter the following information:
    export SUBSCRIPTION=subscription-id # customize this
    export RESOURCE_GROUP=resource-group-name # customize this
    ...
    export SPRING_CLOUD_SERVICE=azure-spring-cloud-name # customize this
    ...
    export SPRING_REDIS_HOST=redis-server-host # customize this
    export SPRING_REDIS_PASSWORD=redis-password # customize this
Then, set the environment:
source .scripts/setup-env-variables-azure.shLogin to the Azure CLI and choose your active subscription. Be sure to choose the active subscription that is whitelisted for Azure Spring Cloud
    az login
    az account list -o table
az account set --subscription ${SUBSCRIPTION}Prepare a name for your Azure Spring Cloud service. The name must be between 4 and 32 characters long and can contain only lowercase letters, numbers, and hyphens. The first character of the service name must be a letter and the last character must be either a letter or a number.
Create a resource group to contain your Azure Spring Cloud service.
    az group create --name ${RESOURCE_GROUP} \
        --location ${REGION}
Create an instance of Azure Spring Cloud.
    az spring-cloud create --name ${SPRING_CLOUD_SERVICE} \
        --resource-group ${RESOURCE_GROUP} \
        --location ${REGION}
The service instance will take around five minutes to deploy.
Set your default resource group name and cluster name using the following commands:
    az configure --defaults \
        group=${RESOURCE_GROUP} \
        location=${REGION} \
        spring-cloud=${SPRING_CLOUD_SERVICE}
Create Spring Cloud microservice retail app.
    az spring-cloud app create --name ${APP_NAME} --instance-count 1 --is-public true \
        --memory 2 \
        --runtime-version Java_11 \
        --jvm-options='-Xms2048m -Xmx2048m'
Deploy the application to Azure.
    az spring-cloud app deploy --name ${APP_NAME} \
        --jar-path ${BREWDIS_JAR} \
        --env SPRING_REDIS_HOST=${SPRING_REDIS_HOST} \
              SPRING_REDIS_PASSWORD=${SPRING_REDIS_PASSWORD} \
              SPRING_REDIS_PORT=${SPRING_REDIS_PORT} \
              STOMP_HOST=${STOMP_HOST} \
              STOMP_PORT=${STOMP_PORT}
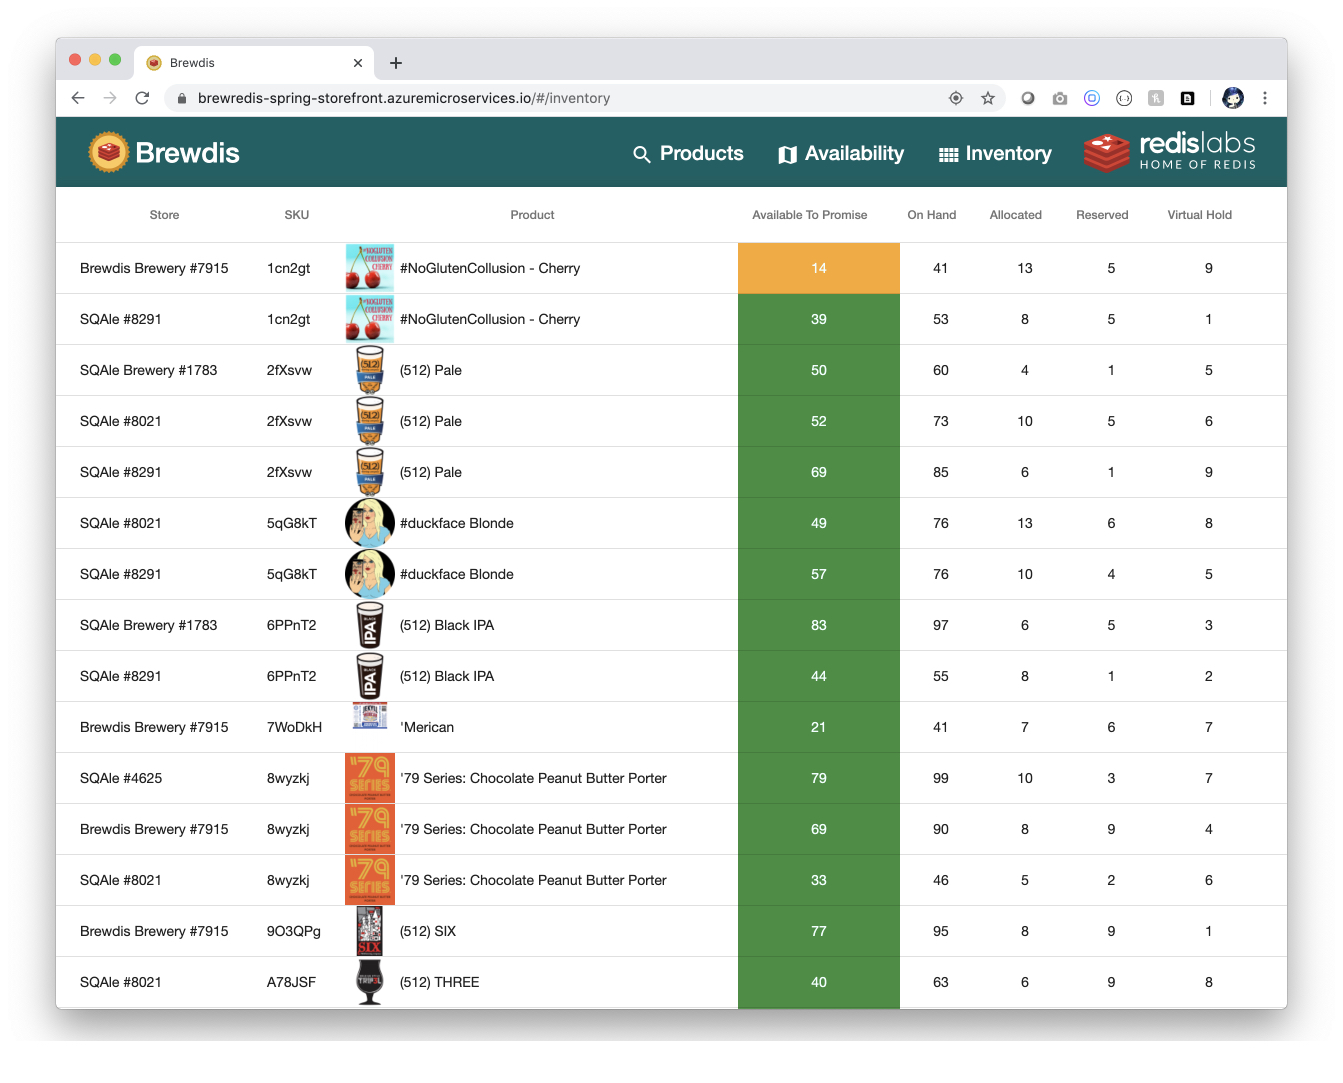
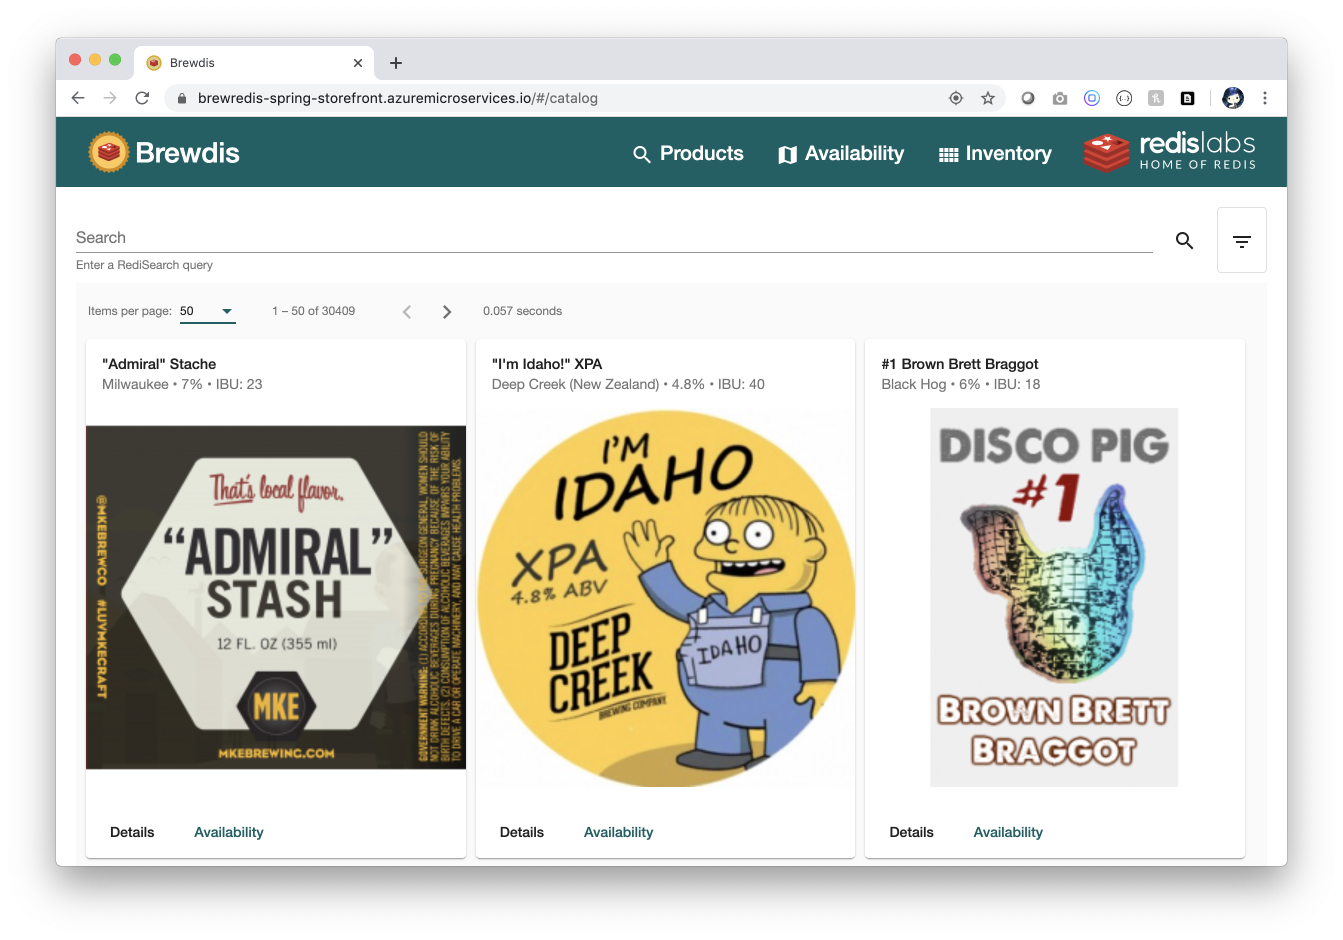
az spring-cloud app show --name ${APP_NAME} | grep urlNavigate to the URL provided by the previous command to open the brewdis application.
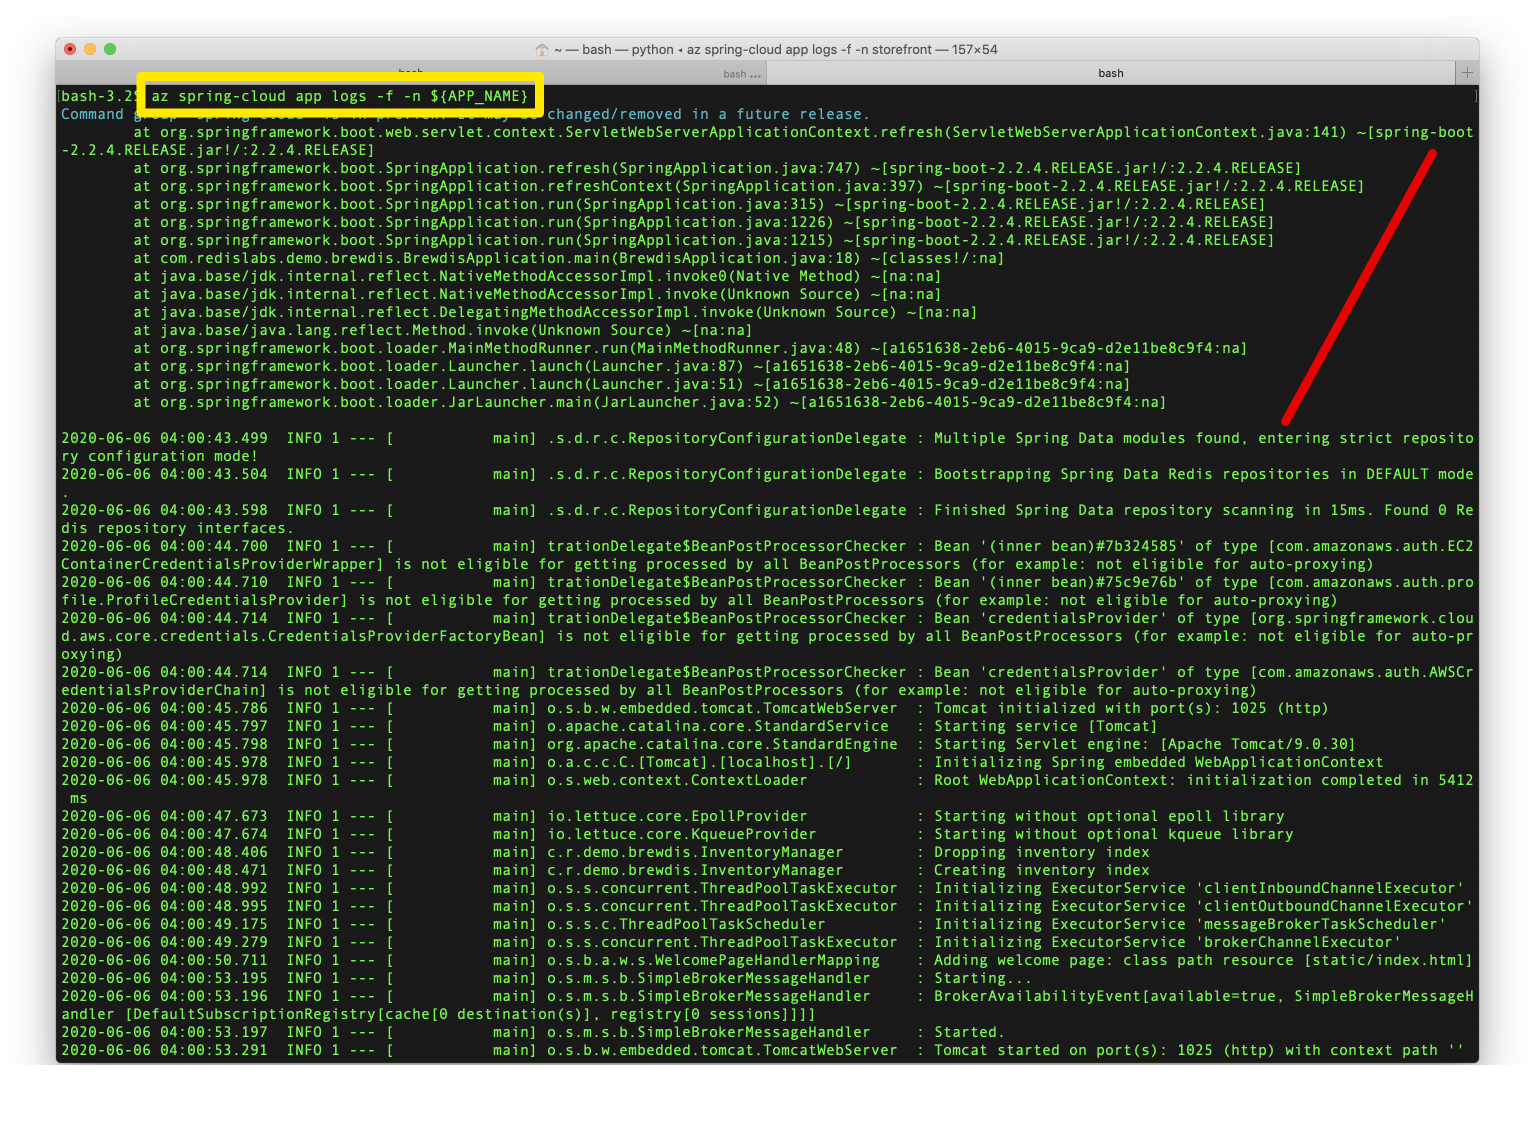
You can open the log stream from your development machine.
az spring-cloud app logs -f -n ${APP_NAME}In this quickstart, you've deployed an existing Spring Boot application using Azure CLI. To learn more about Azure Spring Cloud, go to:


