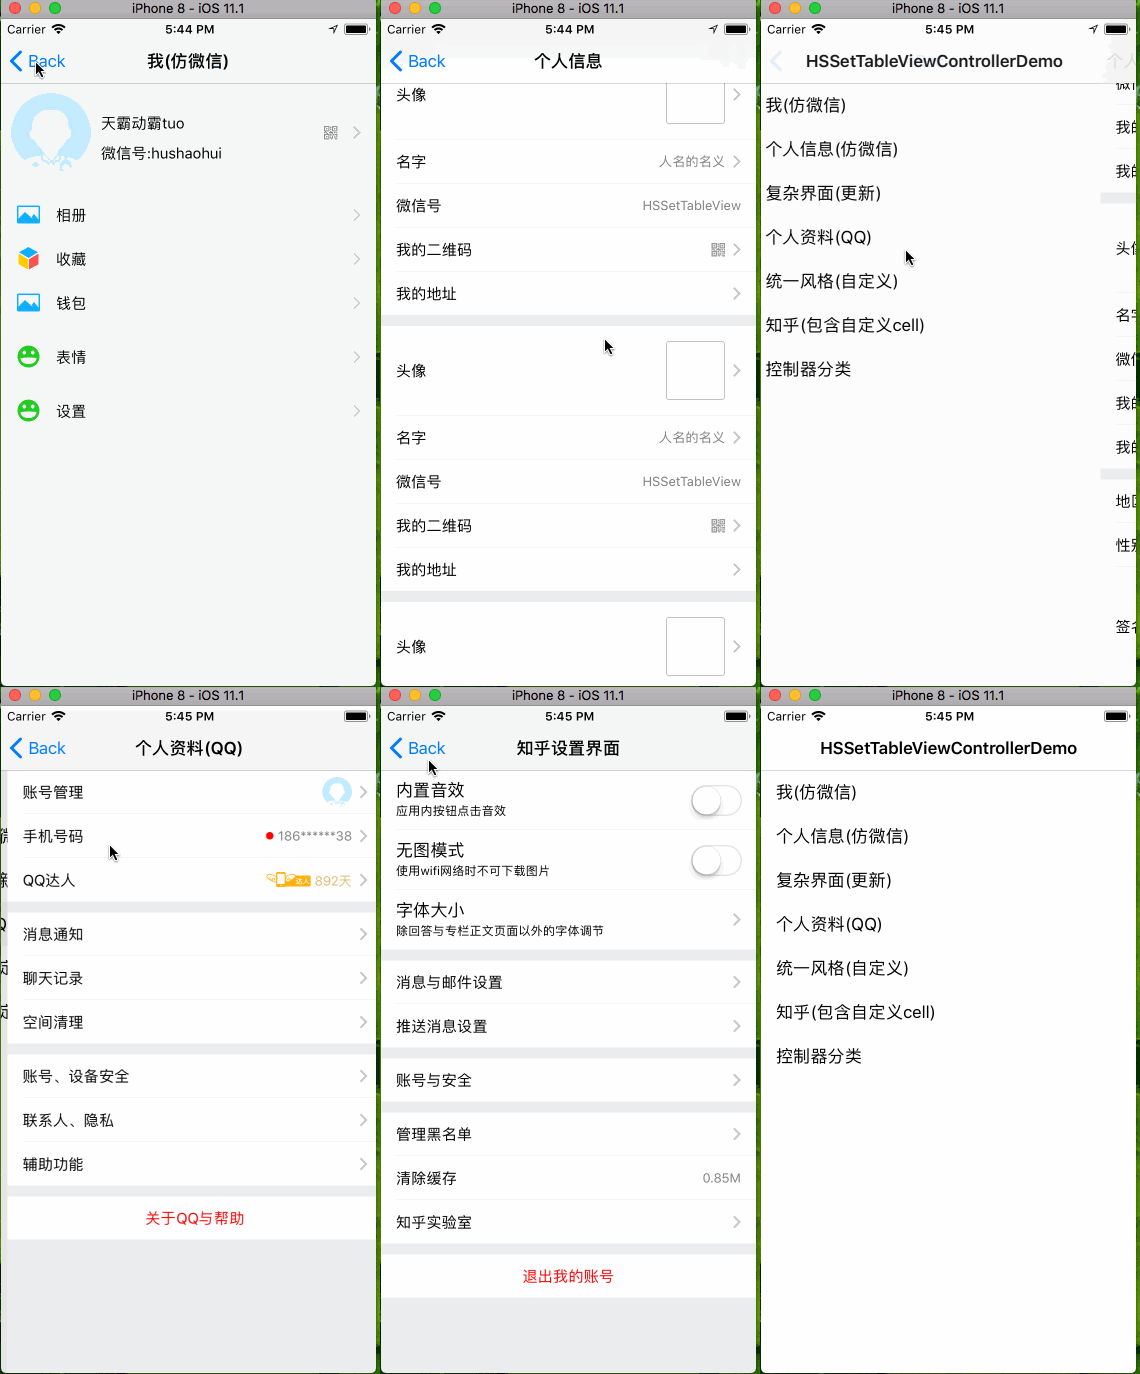
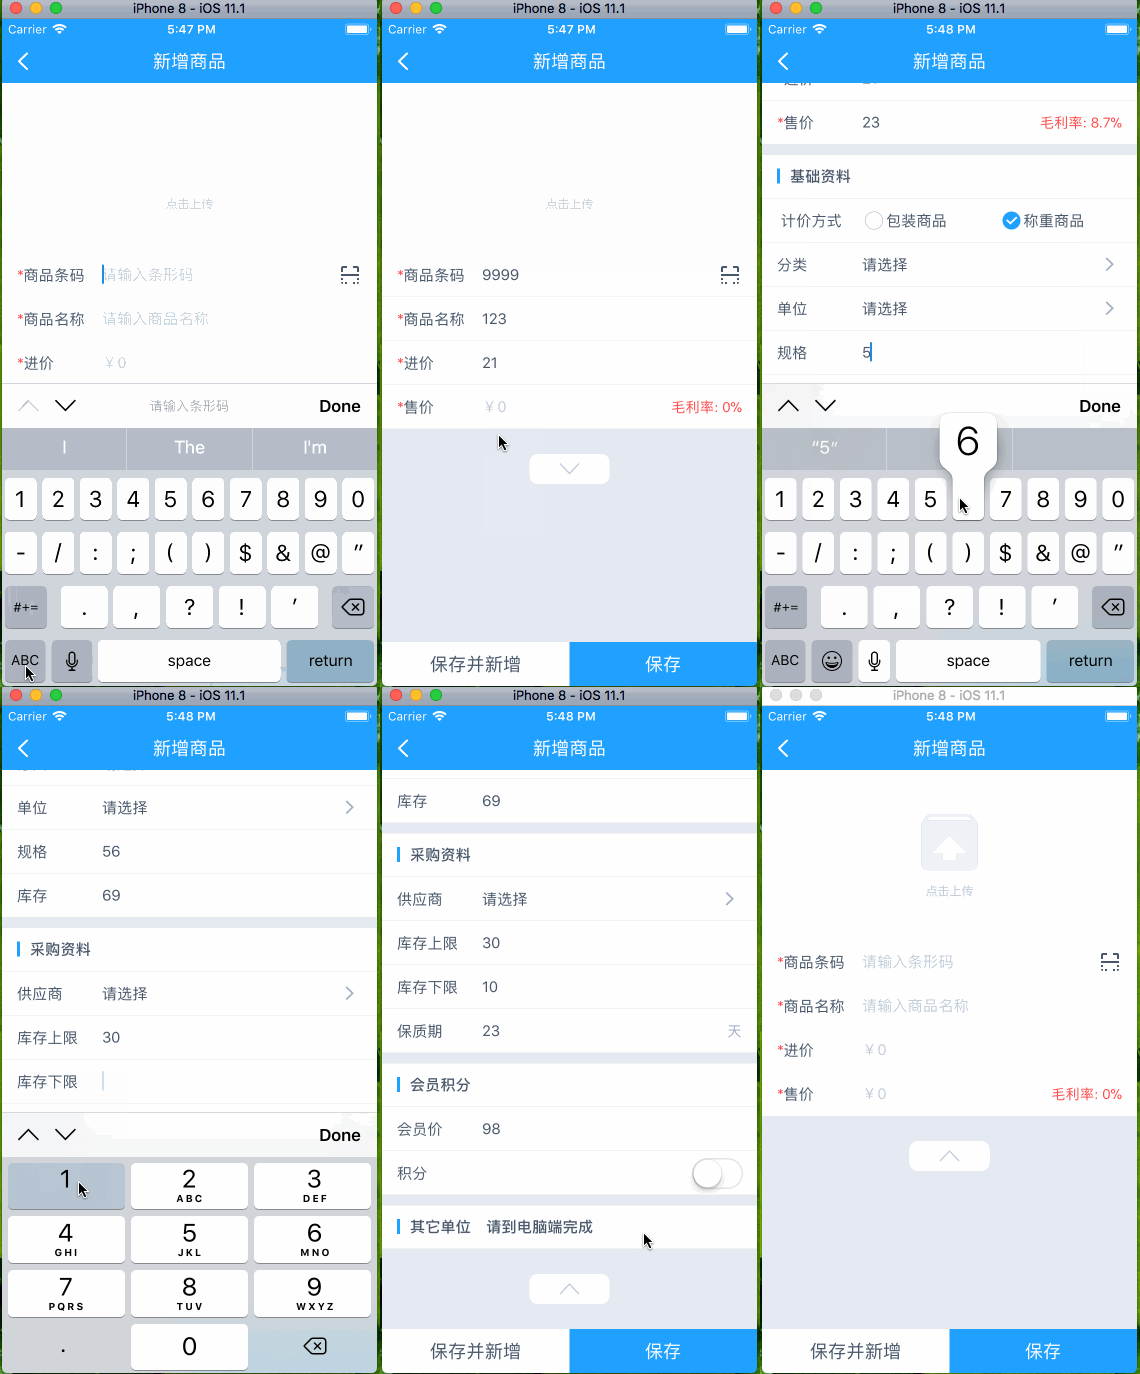
最好用的设置界面和个人信息框架,上至分割线,下到箭头,标题,详细标题,富文本标题等等统统可配置,可更新,你无须判断indexPath.row。也无须纠结如何更新cell,HSSetTableViewController一行代码帮你搞定!100%App都能用到!!目前版本已经升级到1.3.1版本,你的UIViewController只需要导入HSSetTableViewController即可。目前支持继承和分类两种实现方式,强烈建议使用分类!
本库由来背景:
- 采用model作为封装列表的想法并不稀奇,只是看过的太简单封装,并没有深度挖掘,无法扩展和自定义。
- 个人项目接触到类似界面比较多,并且都不是简单的几个点击事件能处理,传统做法太low,一次封装长期受用。
- 支持设置滑动列表位置约束,AutoLayout,横屏竖屏均适配(相对于父视图)
- 支持设置header和footer模型
- 支持最基本cell(左边标题,右边箭头)
- 支持右边文本cell(左边标题,右边文本,文本属性可配置,高度内部自适应)
- 支持开关cell(左边标题,右边switch)
- 支持图片cell(左边标题,右边图片)
- 支持cell点击和自定义cell和以及cell事件(建议使用block交互)
- 支持每个cell动态更新(如果自定义含有textField,注意失去焦点问题,此时建议用reloadData)
- Xcode 7.0以上
HSBaseCellModelHSImageCellModelHSSwitchCellModelHSTitleCellModelHSTextCellModelHSCustomCellModelHSTitleTableViewCellHSBaseTableViewCellHSImageTableViewCellHSSwitchTableViewCellHSTextTableViewCellHSCustomTableViewCellHSHeaderModelHSFooterModel
NSArray+HSSafeAccessNSBundle+HSImageNSBundle+HSImageUIColor+HSExtensionUIView+HSFrame
HSSetTableViewManagerUIViewController+HSSetTableViewHSSetTableViewMainController
- 使用 CocoaPods:
请先安装cocoapods,如果版本太老无法找到,请升级cocopods到最新版本 命令:pod repo update
- pod 'HSSetTableViewController','~> 1.3.1'
- 导入头文件:
#import <HSSetTableViewController.h>
- 直接导入:
- 拖动
HSSetTableViewController文件夹以及SDWebImage到你工程目录。 - 导入头文件:
#import "HSSetTableViewController.h"
- 拖动
- 使用方法:
- 分类使用:
初始化配置
- (void)initSetTableViewConfigureStyle:(UITableViewStyle)style;
设置header:
- (void)setTableViewHeaderArry:(NSMutableArray <HSHeaderModel *> *)headerArry;
设置footer:
- (void)setTableViewFooterArry:(NSMutableArray <HSHeaderModel *> *)headerArry;
更改tableView位置约束:
- (void)setupTableViewConstrint:(CGFloat)top left:(CGFloat)left right:(CGFloat)right bottom:(CGFloat)bottom;
- 分类使用:
初始化配置
- 继承:你的UIViewController只需要继承基类HSSetTableViewMainController即可
     //初始化tableView
    [self initSetTableViewConfigureStyle:UITableViewStyleGrouped];

  //模拟演示tableView frame改变
    dispatch_after(dispatch_time(DISPATCH_TIME_NOW, (int64_t)(3 * NSEC_PER_SEC)), dispatch_get_main_queue(), ^{
         [self setupTableViewConstrint:0 left:0 right:0 bottom:0];
    });
    [self setupTableViewConstrint:0 left:20 right:-20 bottom:0];

  //组装头部和尾部视图
    NSMutableArray *headerModels = [NSMutableArray array];
    NSMutableArray *footerModels = [NSMutableArray array];
    for(NSInteger index = 0;index <= 5;index++){
        UIView *header = [[UIView alloc] initWithFrame:CGRectMake(0, 0, HS_SCREEN_WIDTH, 30)];
        UILabel *lable = [[UILabel alloc] initWithFrame:header.bounds];
        lable.text = [NSString stringWithFormat:@"  第%d个sectionheader",(int)index];
        [header addSubview:lable];
        [header setBackgroundColor:[UIColor clearColor]];

        HSHeaderModel *headerModel = [HSHeaderModel new];
        headerModel.headerView = header;
        headerModel.headerViewHeight = 30.0f;
        [headerModels addObject:headerModel];

        UIView *footer = [[UIView alloc] initWithFrame:CGRectMake(0, 0, HS_SCREEN_WIDTH, 30)];
        lable = [[UILabel alloc] initWithFrame:footer.bounds];
        lable.text = [NSString stringWithFormat:@"  第%d个sectionfooter",(int)index];
        [footer addSubview:lable];
        [footer setBackgroundColor:[UIColor clearColor]];

        HSFooterModel *footerModel = [HSFooterModel new];
        footerModel.footerView = footer;
        footerModel.footerViewHeight = 30.0f;
        [footerModels addObject:footerModel];
    }
    [self setTableViewHeaderArry:headerModels];
    [self setTableViewFooterArry:footerModels];

    // 1.创建cell title模型
     HSTitleCellModel *cell1 = [[HSTitleCellModel alloc] initWithTitle:@"相册" actionBlock:^(HSBaseCellModel *model) {
        HSLog(@"点击相册")
    }];
    photo.icon = [UIImage imageNamed:@"MoreMyAlbum"];
    // 2. 创建右边文本显示cell(文本高度自适应)
    HSTextCellModel *cell2 = [[HSTextCellModel alloc] initWithTitle:@"文本更新" detailText:@"加班加到口吐二两鲜血" actionBlock:^(HSBaseCellModel *model) {
        NSLog(@"文本cell点击事件");
    }];
    // 3. 创建右边显示开关cell
    HSSwitchCellModel *cell3 = [[HSSwitchCellModel alloc] initWithTitle:@"开关控制" switchType:YES switchBlock:^(HSBaseCellModel *model, BOOL on) {
        NSLog(@"开关控制 --%d",on);
    }];
    //4.图片cell
    UIImage *placeHolder = [UIImage imageNamed:@"ic_icon_header"];
    HSImageCellModel *cell4 = [[HSImageCellModel alloc] initWithTitle:@"图片" placeholderImage:placeHolder imageUrl:@"http://scimg.jb51.net/170405/2-1F40522332a13.jpg" actionBlock:^(HSBaseCellModel *model) {

    } imageBlock:^{

    }];
    cell4.controlRightOffset = 40;
    cell4.showArrow = YES;

    //5.自定义cell(HSHeaderCellModel必须继承HSCustomCellModel,HSHeaderTableViewCell必须继承HSZhiHuCustomTableViewCell,cellellIdentifier为自定义model绑定的自定义cell,一样的cellellIdentifier说明cell类型是一样,如有不理解请阅读demo)
    __weak __typeof(&*self)weakSelf = self;
    HSHeaderCellModel *header = [[HSHeaderCellModel alloc] initWithCellIdentifier:@"HSHeaderTableViewCell" actionBlock:^(HSBaseCellModel *model) {
        HSHeaderCellModel *hederModel = (HSHeaderCellModel *)model;
        hederModel.text = @"奔跑吧,兄弟";
        [weakSelf updateCellModel:hederModel];
    }];
    header.text = @"天霸动霸tuo";
    header.cellHeight = 100;

    //5.添加到数据源
    NSMutableArray *section0 = [NSMutableArray arrayWithObjects:header,cell1,cell2, cell3,cell4,nil];
    [self.hs_dataArry addObject:section0];
    [self.hs_tableView reloadData];

   //6.更新每个cellModel属性后,只需要调用完成刷新
   [self updateCellModel:cell4];
- 因为涉及到更新问题,添加到数据源的形式请使用NSMutableArray,不要使用NSArray存放。
- 不是把cell模型直接放入基类数据源,是先放入NSMutableArray的形式。再用self.hs_dataArry添加NSMutableArray。
- 如果有任何问题,你可以 issues me!
- 后续将会对cell扩展和配置,希望能支持更多的主流App.
- 希望能给更多童鞋带来开发的方便,可以一起讨论,如果你喜欢请给个star。


