There is a saying that says when a wheel has already been made, why should you spend time and make the same wheel again? In response to this sentence, because I am curious, I would like to know the details of that wheel and build its structure myself.
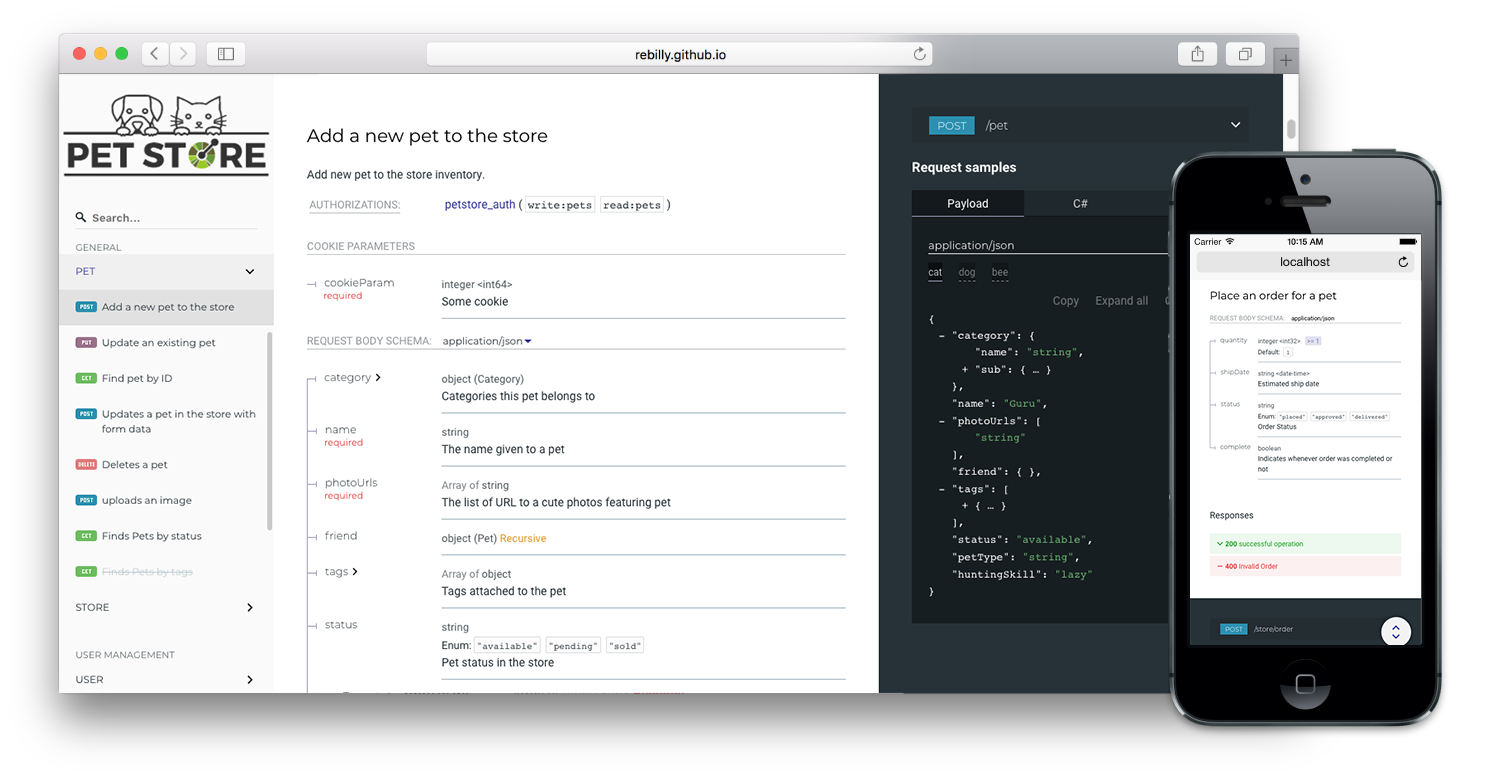
You must have seen the api-doc package on various sites and directories, api-doc is a set of instructions and technical guides designed for developers and programmers. This documentation provides information on how to use the application programming interface (API), including how to send requests, parameters, and how the service responds. The api-doc documentation is designed to help developers correctly use a service or platform, improve understanding between developers and the API provider, and increase the efficiency and quality of application development.
- Ability to create documents for specific addresses
- The possibility of sending a request in the document and displaying the output
- Ability to define authentication information and access levels
- Ability to define and edit simulated codes
-
Install package
composer require a.sharifnezhad/api-doc -
Publish the config file by running
php artisan vendor:publish --tag=apidoc-config
This will create an api-doc.php file in your config folder.
- By default, the document output is saved and updated in the
storage/app/publicdirectory. Because this directory is not public by default in Laravel, you need to run the following command to access it.php artisan storage:link
-
If you want to change the simulated codes or add another new language, follow the steps below:
code_sample => [ is_enable => true, 'directory' => '', 'language-tabs' => [ 'bash' => 'Bash', 'javascript' => 'Javascript', 'php' => 'PHP', ] ]- If you want this section to be displayed in the document or not, disable the
is_enable => truein the apidoc configuration file. - If you add a new language, you must add the name of the file created in your view directory along with the desired name in the
language-tabssection. - If you put the simulated codes in a special directory, in addition to running the following command:
After executing the above command, a directory called CodeSamples will be created in the
php artisan vendor:publish --tag=apidoc-code-sampleresources/viewsdirectory. After the directory is added, it is necessary to add the name of the directory in thedirectorysection, which is written here as'directory' => 'CodeSamples'.
- If you want this section to be displayed in the document or not, disable the
-
How to add microservice authentication information is as follows: To add authentication information, you can add all of it in the
securitysection, in the following I will give some examples that you can follow to start your cartoon.- Bearer token
'BearerAuth' => [ 'type' => 'http', 'scheme' => 'bearer', 'bearerFormat' => 'JWT', 'in' => 'header' ], - oauth2
"oauth2" => [ "type" => "oauth2", "flows" => [ "implicit" => [ "authorizationUrl" => "https=>//example.com/oauth/authorize", "scopes" => [ "read" => "Grants read access to resources", "write" => "Grants write access to resources", "admin" => "Grants administrative access to resources" ], ], ], ], - apiKey
"apiKey" => [ "type" => "apiKey", "name" => "X-API-Key", "in" => "header" ], - basicAuth
"basicAuth" => [
    "type" => "http",
    "scheme" => "basic"
],
- Bearer token
-
If you want the document property to be written from the root, it is only necessary to write its endpoint name as below
'routes' => [
    'prefixes' => [
        'api/'
    ],
],
If you want all your routes to include documents, you should put * instead of api/
php artisan apidoc:generate
This package uses these resources to generate the API documentation:
This package uses the HTTP controller doc blocks to create a table of contents and show descriptions for your API methods.
Using @group in a controller doc block creates a Group within the API documentation. All routes handled by that controller will be grouped under this group in the sidebar. The short description after the @group should be unique to allow anchor tags to navigate to this section. A longer description can be included below.
Note: using
@groupis optional. Ungrouped routes will be placed in ageneralgroup.
To specify a list of valid parameters your API route accepts, use the @bodyParam and @pathParam annotations.
- The
@bodyParamannotation takes the name of the parameter - The
@pathParamannotation takes the name of the parameter
/**
 * @group Items
 */
class GetPostController extends Controller
{
    /**
     * Store2121 item
     *
     * Add a new item to the items collection.
     * @bodyParam {
     *      "key":"name",
     *       "type":"string",
     *        "description":"The name of the item. Example: Samsung Galaxy s10",
     *         "example":"Samsung Galaxy s10"
     * }
     * @bodyParam {
     *      "key":"name2",
     *       "type":"string",
     *       "required":true,
     *        "description":"The name of the item. Example: Samsung Galaxy s10",
     *         "example":"Samsung Galaxy s10"
     * }
     * @response {
     *      "status": 302,
     *      "success": true,
     *      "data": {
     *          "id": 10,
     *          "price": 100.00,
     *          "name": "Samsung Galaxy s10"
     *      }
     * }
     **/
    public function test()
    {

    }
}
You can use the @authenticated annotation on a method to indicate if the endpoint is authenticated. A field for authentication token will be made available and marked as required on the interractive documentation.
MIT
