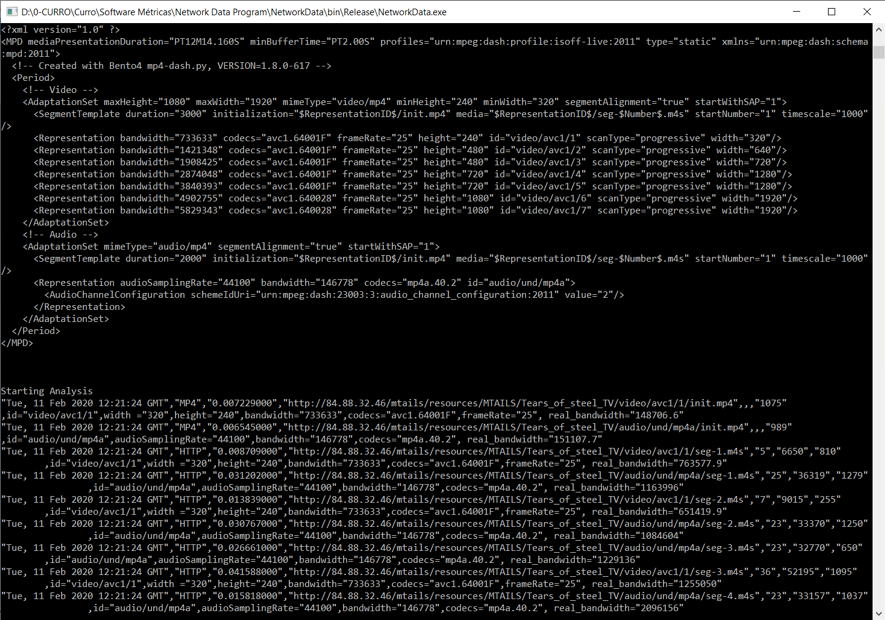
This software is designed to analyze the traffic generated by videos that follow the MPEG-DASH protocol (for adaptative streaming videos). It works both for single processes and for multi-process programs. It can extract the initial requested MPD file ( that defines the characteristics of the MPEG-DASH video), and analyze overtime the performance of the stream: quality of the video, segments requested, codecs, response time, real bandwidth… Besides analyzing MPEG-DASH traffic, it can calculate the total network usage and bandwidth of a process overtime.
git clone https://github.com/ETSE-UV/DQM-UV.git
- This software has been designed to work in Windows Systems because it makes use of the Windows’ PowerShell for several purposes and its compatibility with different OS hasn’t been tested yet.
- For the proper functioning of the application, the tool TShark (the scripting tool of Wireshark) must be installed in the computer and a route to the installation folder must be provided.
- As the software analyzes the MPEG-DASH video performance by analyzing network traffic, the connection must be unencrypted, otherwise the analysis won’t be possible.
- The route to TShark can be provided during program execution, however it is recommended to change it in the text file on the program folder to save time.
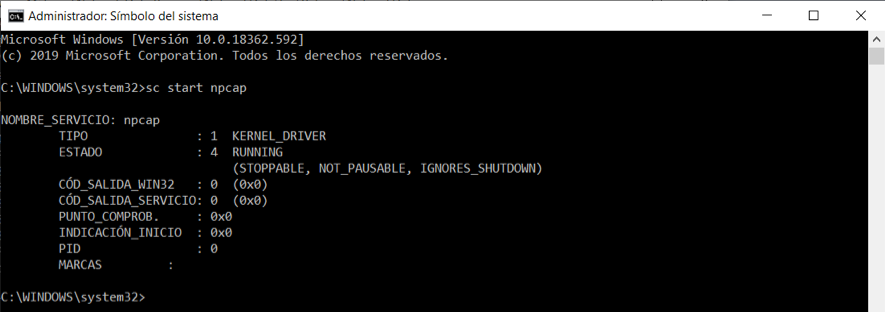
- If there doesn’t appear any interface to capture traffic it is a problem of Wireshark. To solve this issue on windows, it is necessary to open a console with administration rights and execute the order <> to start the necessary service.
- The correct functioning of the program is based in the capture of the initial MPD request. When using a browser, between executions it is necessary to delete the cookies and browsing data of the online MPEG-DASH player because if the MPD file is already stored it won’t be downloaded again and the analysis won’t be possible.
Watch a demo video of the tool by clicking on the picture below:

In this case we will only analyze the total network usage and bandwidth of a single process. We won’t be able to analyze mpeg-dash traffic.
-
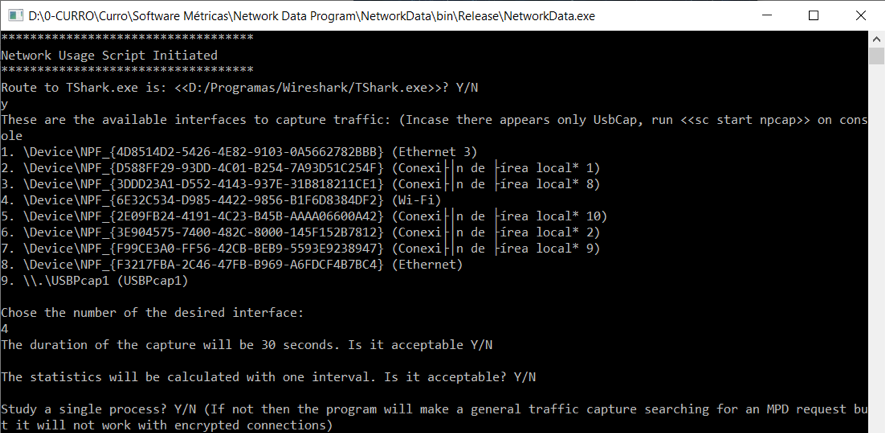
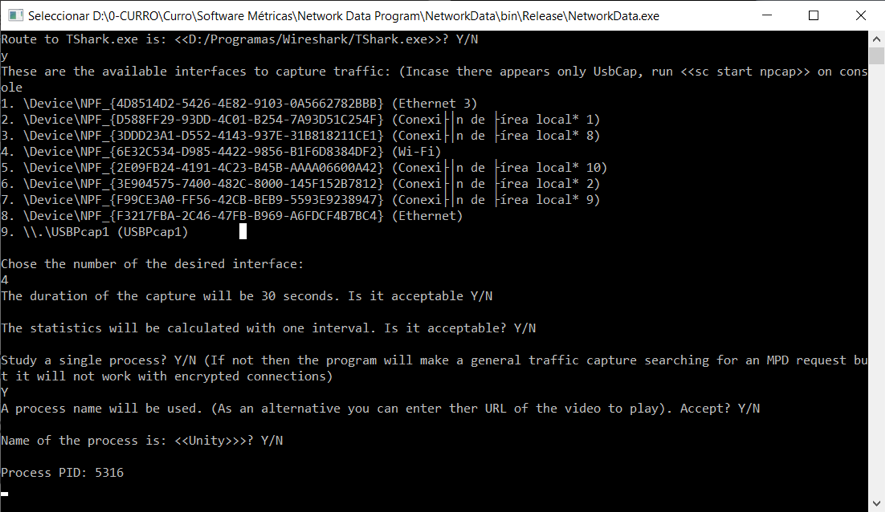
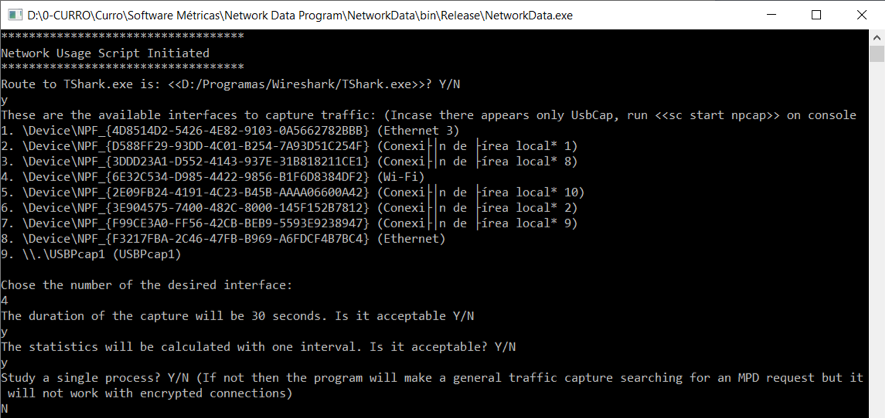
We start with the confirmation of the TShark route (it is read from a text file on the program folder).

-
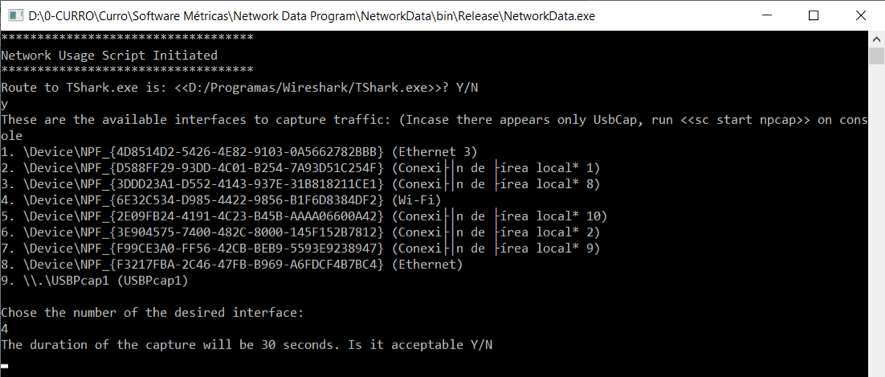
We select the network interface where we want to capture traffic.
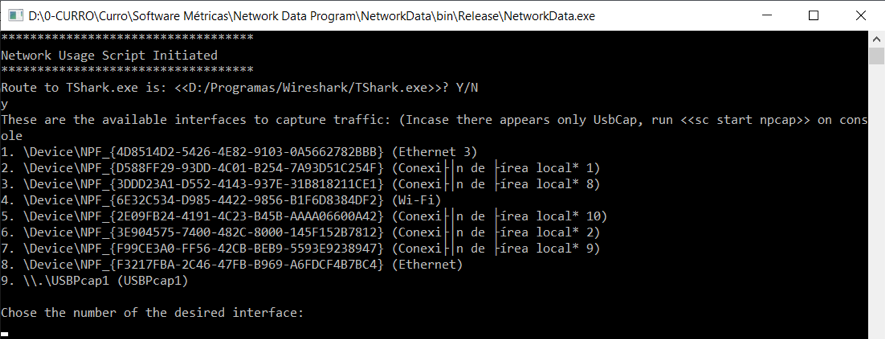 In case no interface appears we execute with administrative rights the command <>
-
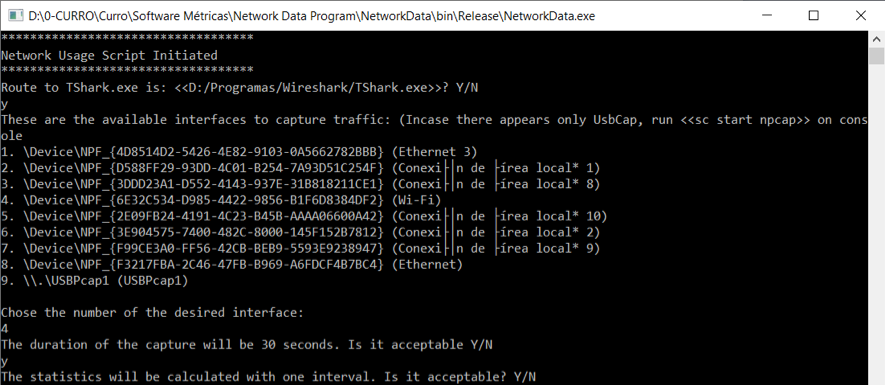
We select the time duration of the capture.
-
By default, we will use a single interval, but we can divide the capture in several time intervals.
-
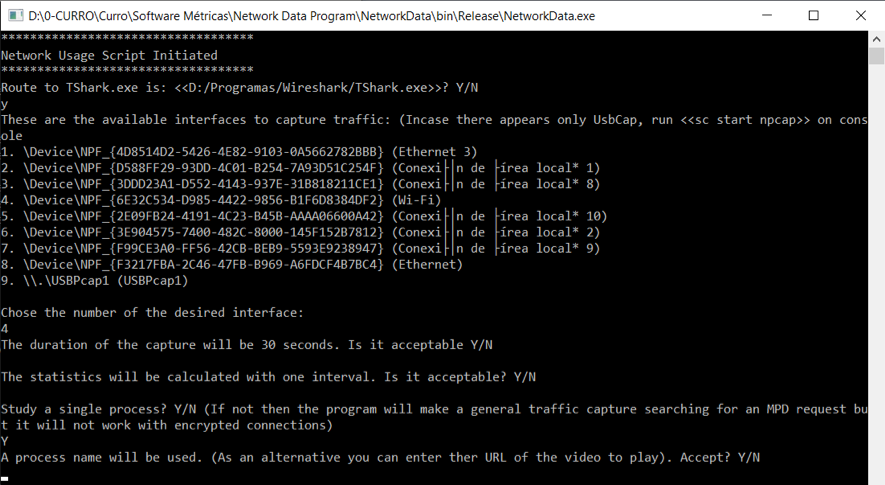
Select that we want to study a single process
-
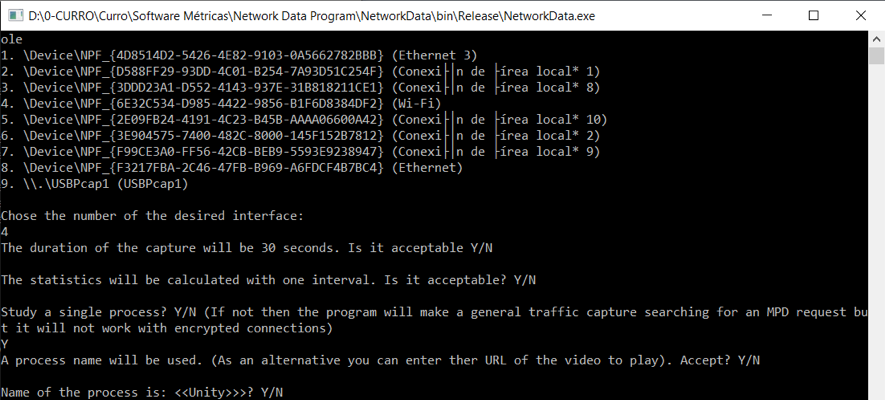
Select that we will only use a name process
-
Confirmation of process name
-
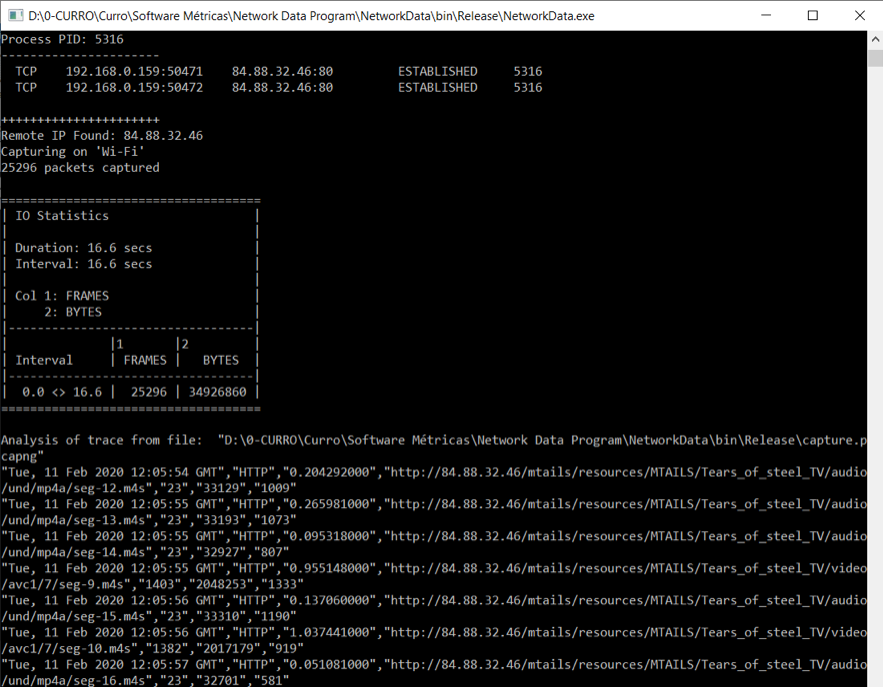
We start the process to study and make the preparations to play the video without loading it yet.
-
We start the capture and start playing the video
-
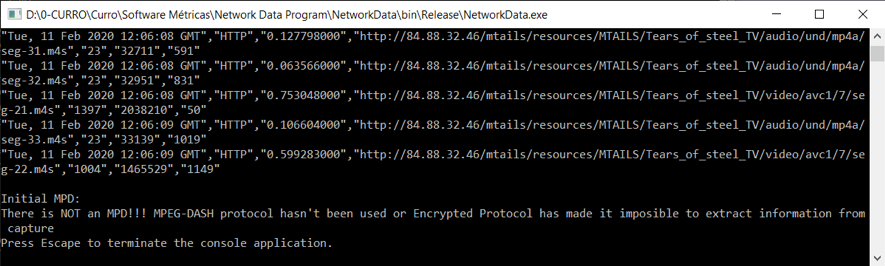
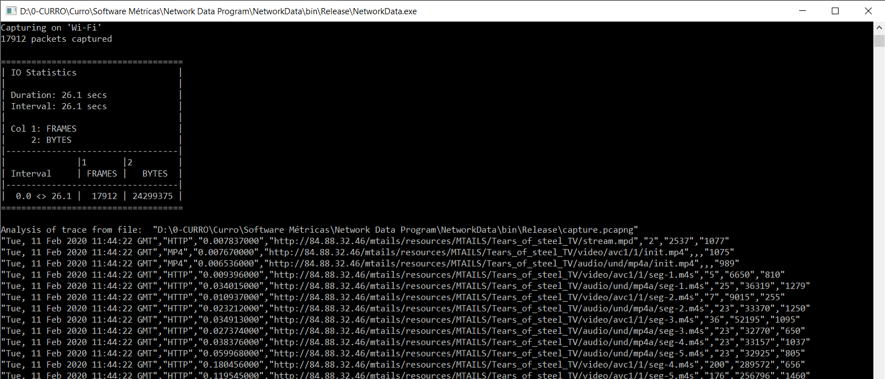
The program will detect the network connections of the process and will capture the generated traffic. However as it has to wait until the first connections are established, it misses the initial MPD request an it is not possible to analyze the MPEG-DASH traffic, but it is captured. The results will be saved in logs in the corresponding folder.

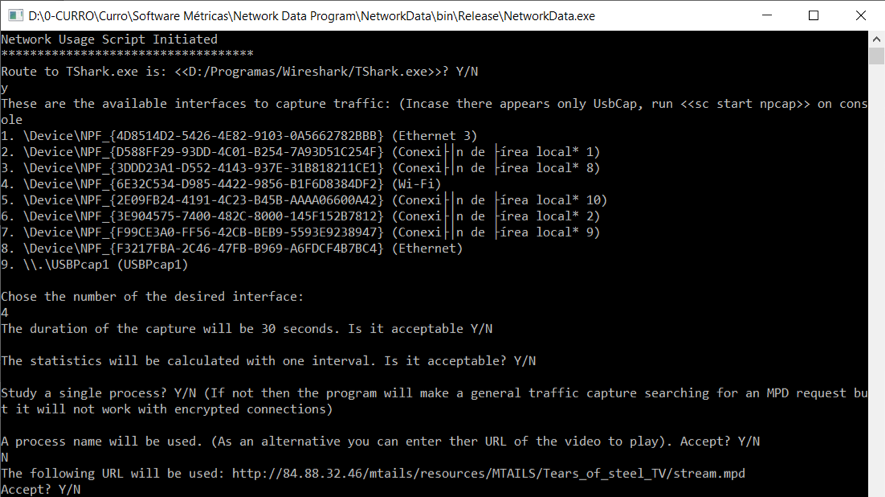
We follow the previous process up to step 5. On step 6 chose not to only use a name process.
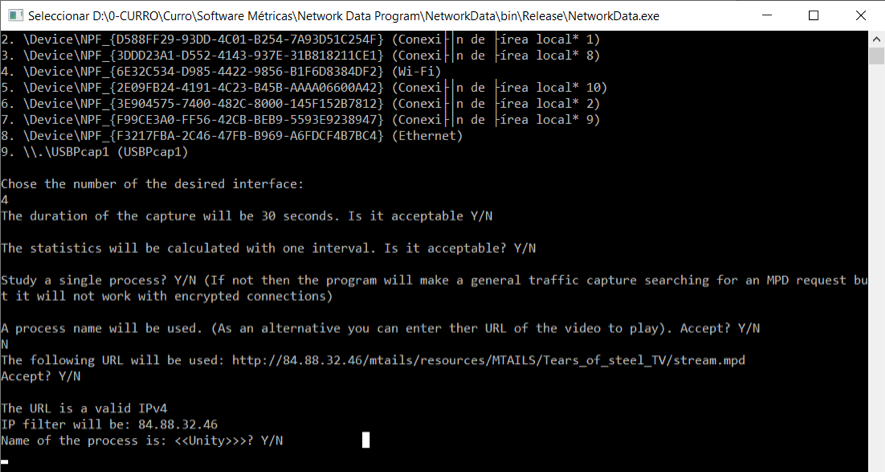
7. Provide an URL for the MPEG-DASH video. The program will check if it is a valid URL. Finally we confirm the name of the process to study.

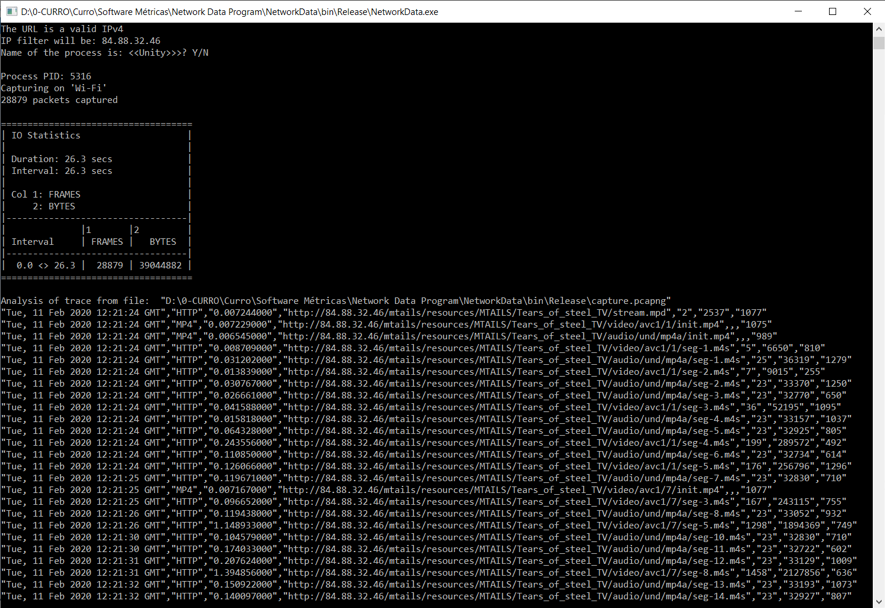
- We start the capture and then we load and play the video (if we start the video before capturing we’ll miss the initial MPD request). When the capture ends the MPD request will be shown and the MPEG-DASH traffic analyzed. The results will be stored in logs.
First we follow the previous steps up to the 5th. Then we select that we are NOT going to study a single process.
-
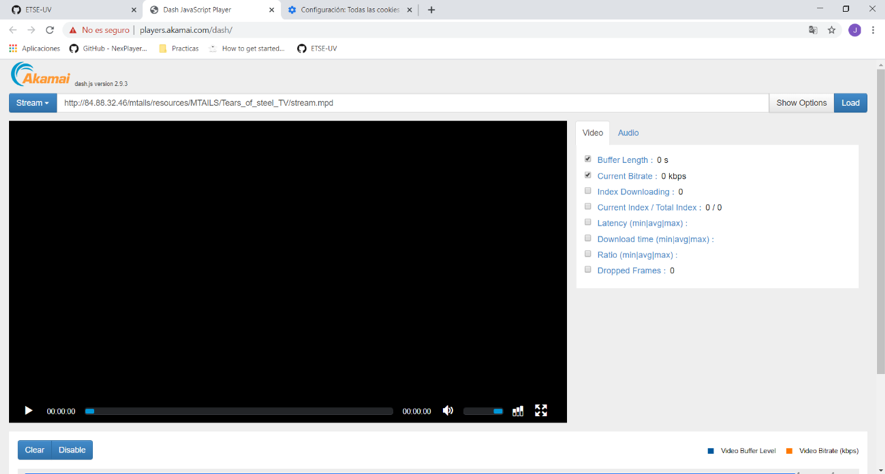
We prepare the online MPEG-DASH player without loading the video yet. We should check that the connection is not encrypted.
-
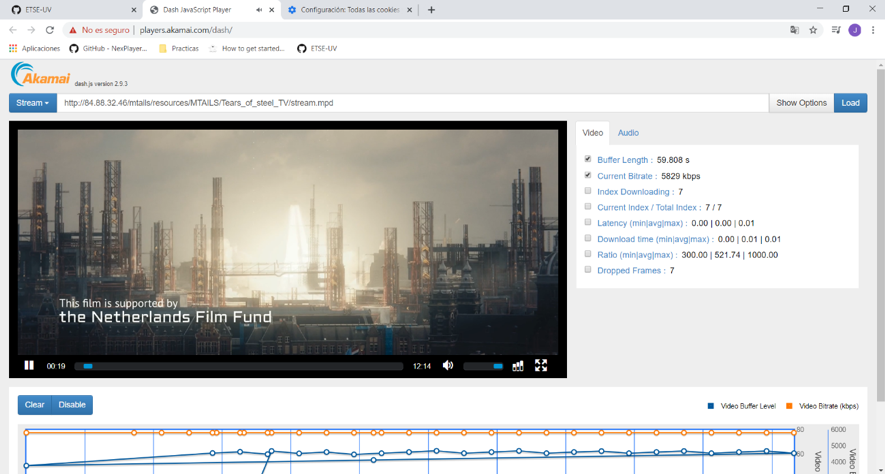
We start to capture and then we load and start the video.
-
When the capture is done the results will be shown and stored in logs.

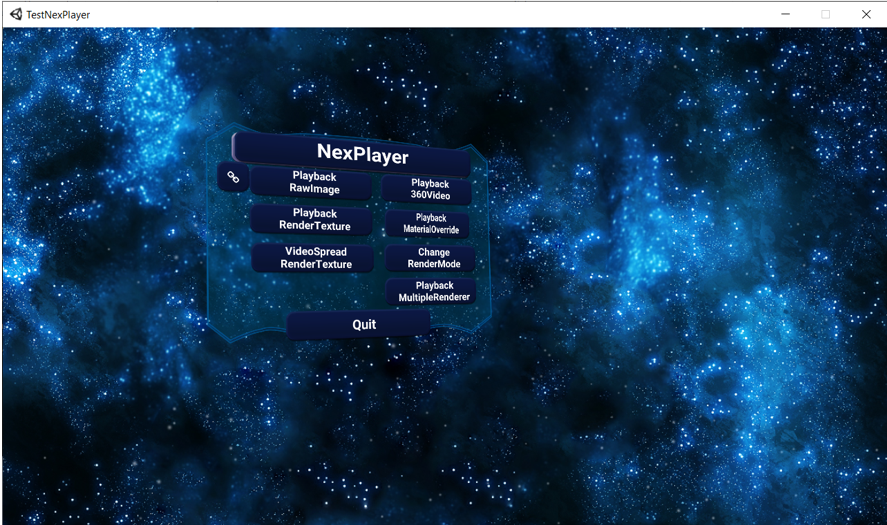
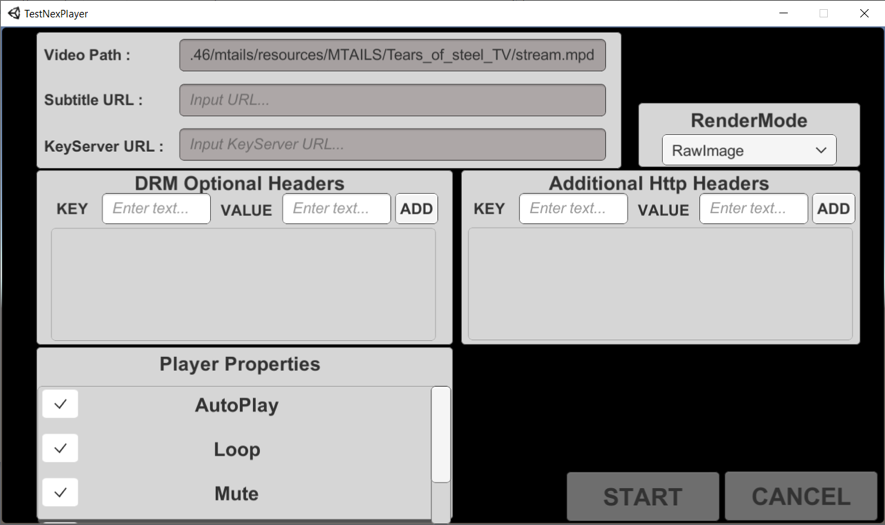
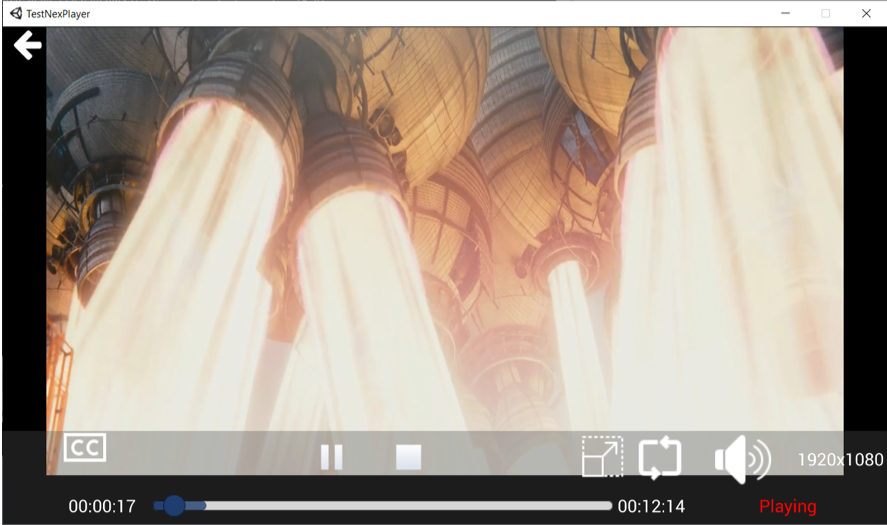
During the development of this tool we needed a single process capable of playing MPEG-DASH videos. After asking for permission, the tool we used was the plugin NexPlayer™ for Unity