This has been tested with ROS 1 Noetic, Melodic testing is underway
Our robot was configured with a standard USB camera on both the Melodic and Noetic releases. The video_stream_opencv package was used.
If roscore is not running, make sure it is running in one window
roscoreNote: for our local testing we only start ROS when testing
In another window start our camera publisher node
roslaunch video_stream_opencv camera.launchIf there are multiple cameras we need to set the appropriate video stream provider argument.
List the camera topics
rostopic list
/camera/camera_info
/camera/camera_stream/parameter_descriptions
/camera/camera_stream/parameter_updates
/camera/image_raw
/camera/image_raw/compressed
/camera/image_raw/compressed/parameter_descriptions
/camera/image_raw/compressed/parameter_updates
/camera/image_raw/compressedDepth
/camera/image_raw/compressedDepth/parameter_descriptions
/camera/image_raw/compressedDepth/parameter_updates
/camera/image_raw/theora
/camera/image_raw/theora/parameter_descriptions
/camera/image_raw/theora/parameter_updates
/rosout
/rosout_aggTested & working
Currently still testing with ROS Melodic
When installing viam-sdk on jetson running ROS 1 Melodic, it will be required to download and compile Python3.9
git clone https://github.com/shawnbmccarthy/viam-ros-camera-wrapper
cd viam-components-camera-wrapper
./setup_venv.sh
This will install our python virtual environment and install the required packages
The viam server component interface allows us to create custom components which interface
with the viam-server using the viam SDK's. Our example makes use of the Python SDK
to create custom sensors.
-
log into app.viam.com
-
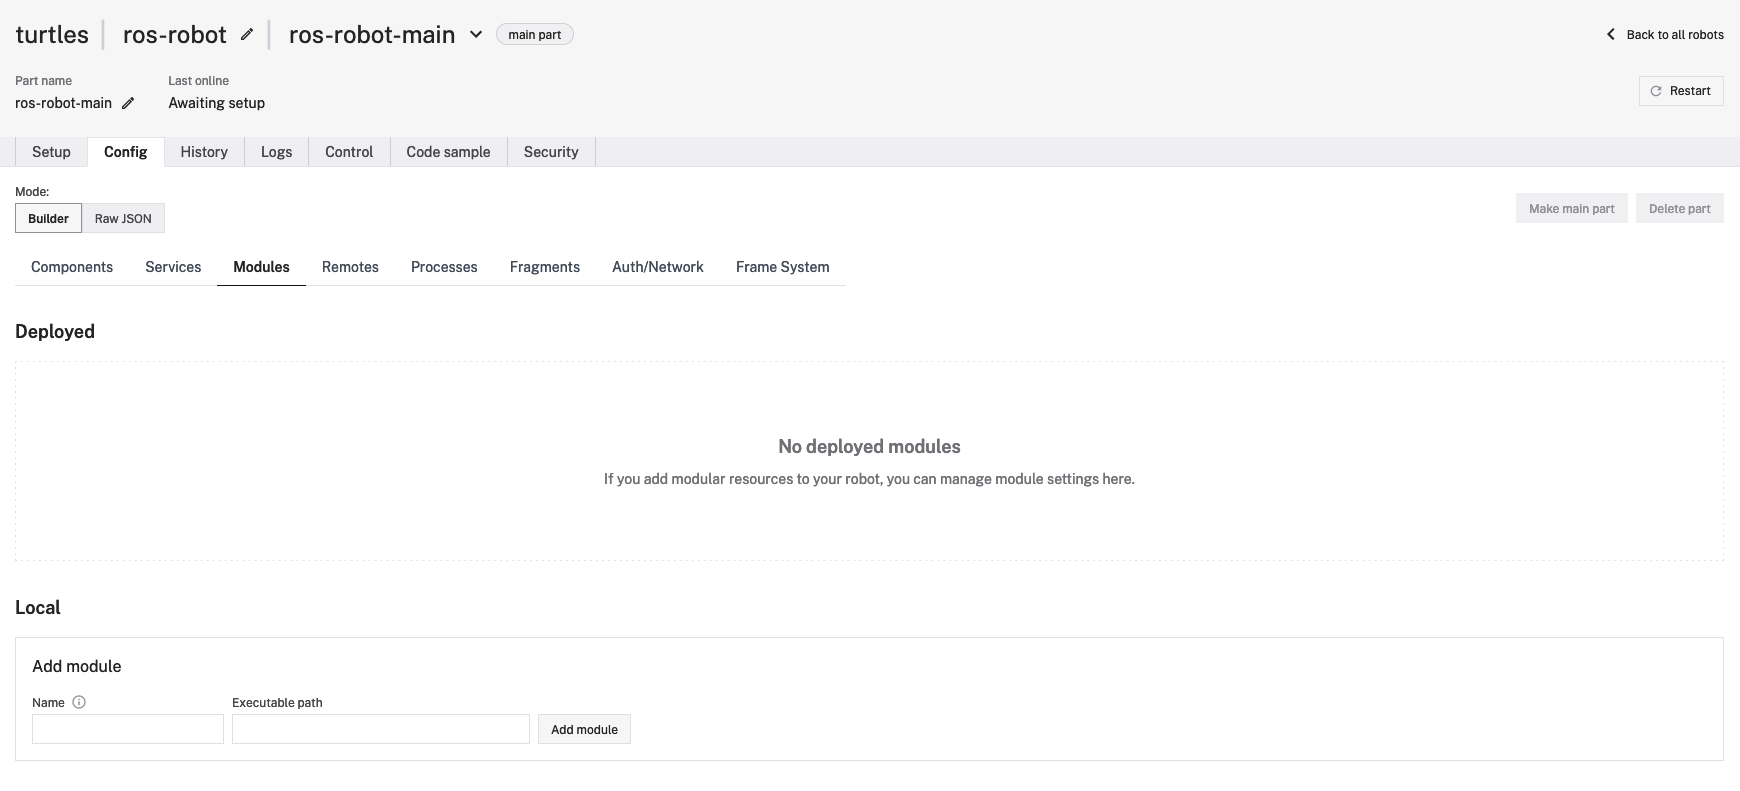
access the robot you configured, and go to the modules tab
-
give the module a name, for this example lets use
ros-moduleas the name, next set the executable to the run_module.sh (using the full path):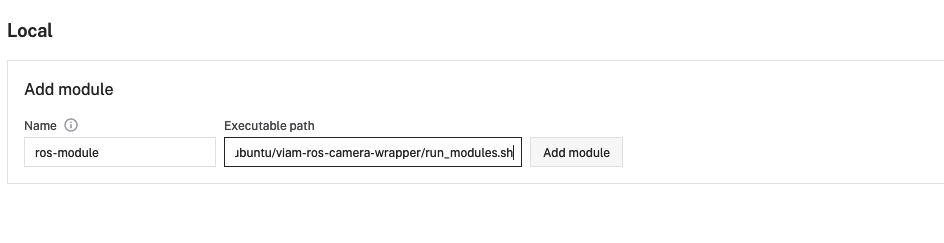
-
Now that we have created our module, we need to add the components, select
Componentstab
-
this module contains two components, a camera and a sensor. To add the camera enter:
- enter general name for the camera component (
ros_camera_demoor anything you prefer) - Select camera from the type drop down
- enter
viamlabs:ros:cameraas the type - select create component
- in the attributes window enter
{"topic": "ROS_CAMERA_TOPIC"}, whereROS_CAMERA_TOPICis the topic that produces images - select save
- enter general name for the camera component (
-
to add the sensor component
- enter general name for the sensor component (
ros_sensor_demoor anything you prefer) - Select sensor from the type drop down
- enter
viamlabs:ros:sensoras the type - select create component
- in the attributes window enter
{"topic": "ROS_SENSOR_TOPIC"}, whereROS_SENSOR_TOPICis the topic that produces images - select save
- enter general name for the sensor component (


Now go back to app.viam.com and select the Control tab of your robot and select Sensors,
here we can select Get All Readings to see the output
And go to the camera to view the image

To see how the code works view: camera_remote.py and ros_camera.py
Testing and updates to add more topics
For any questions, please email me at: shawn@viam.com