Create compelling Disco Diffusion artworks in one line
DiscoArt is an elegant way of creating compelling Disco Diffusion[*] artworks for generative artists, AI enthusiasts and hard-core developers. DiscoArt has a modern & professional API with a beautiful codebase, ensuring high usability and maintainability. It introduces handy features such as result recovery and persistence, gRPC/HTTP serving w/o TLS, post-analysis, easing the integration to larger cross-modal or multi-modal applications.
[*] Disco Diffusion is a Google Colab Notebook that leverages CLIP-Guided Diffusion to allow one to create compelling and beautiful images from text prompts.
💯 Best-in-class: industry-level engineering, top-notch code quality, lean dependencies, small RAM/VRAM footprint; important bug fixes, feature improvements vs. the original DD5.6.
👼 Available to all: smooth install for self-hosting, Google Colab free tier, non-GUI (IPython) environment, and CLI! No brainfuck, no dependency hell, no stackoverflow.
🎨 Focus on create not code: one-liner create() with a Pythonic interface, autocompletion in IDE, and powerful features. Fetch real-time results anywhere anytime, no more worry on session outrage on Google Colab. Set initial state easily for more efficient parameter exploration.
🏭 Ready for integration & production: built on top of DocArray data structure, enjoy smooth integration with Jina, CLIP-as-service and other cross-/multi-modal applications.
☁️ As-a-service: simply python -m discoart serve, DiscoArt is now a high-performance low-latency service supports gRPC/HTTP/websockets and TLS. Scaling up/down is one-line; Cloud-native features e.g. Kubernetes, Prometheus and Grafana is one-line. Unbelievable simple thanks to Jina.
Do you see the discoart-id in each tweet? To get the config & prompts, simply:
from discoart import show_config

show_config('discoart-id')Python 3.7+ and CUDA-enabled PyTorch is required.
pip install discoartThis applies to both self-hosting, Google Colab, system integration, non-GUI environments.
- Self-hosted Jupyter: to run a Jupyter Notebook on your own GPU machine, the easiest way is to use our prebuilt Docker image.
- Use it from CLI:
python -m discoart createandpython -m discoart configare CLI commands. - Use it as a service:
python -m discoart serveallows one to run it as gRPC/HTTP/websockets service.
DiscoArt is the infrastructure for creating Disco Diffusion artworks. The built-in Jupyter Notebook support gives you basic yet limited user experience, e.g. it does not offer any intuitive GUI for prompt scheduling. Note that DiscoArt is developer-centric and API-first, hence improving consumer-facing experience is out of the scope. There are services, platforms and products (not Jina AI affiliated) that already integrate DiscoArt as a service and provide nice GUI on top of it, e.g. Fever Dreams, Replicate, RunPod and Renderflux.
Click to see third-party GUI
- Fever Dreams: a free community-powered service with nice GUI and gallery, where people generate and share their DiscoArt artworks, prompts and configs.
- Replicate: a free form-based GUI of DiscoArt with sandbox user experience and the visualizations.
- RunPod: a paid GPU cloud provider that runs DiscoArt container with a simple and clean GUI to visualize the configs and creations.
- Renderflux: a paid creative art platform that wraps DiscoArt and provides end-to-end GUI for creation management.
Please be aware that these platforms, products or companies are not affiliated with Jina AI. They define their own terms of services, paywall and data and privacy policies, which are not in the scope of DiscoArt MIT License.
from discoart import create

da = create()
That's it! It will create with the default text prompts and parameters.
Supported parameters are listed here. You can specify them in create():
from discoart import create

da = create(
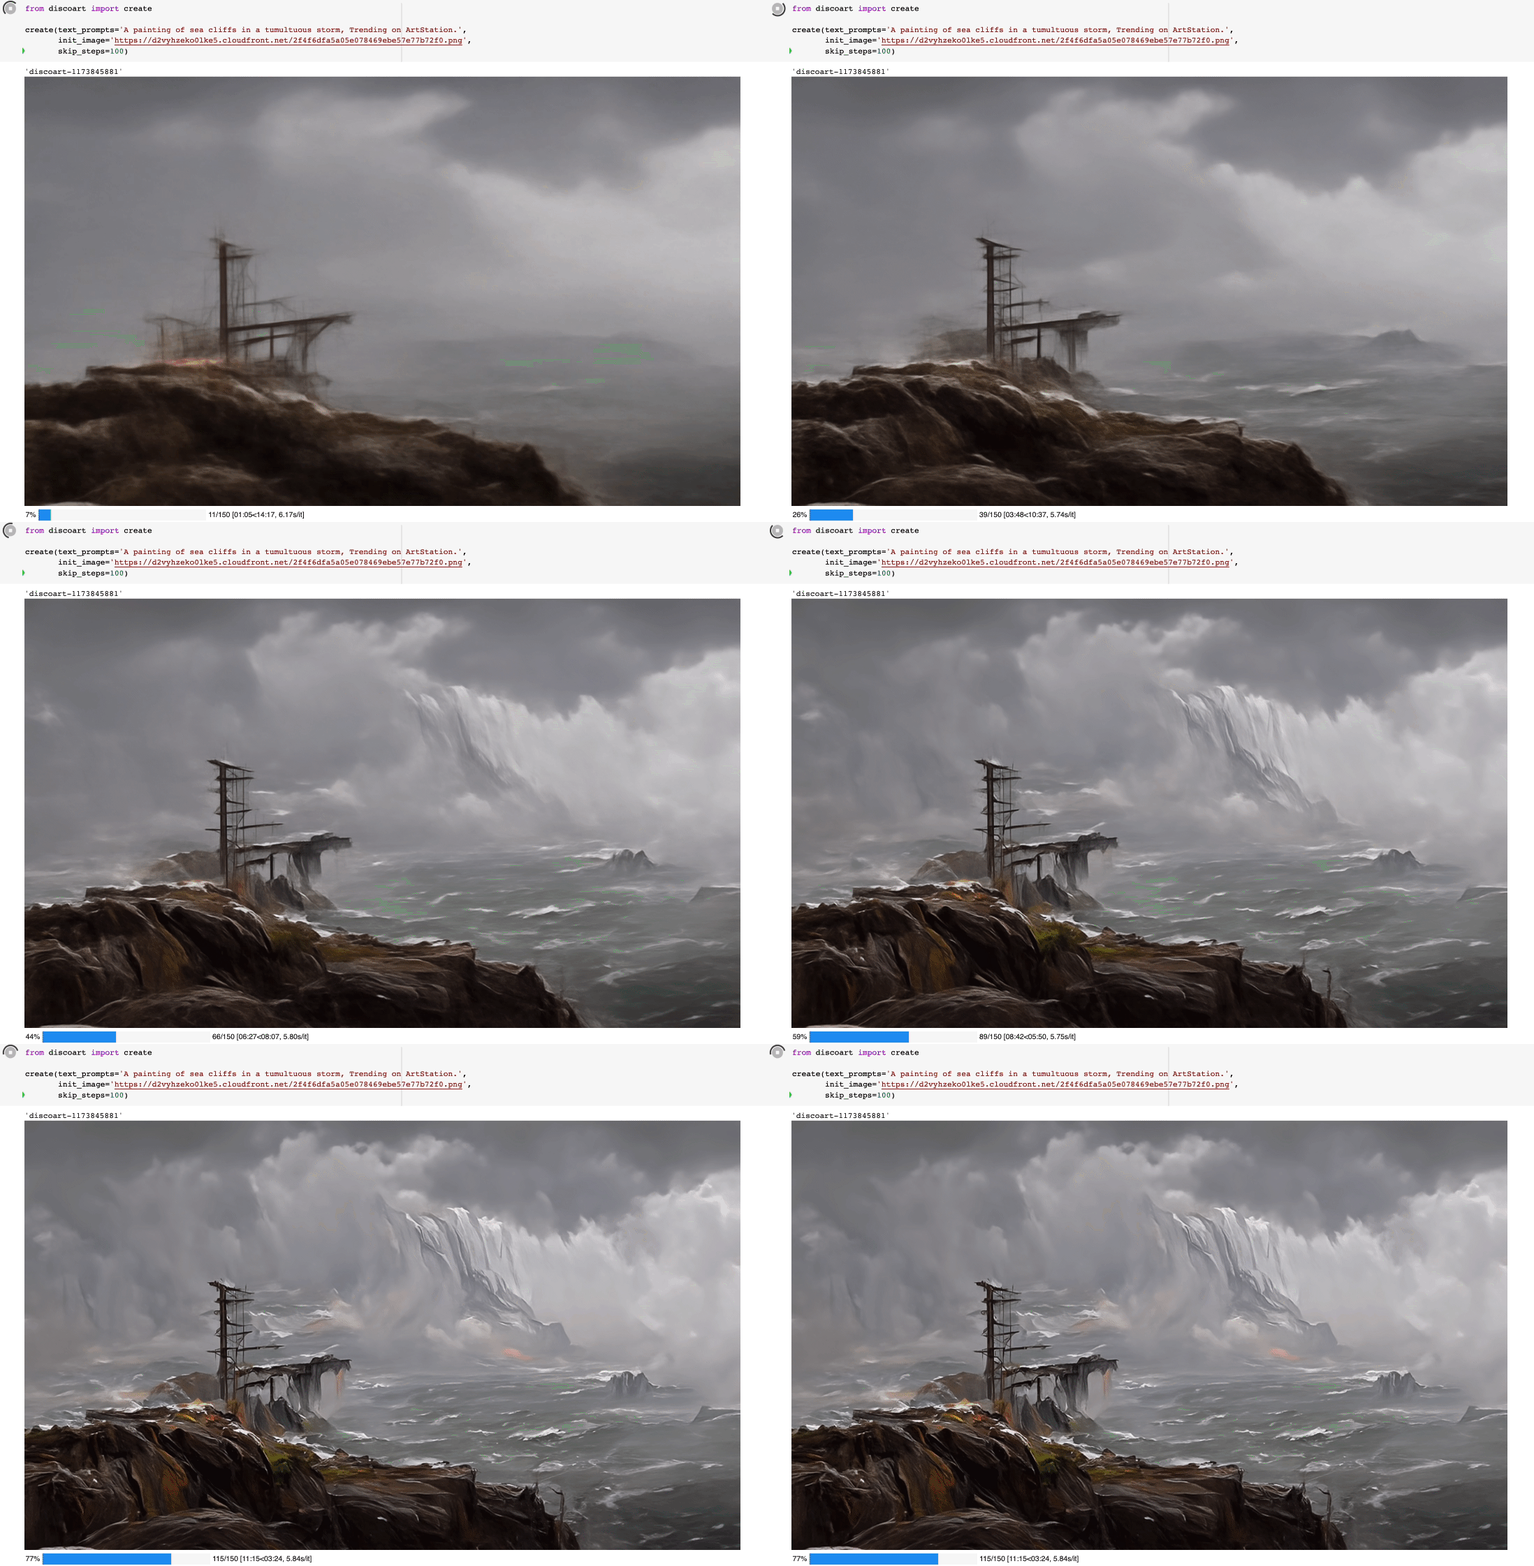
    text_prompts='A painting of sea cliffs in a tumultuous storm, Trending on ArtStation.',
    init_image='https://d2vyhzeko0lke5.cloudfront.net/2f4f6dfa5a05e078469ebe57e77b72f0.png',
    skip_steps=100,
)
In case you forgot a parameter, just lookup the cheatsheet at anytime:
from discoart import cheatsheet

cheatsheet()
The difference on the parameters between DiscoArt and DD5.6 is explained here.
Final results and intermediate results are created under the current working directory, i.e.
./{name-docarray}/{i}-done.png
./{name-docarray}/{i}-step-{j}.png
./{name-docarray}/{i}-progress.png
./{name-docarray}/{i}-progress.gif
./{name-docarray}/da.protobuf.lz4
where:
name-docarrayis the name of the run, you can specify it otherwise it is a random name.i-*is up to the value ofn_batches.*-done-*is the final image on done.*-step-*is the intermediate image at certain step, updated in real-time.*-progress.pngis the sprite image of all intermediate results so far, updated in real-time.*-progress.gifis the animated gif of all intermediate results so far, updated in real-time.da.protobuf.lz4is the compressed protobuf of all intermediate results so far, updated in real-time.
The save frequency is controlled by save_rate.
Moreover, create() returns da, a DocumentArray-type object. It contains the following information:
- All arguments passed to
create()function, including seed, text prompts and model parameters. - 4 generated image and its intermediate steps' images, where
4is determined byn_batchesand is the default value.
This allows you to further post-process, analyze, export the results with powerful DocArray API.
Images are stored as Data URI in .uri, to save the first image as a local file:
da[0].save_uri_to_file('discoart-result.png')To save all final images:
for idx, d in enumerate(da):
    d.save_uri_to_file(f'discoart-result-{idx}.png')
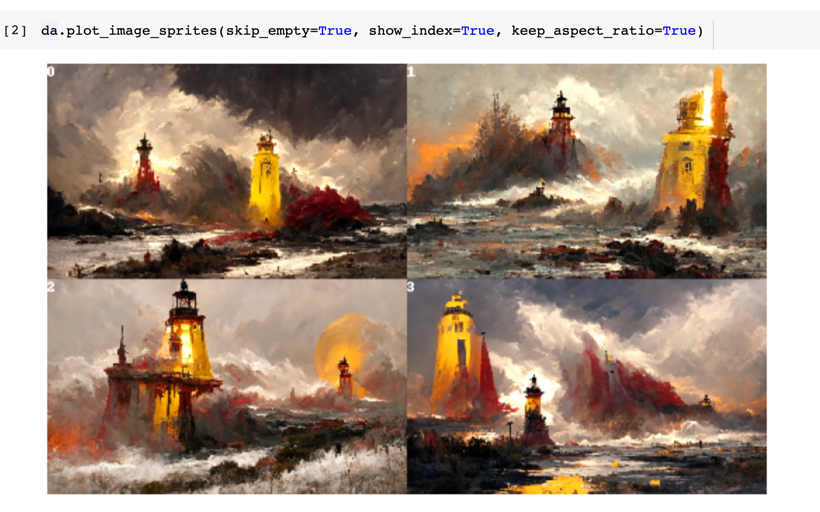
You can also display all four final images in a grid:
da.plot_image_sprites(skip_empty=True, show_index=True, keep_aspect_ratio=True)Or display them one by one:
for d in da:
    d.display()
Or take one particular run:
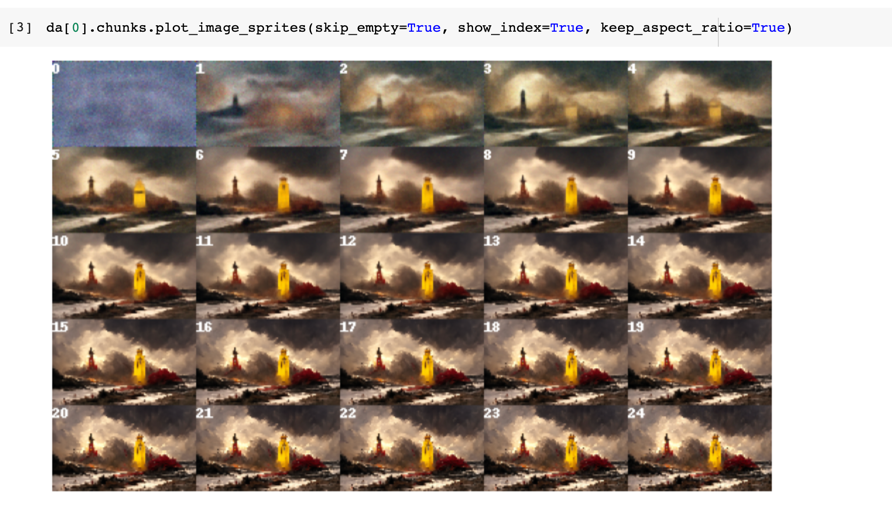
da[0].display()You can also zoom into a run (say the first run) and check out intermediate steps:
da[0].chunks.plot_image_sprites(
    skip_empty=True, show_index=True, keep_aspect_ratio=True
)
You can .display() the chunks one by one, or save one via .save_uri_to_file(), or save all intermediate steps as a GIF:
da[0].chunks.save_gif(
    'lighthouse.gif', show_index=True, inline_display=True, size_ratio=0.5
)
Note that >=0.7.14, a 20FPS gif is generated which includes all intermedidate steps.
To show the config of a Document/DocumentArray,
from discoart import show_config

show_config(da)  # show the config of the first run
show_config(da[3])  # show the config of the fourth run
show_config(
    'discoart-06030a0198843332edc554ffebfbf288'
)  # show the config of the run with a known DocArray ID
To save the config of a Document/DocumentArray,
from discoart import save_config

save_config(da, 'my.yml')  # save the config of the first run
save_config(da[3], 'my.yml')  # save the config of the fourth run
To run create from a YAML config of Document/DocumentArray,
from discoart import create, load_config

config = load_config('my.yml')
create(**config)
You can also export the config as an SVG image:
from discoart.config import save_config_svg

save_config_svg(da)
One can also generate runnable Python code directly from the config:
from discoart.config import export_python

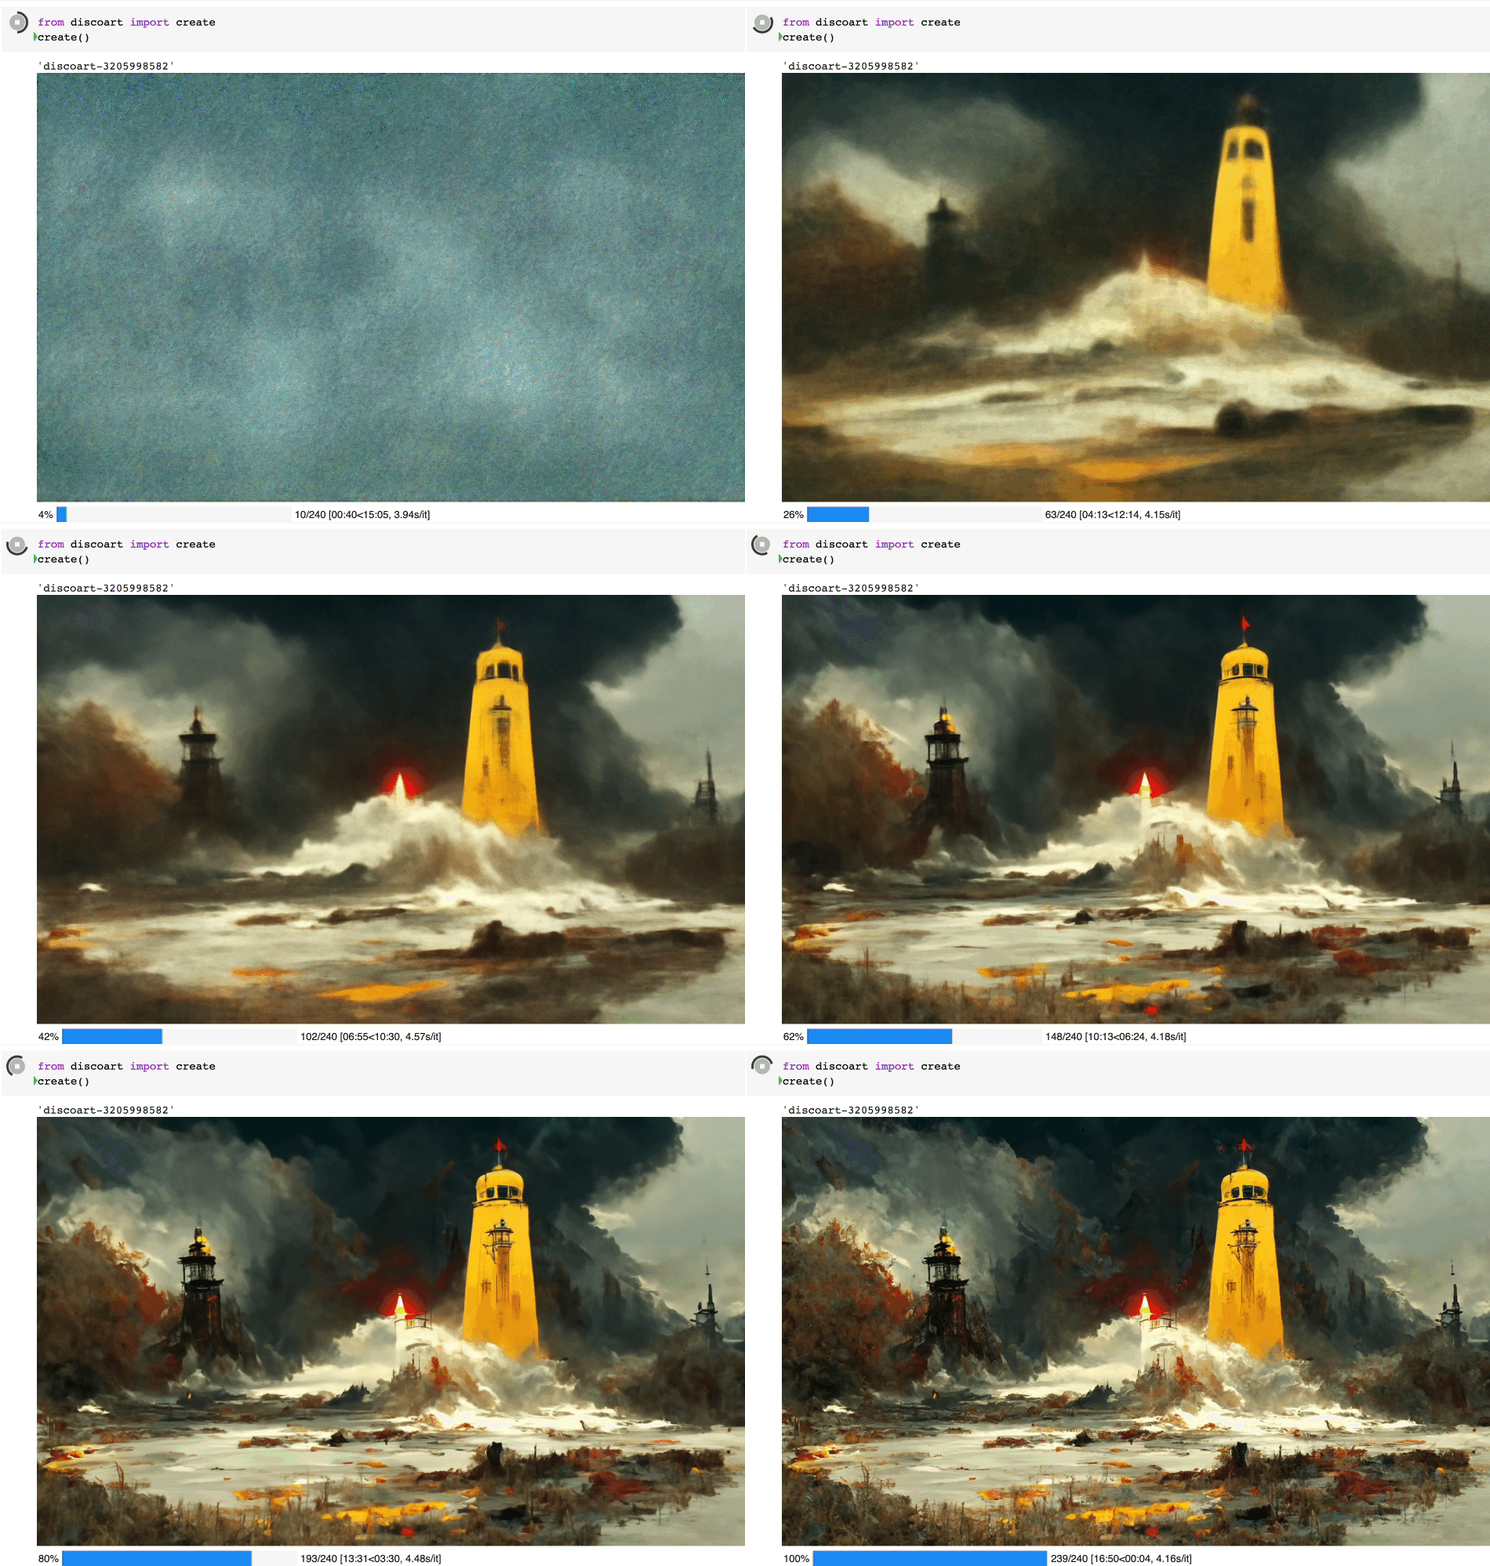
export_python(da)If you are a free-tier Google Colab user, one annoy thing is the lost of sessions from time to time. Or sometimes you just early stop the run as the first image is not good enough, and a keyboard interrupt will prevent .create() to return any result. Either case, you can easily recover the results by pulling the last session ID.
-
Pull the result via that ID on any machine at any time, not necessarily on Google Colab:
from docarray import DocumentArray

da = DocumentArray.pull('discoart-3205998582')
Consider a Document as a self-contained data with config and image, one can use it as the initial state for the future run. Its .tags will be used as the initial parameters; .uri if presented will be used as the initial image.
from discoart import create
from docarray import DocumentArray

da = DocumentArray.pull('discoart-3205998582')

create(
    init_document=da[0],
    cut_ic_pow=0.5,
    tv_scale=600,
    cut_overview='[12]*1000',
    cut_innercut='[12]*1000',
    use_secondary_model=False,
)
If you just want to initialize from a known DocArray ID, then simply:
from discoart import create

create(init_document='discoart-3205998582')You can set environment variables to control the meta-behavior of DiscoArt. The environment variables must be set before importing DiscoArt, either in Bash or in Python via os.environ.
DISCOART_LOG_LEVEL='DEBUG' # more verbose logs
DISCOART_OPTOUT_CLOUD_BACKUP='1' # opt-out from cloud backup
DISCOART_DISABLE_IPYTHON='1' # disable ipython dependency
DISCOART_DISABLE_RESULT_SUMMARY='1' # disable result summary after the run ends
DISCOART_DEFAULT_PARAMETERS_YAML='path/to/your-default.yml' # use a custom default parameters file
DISCOART_CUT_SCHEDULES_YAML='path/to/your-schedules.yml' # use a custom cut schedules file
DISCOART_MODELS_YAML='path/to/your-models.yml' # use a custom list of models file
DISCOART_OUTPUT_DIR='path/to/your-output-dir' # use a custom output directory for all images and results
DISCOART_CACHE_DIR='path/to/your-cache-dir' # use a custom cache directory for models and downloads
DISCOART_DISABLE_REMOTE_MODELS='1' # disable the listing of diffusion models on Github, remote diffusion models allows user to use latest models without updating the codebase.
DISCOART_REMOTE_MODELS_URL='https://yourdomain/models.yml' # use a custom remote URL for fetching models list
DISCOART_DISABLE_CHECK_MODEL_SHA='1' # disable checking local model SHA matches the remote model SHA
DISCOART_DISABLE_TQDM='1' # disable tqdm progress bar on diffusionDiscoArt provides two commands create and config that allows you to run DiscoArt from CLI.
python -m discoart create my.ymlwhich creates artworks from the YAML config file my.yml. You can also do:
cat config.yml | python -m discoart createSo how can I have my own my.yml and what does it look like? That's the second command:
python -m discoart config my.ymlwhich forks the default YAML config and export them to my.yml. Now you can modify it and run it with python -m discoart create command.
If no output path is specified, then python -m discoart config will print the default config to stdout.
To get help on a command, add --help at the end, e.g.:
python -m discoart create --helpusage: python -m discoart create [-h] [YAML_CONFIG_FILE]
positional arguments:
YAML_CONFIG_FILE The YAML config file to use, default is stdin.
optional arguments:
-h, --help show this help message and exit
Serving DiscoArt is super easy. Simply run the following command:
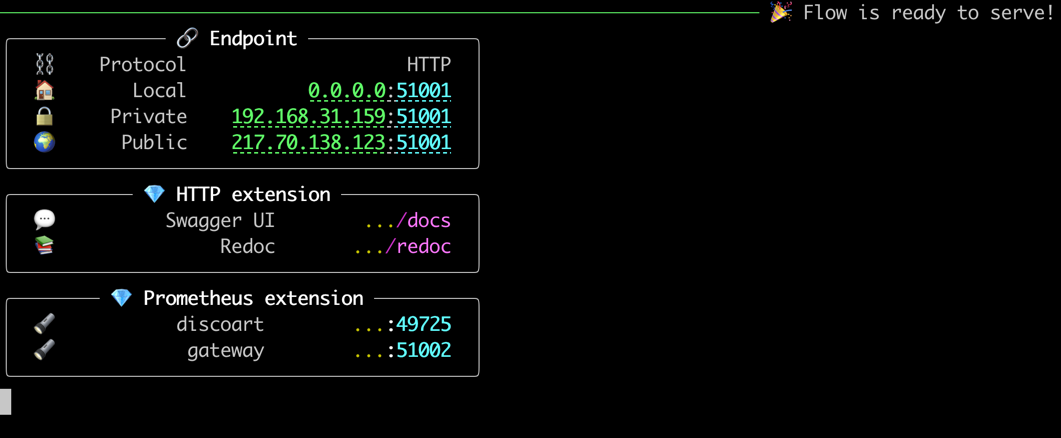
python -m discoart serveYou shall see:
Now send request to the server via curl/Javascript, e.g.
curl \
-X POST http://0.0.0.0:51001/post \
-H 'Content-Type: application/json' \
-d '{"execEndpoint":"/create", "parameters": {"text_prompts": ["A beautiful painting of a singular lighthouse", "yellow color scheme"]}}'
That's it.
You can of course pass all parameters that accepted by create() function in the JSON.
We already know that create function is slow even on GPU it could take 10 minutes to finish an artwork. This means the after sending the above request, the client will have to wait 10 minutes for the response. There is nothing wrong with this behavior given that everything runs synchronously. However, in practice, client may expect a progress or intermediate results in the middle instead of waiting for the end.
/result endpoint is designed for this purpose. It will return the intermediate results as soon as they are available. All you need is to specify name_docarray in the request parameters as you specified in /create endpoint. Here is an example:
Let's create mydisco-123 by sending the following request to /create endpoint:
curl \
-X POST http://0.0.0.0:51001/post \
-H 'Content-Type: application/json' \
-d '{"execEndpoint":"/create", "parameters": {"name_docarray": "mydisco-123", "text_prompts": ["A beautiful painting of a singular lighthouse", "yellow color scheme"]}}'
Now that the above request is being processed on the server, you can periodically check mydisco-123 progress by sending the following request to /result endpoint:
curl \
-X POST http://0.0.0.0:51001/post \
-H 'Content-Type: application/json' \
-d '{"execEndpoint":"/result", "parameters": {"name_docarray": "mydisco-123"}}'
A JSON will be returned with up-to-date progress, with image as DataURI, loss, steps etc. The JSON Schema of Document/DocumentArray is described here.
Note, /result won't be blocked by /create thanks to the smart routing of Jina Gateway. To learn/play more about those endpoints, you can check ReDoc or the Swagger UI embedded in the server.
Send to /skip, to skip the current run and move to the next run as defined in n_batches:
curl \
-X POST http://0.0.0.0:51001/post \
-H 'Content-Type: application/json' \
-d '{"execEndpoint":"/skip"}'
Send to /stop, to stop the current run cancel all runs n_batches:
curl \
-X POST http://0.0.0.0:51001/post \
-H 'Content-Type: application/json' \
-d '{"execEndpoint":"/stop"}'It is possible to have an unblocked /create endpoint: the client request to /create will be immediately returned, without waiting for the results to be finished. You now have to fully rely on /result to poll the result.
To enable this feature:
- Copy-paste the default
flow.ymlfile tomyflow.yml; - Change
floating: falsetofloating: trueunderdiscoartexecutor section; - Run the following command:
python -m discoart serve myflow.yml
Beware that the request velocity is now under your control. That is, if the client sends 10 /create requests in a second, then the server will start 10 create() in parallel! This can easily lead to OOM. Hence, the suggestion is only enabling this feature if you are sure that the client is not sending too many requests, e.g. you control the client request rate; or you are using DiscoArt behind a BFF (backend for frontend).
If you have multiple GPUs and you want to run multiple DiscoArt instances in parallel by leveraging GPUs in a time-multiplexed fashion, you can copy-paste the default flow.yml file and modify it as follows:
jtype: Flow
with:
  protocol: http
  monitoring: true
  port: 51001
  port_monitoring: 51002  # prometheus monitoring port
  env:
    JINA_LOG_LEVEL: debug
    DISCOART_DISABLE_IPYTHON: 1
    DISCOART_DISABLE_RESULT_SUMMARY: 1
executors:
  - name: discoart
    uses: DiscoArtExecutor
    env:
      CUDA_VISIBLE_DEVICES: RR0:3  # change this if you have multiple GPU
    replicas: 3  # change this if you have larger VRAM
  - name: poller
    uses: ResultPoller
Here replicas: 3 says spawning three DiscoArt instances, CUDA_VISIBLE_DEVICES: RR0:3 makes sure they use the first three GPUs in a round-robin fashion.
Name it as myflow.yml and then run
python -m discoart serve myflow.ymlThanks to Jina, there are tons of things you can customize! You can change the port number; change protocol to gRPC/Websockets; add TLS encryption; enable/disable Prometheus monitoring; you can also export it to Kubernetes deployment bundle simply via:
jina export kubernetes myflow.ymlFor more features and YAML configs, please check out Jina docs.
To switch from HTTP to gRPC gateway is simple:
jtype: Flow
with:
  protocol: grpc
...
and then restart the server.
There are multiple advantages of using gRPC gateway:
- Much faster and smaller network overhead.
- Feature-rich, like compression, status monitoring, etc.
In general, if you are using the DiscoArt server behind a BFF (backend for frontend), or your DiscoArt server does not directly serve HTTP traffic from end-users, then you should use gRPC protocol.
To communicate with a gRPC DiscoArt server, one can use a Jina Client:
# !pip install jina
from jina import Client

c = Client(host='grpc://0.0.0.0:51001')

da = c.post(
    '/create',
    parameters={
        'name_docarray': 'mydisco-123',
        'text_prompts': [
            'A beautiful painting of a singular lighthouse',
            'yellow color scheme',
        ],
    },
)

# check intermediate results
da = c.post('/result', parameters={'name_docarray': 'mydisco-123'})
To use an existing Document/DocumentArray as init Document for create:
from jina import Client

c = Client(host='grpc://0.0.0.0:51001')

old_da = create(...)

da = c.post(
    '/create',
    old_da,  # this can be a DocumentArray or a single Document
    parameters={
        'width_height': [1024, 768],
    },
)
This equals to run create(init_document=old_da, width_height=[1024, 768]) on the server. Note:
- follow-up parameters have higher priorities than the parameters in
init_document. - if
init_documentis a DocumentArray, then the first Document in the array will be used as the init Document. - there is no need to do any serialization before sending, Jina automatically handles it.
Though not recommended, it is also possible to use Google Colab to host DiscoArt server. Please check out the following tutorials:
We provide a prebuilt Docker image for running DiscoArt out of the box. To update Docker image to latest version:
docker pull jinaai/discoart:latestThe default entrypoint is starting a Jupyter notebook
# docker build . -t jinaai/discoart  # if you want to build yourself
docker run -p 51000:8888 -v $(pwd):/home/jovyan/ -v $HOME/.cache:/root/.cache --gpus all jinaai/discoart
Now you can visit http://127.0.0.1:51000 to access the notebook
You can use it on Windows Subsystem for Linux (WSL), Check the official guide here.
# Make sure you install Windows 11 or Windows 10, version 21H2
docker run -p 8888:8888 -v $HOME/.cache:/root/.cache --gpus all jinaai/discoart# docker build . -t jinaai/discoart # if you want to build yourself
docker run --entrypoint "python" -p 51001:51001 -v $(pwd):/home/jovyan/ -v $HOME/.cache:/root/.cache --gpus all jinaai/discoart -m discoart serveYour DiscoArt server is now running at http://127.0.0.1:51001.
Docker images are built on every release, so one can lock it to a specific version, say 0.5.1:
docker run -p 51000:8888 -v $(pwd):/home/jovyan/ -v $HOME/.cache:/root/.cache --gpus all jinaai/discoart:0.5.1😎 If you are already a DD user: you are ready to go! There is no extra learning, DiscoArt respects the same parameter semantics as DD5.6. So just unleash your creativity! Read more about their differences here.
You can always do from discoart import cheatsheet; cheatsheet() to check all new/modified parameters.
👶 If you are a DALL·E Flow or new user: you may want to take step by step, as Disco Diffusion works in a very different way than DALL·E. It is much more advanced and powerful: e.g. Disco Diffusion can take weighted & structured text prompts; it can initialize from a image with controlled noise; and there are way more parameters one can tweak. Impatient prompt like "armchair avocado" will give you nothing but confusion and frustration. I highly recommend you to check out the following resources before trying your own prompt:
- Zippy's Disco Diffusion Cheatsheet v0.3
- EZ Charts - Diffusion Parameter Studies
- Disco Diffusion 70+ Artist Studies
- A Traveler’s Guide to the Latent Space
- Disco Diffusion Illustrated Settings
- Coar’s Disco Diffusion Guide
- Join our Slack community and chat with other community members about ideas.
- Join our Engineering All Hands meet-up to discuss your use case and learn Jina's new features.
- When? The second Tuesday of every month
- Where? Zoom (see our public events calendar/.ical) and live stream on YouTube
- Subscribe to the latest video tutorials on our YouTube channel
DiscoArt is backed by Jina AI and licensed under MIT License. We are actively hiring AI engineers, solution engineers to build the next neural search ecosystem in open-source.


