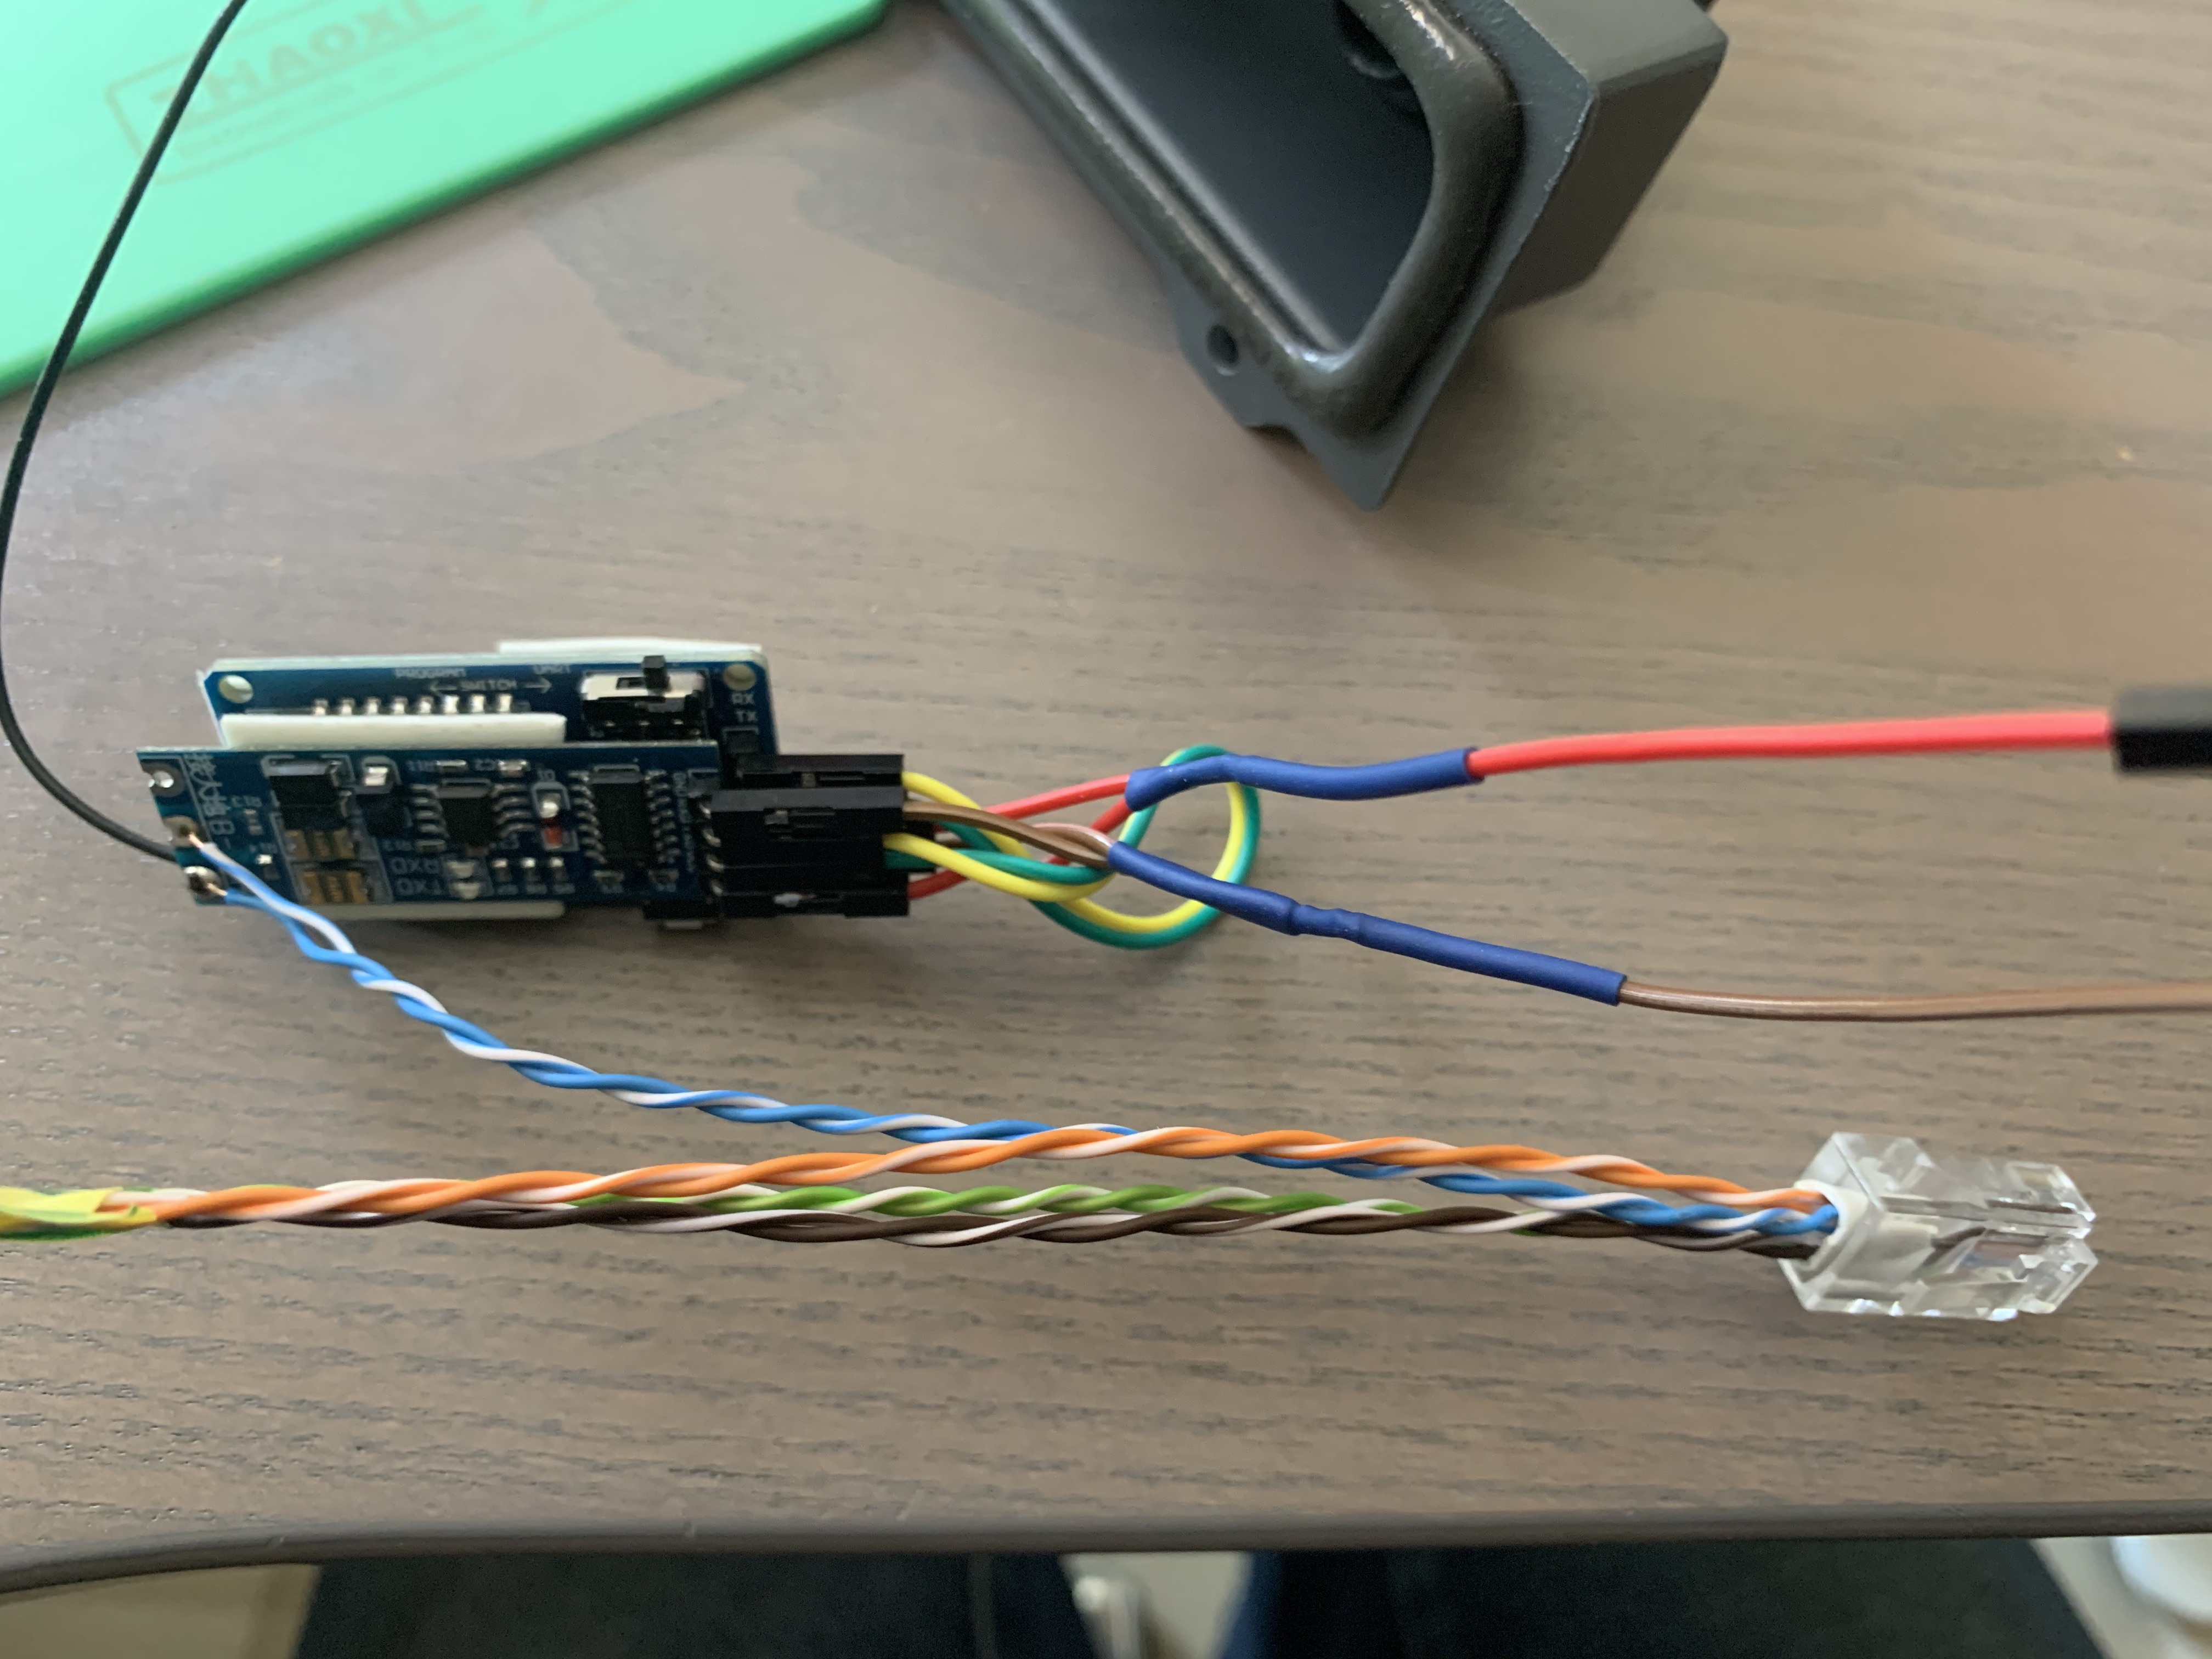
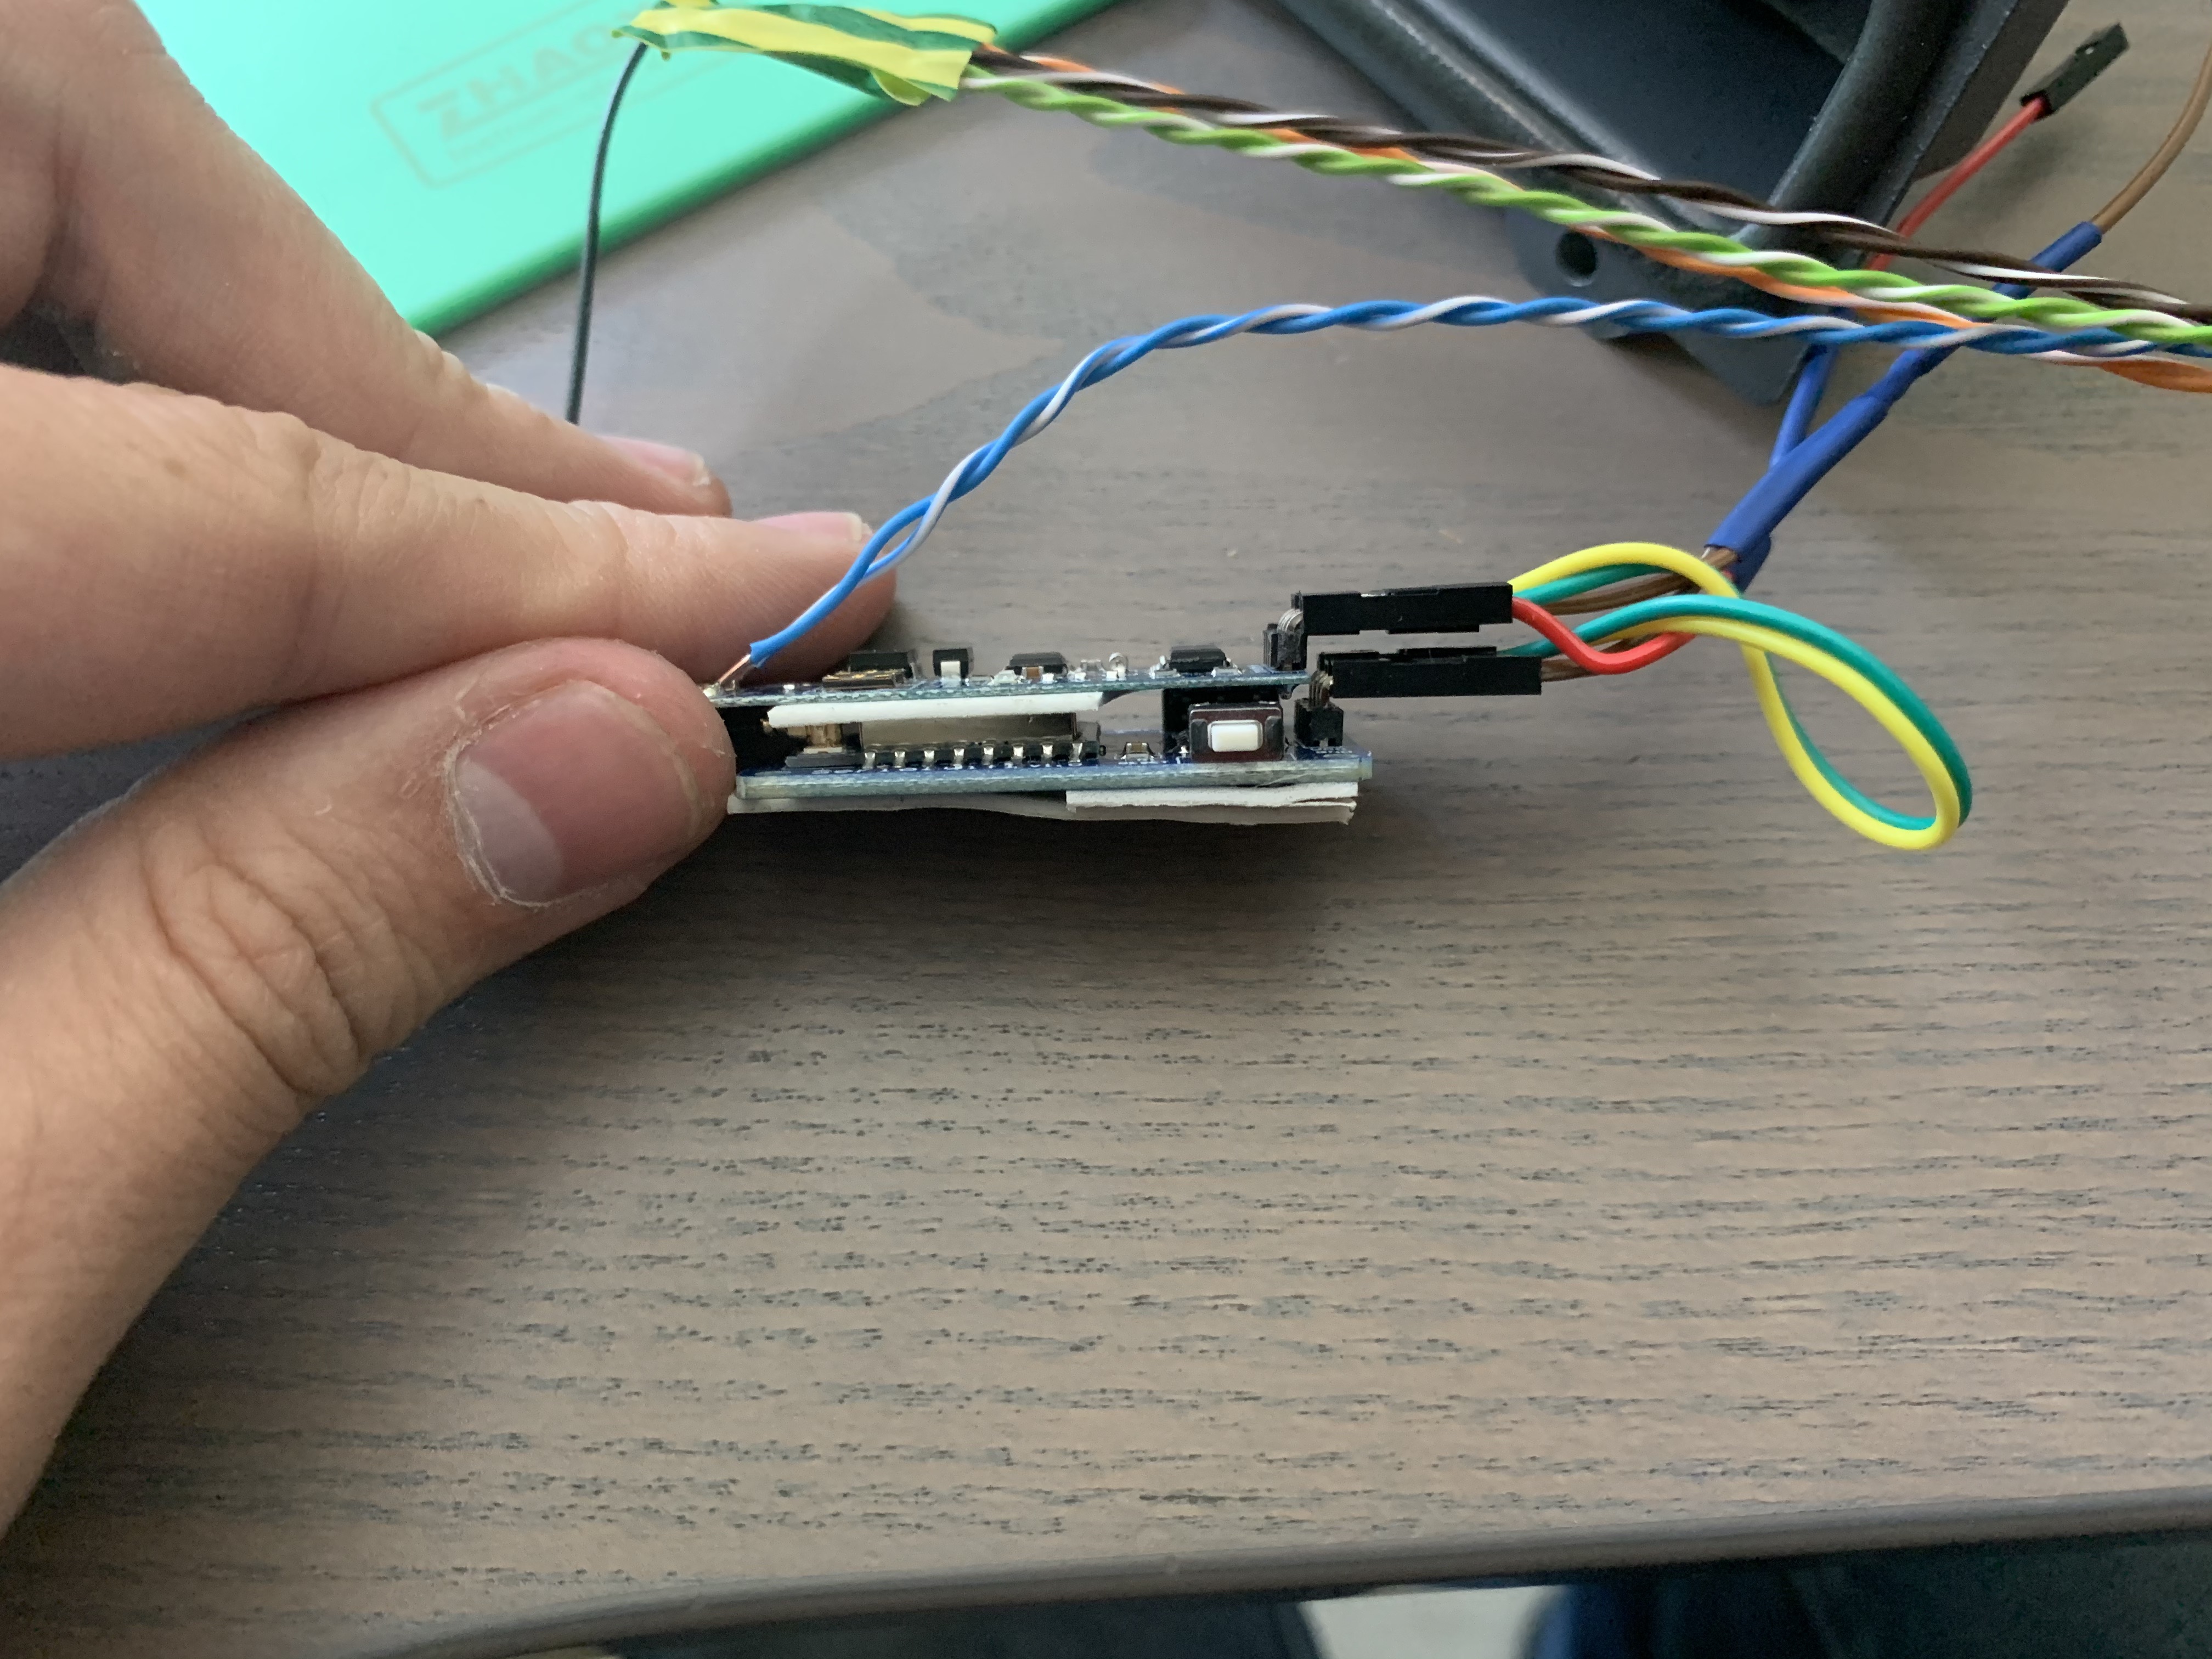
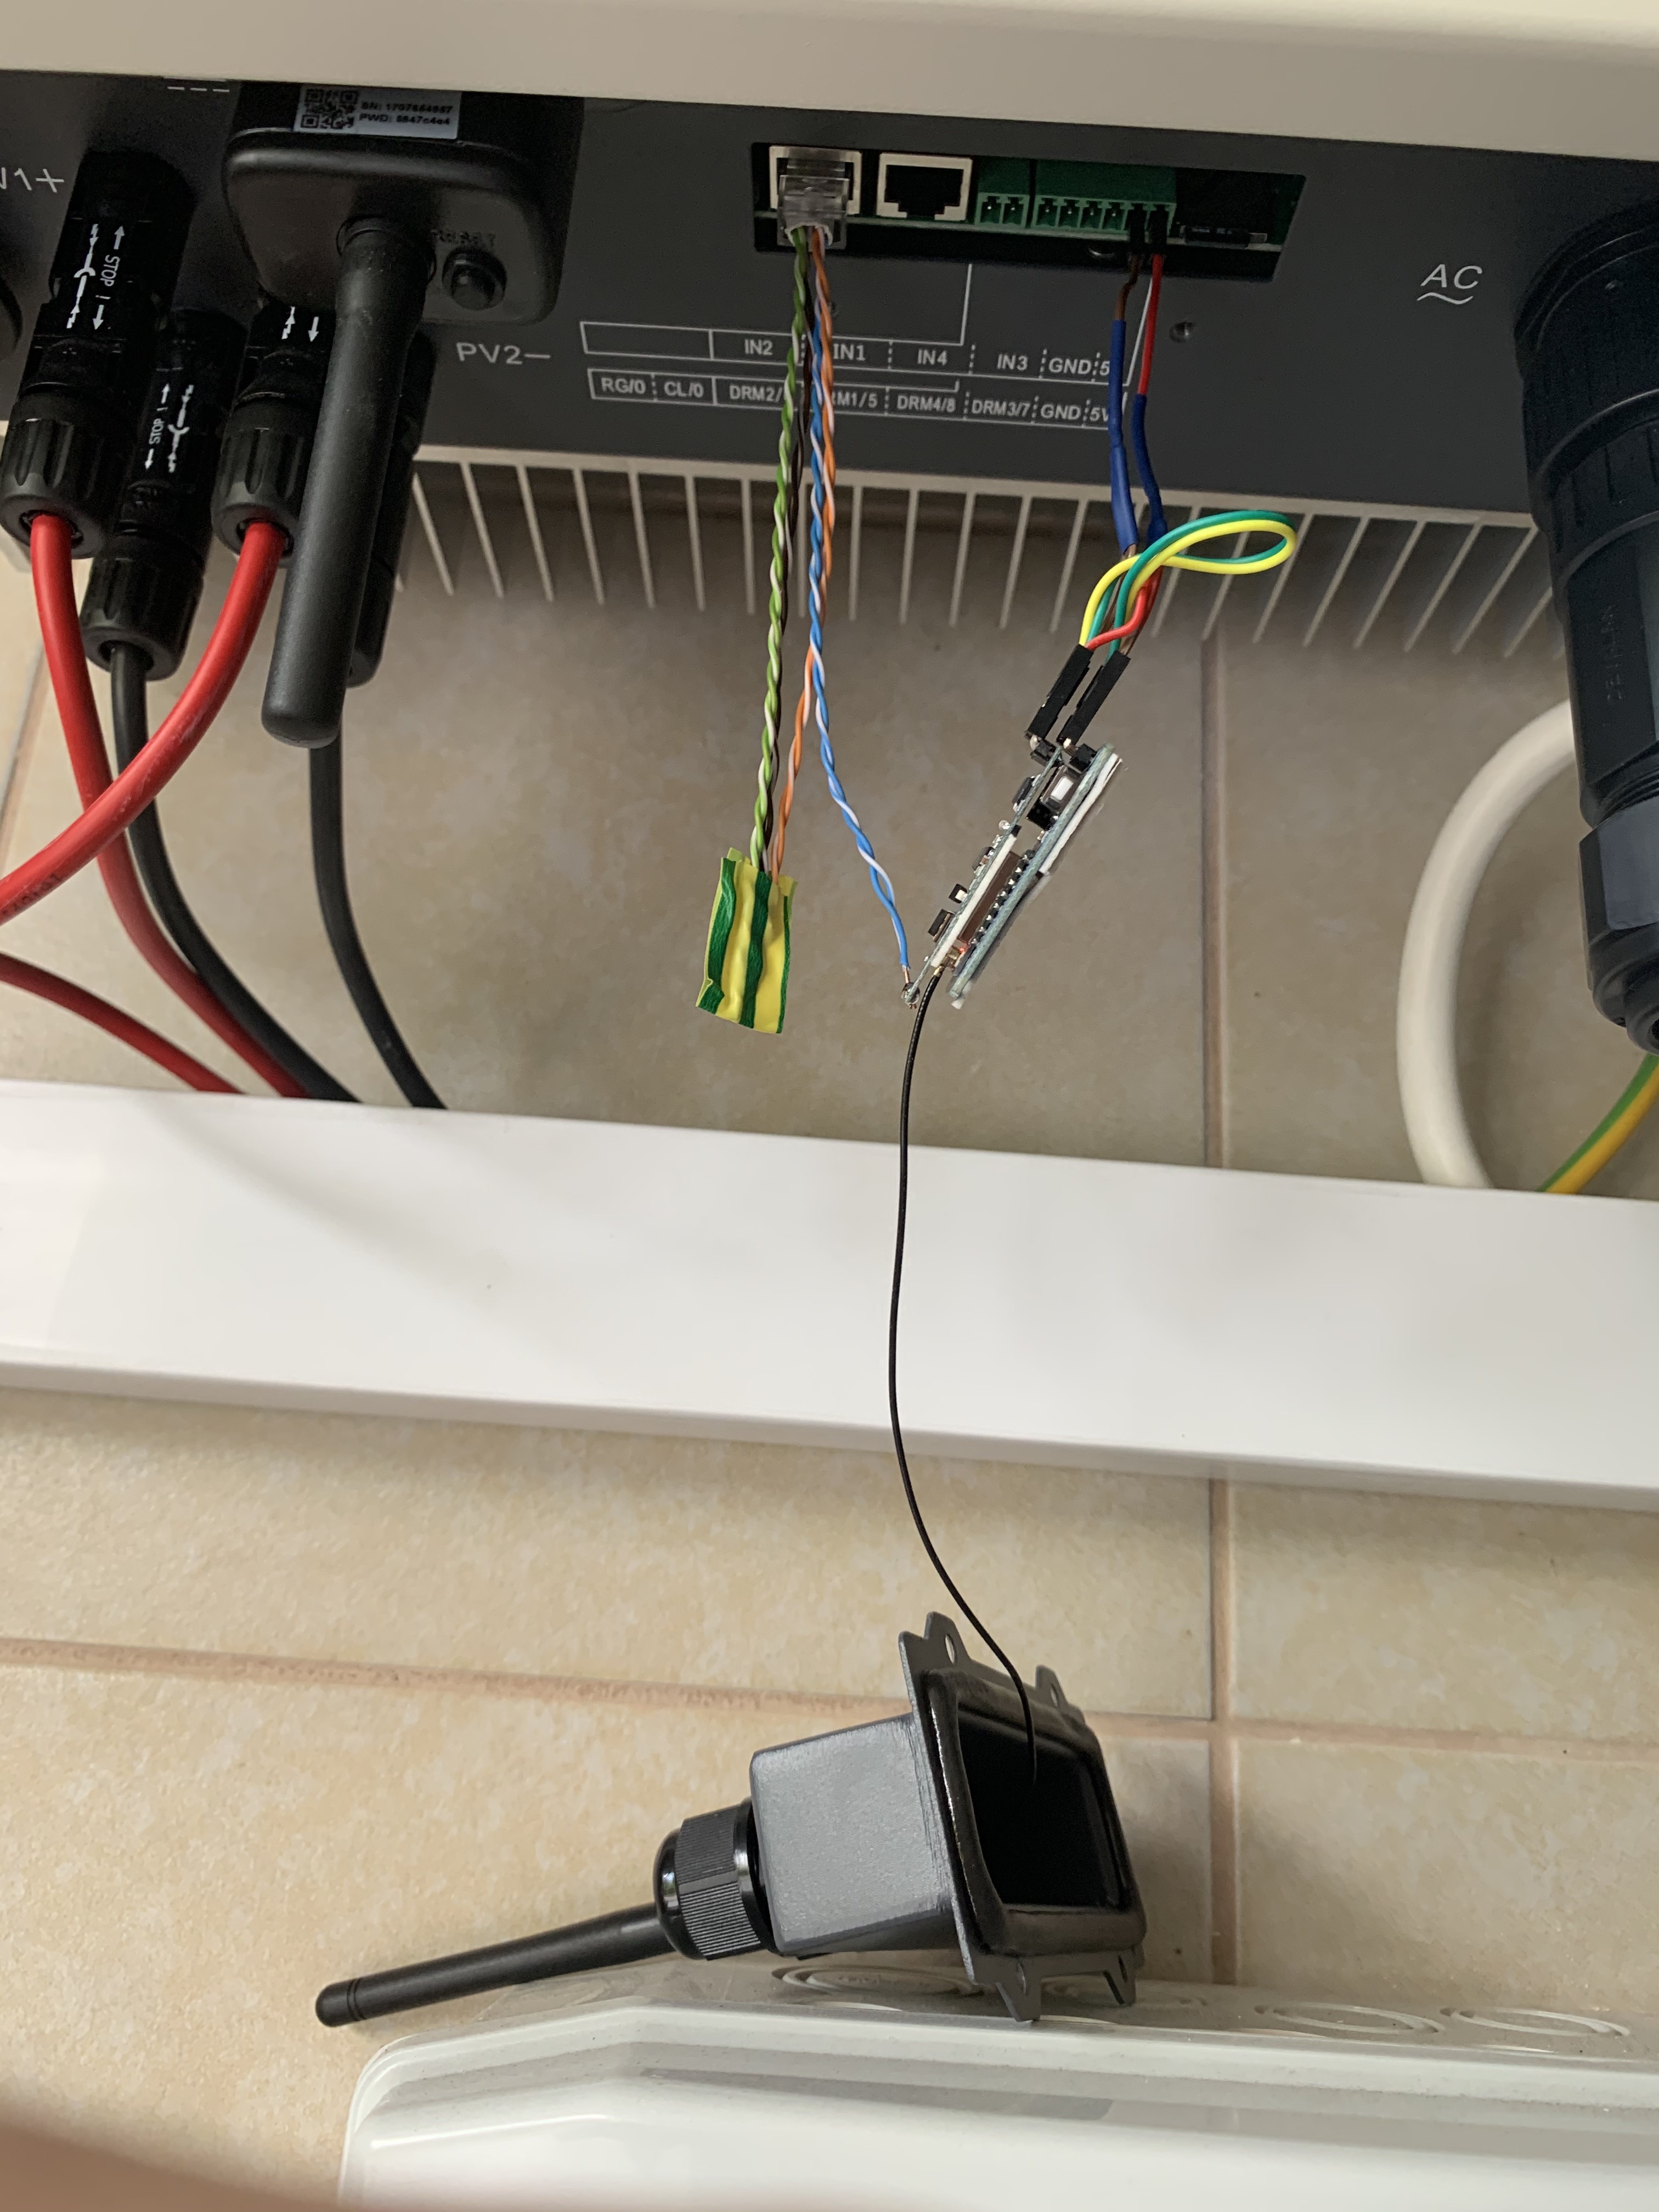
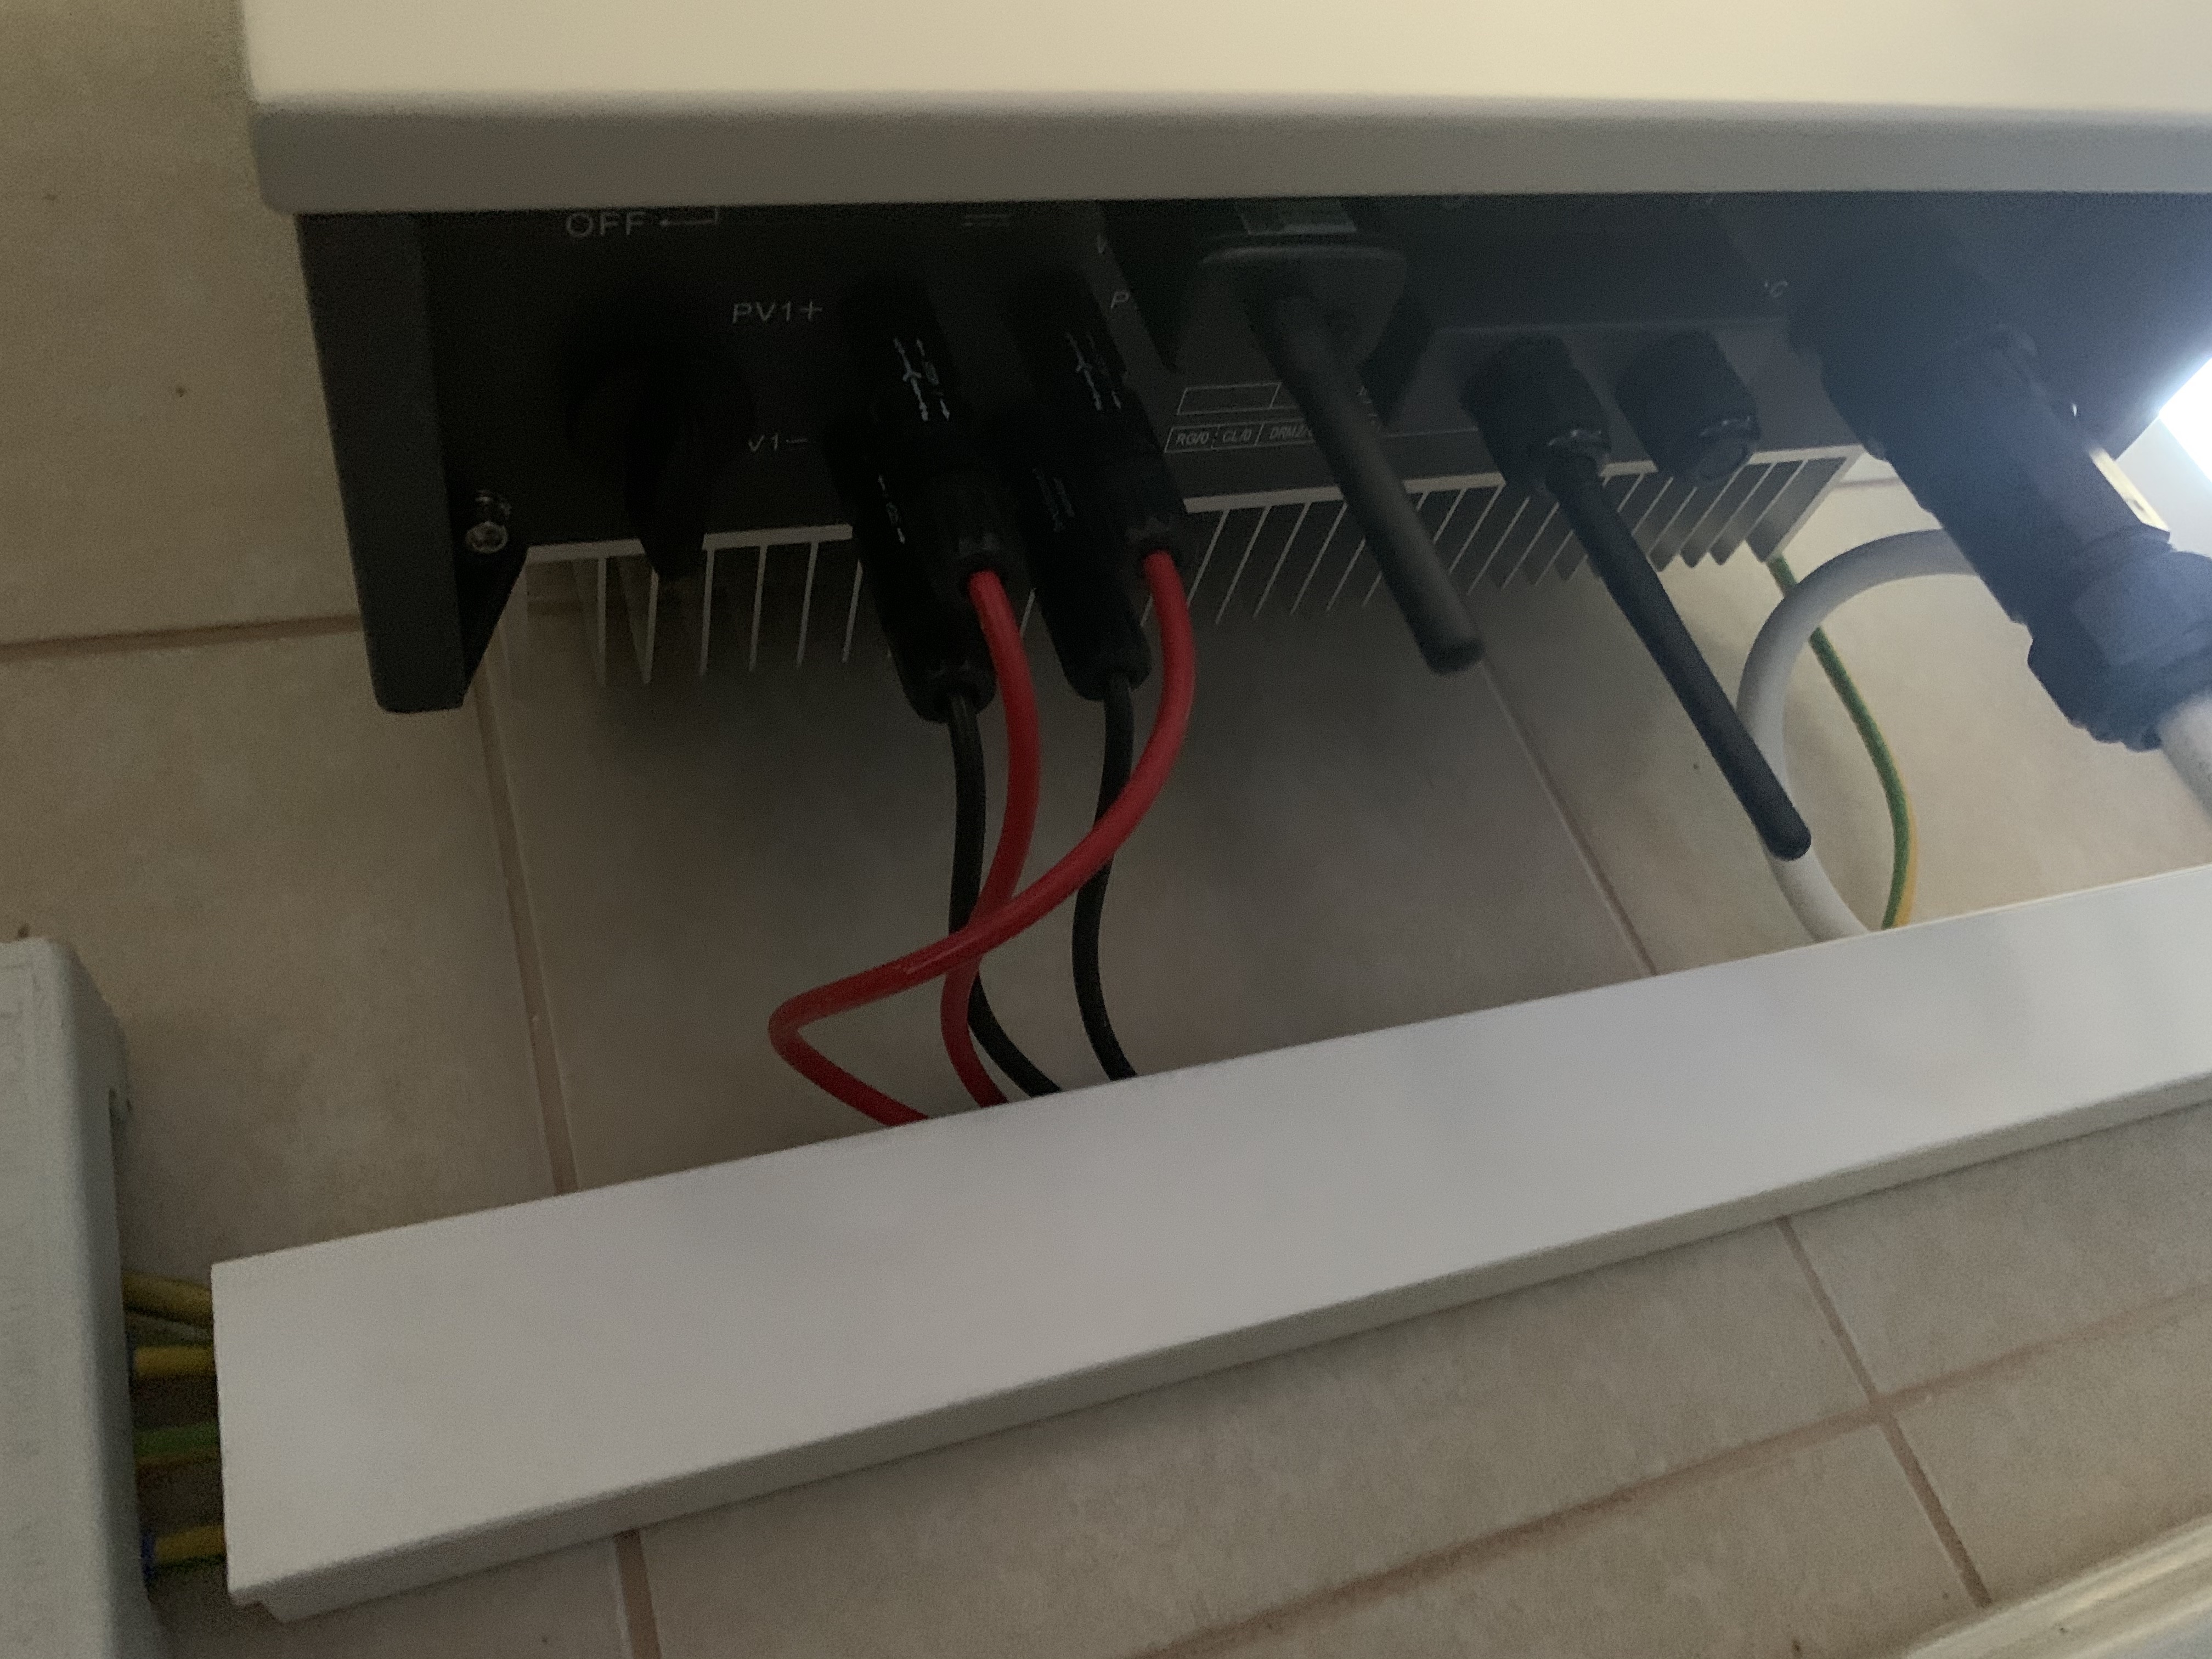
From the shelf logger is only works with SolarMan cloud, but I wanted to have full local integration with Home Assistant, because of poor internet connection. Additionally refresh interval from orginal logger (I managed to integrate with Home Assistant too, see HA Add-One project) is not synchronized with sensor with I have for checking energy consumption and production from/to grid. The result was funny, because power wheel shows that house produced energy.
I asked SofarSolar for documentation of RS485 communication, but no lack. I managed to read register based on old SofarSolar documentation for other inverters models other than KTL-X (my inverter) and reversed engineered data based on information sent to SolarMan cloud.
At the end I finished with two working loggers in parallel ;-)
For sure SofarSolar KTL-X 8.8 and other powers from KTL-X. There is a chance that other brands from the same familly with work, so if someone check please let me know.
Tested supported devices:
- Sofar KTL-X 8.8 (whole series of KTL-X should work)
- Sofar 4K TLM-G2
- "ESP-07 WiFi serial" - you will find the part under this name
- RS485 to TTL converter compatible with 3v3 (3v3 is an important, because ESP-07 operates on 3v3 TTL levels)
- External antena with connector
- RJ45 connector and cables
I bought everything from China directly. Total cost is around $5, so much cheaper than orignal logger and more freedom with integration.
Download image from build folder and load it to your ESP. There is a lot of tutorials how to do it on the internet ;-)
I used esptool:
$ esptool.py write_flash 0x0 build/esp-07.bin
Check last image. I used 5V power directly from the inverter. Red cable on photo is VCC and brown is GND. Inverter provides power only during a day, but solutions uses MQTT, so during the night there is no messages.
Solution uses IotWebConf library, so after uploading image and switching ESP to boot mode, you should see access point to which you can connect and configure your ESP RS485 logger.
Default IP: 192.168.4.1 Default WiFi password: "sofarsolar2mqtt"
After first configuration, you will need login and password to access configuration:
Username is admin
Password is set during first configuration ("AP password")
All available parameters are on screen below:
{
    "status": "normal",
    "fault_message": "",
    "dc_voltage_1": 324.1,
    "dc_current_1": 5.38,
    "dc_voltage_2": 252.3,
    "dc_current_2": 5.4,
    "ac_power": 2950,
    "ac_frequency": 49.96,
    "ac_voltage_1": 228.3,
    "ac_current_1": 4.4,
    "ac_voltage_2": 227.9,
    "ac_current_2": 4.39,
    "ac_voltage_3": 228.5,
    "ac_current_3": 4.39,
    "energy_total": 4882,
    "running_time": 2919,
    "energy_today": 2.92,
    "temperature_module": 38,
    "temperature_inverter": 49,
    "bus_voltage": 622.8,
    "vice_cpu_input_voltage_1": 323.1,
    "countdown_timer": 60,
    "pv1_insulation_resistance": 1324,
    "pv2_insulation_resistance": 2022,
    "isolation_impedance": 1635,
    "country_code?": 12,
    "phase_a_distribution": 1006,
    "phase_b_distribution": 996,
    "phase_c_distribution": 975
}
Part of the sensors are commented, because they are too technical.
sensor sofar:
  - platform: mqtt
    name: "Inverter status"
    state_topic: "inverter/status"
    value_template: "{{ value_json.status }}"
  - platform: mqtt
    name: "Inverter fault message"
    state_topic: "inverter/status"
    value_template: "{{ value_json.fault_message }}"
  - platform: mqtt
    name: "Inverter DC voltage 1"
    state_topic: "inverter/status"
    unit_of_measurement: 'V'
    value_template: "{{ value_json.dc_voltage_1 }}"
  - platform: mqtt
    name: "Inverter DC current 1"
    state_topic: "inverter/status"
    unit_of_measurement: 'A'
    value_template: "{{ value_json.dc_current_1 }}"
  - platform: mqtt
    name: "Inverter DC voltage 2"
    state_topic: "inverter/status"
    unit_of_measurement: 'V'
    value_template: "{{ value_json.dc_voltage_2 }}"
  - platform: mqtt
    name: "Inverter DC current 2"
    state_topic: "inverter/status"
    unit_of_measurement: 'A'
    value_template: "{{ value_json.dc_current_2 }}"
  - platform: mqtt
    name: "Inverter AC current power"
    state_topic: "inverter/status"
    unit_of_measurement: 'W'
    value_template: "{{ value_json.ac_power }}"
  - platform: mqtt
    name: "Inverter AC current frequency"
    state_topic: "inverter/status"
    unit_of_measurement: 'Hz'
    value_template: "{{ value_json.ac_frequency }}"
  - platform: mqtt
    name: "Inverter AC voltage 1"
    state_topic: "inverter/status"
    unit_of_measurement: 'V'
    value_template: "{{ value_json.ac_voltage_1 }}"
  - platform: mqtt
    name: "Inverter AC current 1"
    state_topic: "inverter/status"
    unit_of_measurement: 'A'
    value_template: "{{ value_json.ac_current_1 }}"
  - platform: mqtt
    name: "Inverter AC voltage 2"
    state_topic: "inverter/status"
    unit_of_measurement: 'V'
    value_template: "{{ value_json.ac_voltage_2 }}"
  - platform: mqtt
    name: "Inverter AC current 2"
    state_topic: "inverter/status"
    unit_of_measurement: 'A'
    value_template: "{{ value_json.ac_current_2 }}"
  - platform: mqtt
    name: "Inverter AC voltage 3"
    state_topic: "inverter/status"
    unit_of_measurement: 'V'
    value_template: "{{ value_json.ac_voltage_3 }}"
  - platform: mqtt
    name: "Inverter AC current 3"
    state_topic: "inverter/status"
    unit_of_measurement: 'A'
    value_template: "{{ value_json.ac_current_3 }}"
  - platform: mqtt
    name: "Inverter energy total"
    state_topic: "inverter/status"
    unit_of_measurement: 'kWh'
    value_template: "{{ value_json.energy_total }}"
  - platform: mqtt
    name: "Inverter running time"
    state_topic: "inverter/status"
    unit_of_measurement: 'h'
    value_template: "{{ value_json.running_time }}"
  - platform: mqtt
    name: "Inverter energy today"
    state_topic: "inverter/status"
    unit_of_measurement: 'kWh'
    value_template: "{{ value_json.energy_today }}"
  - platform: mqtt
    name: "Inverter module temperature"
    state_topic: "inverter/status"
    unit_of_measurement: '°C'
    value_template: "{{ value_json.temperature_module }}"
  - platform: mqtt
    name: "Inverter temperature"
    state_topic: "inverter/status"
    unit_of_measurement: '°C'
    value_template: "{{ value_json.temperature_inverter }}"

#   - platform: mqtt
#     name: "Inverter bus voltage"
#     state_topic: "inverter/status"
#     unit_of_measurement: 'V'
#     value_template: "{{ value_json.bus_voltage }}"
#   - platform: mqtt
#     name: "Inverter vice CPU input voltage 1"
#     state_topic: "inverter/status"
#     unit_of_measurement: 'V'
#     value_template: "{{ value_json.vice_cpu_input_voltage_1 }}"
#   - platform: mqtt
#     name: "Inverter countdown timer"
#     state_topic: "inverter/status"
#     unit_of_measurement: 'h'
#     value_template: "{{ value_json.countdown_timer }}"
#   - platform: mqtt
#     name: "Inverter PV1 insulation resistance"
#     state_topic: "inverter/status"
#     unit_of_measurement: 'ohm'
#     value_template: "{{ value_json.pv1_insulation_resistance }}"
#   - platform: mqtt
#     name: "Inverter PV1 insulation resistance"
#     state_topic: "inverter/status"
#     unit_of_measurement: 'ohm'
#     value_template: "{{ value_json.pv2_insulation_resistance }}"
#   - platform: mqtt
#     name: "Inverter isolation impedance"
#     state_topic: "inverter/status"
#     value_template: "{{ value_json.isolation_impedance }}"
#   - platform: mqtt
#     name: "Inverter temperature"
#     state_topic: "inverter/status"
#     value_template: "{{ value_json.country_code? }}"
#   - platform: mqtt
#     name: "Inverter phase A distribution"
#     state_topic: "inverter/status"
#     value_template: "{{ value_json.phase_a_distribution }}"
#   - platform: mqtt
#     name: "Inverter phase B distribution"
#     state_topic: "inverter/status"
#     value_template: "{{ value_json.phase_b_distribution }}"
#   - platform: mqtt
#     name: "Inverter phase C distribution"
#     state_topic: "inverter/status"
#     value_template: "{{ value_json.phase_c_distribution }}"
If esp8266 cannot connect to WIFI or you entered wrong password, wait until access point will be exposed, connect to it and enter new WIFI password. You will be prompt for login and password, so enter "admin" as user and password is text which you enter to field "AP password" during first configuration.
RS485 TXD doesn't blink with defined interval (it should blink even without connecting it to invereter )
- Connect to esp8266 with telnet there is a debug console and logs. You need to find IP on your router.
- If you see only messages: "(D) Connecting to MQTT server..." it means that MQTT credencials are wrong, connect to configuration web and reconfigure.
- If you see messages: "(D) Report status with interval: 1000" (1000 is interval in millies, this example is 1 sec) it means MQTT is configured properly, then
- Check if converter is properly power use multimeter
- If it's powered, swap A+ and B+ cables maybe they are connected wrongly. If you use Wemos D1 mini, then use D1 and D2 pins for connection with converter.


