Just shaders that I edit or make.
I am new at writing shaders so please take that in mind while reading the code. Any code used from other shaders will be stated in the shader comments. If I forgot to mention someone please let me know.
The side black bars you see in some images are because of the aspect ratio of the window of the game when I took the picture.
If you are familiar with the Adaptive Fog shader then you know what the fog from that shader looks like, if not it's basically a color you choose to blend with the depth. Taking that as an initial point I added the option to use gradients in the fog instead of a single color.
- Gradients: The available gradients (with their own settings) are:
- Linear
- Radial
- Strip
- Diamond
- Colors with alpha channel: Besides having the option to choose 2 colors in the gradient, you can also change the alpha channel values to play around
- HSV gradients: You can now choose to use HSV gradients to get a smooth color transition.
- Color pickers: Get the color from a pixel in the screen and use it as one of the colors in the gradient.
- Fog rotation (only for adaptive fog): This lets you rotate the "wall" of fog in the game world for more interesting interactions.
- Fog Types: The name isn't the best, but the fog type is the algorithm used to display the gradients. Right now the types available are:
- Adaptive Fog: Controls like the
AdaptiveFogshader. - Emphasize: Controls like the
Emphasizeshader, which isn't a fog technically speaking, but it affects the "surface" of objects in the fog range. - Depth Slicer: Controls like Prod80's shaders depth control. In my experience is the easiest to use.
- Adaptive Fog: Controls like the
- Blending modes: I added different ways for the fog to blend with the screen. The available blending modes are the following:
- Normal
- Multiply
- Screen
- Overlay
- Darken
- Lighten
- Color Dodge
- Color Burn
- Hard Light
- Soft Light
- Difference
- Exclusion
- Hue
- Saturation
- Color
- Luminosity
- Linear burn
- Linear dodge
- Vivid light
- Linearlight
- Pin light
- Hardmix
- Reflect
- Glow
Last blending modes functions kindly provided by prod80.
 Simple adaptive-type fog with linear gradient and normal blending
 Adaptive-type fog with linear gradient using color mode
 Adaptive-type fog with linear gradient using a color with transparency
 Radial gradient with high gradient sharpness
 Strip type gradient with one of the colors with 0 alpha value
 Radial gradient with screen blending mode
 You can alter the x and y values separately on the radial gradient as well as rotating it
 Emphasize-type fog with lineal gradient and color blending mode
 Adaptive-type fog with diamond gradient and CanvasMask
While doing the CanvasFog shader I thought that it would be cool to have this gradient stuff alongside the depth buffer to use as a mask, so here it is.
It basically has the same features from the CanvasFog shader (that are relevant for a masking shader), but not very much to add.
 Using emphasize-type mask with a LUT shader
 Using emphasize-type mask with the Comic shader
 Using adaptivefog-type mask with the DisplayDepth shader
So again in one of those "I want to control x from shader y" moments I made some changes to the StageDepth shader. Here is the stuff it can do.
-
Scale: Possibility to adjust the scale of the image in both axes individually
-
Rotation: This one speaks for itself, you can rotate the image
-
Flip: You can flip the image horizontally and vertically
-
Blending Modes: I wrote them for the CanvasFog shader and figured out they can be usefully applied to an image
-
Depth Control: It already was in the original StageDepth. It uses the depth buffer to decide whether to show the image or not
-
Masking: It allows you to use an image as a mask alongside the image itself.
-
Depth map usage: Kind of an experimental feature. You can provide a depthmap image alongside the stageplus image. This one will determine if the image is shown or not.
-
AR Correction: You can now enter the definition of the image being used as preprocessor definitions so it can be automatically loaded with those values.
-
Smooth depth control: It lets you smooth out the "depth" of the image, allowing you to fit images like fog or smoke better.
-
Repeat image: Repeat the loaded image across the entire screen.
-
StageDepthPlus_WithDepthBufferMod.fx In the
StageDepthPlus with depth buffer modificationfolder, you will find what the name suggests. This version of StageDepthPlus allows you to blend a depth map image with the actual games depth buffer, so you can load an image of a subject and include it in the depth buffer, so the subject can interact with other shaders that use the depth buffer. If you wanna use this shader be sure to replace the ReShade.fxh file from your shaders folder with the one in the repos folder and edit the global preprocessor definition RESHADE_MIX_STAGE_DEPTH_PLUS_MAP to 1.This is a very experimental "feature", and because of reshade limitations you will need to set up the image controls (scale, position, rotation, etc.) in each shader that interacts with the depth buffer (extra controls will appear in each shader, alongside the same preprocessor definitions from StageDepthPlus, but you can ignore those) to match the same as the one used in
StageDepthPlus_WithDepthBufferMod.fx. I apologize if it's not easy to use, if people find it useful I will try to improve it later.I edited the ReShade.fxh that was around with reshade 4.9.1. Don't expect it to work on newer or older versions of reshade.
 Same image using cineDOF while mixing the depth map with the depth buffer
I noticed a lot of double-exposure shots recently, and I thought shooting and putting the image in a layer shader must be a bummer, so I made a thing for that.
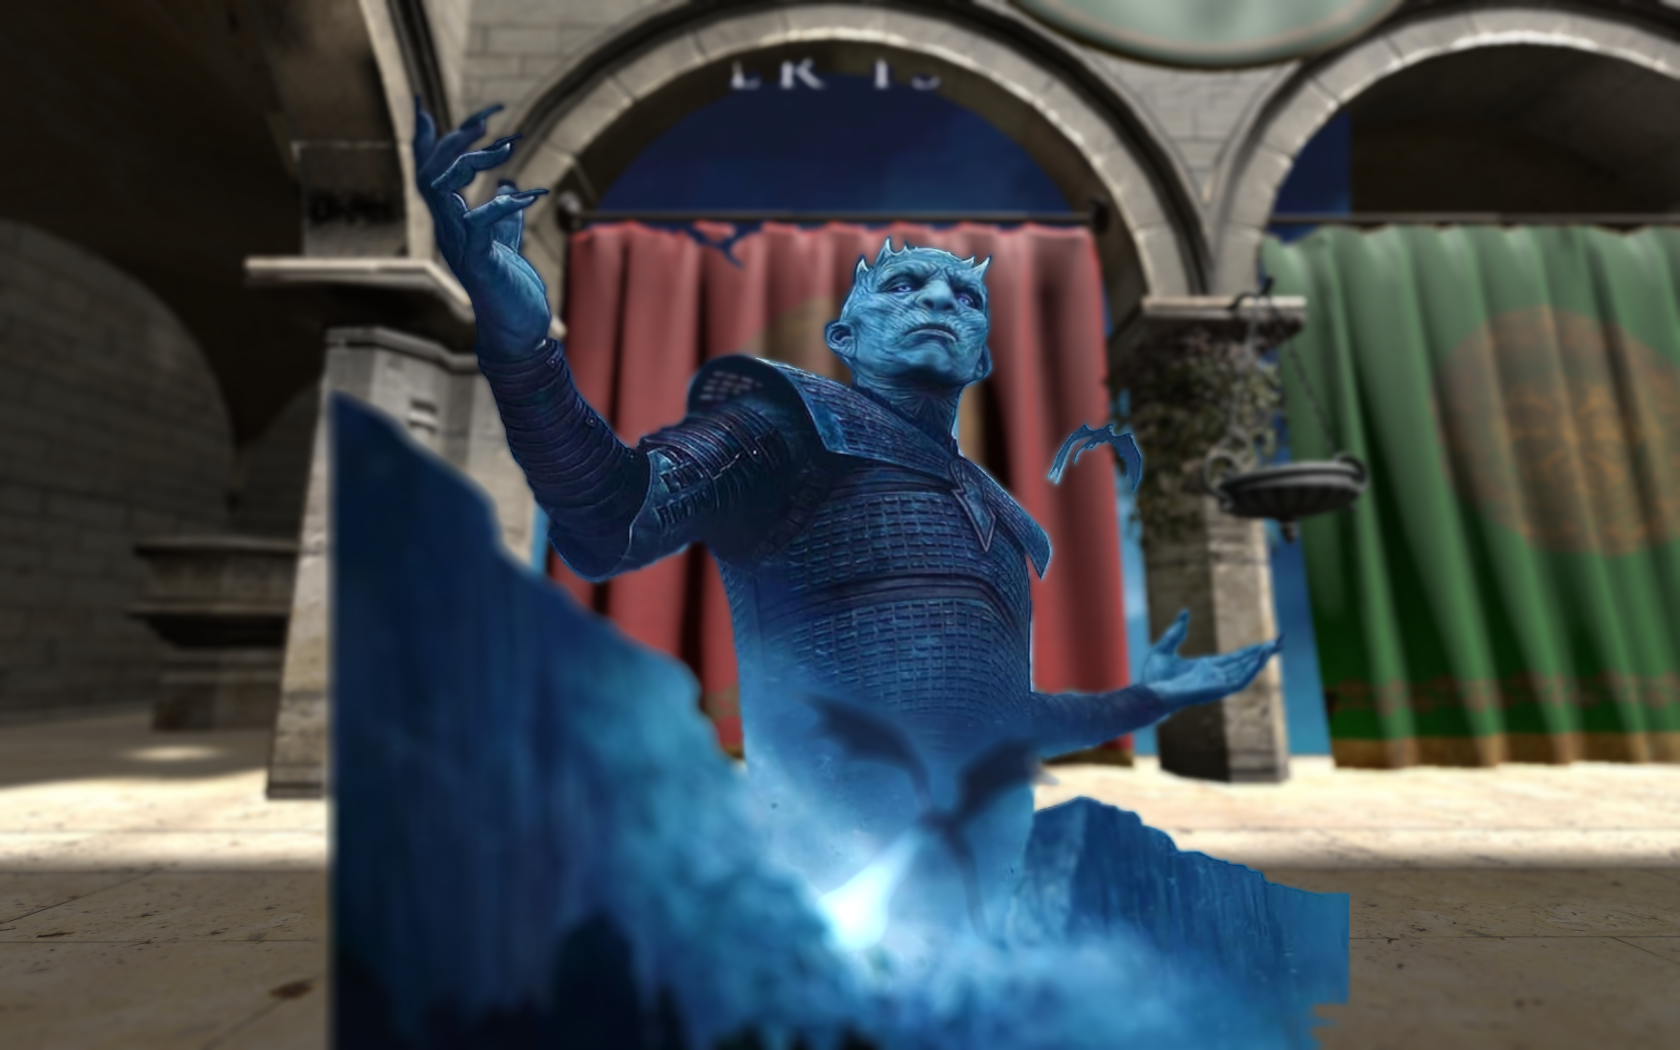
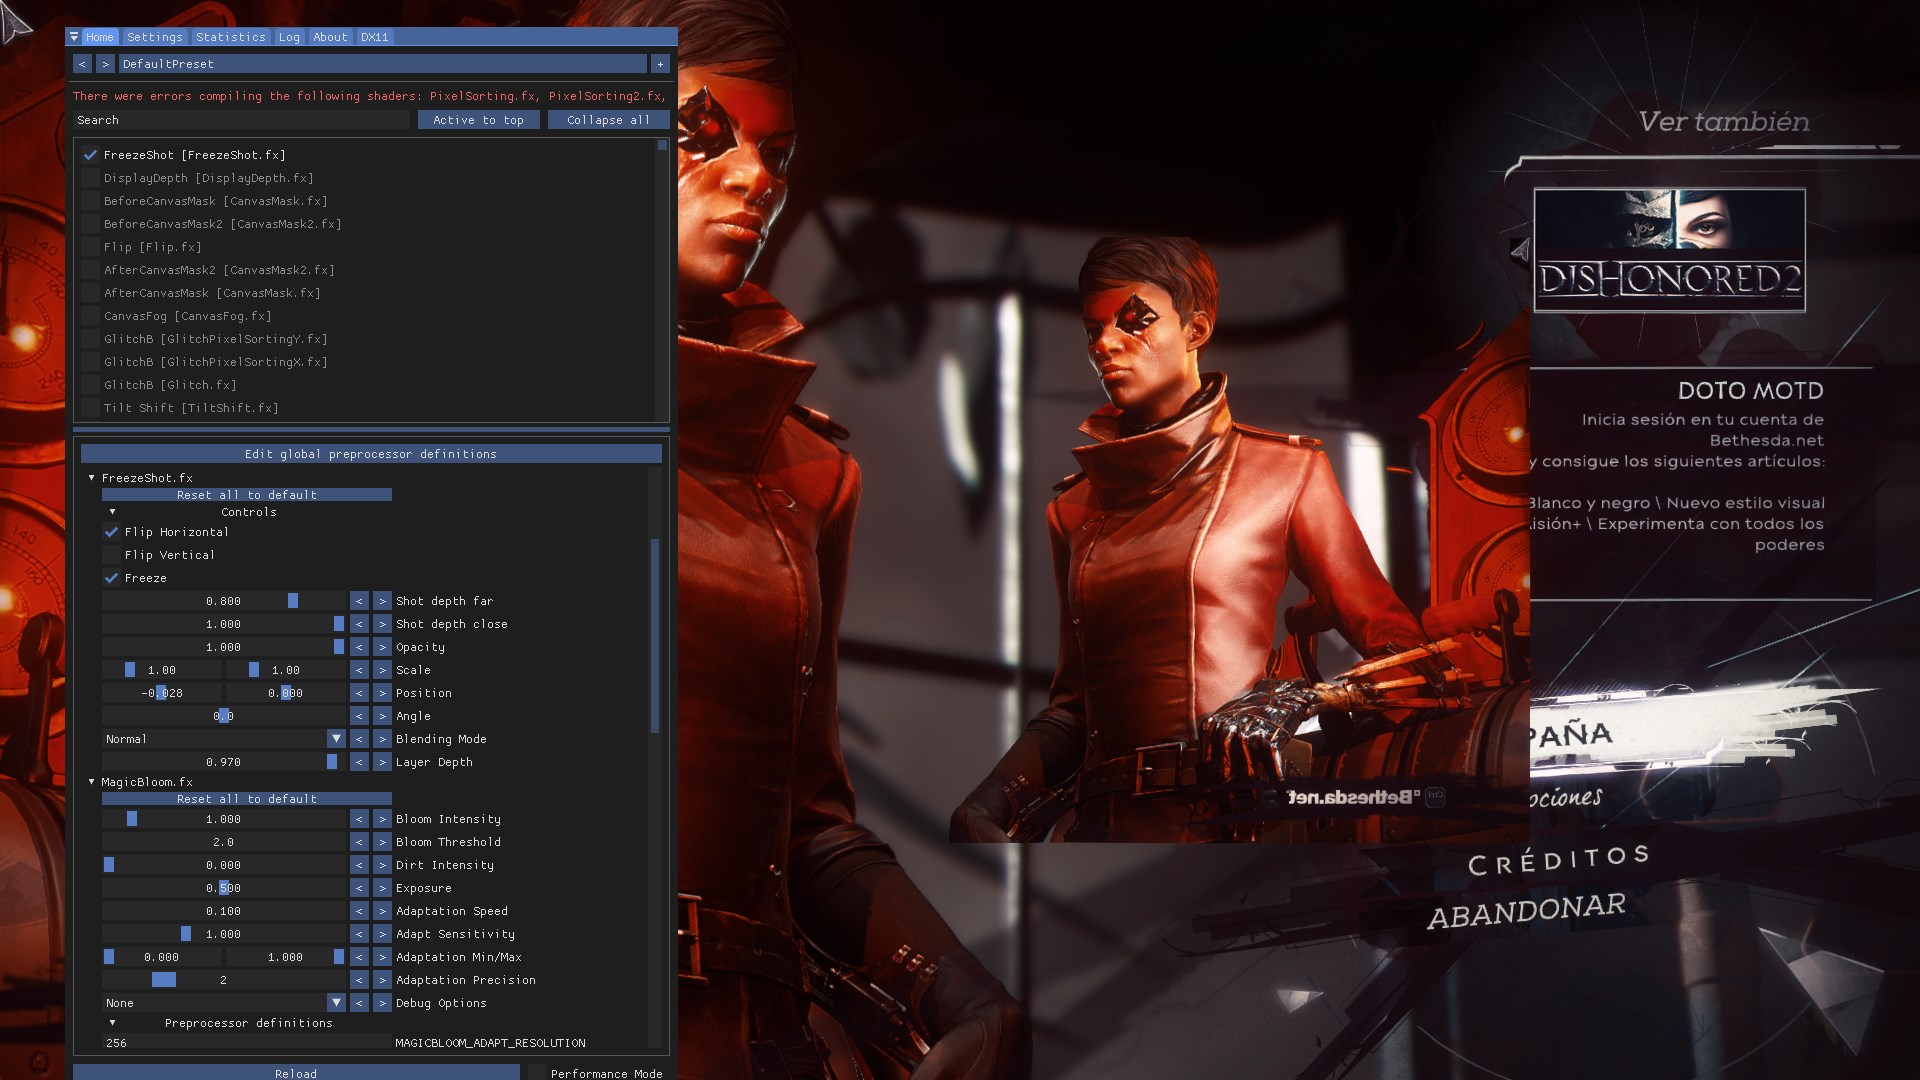
Introducing FreezeShot, align the camera, adjust the depth of the subject you want to take the screenshot from, and press the Freeze bool and uala! You can move and adjust it like any layer shader.
It has the same controls as the StageDepthPlus. It also saves the depth buffer when you freeze the image, so you can make the layer interact with the scene.
 Freezing and flipping the image
 Frozen image using the saved depth to interact with the scene
I can't take credit for this one since it's a really easy shader Marty wrote in the reshade forums, I just added a couple of bools parameters to choose if you want to flip the image horizontally or vertically. I put it here since it can be useful for artistic purposes like the image below.
 Flip shader with a couple of instance of CanvasMask
As the title suggests it's a shader for masking purposes using colors as the target. I intended to imitate the masking from Substance Designer.
- Target Hue: You can select the hue and/or luma you want to target with an eyedropper.
- Masks:
- Hue Mask: Lets you select the chroma target that will interact with the selection, alongside its range, smothness of the step and opacity.
- Luma Mask: Lets you select the luma target that will interact with the selection, alongside its range, smothness of the step and opacity.
- Blending Mode: A blending mode to decide how both masks should interact between eachoter. If their masks should be "added" or "multiplied". Great if you want to select, for example, red shadows (multiply) or reds and shadows (add).
I use AspectRatioComposition a lot, but there were some stuff I wish it did, therefore I made my own spin on the matter.
- Turn off AR bars if you just want to use the grids.
- Choose different ARs from a list you can write yourself in the reshade UI (read the tooltip to see how to do it).
- Choose a specific AR with sliders like AspectRatioComposition.
- Render a big amount of different types of grids at the same time.
- Option to make the grid color be the opposite of the pixels behind the grid to contrast it against the game's screen.
- Adjust the grid lines' width to better see them when using DSR.
- The ability to move lines around to make your own custom grid, or use a custom grid image if you prefer.
And more!
- Change how the fog values work
- Use a bicubic or another filter for scaling the image in StageDepthPlus since it's essentially using the nearest neighbor method.
- Make the Color Mask shader work with color selection, saturation range, and light range.
- Make the shaders interface more user friendly
- Fix the strip gradient not maintaining the scale while changing the angle
- Fix the diamond gradient to rotate with the modifications done in the x and y axes
- Change the gradient to another color space
Any bug or suggestion you got don't hesitate in hitting me up.
A thank you is more than enough, but if you would also like to help me out you can do it through PayPal. Thank you very much to the very gentle folks that supported me, you guys are the best:
- Dread


