SwiftQRCodeScanner
Screenshots
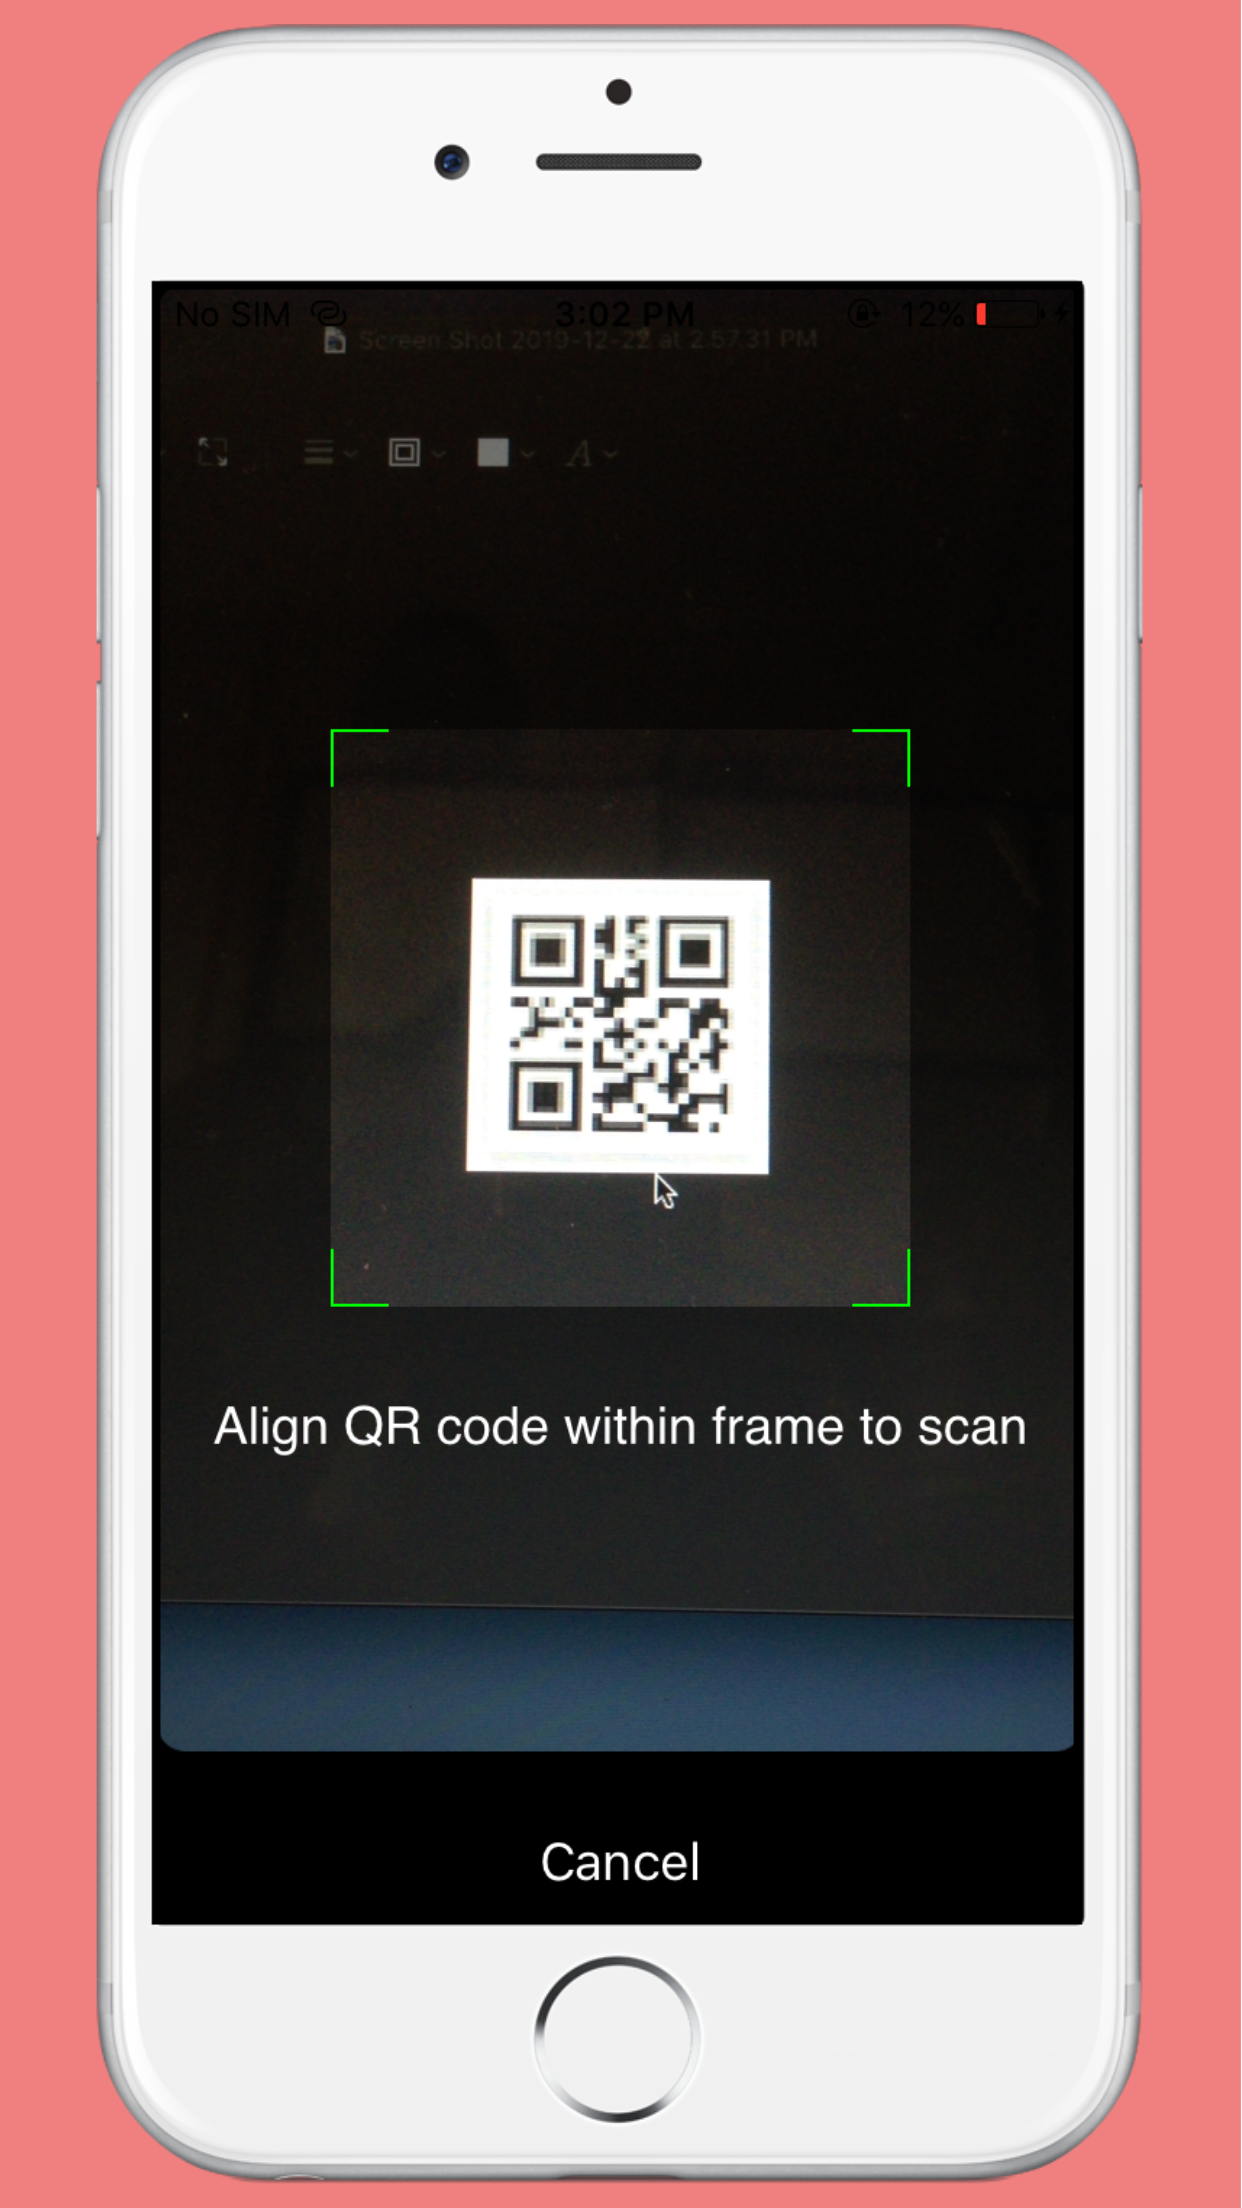
Without camera and flash buttons:
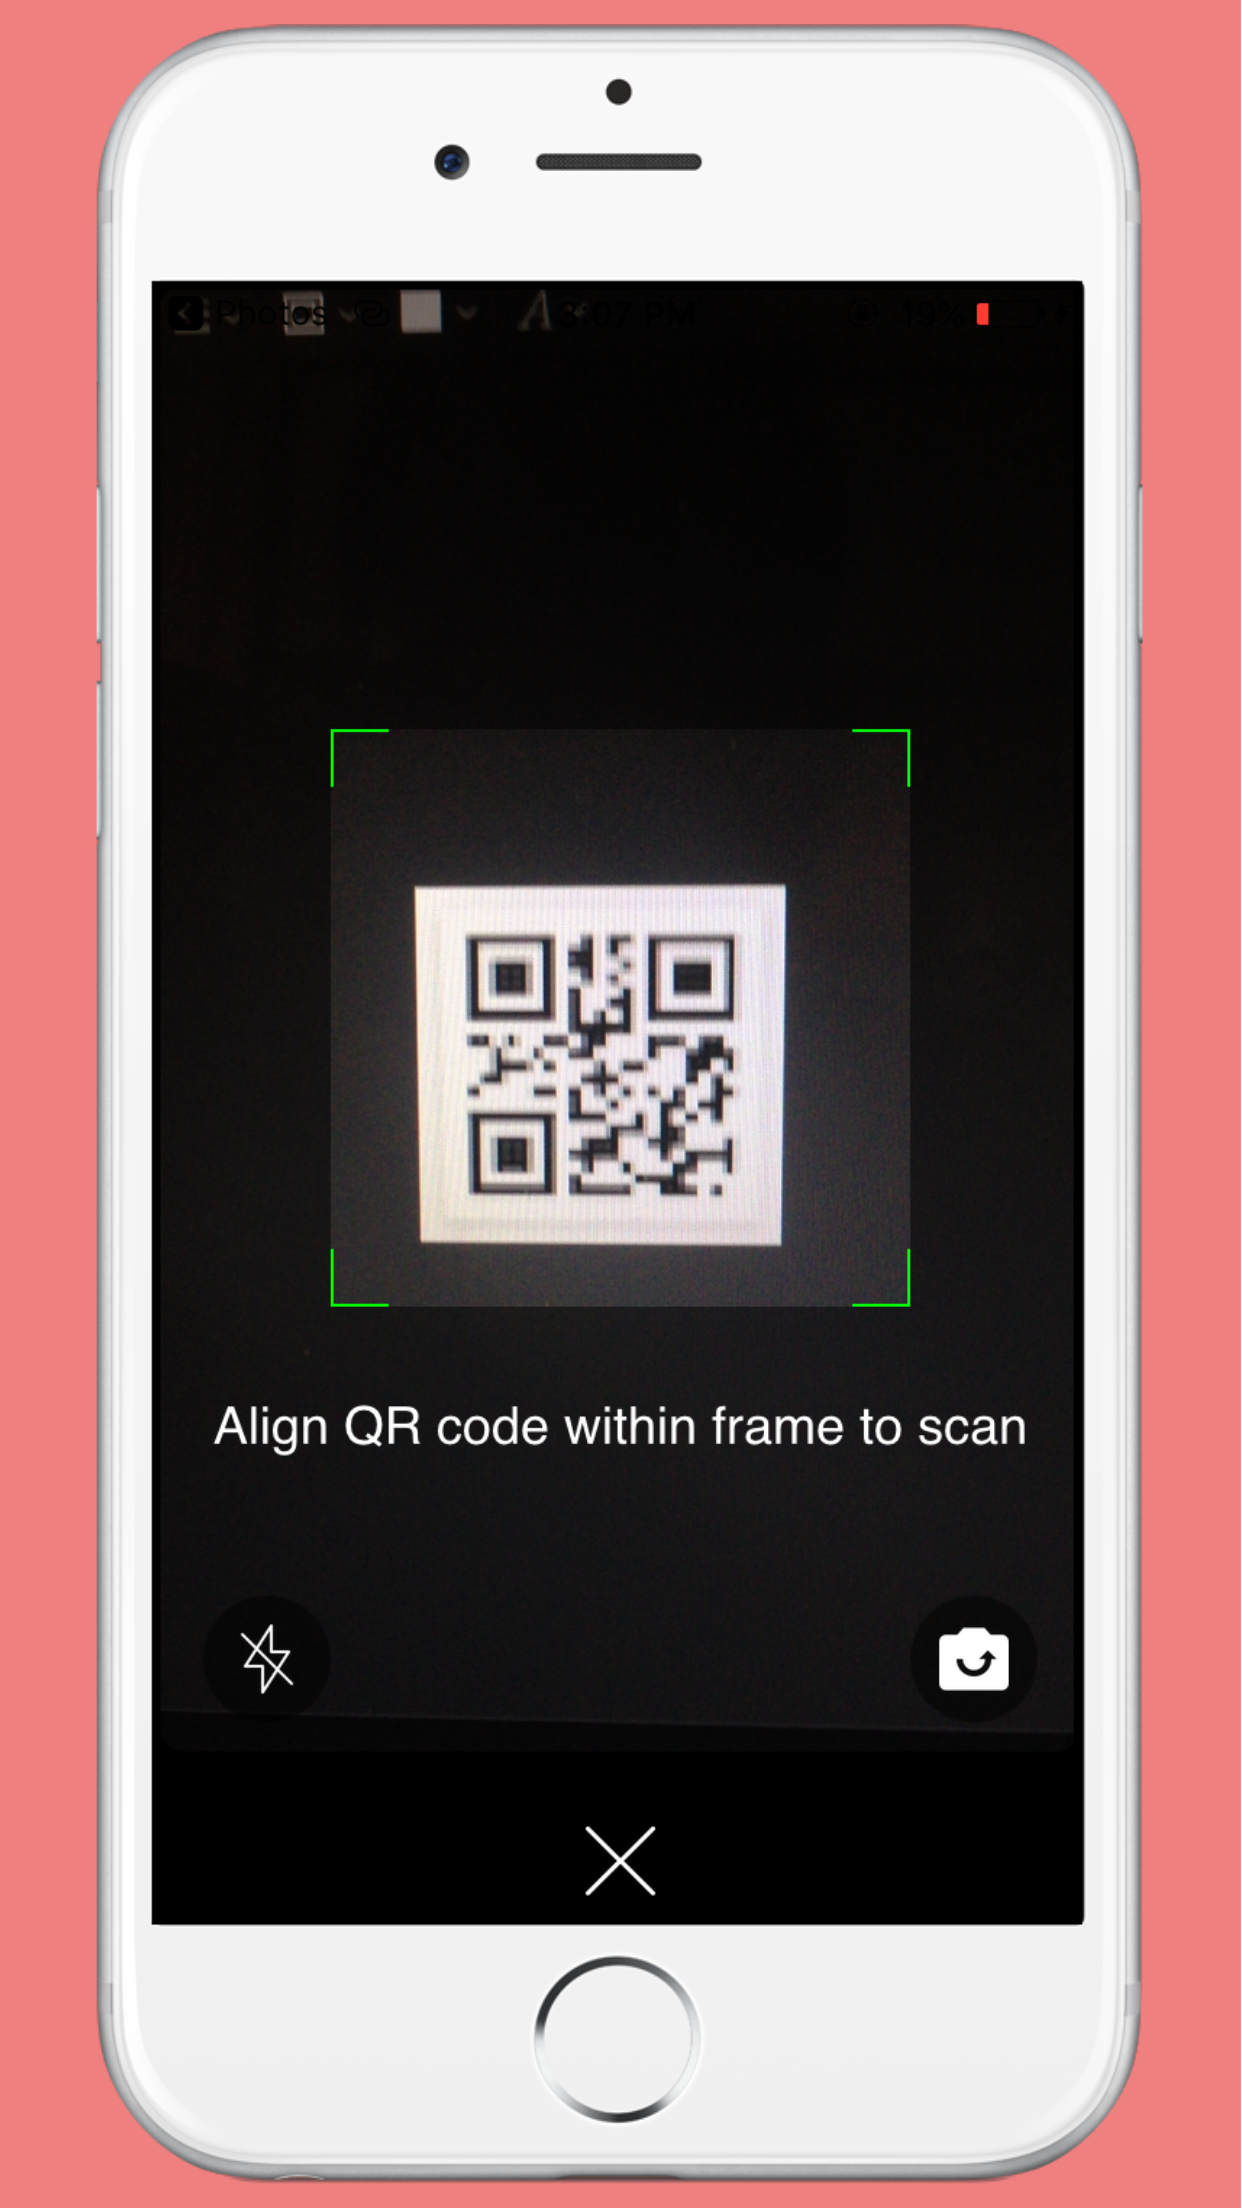
With camera and flash buttons:
Example
To run the example project, clone the repo, and run pod install from the Example directory first.
Requirements
- iOS 9.0
- Xcode 11.0+
- Swift 5
Installation
Using CocoaPods
SwiftQRScanner is available through CocoaPods. To install it, simply add the following line to your Podfile:
pod 'SwiftQRScanner', :git => ‘https://github.com/vinodiOS/SwiftQRScanner’Manual Installation
Download the latest version ,then unzip & drag-drop the Classes folder inside your iOS project. You can do that directly within Xcode, just be sure you have the copy items if needed and the create groups options checked.
How to use
Import SwiftQRScanner module and confirm to the QRScannerCodeDelegate protocol.
#import SwiftQRScanner

class ViewController: UIViewController {
}

extension ViewController: QRScannerCodeDelegate {
}
Create instance of SwiftQRScanner to scan QR code. To use SwiftQRScanner with simple cancel button option you can code like following:
let scanner = QRCodeScannerController()
scanner.delegate = self
self.present(scanner, animated: true, completion: nil)
To use more features like camera switch , flash and cance options you can provide images like following:
let scanner = QRCodeScannerController(cameraImage: UIImage(named: "camera"), cancelImage: UIImage(named: "cancel"), flashOnImage: UIImage(named: "flash-on"), flashOffImage: UIImage(named: "flash-off"))
scanner.delegate = self
self.present(scanner, animated: true, completion: nil)
And finally implement delegate methods to get result:
func qrScanner(_ controller: UIViewController, scanDidComplete result: String) {
    print("result:\(result)")
}

func qrScannerDidFail(_ controller: UIViewController, error: String) {
    print("error:\(error)")
}

func qrScannerDidCancel(_ controller: UIViewController) {
    print("SwiftQRScanner did cancel")
}
Author
Vinod, vinod.jagtap@hotmail.com
License
SwiftQRScanner is available under the MIT license. See the LICENSE file for more info.


