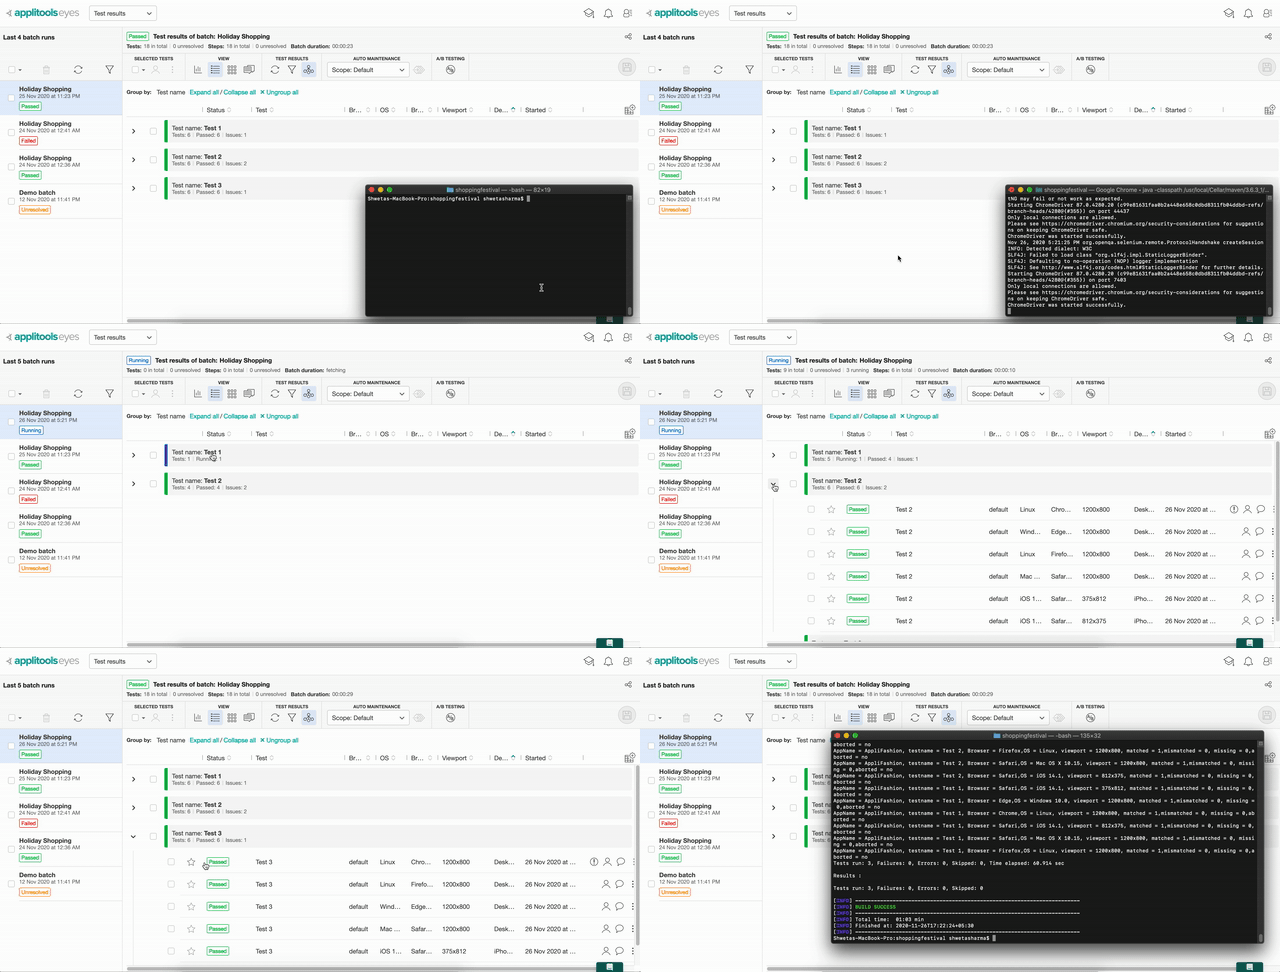
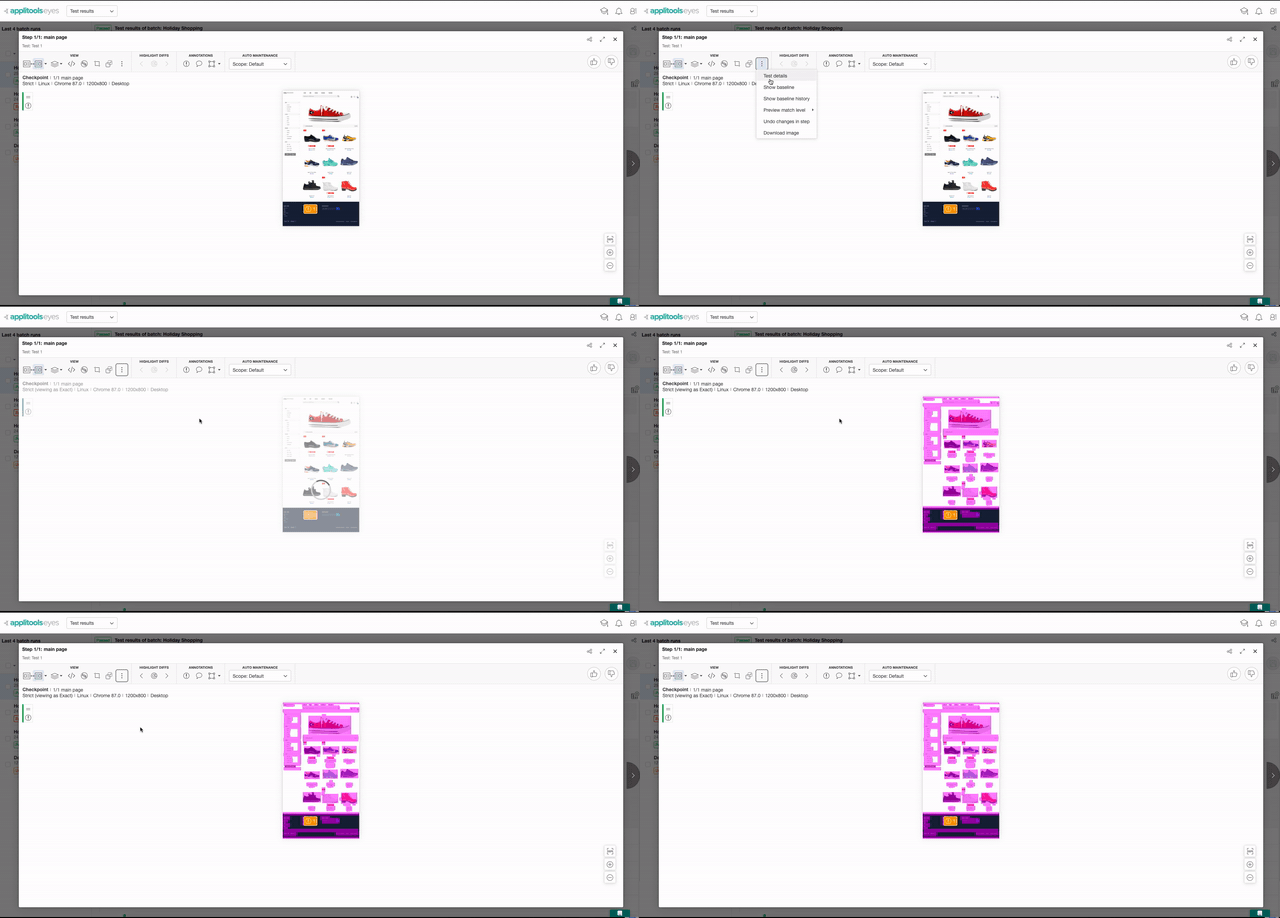
Automated visual validation testing using Applitools across several browsers and devices using Ultrafast Cloud solution from Applitools.
- About the repository
- Demonstration
- Installation
- Execution using the terminal
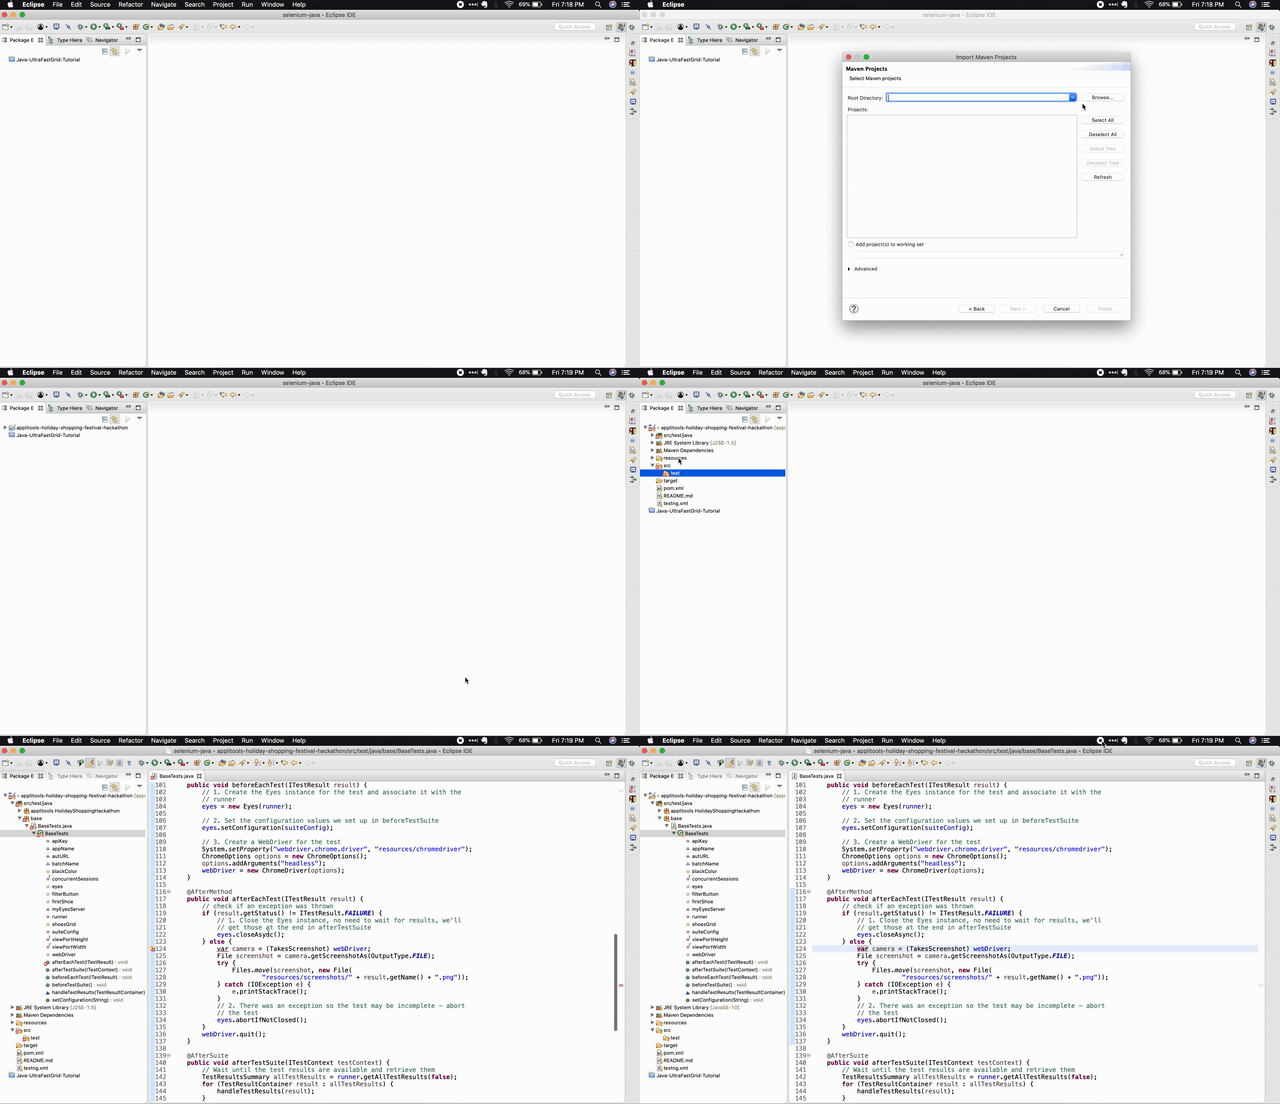
- Execution using Eclipse IDE
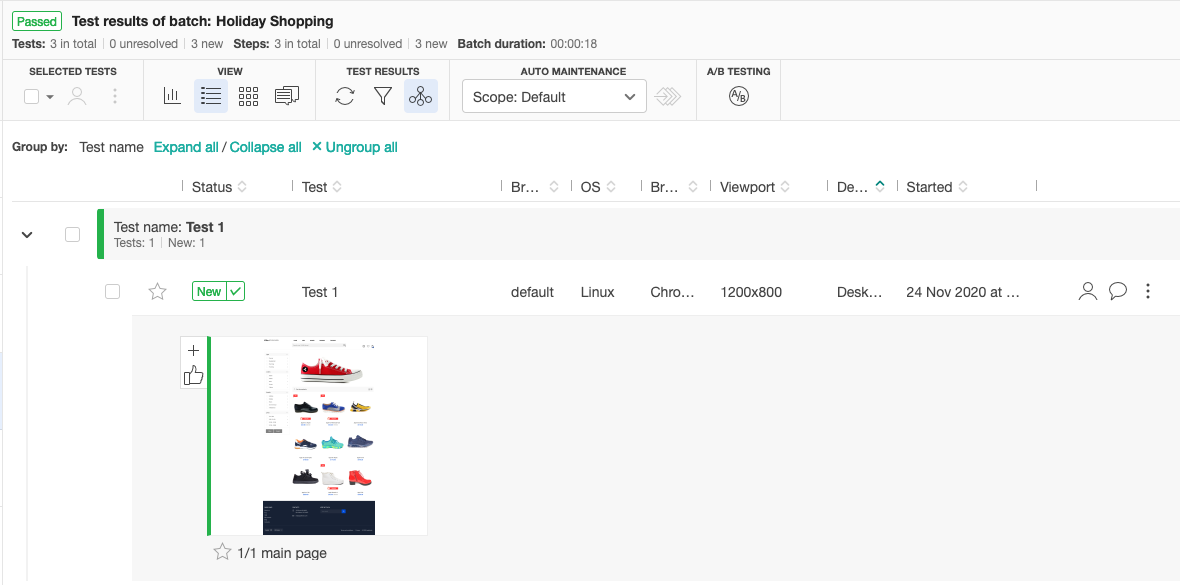
- Test Execution Results
- Pixel based comparison demo
- This repository was created as part of Applitools Holiday Shopping Hackathon entry.
- This assignment is created using Selenium webdriver available in Java binding to automate the browser actions.
- TestNG is used as the testing framework.
- It also uses Maven to manage dependencies effortlessly.
- Structure:
- Two packages:
- applitools.HolidayShoppingHackathon
- base
- Two classes:
- BaseTests.java
- AllTests.java
- resources directory
- chromedriver
- pom.xml
- testng.xml
- Two packages:
- An account is created with Applitools. If you don't have one, you can create a free account from here.
- Dependencies:
- Java 10+ (I have used Java 11)
- Maven 3.6.3
- Chrome browser. I currently have v87 on my machine.
- Chromedriver executable
- The environment variable for
APPLITOOLS_API_KEYis correctly set in your system path. - The chromedriver should be compatible with your browser version. Click here to understand what version is applicable to your machine and replace it with the one placed in the resources directory.
- Clone the repository using the command
git clone https://github.com/shwetaneelsharma/applitools-holiday-shopping-festival-hackathon.git. - Open the terminal and navigate to the project directory.
- To run all the tests, execute the command
mvn clean test -DsuiteXmlFile=testng.xmlin your terminal. - NOTE: Since chrome is configured to run in headless mode, you will not see a physical browser opening up.
- Import the maven repository in the Eclipse IDE.
- If needed, change the project compliance and JRE to 10.
- Right click on
testng.xml->Run As ->TestNG Suite`. - Here is the demo for your convenience
| Main Page | Filtered Product Grid | Product details |
|---|---|---|
 |
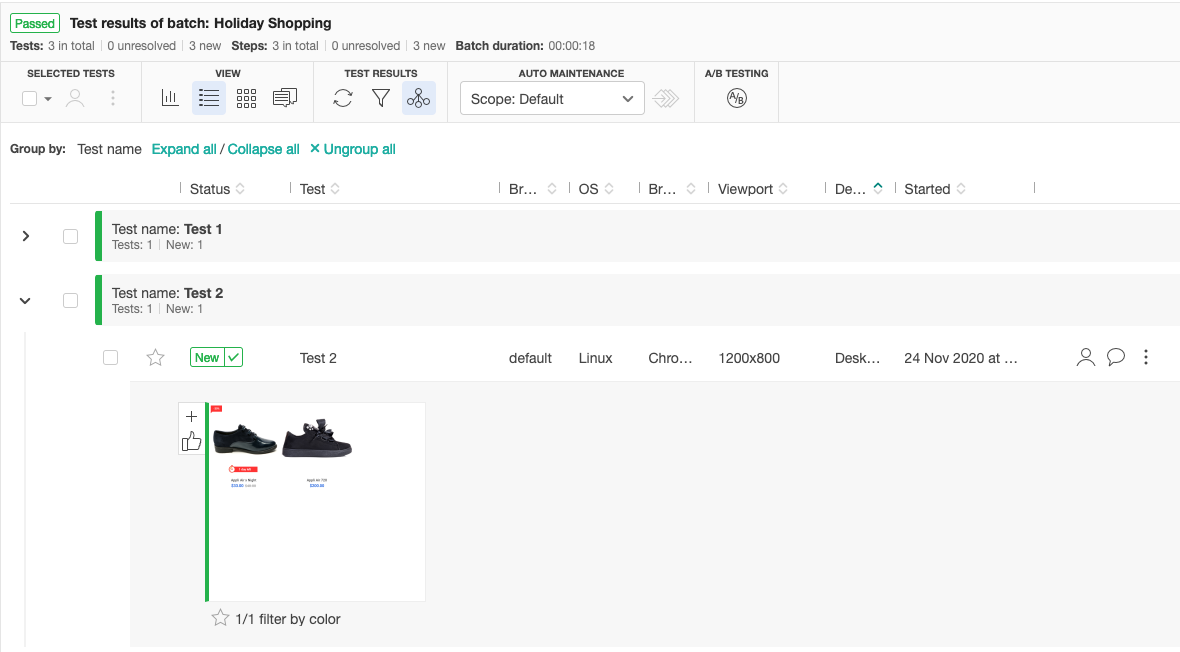 |
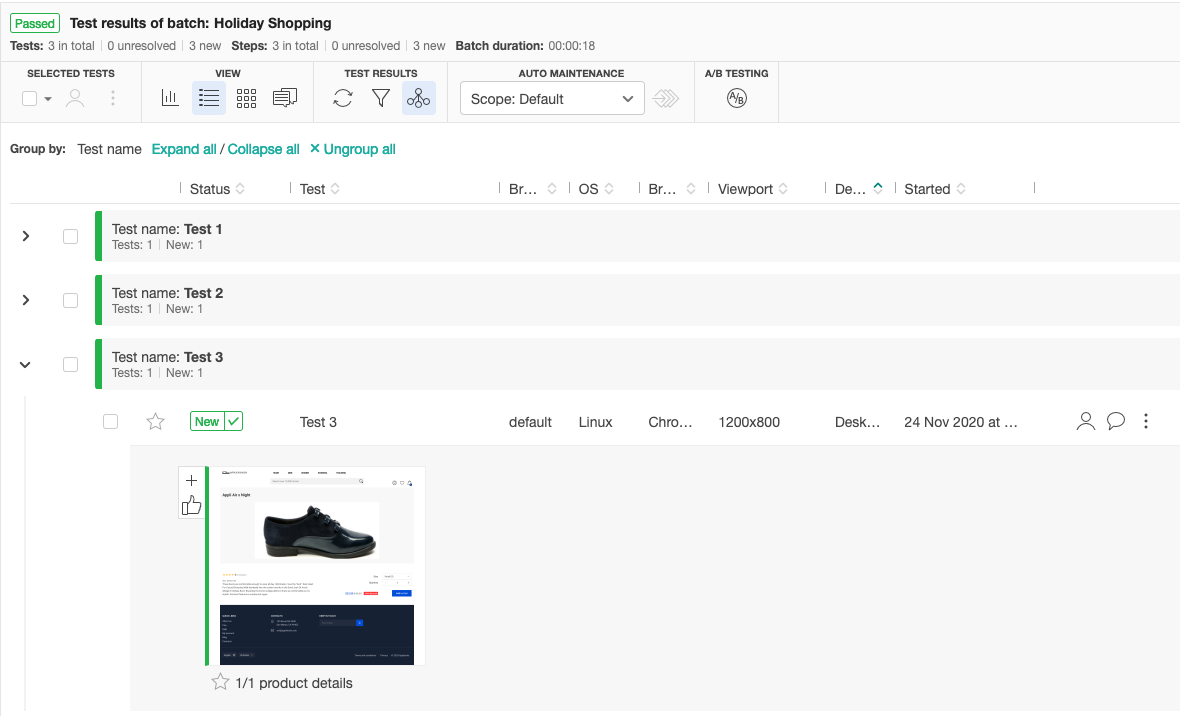 |
| Main Page | Filtered Product Grid | Product details |
|---|---|---|
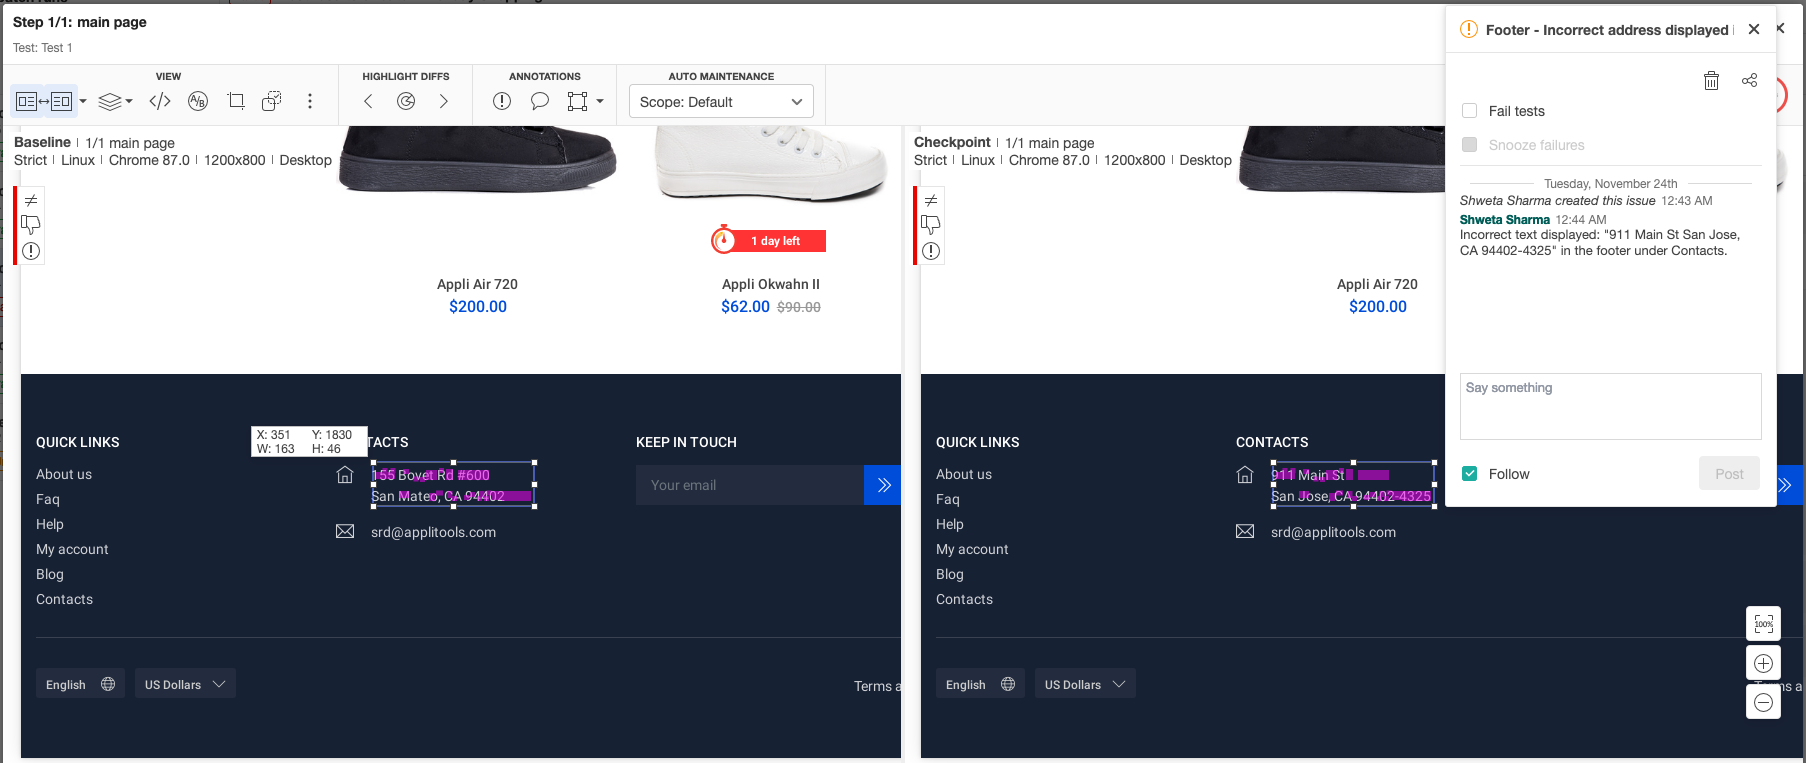 |
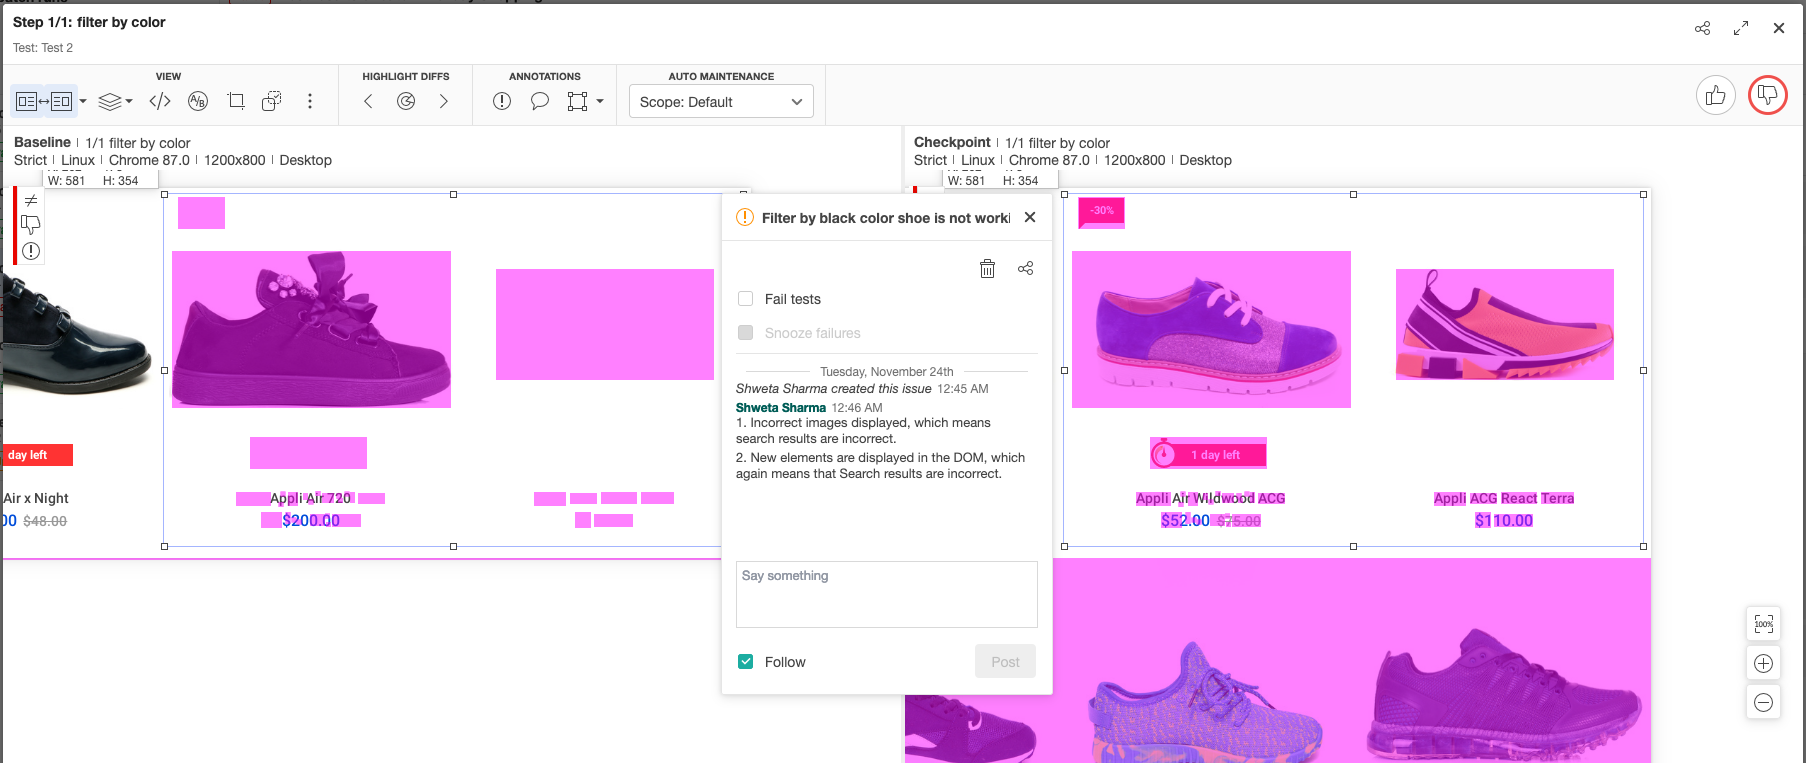 |
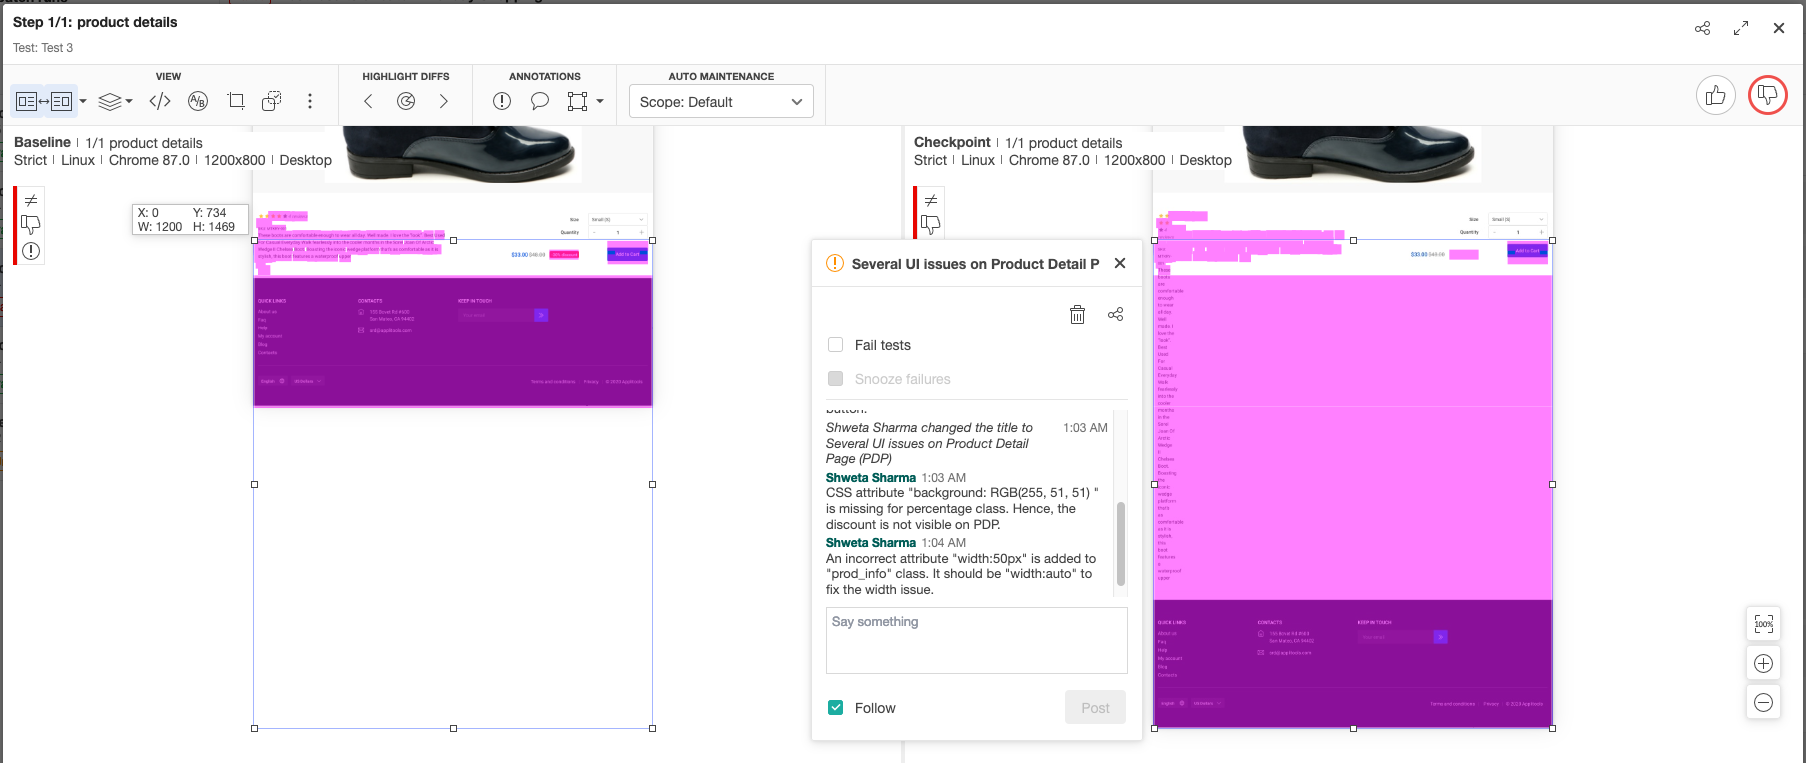 |
| Main Page | Filtered Product Grid | Product details |
|---|---|---|
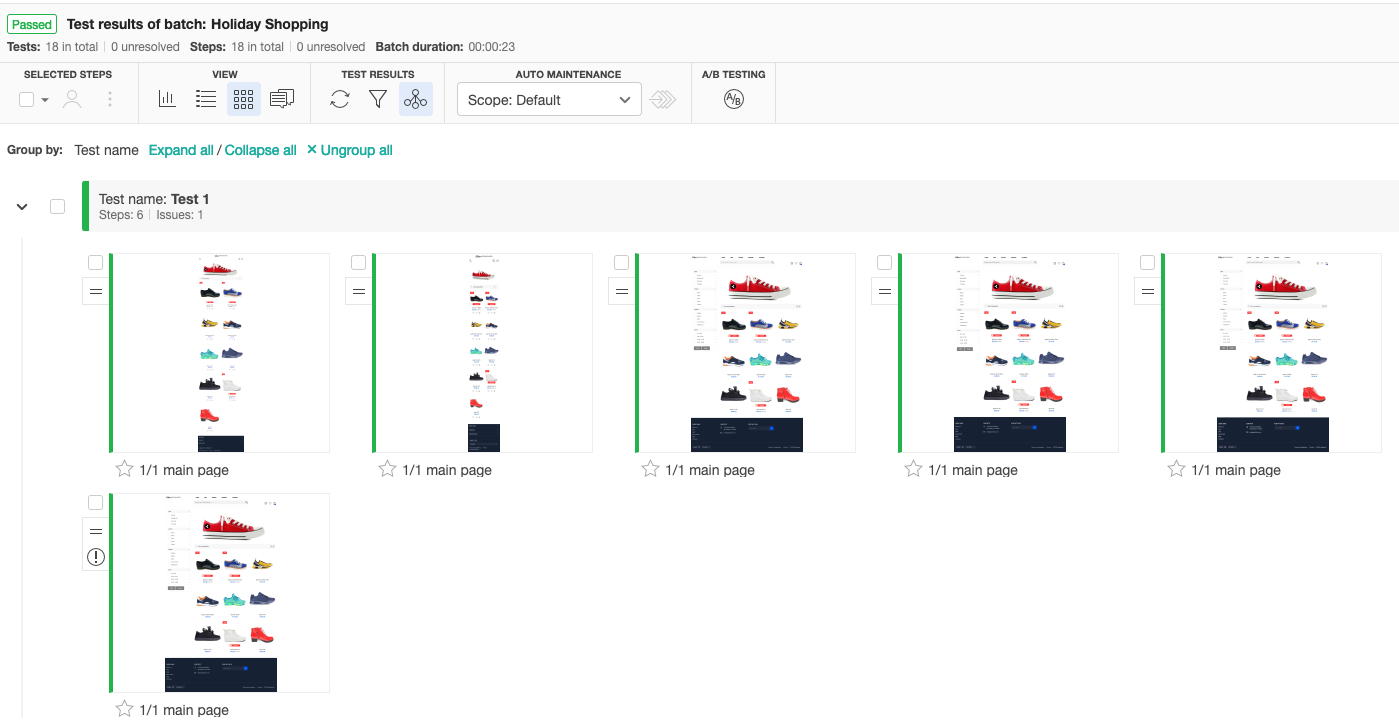 |
 |
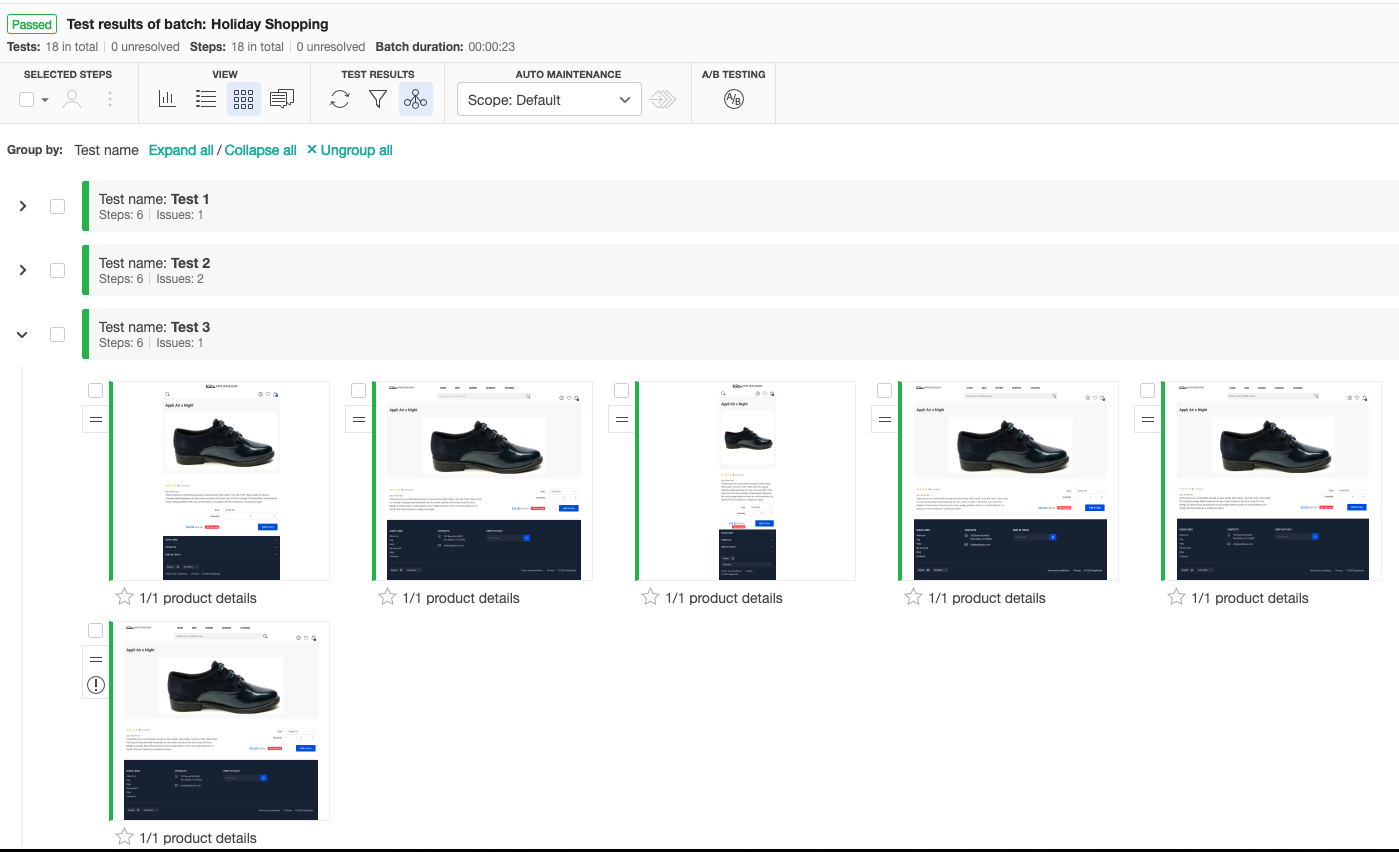 |
