This repository contains the hardware setup details and source code for an automated asset verification system based on the BLE (Bluetooth Low Energy)
This project uses Mediatek Linkit ONE board as a BLE gateway and Cypress 4.1 BLE / Beacon device as the BLE node. The application server is hosted on Thingsboard and enables users to track their physical assets attached with the BLE node. The LinkIt-One board acts as the BLE gateway that aggregates all beacon signals from the BLE nodes. It detects the presence or absense of assets in a specified area and updates this information on a dashboard hosted by the Thingsboard server.
This system is assumed to be installed in a Factory space or any close office space where there are movable or portable assets which need to be monitored. The system has two parts
-
Asset Management Server - The application server that runs on Thingsboard and also hosts the dashboard for real-time presence monitoring of assets. This is written in JavaScript.
-
Hardware - BLE Gateway along with the BLE end nodes that are configured as a beacon. Mediatek LinkitONE is the gateway and Cypress 4.1 BLE is the end node. There are three end nodes configured in this applicaiton which means that we can track three assets at a time. The code for hardware is written in C.
The following hardware components are used for this project:
-
LinkIt-One v1.0
-
Cypress4.1
-
BLE and Wifi antenna
If you are familiar with basics of LinkIt One programming using Arduino IDE, then you can skip the following step and proceed directly to step 2.
In order to start programming LinkIt One device, you will need Arduino IDE installed and all related libraries. Please follow this guide in order to install the Arduino IDE and LinkIt One SDK.
The above "Getting Started" guide also contains instructions for updating the LinkitONE firmware and try out your first LinkIt One sample application.
Open Arduino IDE and go to Sketch -> Include Library -> Manage Libraries. Find PubSubClient by Nick O’Leary and install it.
Clone this repository and open the application code for BLE gateway
You will have to edit the following Macros/variables in the source code as per your network configuration
• WIFI_AP (Line 15) - SSID Name of your WiFi Access Point
• WIFI_PASSWORD (Line 16) - WiFi Password of Access Point
• WIFI_AUTH (Line 17) - WiFi Auth (choose one between LWIFI_OPEN, LWIFI_WPA, or LWIFI_WEP)
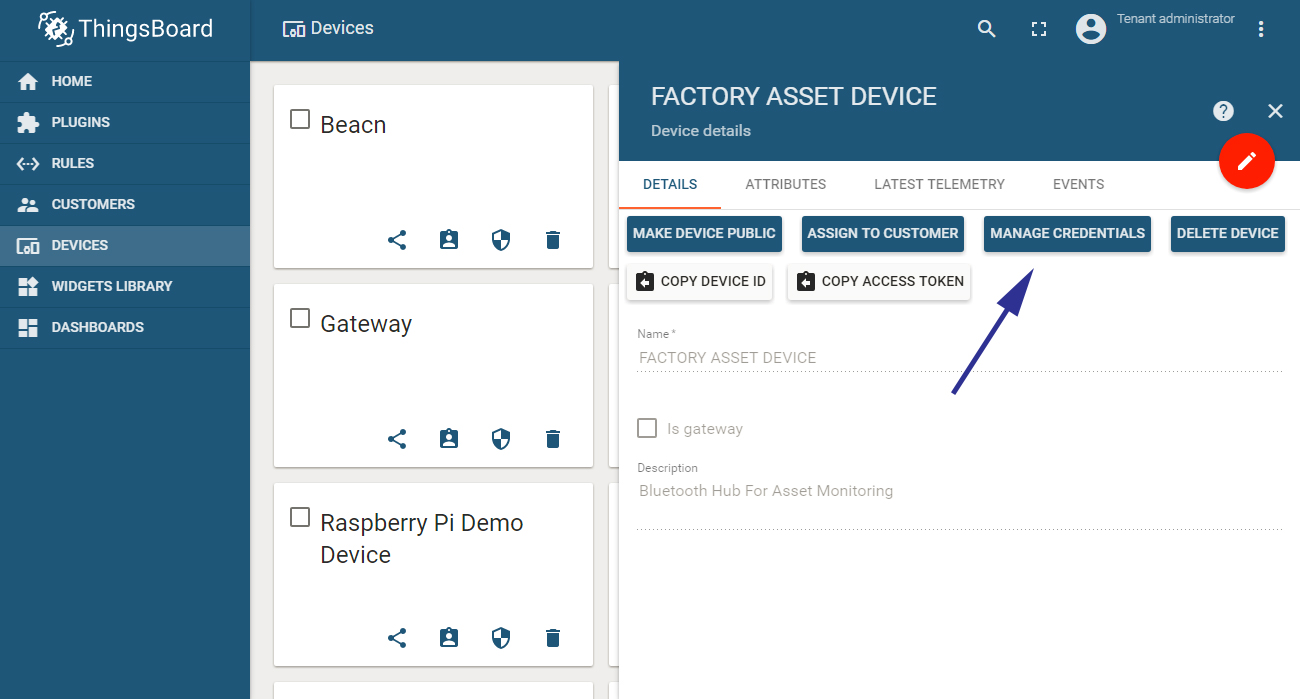
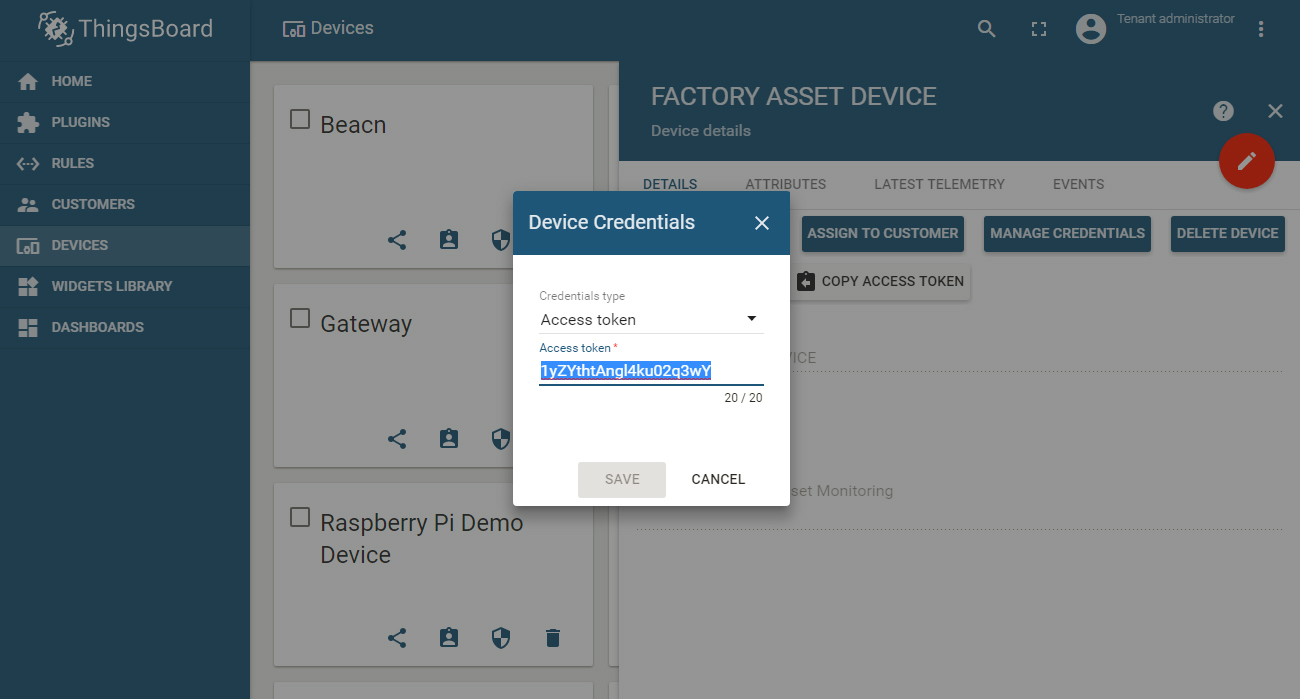
• TOKEN (Line 18) - the $ACCESS_TOKEN from ThingsBoard configuration step (See "Step 6. Copy the Access Token and save it in a text file" under "Creating the Device" section below ).
• thingsboardServer (Line 25) - The IP Address fo the server hosting Thingsboard
• BEACON_MAC_ADDR_1 , BEACON_MAC_ADDR_2 , BEACON_MAC_ADDR_3 (Line 21,22,23) - Known mac-addresses of the ble end nodes.
Connect your LinkItONE device via USB cable and select Serial Debug COM port in Arduino IDE. Compile and Upload your sketch to the device using “Upload” button. Once the application starts, it will try to connect to ThingsBoard server using MQTT. Refer to the steps below to deploy ThingsBoard server to receive the messages from the Linkit ONE.
When the application is running, you can connect your device to Serial Debug COM port in Arduino IDE and open “Serial Monitor” in order to view debug information produced by serial output.
You will need PSoC Designer for this.
Follow this link to get the getting started guide
The code used for progralling is based on this EddyStone sample program.
ThingsBoard is a open source IoT platform. For this project we have used a Ubuntu server installed with ThingsBoard for orchestrating the messages between the assets and the dashboard.
Install the Thingsboard service as per your Operating System
Follow this guide to get started with building application dashboards with ThingsBoard. If you want to head straight to building the widget dashboard for this application then you can skip this and follow along the next section.
The ThingsBoard configuration is done in three steps
-
Creating the Device
-
Creating Widget
-
Creating Dashboard
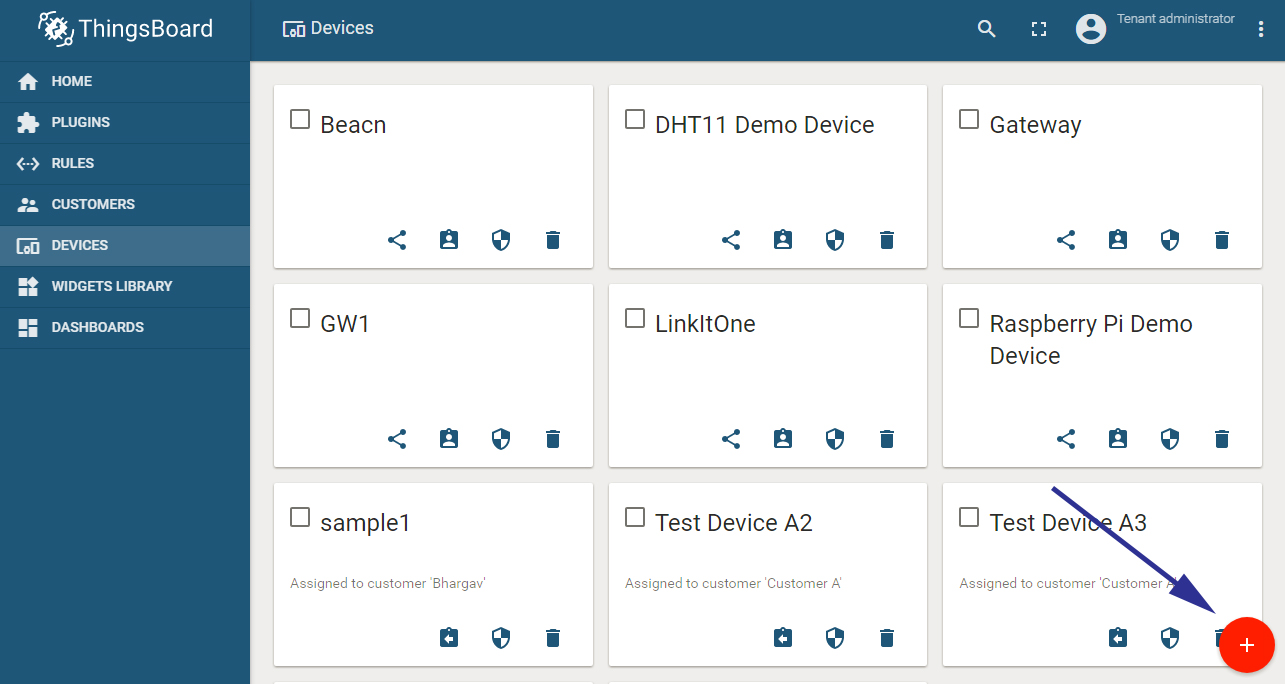
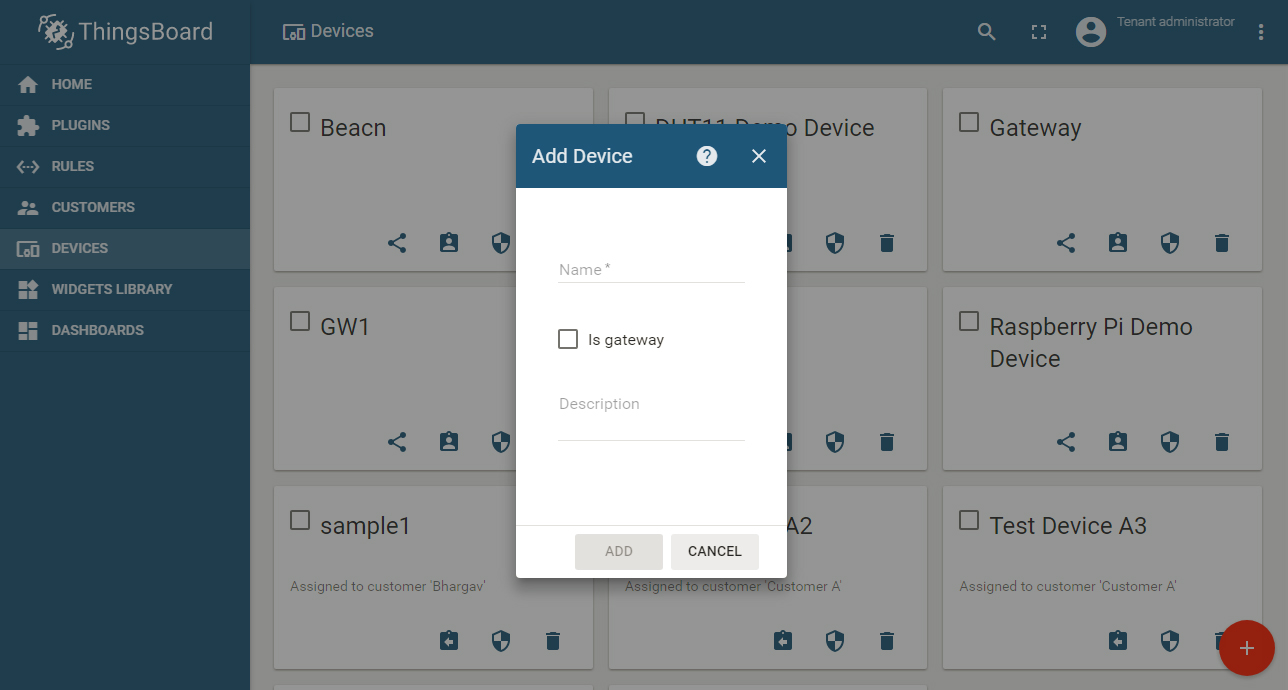
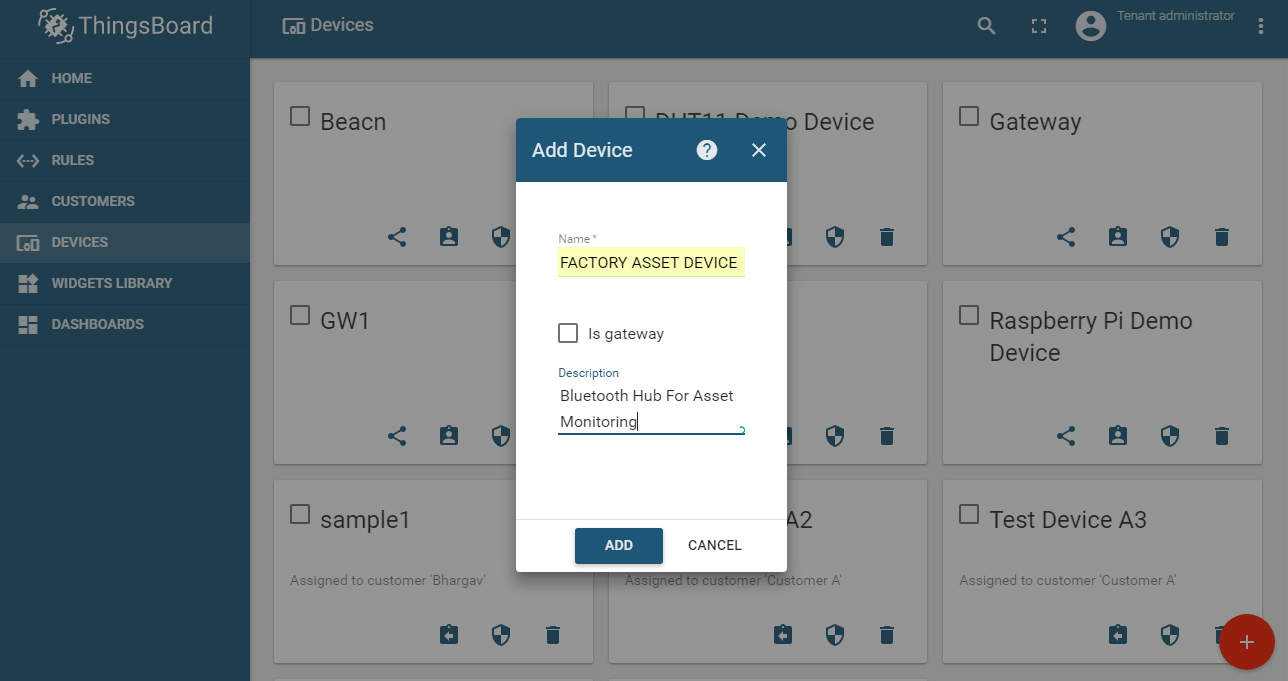
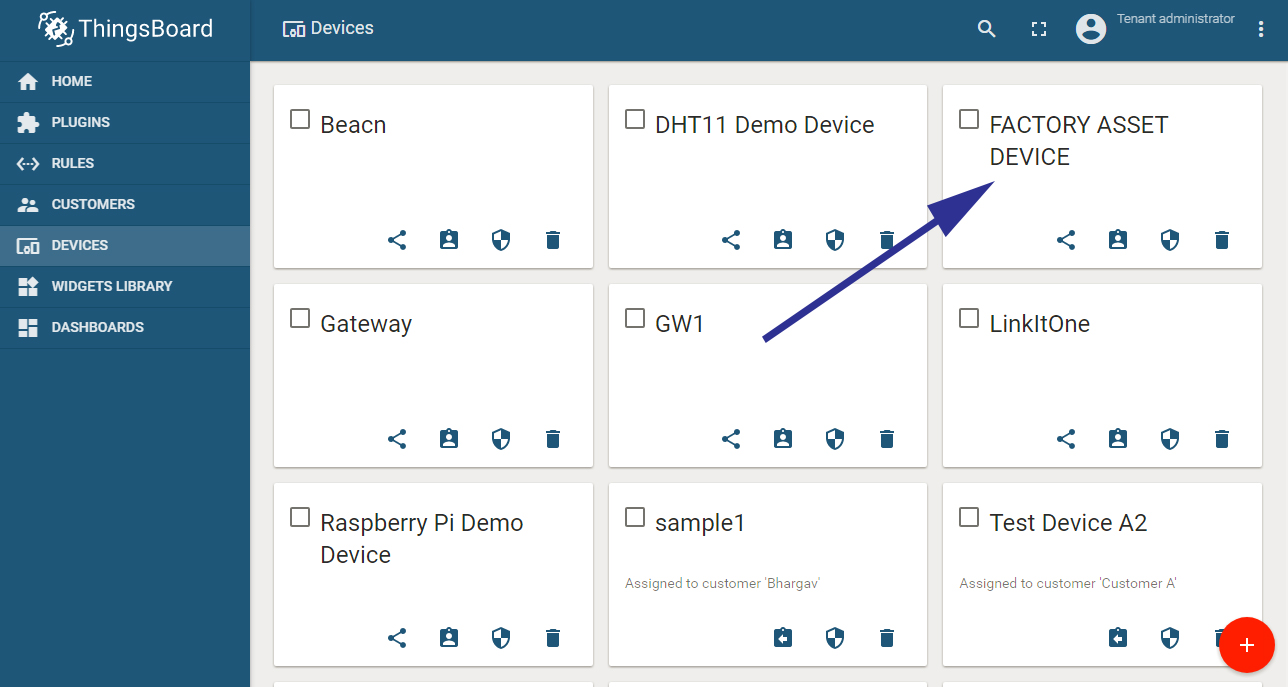
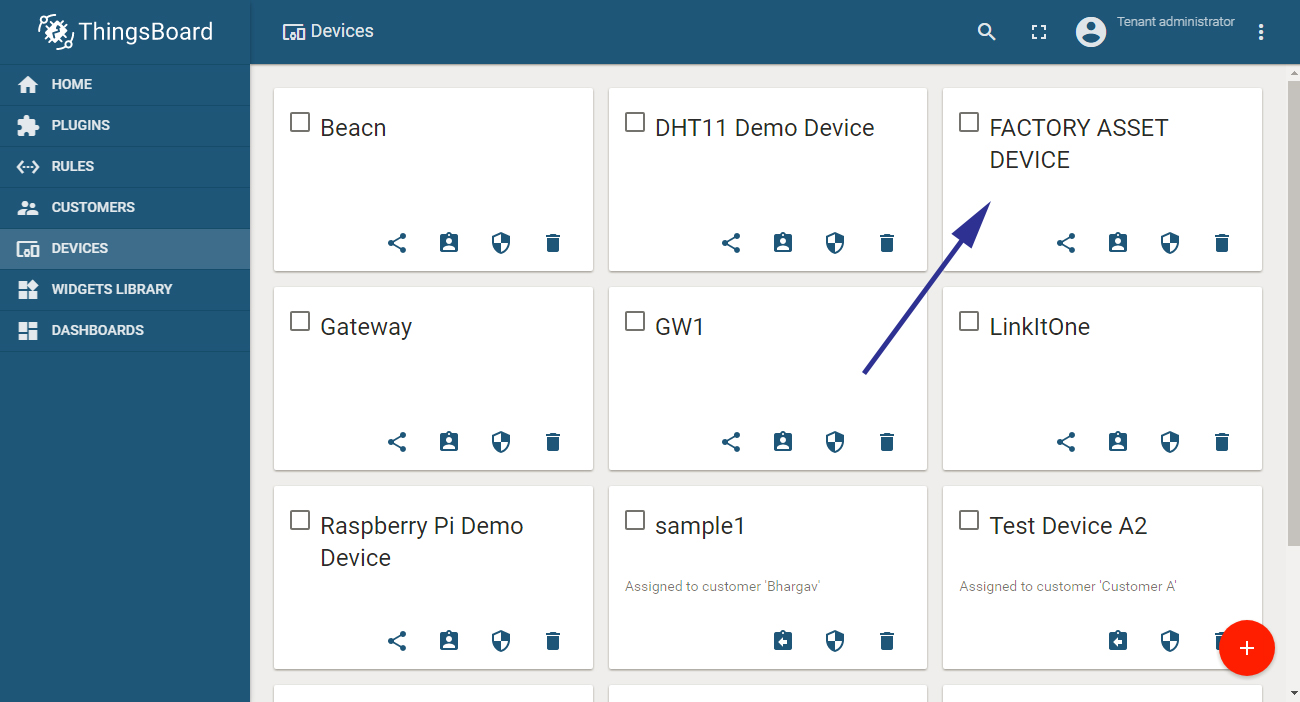
Step 2. Go to the Device Menu and click on the red "+" icon in the bottom right to create a new device.
-
Paste the access token in the Linkit ONE program (mentioned in "STEP 3 : BLE Application Application Code Config" under "Programming the Linkit ONE Device" section above) and then perform the procedure to execute the program in LinkitONE.
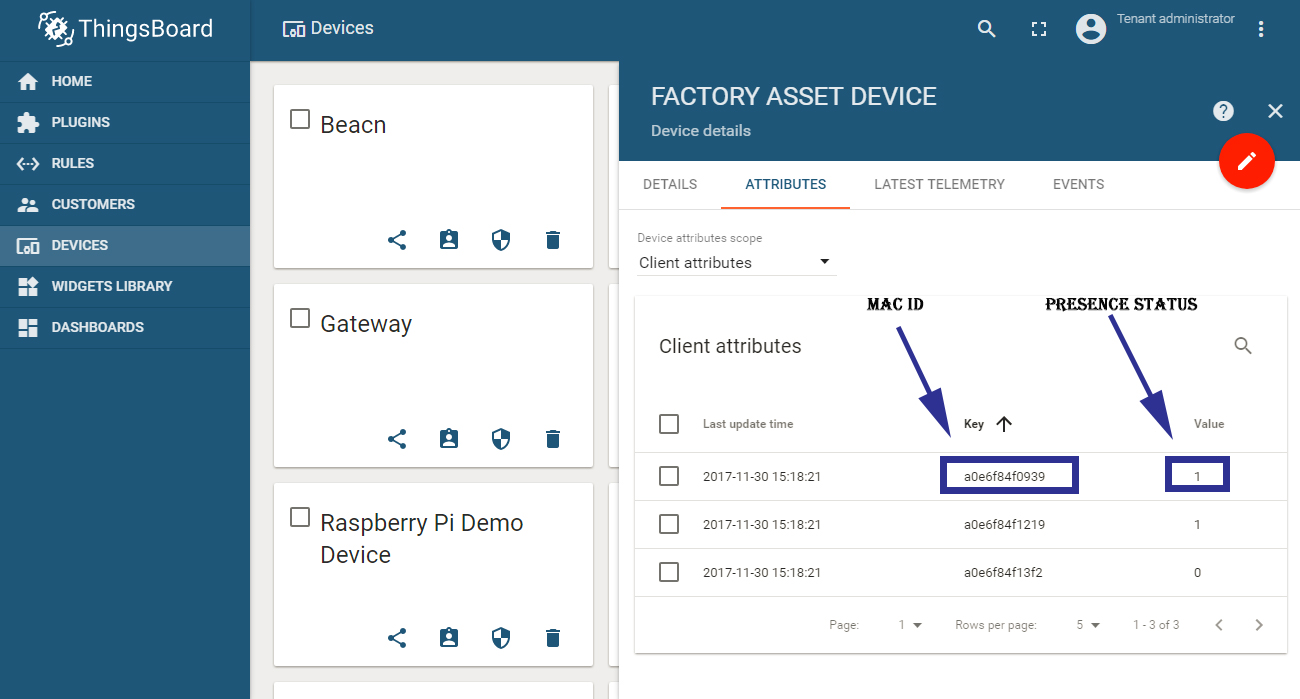
The hardware will now start publishing the end node's MAC ID along with the presence status.
At this point, device creation is complete and we are receiving the actual data from hardware.
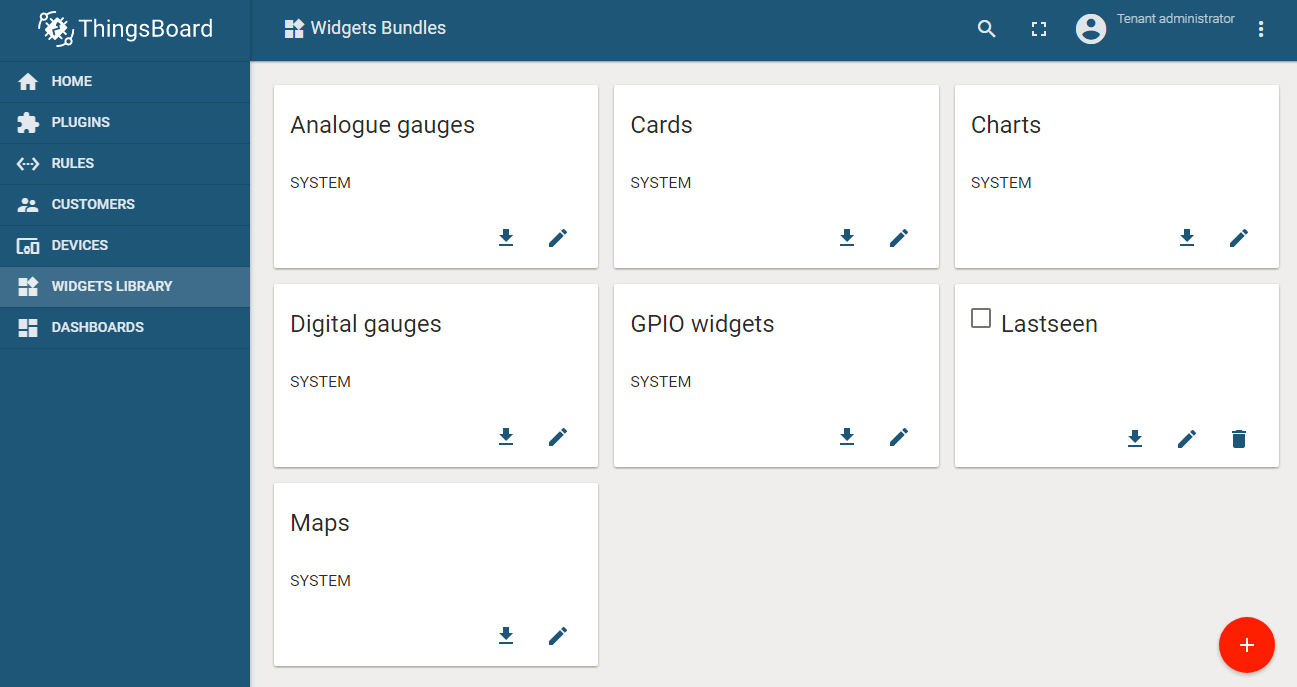
Now we have to create a widget for displaying the status of each BLE node. Head over to the "WIDGETS LIBRARY" section in the ThingsBoard server portal.
Follow the below steps to create a customized widget for displaying the presence status of the end nodes.
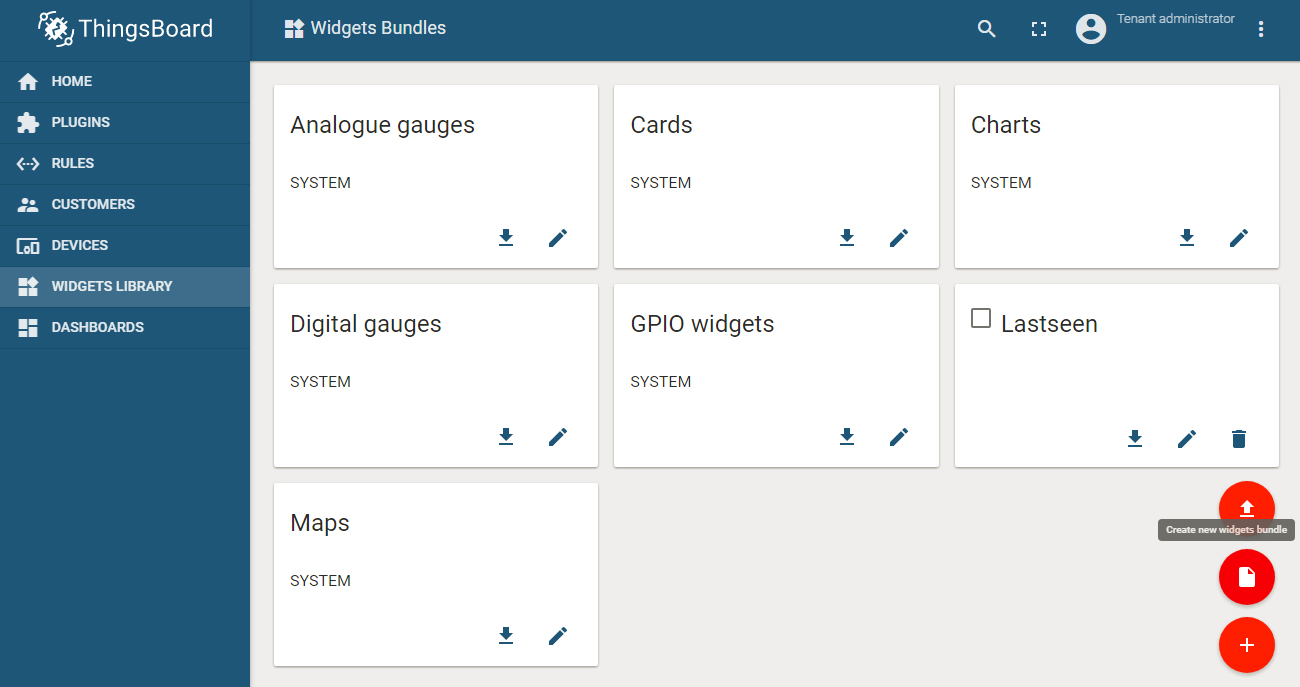
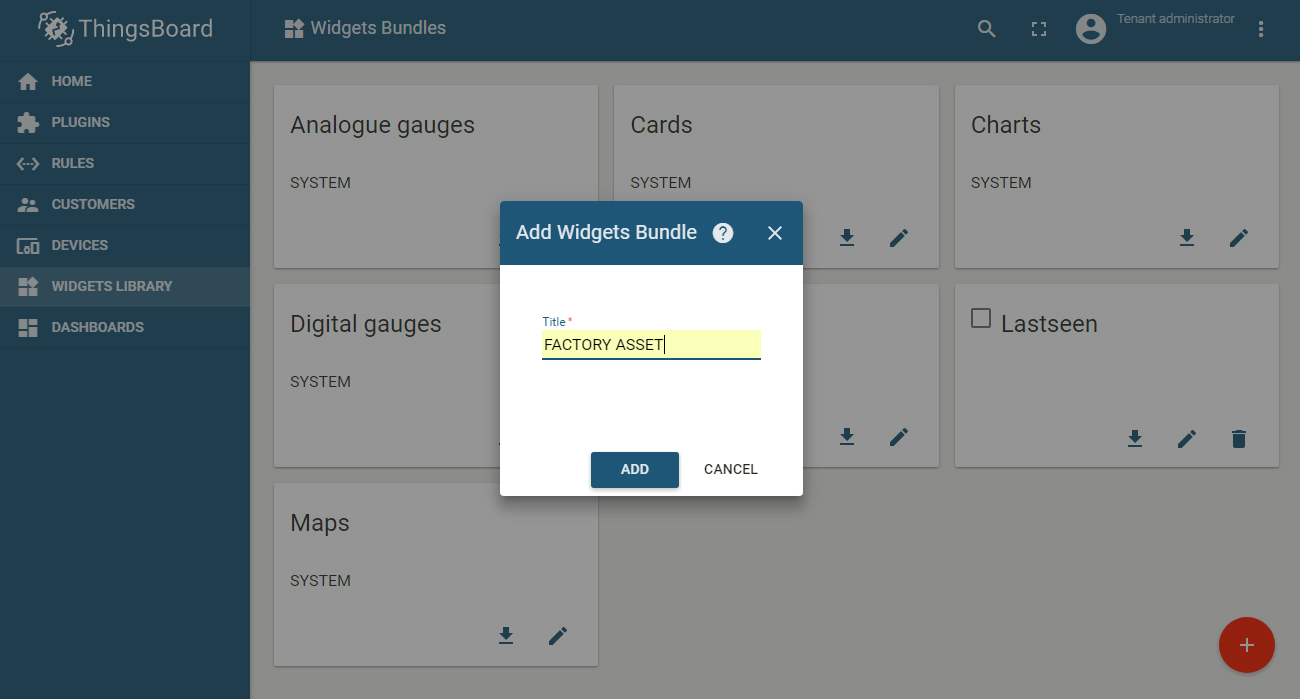
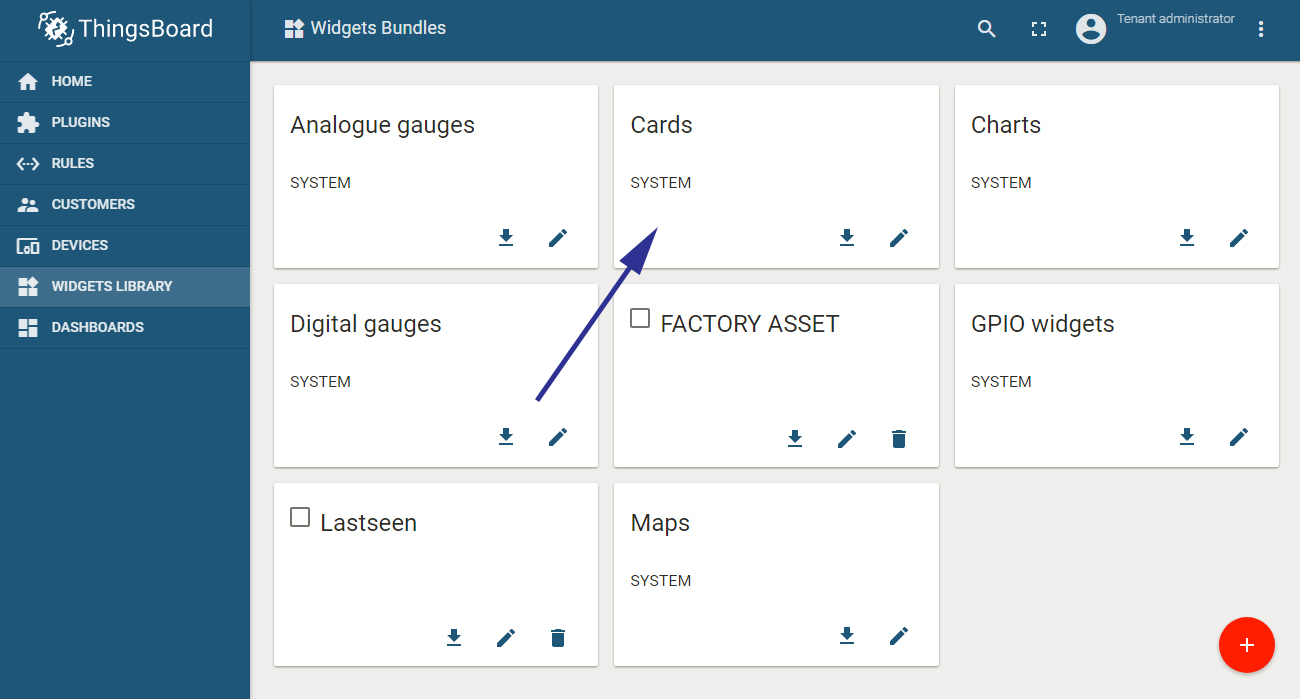
Step 1. Under the "WIDGET LIBRARY" screen, click on the red "+" icon in the bottom right and choose "Create New Widgets Bundle".
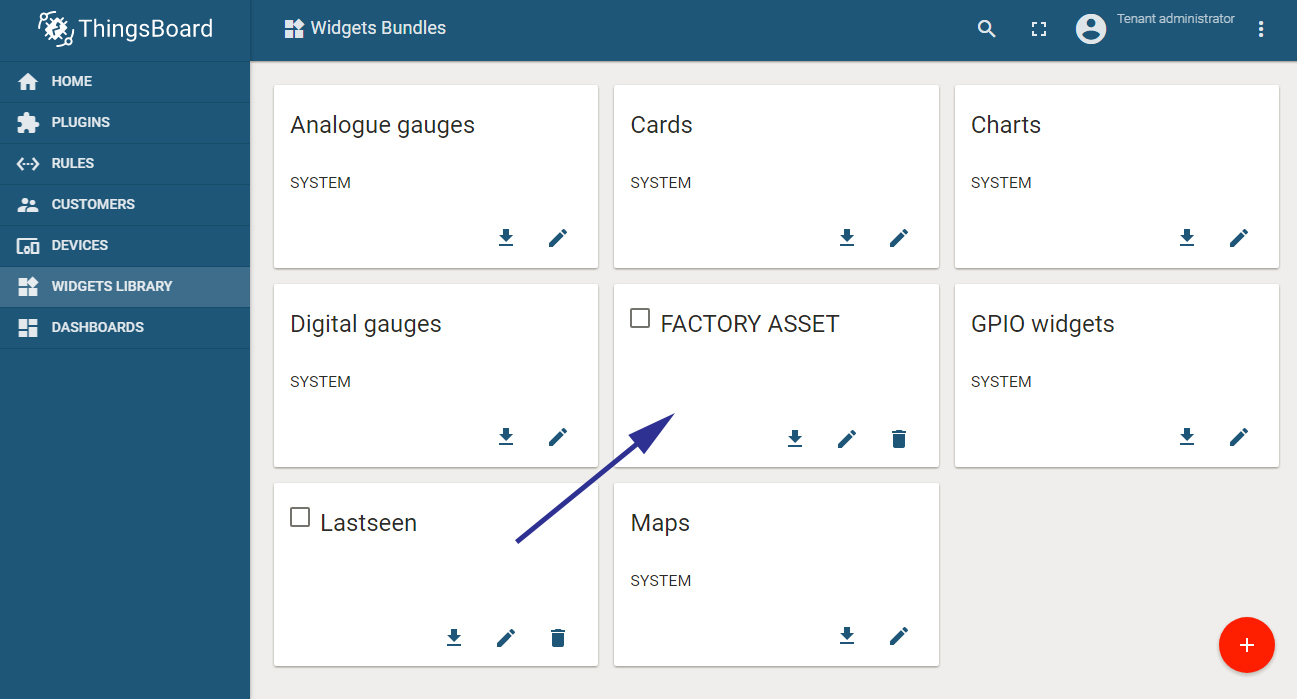
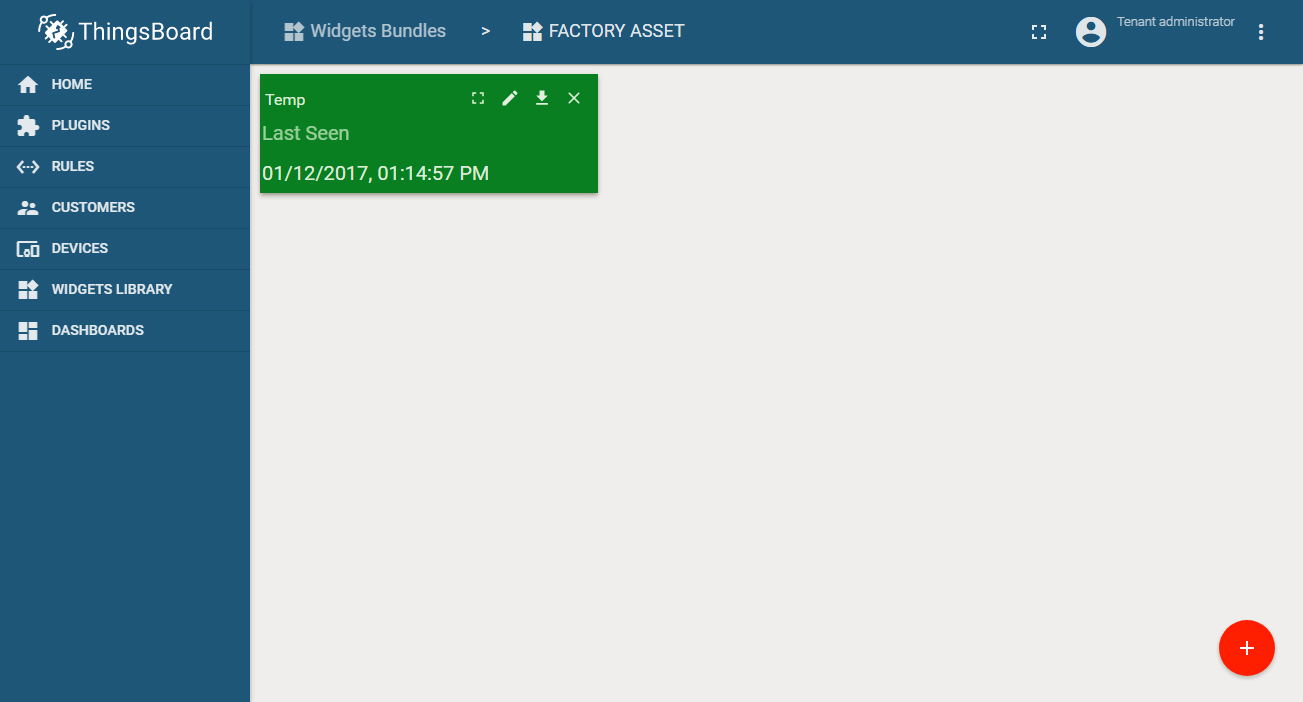
You will see the card representing the newly created widget bundle
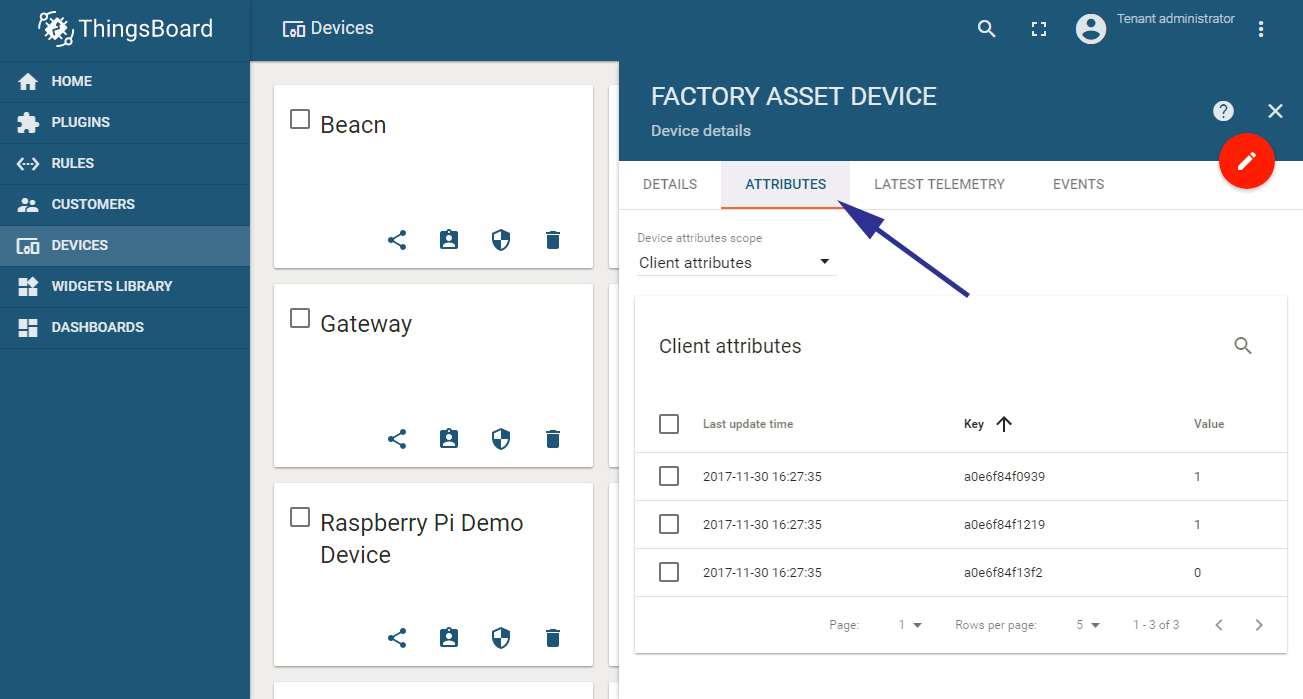
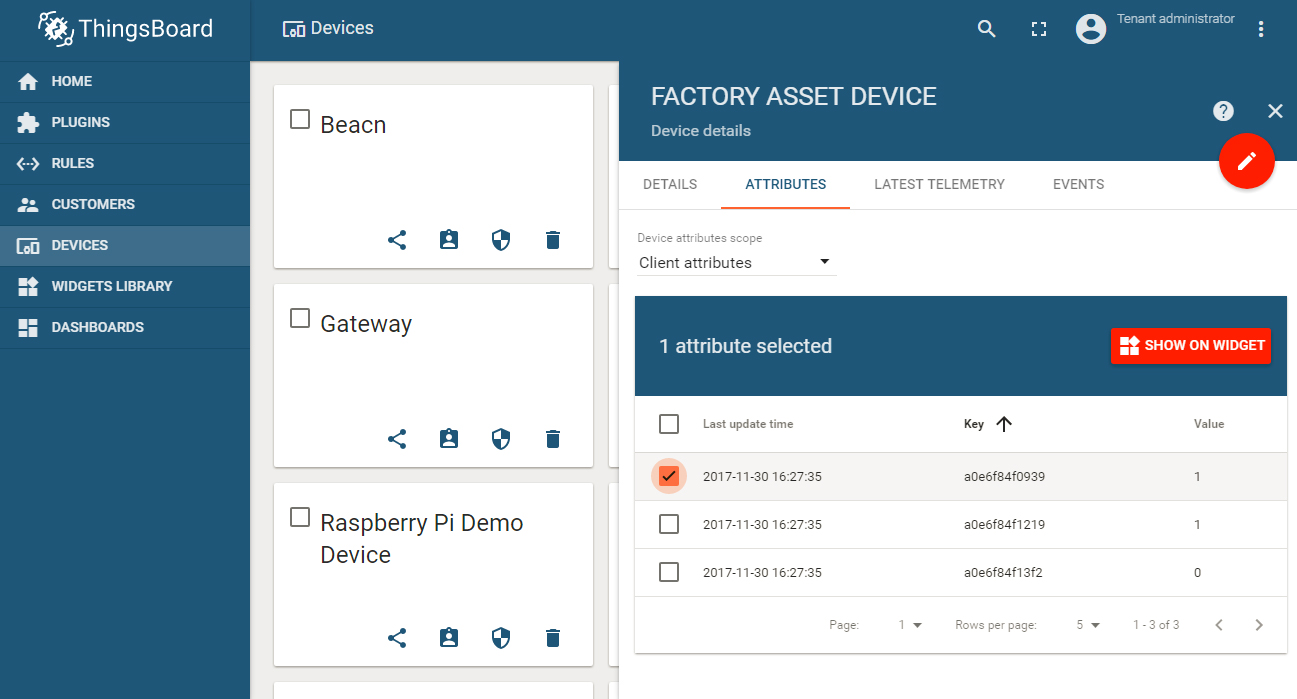
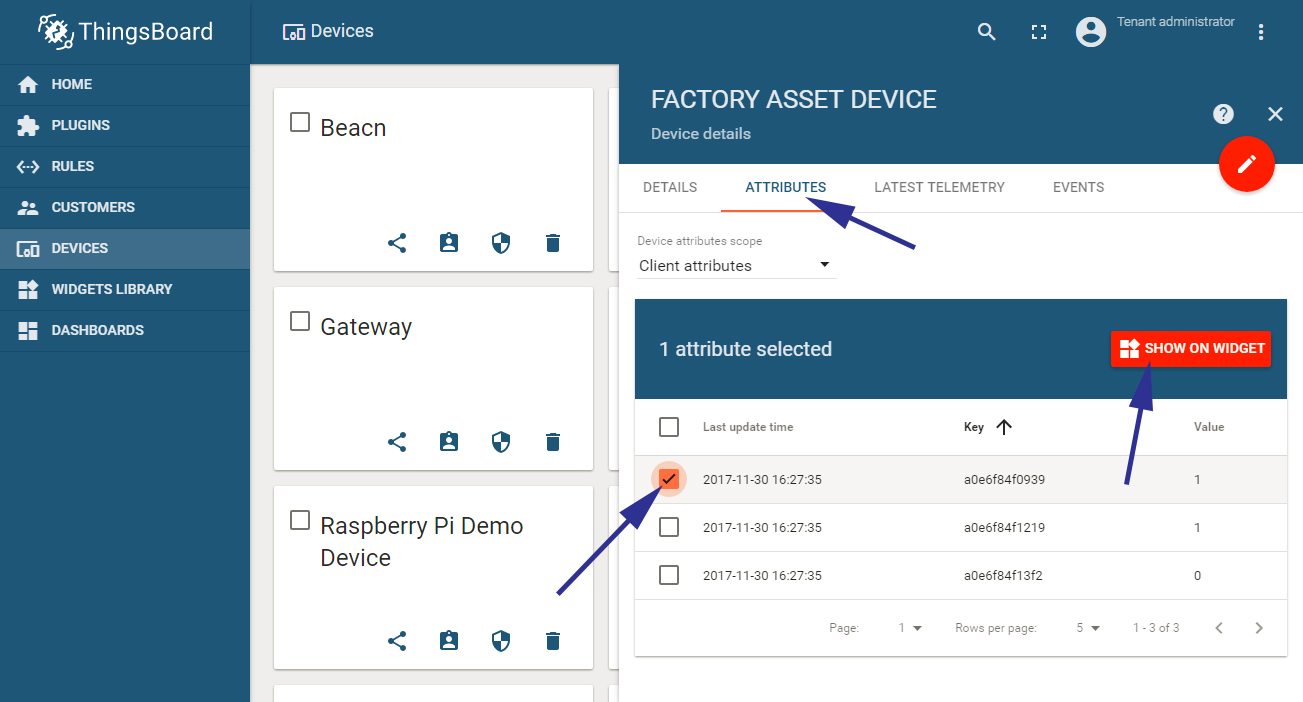
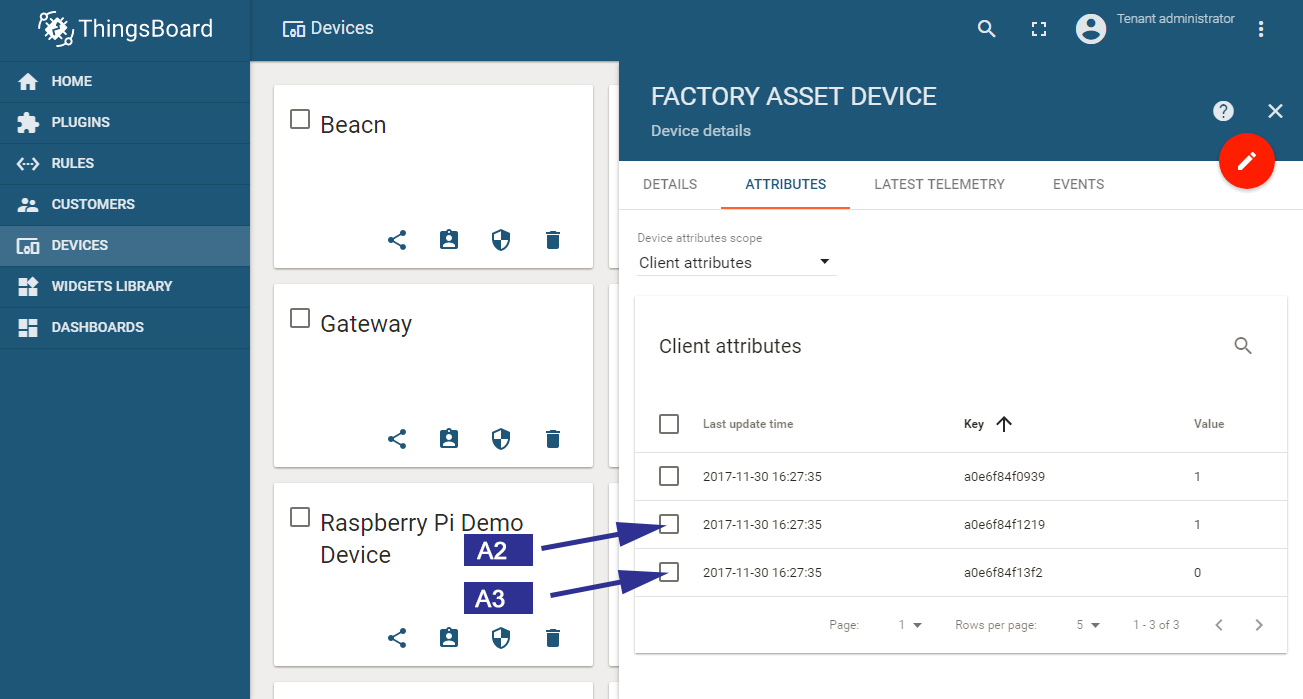
Step 3. Go back to the "DEVICES" screen, select the "FACTORY ASSET DEVICE" and choose the "ATTRIBUTES" tab
Step 4. Select the first data attribute received from one of the end nodes and click on "SHOW ON WIDGET"
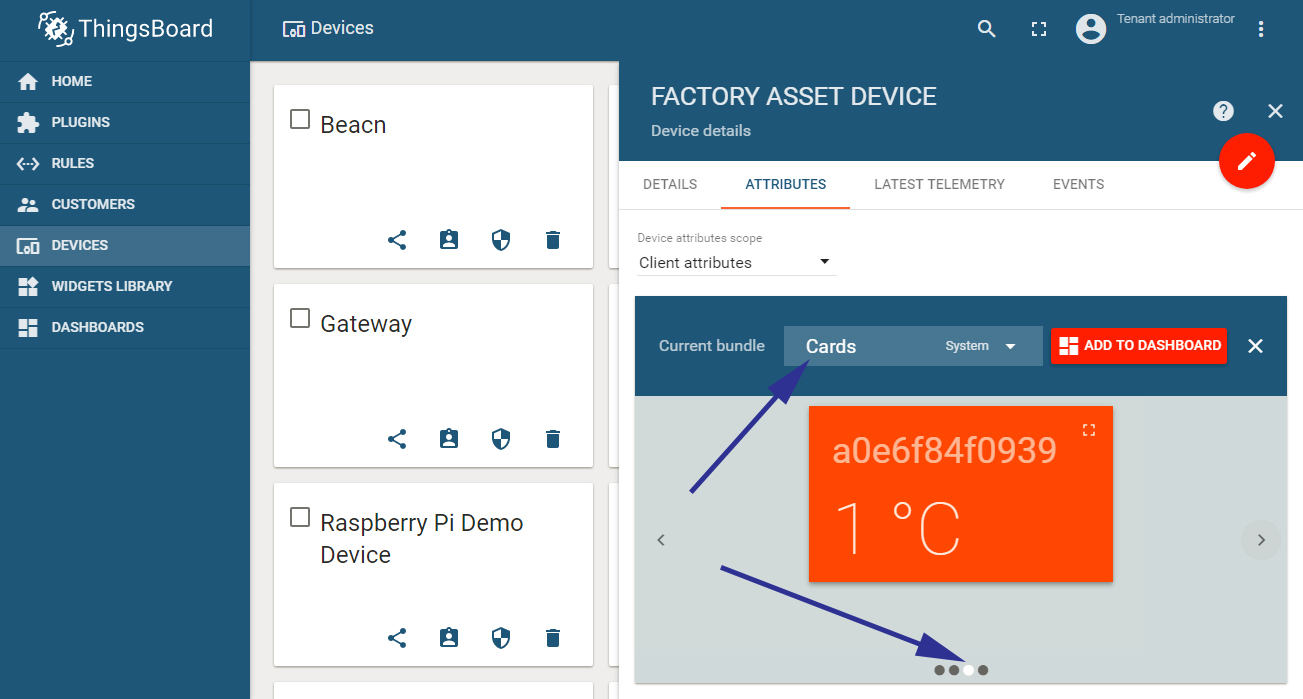
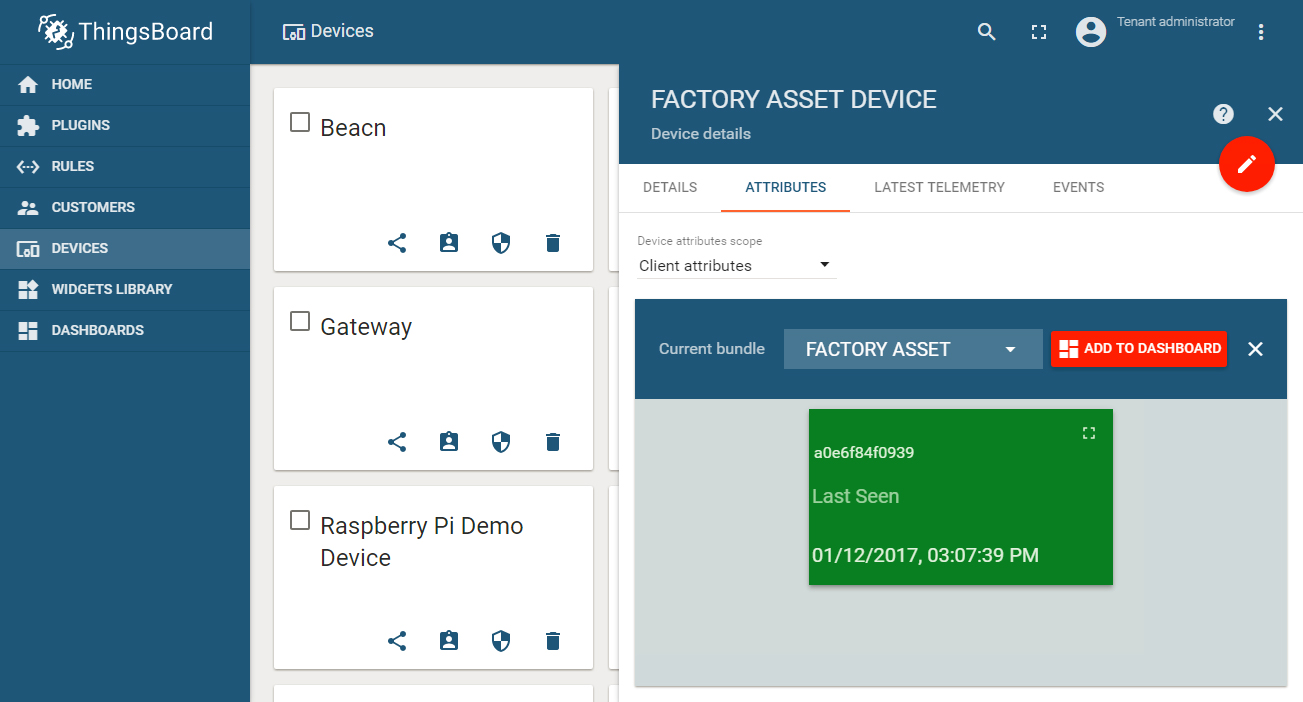
Step 5. Select "Cards" from the "Current Bundle" dropdown option and choose the third style from the four available styles.
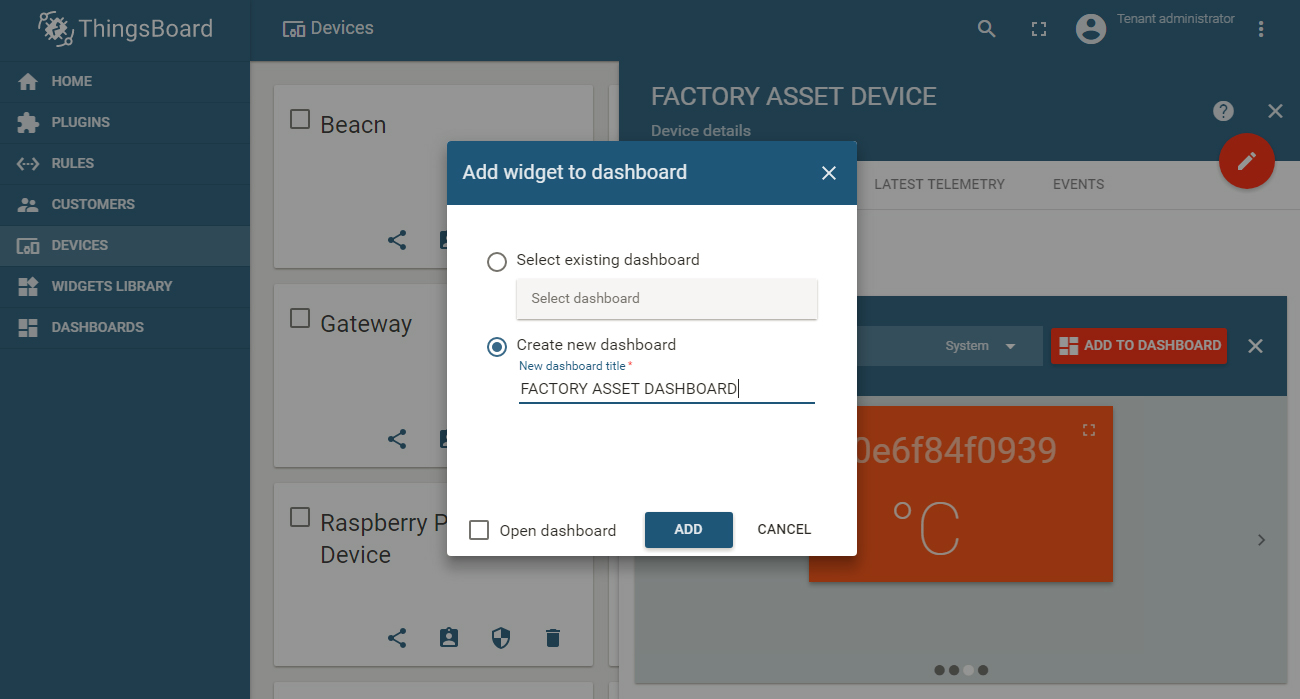
Step 6. Click on Add to Dashboard choose "Create New Dashboard" and enter the name as given and click "ADD".
This is the predefined widget that we selected for dislaying the aseet status but we will modify it.
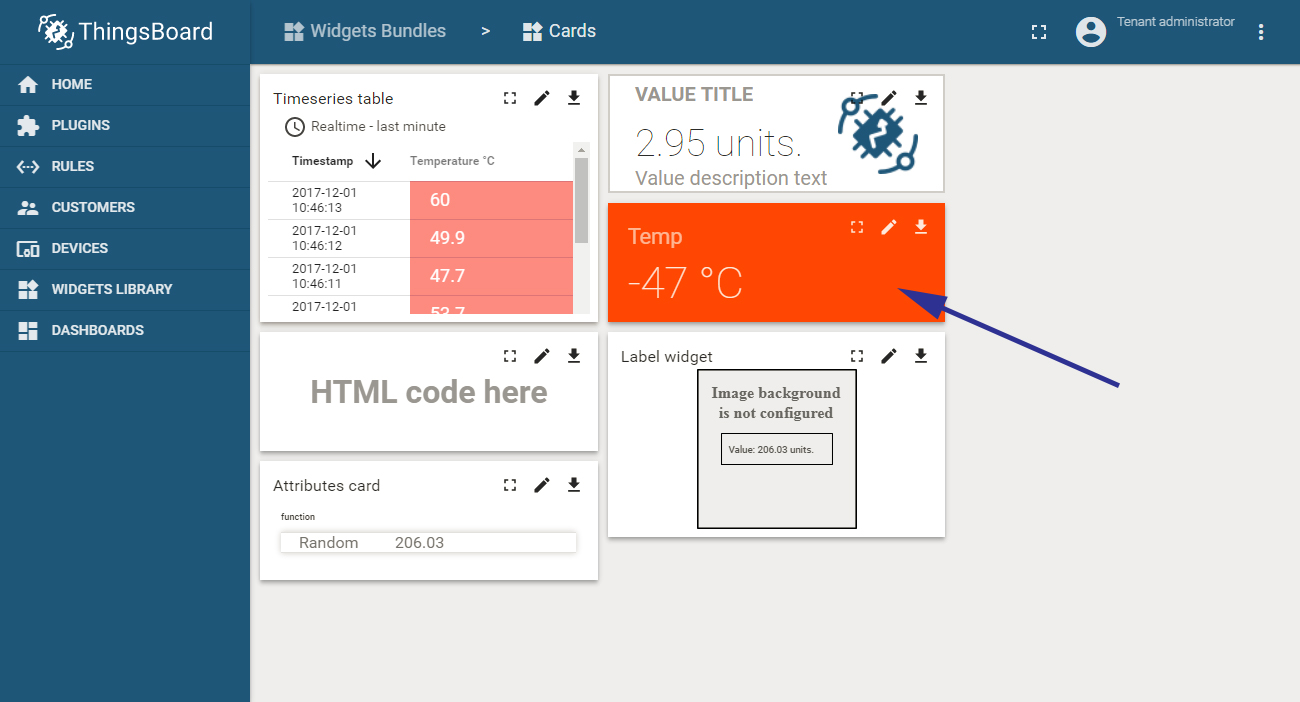
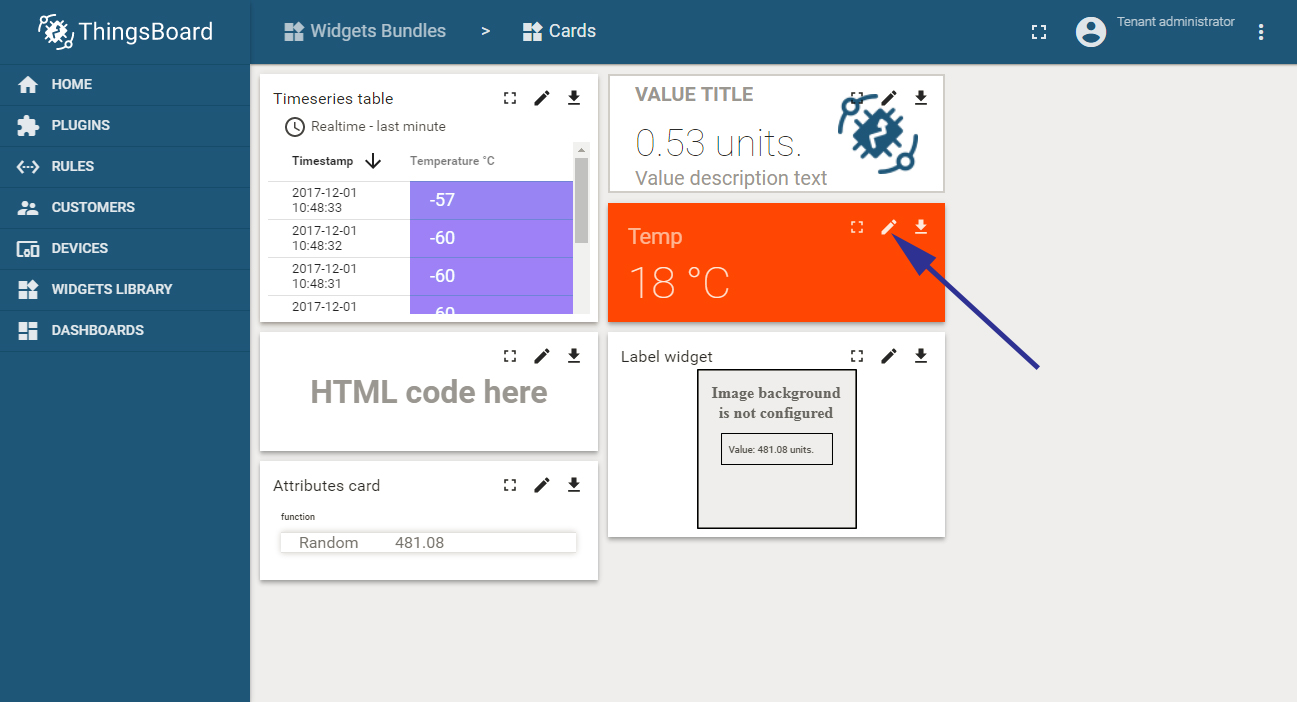
Step 8. This will open up a few widgets showing random data. We will start with the Temp widget for our BLE end nodes.
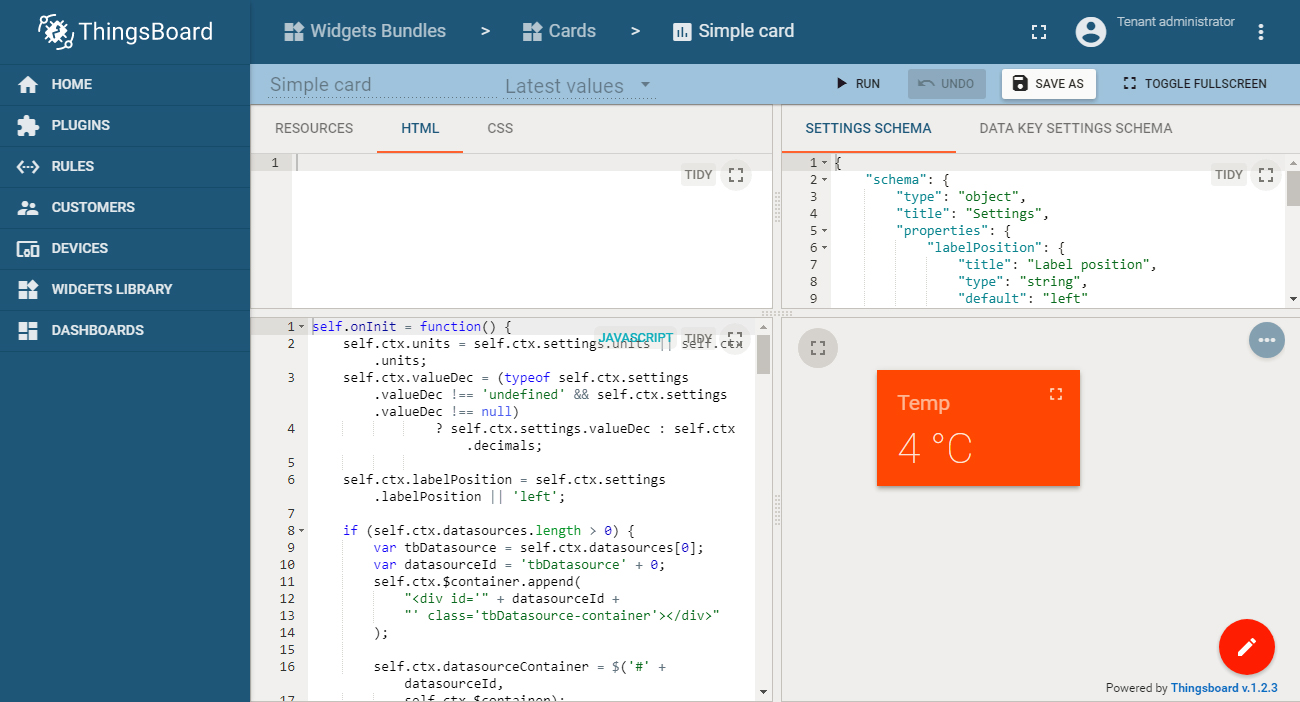
This will open up the code editing screen for the widget.
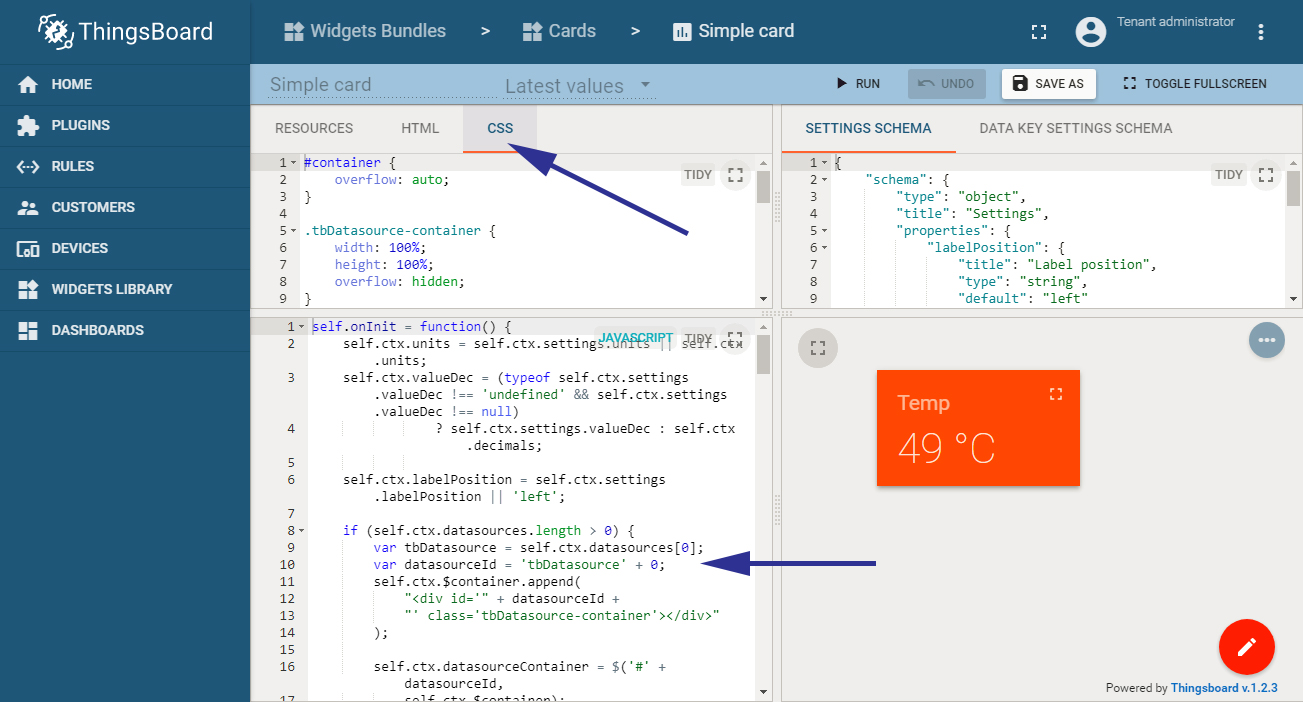
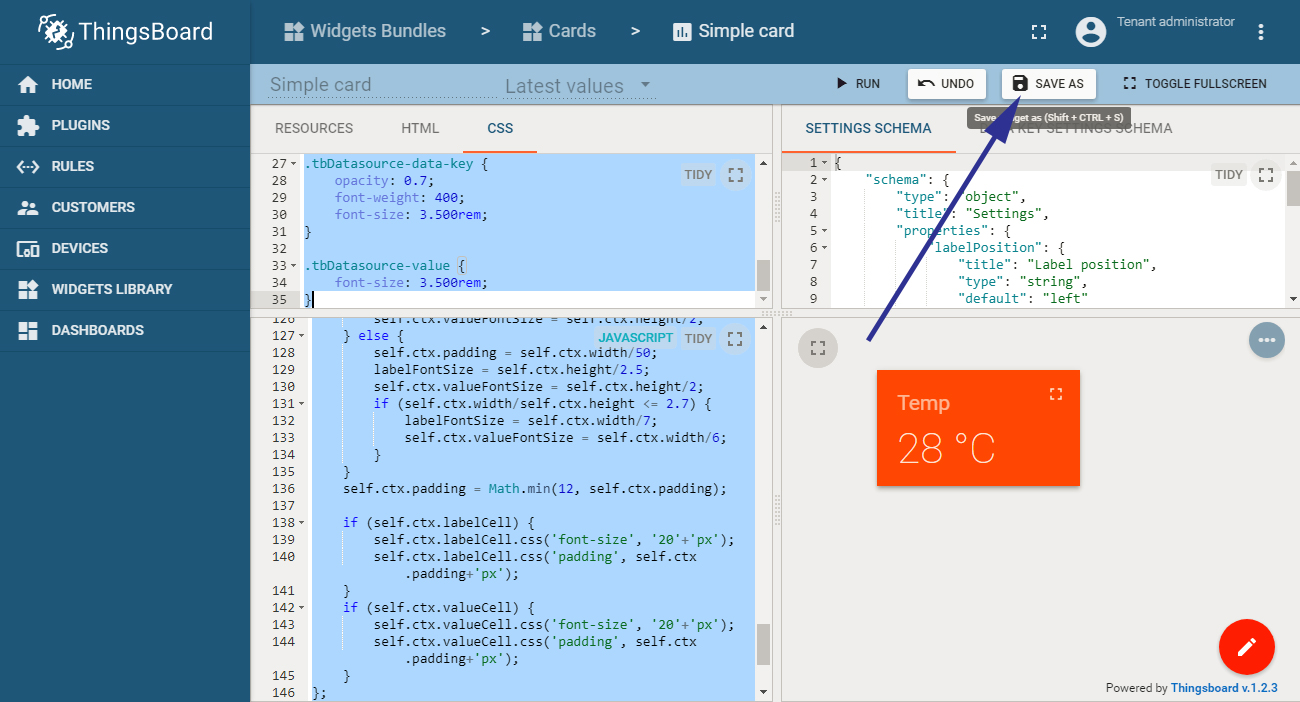
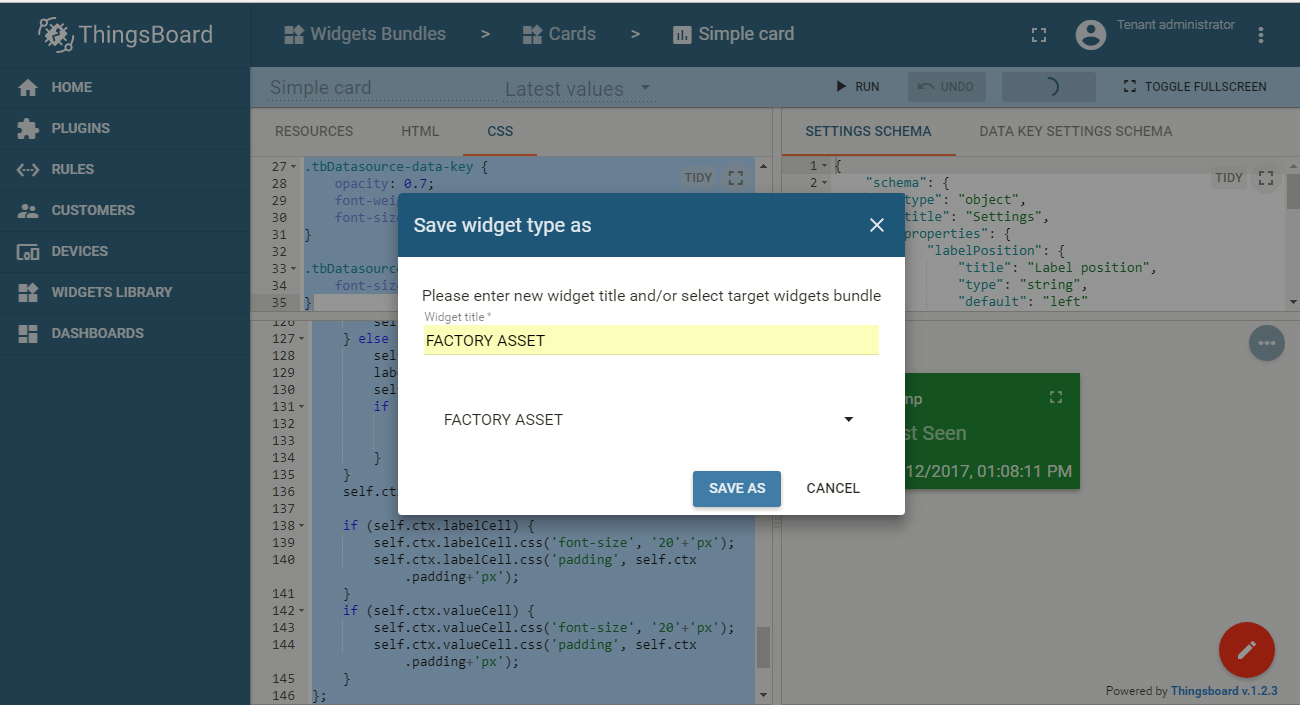
Step 11..Copy the Javascript code and CSS code and paste it in the respective code windoow replacing the existing code completely and click on the "SAVE AS" button on the top.
Replace the default JS code with our custom JS code
Replace the default CSS code with our custom CSS code
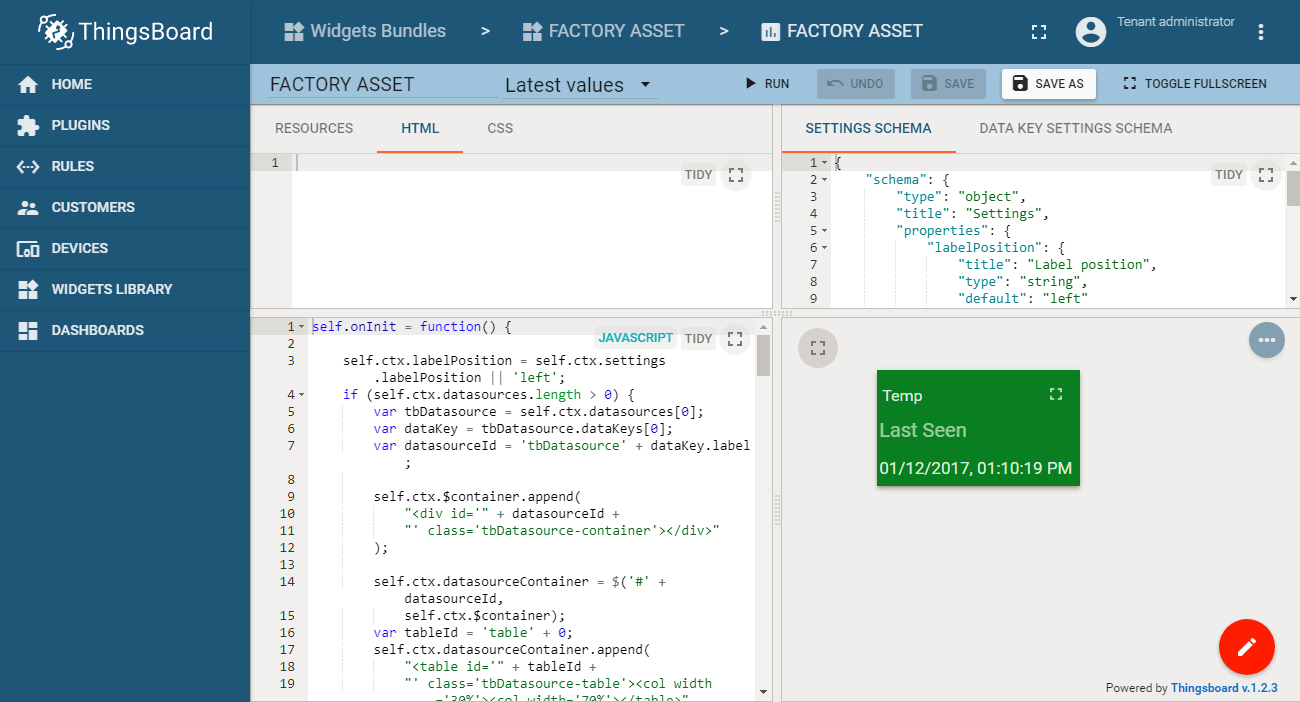
Once done, you will see your newly created widget as shown below
You will now see the asset widget as per the new design and style that we did in step 10 and 11 above.
You have successfully created the widget. Now lets add it to a dashboard.
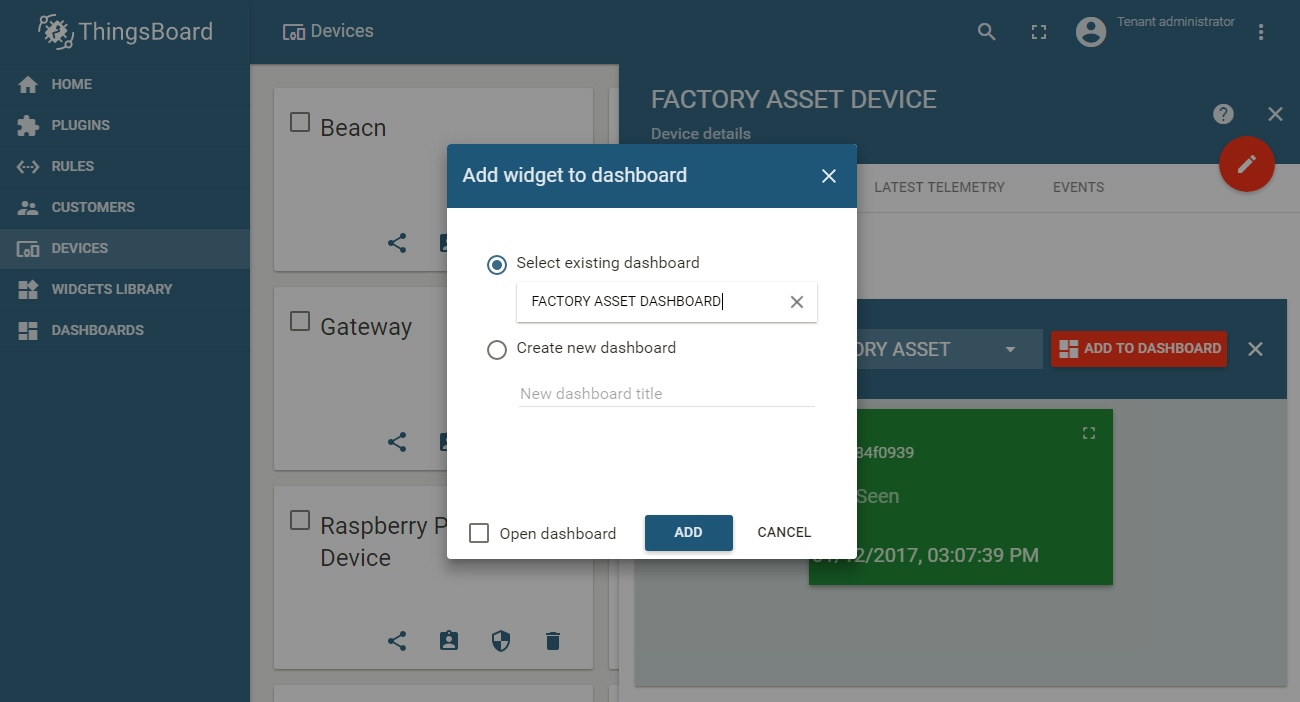
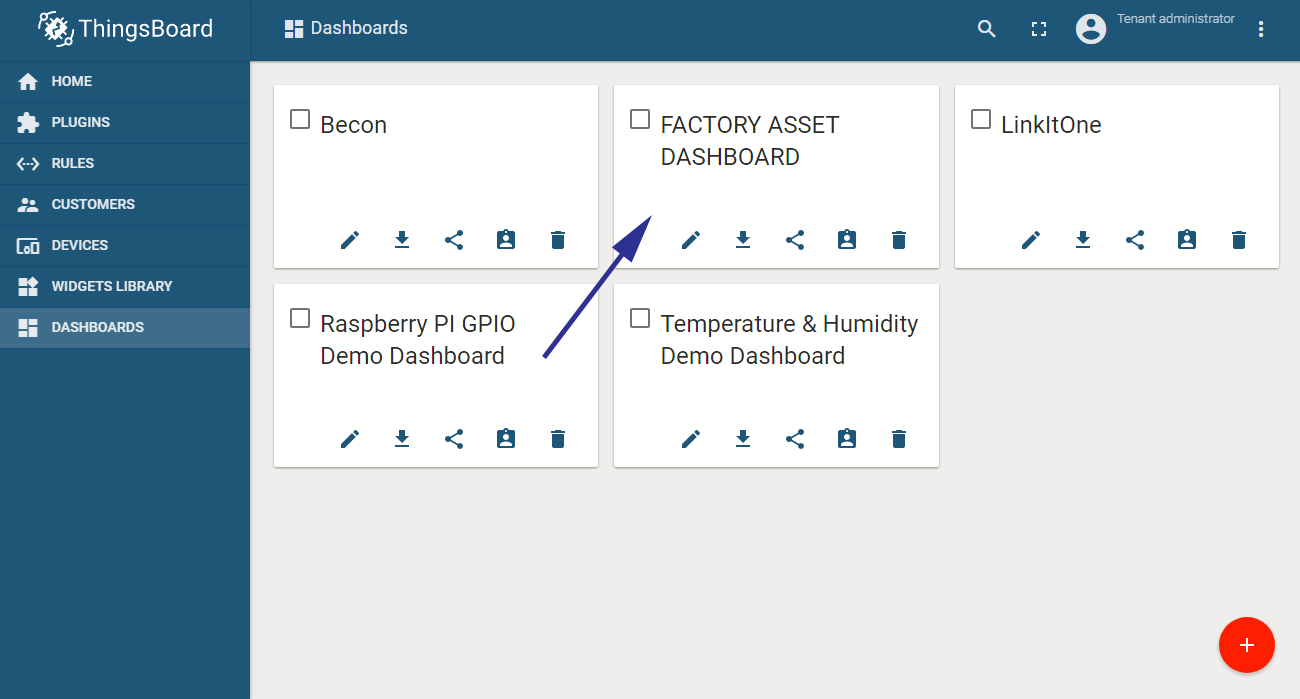
We already defined the dashboard as part of step 6 of widget creation. Now we will add the widget to the dashboard.
Step 4. Select the "Select existing dashboard" option and choose "FACTORY ASSET DASHBOARD" and click "ADD"
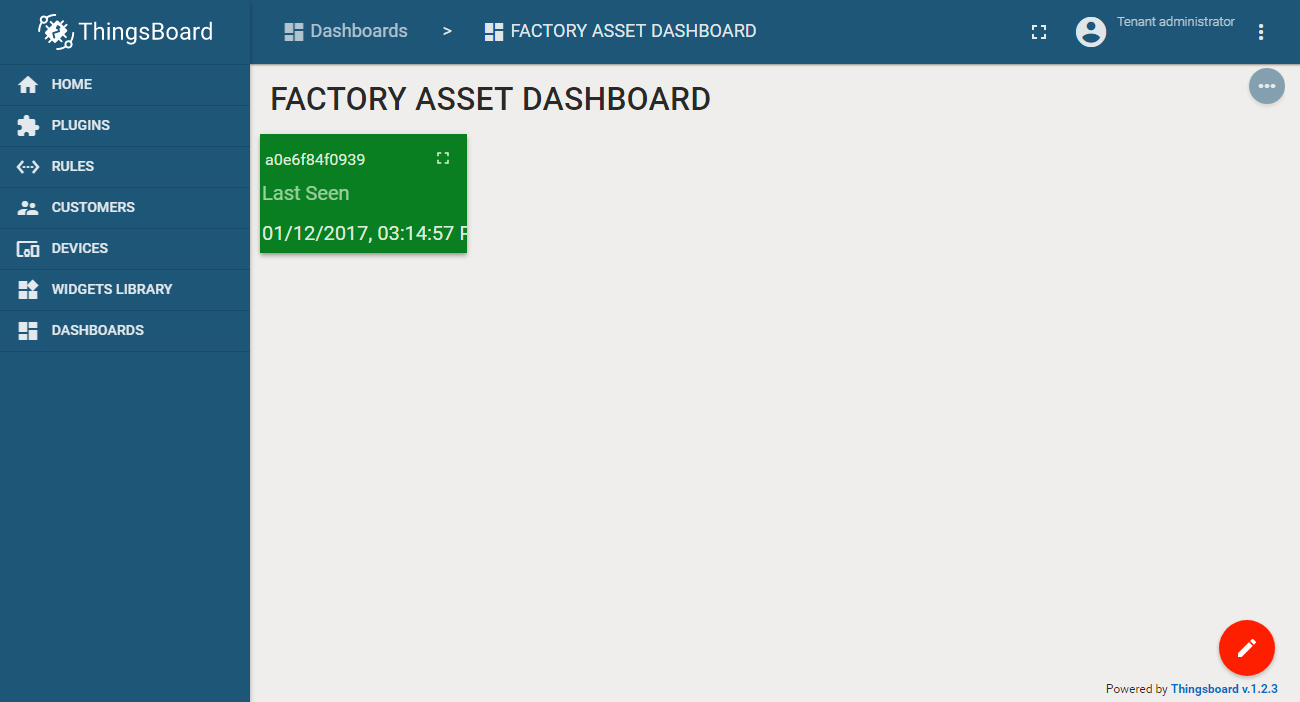
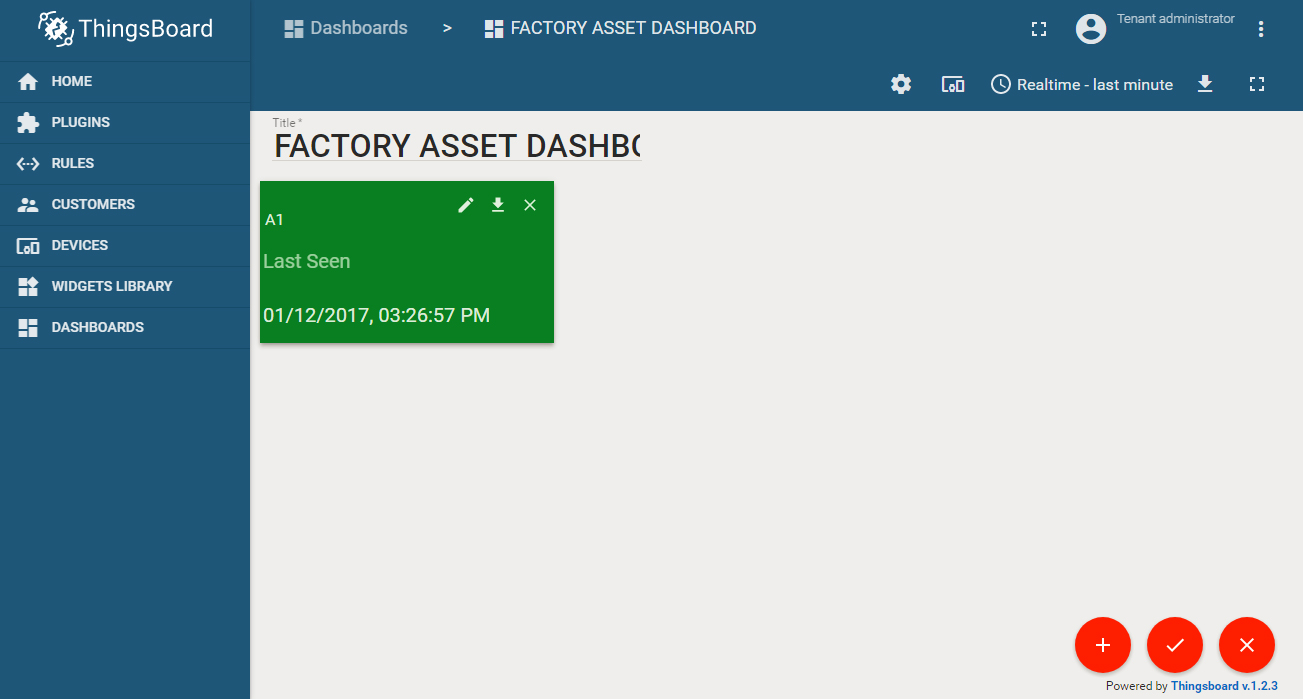
You can see that the widget is now added to the dashboard.
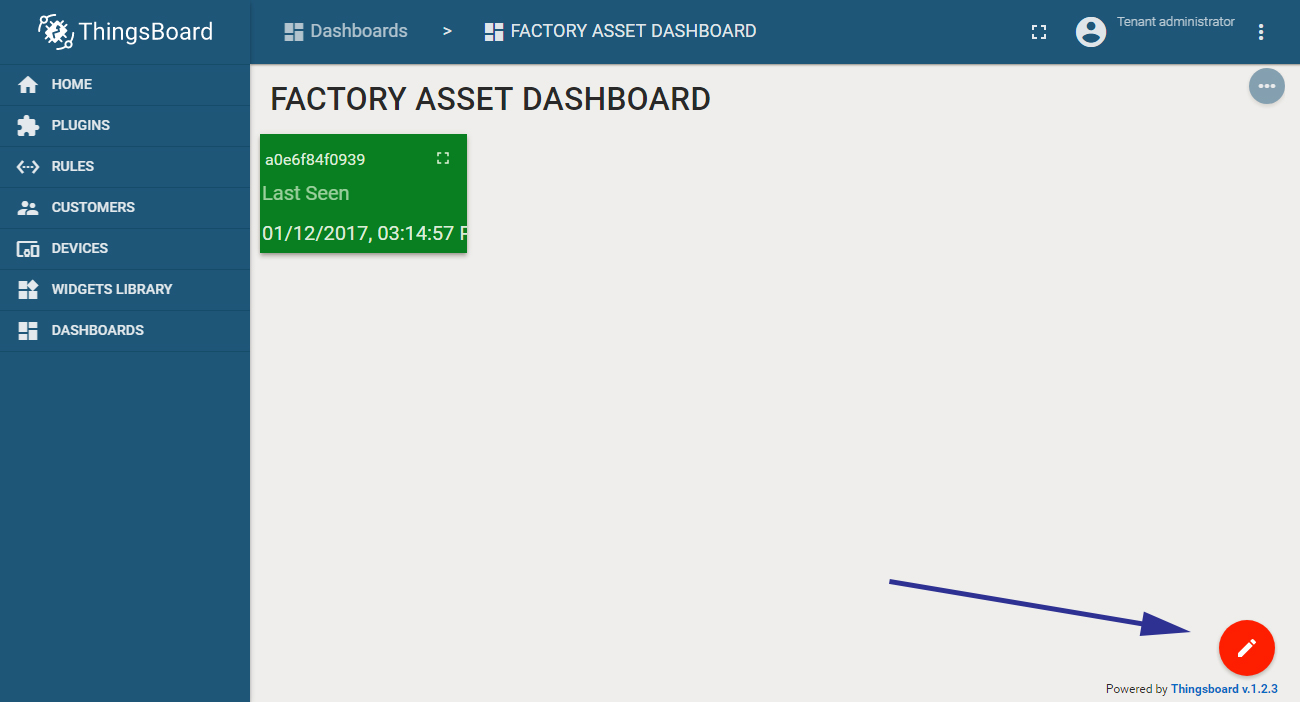
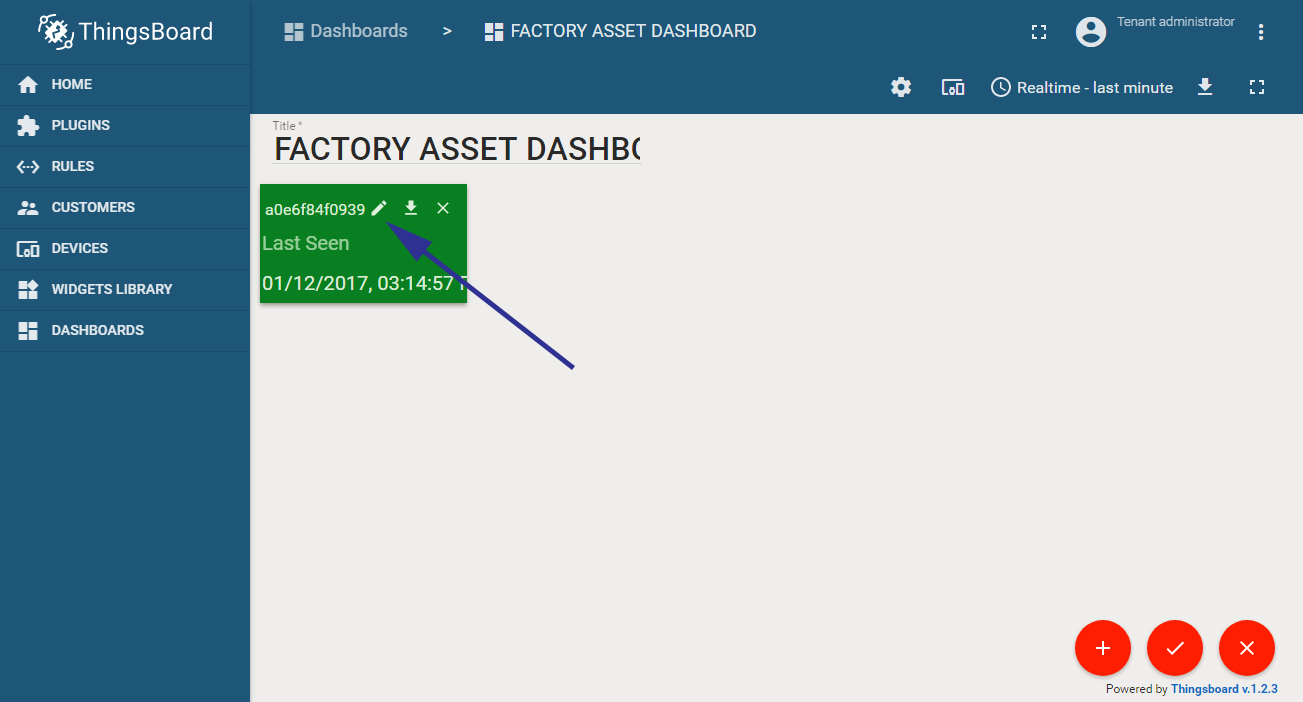
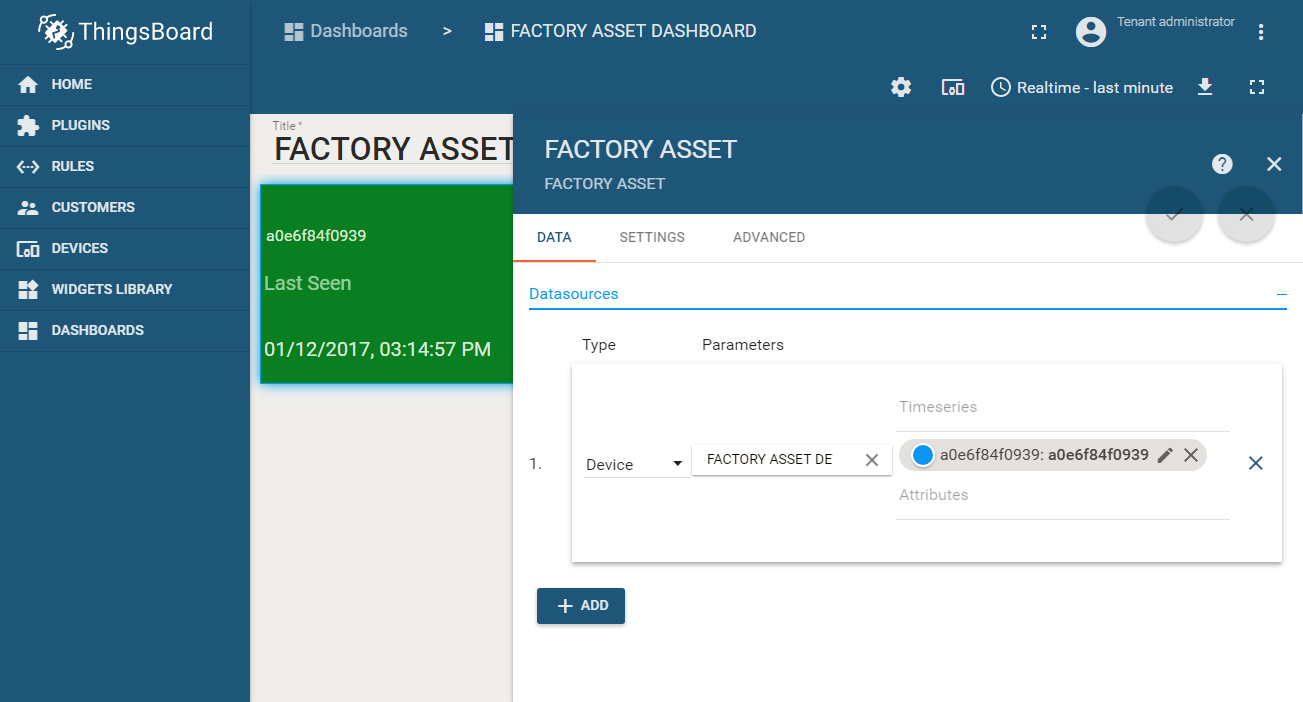
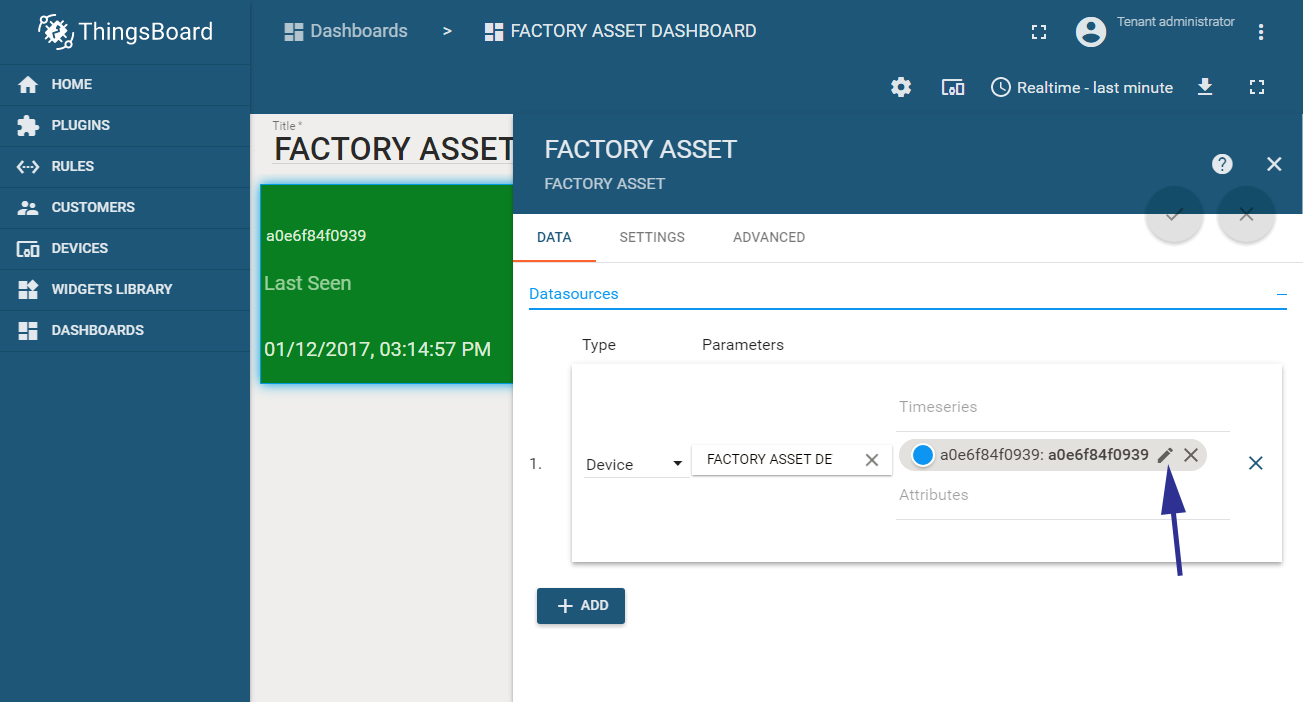
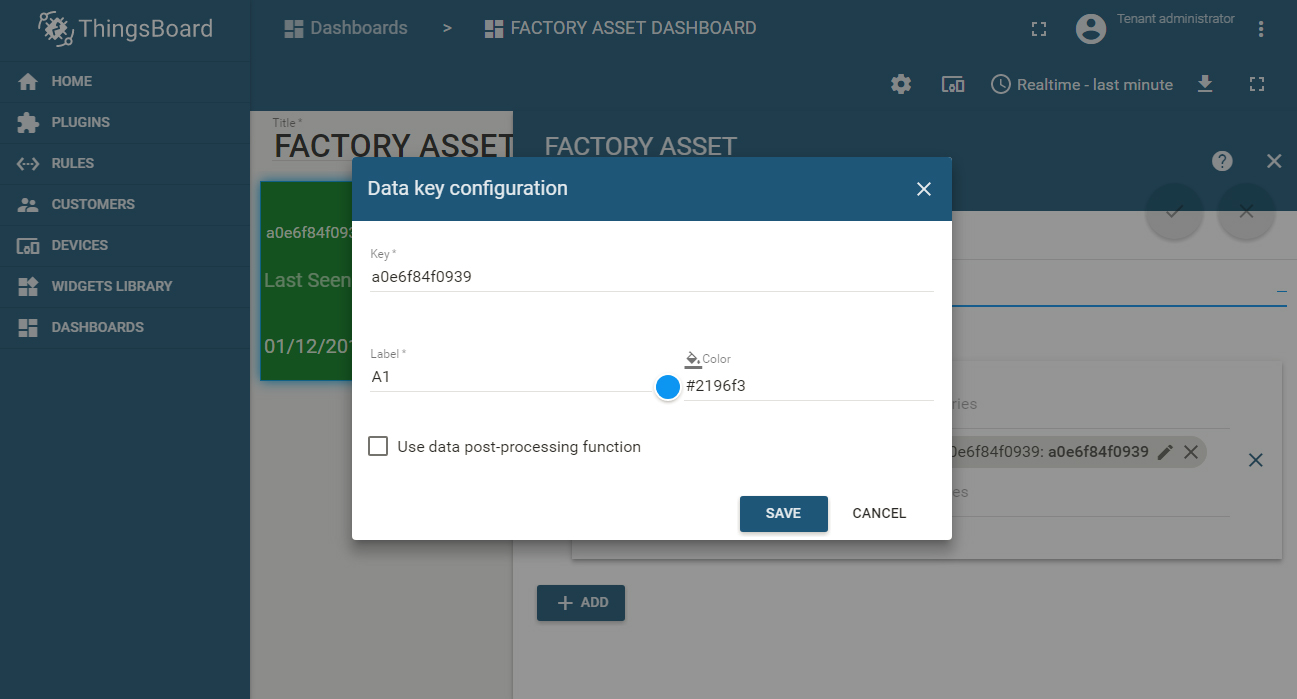
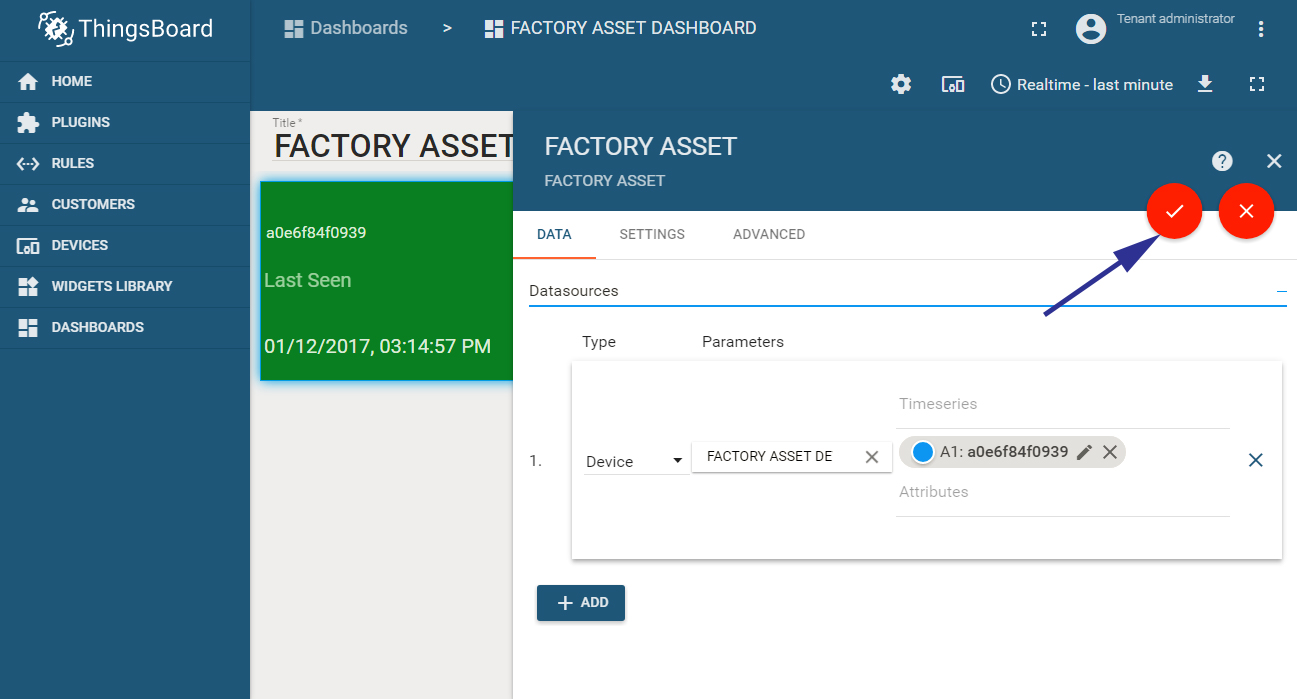
You will now get the edit option for the widget.
This is the widget for showing the status of first asset (A1)
You need to perform the above steps ( from step 2 above) to create widget for A2 and A3. For this you have to
create the widget separately from the attributes list of data record by selecting the second record (for A2) and
third record (for A3).
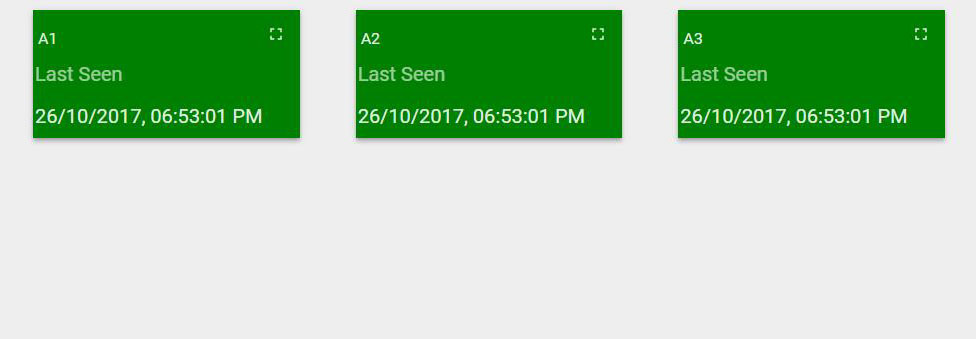
The final set of widgets for the three assets will look like this

