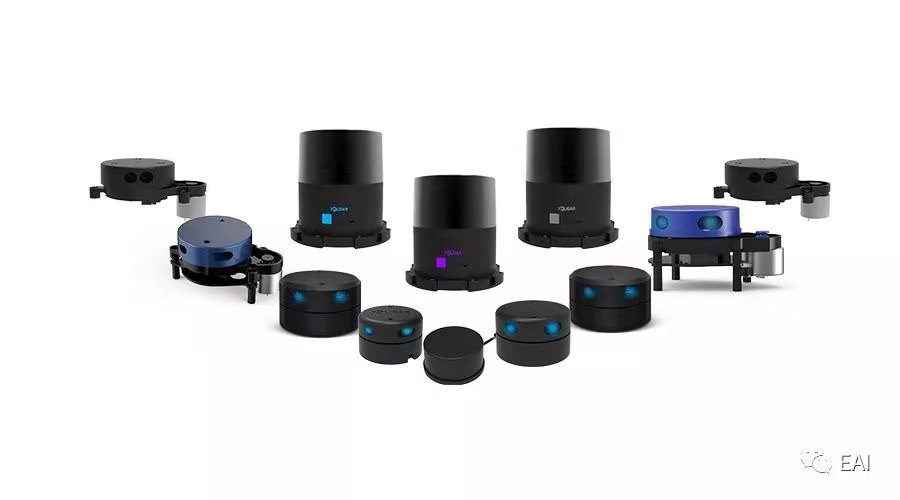
ydlidar_ros2_driver is a new ros package, which is designed to gradually become the standard driver package for ydlidar devices in the ros2 environment.
How to install ROS2
ydlidar_ros2_driver depends on YDLidar-SDK library. If you have never installed YDLidar-SDK library or it is out of date, you must first install YDLidar-SDK library. If you have installed the latest version of YDLidar-SDK, skip this step and go to the next step.
- Download or clone the YDLIDAR/YDLidar-SDK repository on GitHub.
- Compile and install the YDLidar-SDK under the build directory following
README.mdof YDLIDAR/YDLidar-SDK.
-
Clone ydlidar_ros2_driver package for github :
git clone https://github.com/YDLIDAR/ydlidar_ros2_driver.git ydlidar_ros2_ws/src/ydlidar_ros2_driver -
Build ydlidar_ros2_driver package :
cd ydlidar_ros2_ws
colcon build --symlink-install
Note: install colcon see
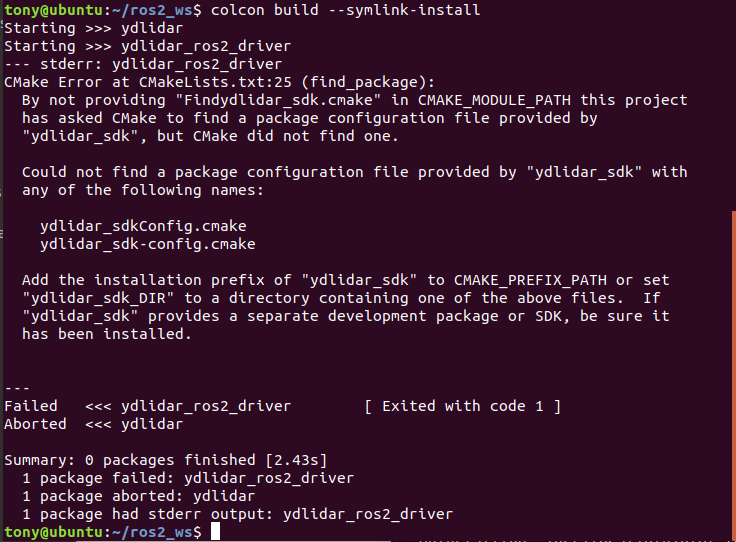
>Note: If the following error occurs, Please install YDLIDAR/YDLidar-SDK first.
-
Package environment setup :
source ./install/setup.bashNote: Add permanent workspace environment variables. It's convenientif the ROS2 environment variables are automatically added to your bash session every time a new shell is launched:
$echo "source ~/ydlidar_ros2_ws/install/setup.bash" >> ~/.bashrc $source ~/.bashrc -
Confirmation To confirm that your package path has been set, printenv the
grep -i ROSvariable.$ printenv | grep -i ROSYou should see something similar to:
OLDPWD=/home/tony/ydlidar_ros2_ws/install -
Create serial port Alias [optional]
$chmod 0777 src/ydlidar_ros2_driver/startup/*
$sudo sh src/ydlidar_ros2_driver/startup/initenv.sh
Note: After completing the previous operation, replug the LiDAR again.
Configure LiDAR paramters
ydlidar_ros2_driver_node:
  ros__parameters:
    port: /dev/ttyUSB0
    frame_id: laser_frame
    ignore_array: ""
    baudrate: 230400
    lidar_type: 1
    device_type: 0
    sample_rate: 9
    abnormal_check_count: 4
    resolution_fixed: true
    reversion: true
    inverted: true
    auto_reconnect: true
    isSingleChannel: false
    intensity: false
    support_motor_dtr: false
    angle_max: 180.0
    angle_min: -180.0
    range_max: 64.0
    range_min: 0.01
    frequency: 10.0
    invalid_range_is_inf: false
The command format is :
ros2 launch ydlidar_ros2_driver [launch file].py
-
Connect LiDAR uint(s).
ros2 launch ydlidar_ros2_driver ydlidar_launch.pyor
launch $(ros2 pkg prefix ydlidar_ros2_driver)/share/ydlidar_ros2_driver/launch/ydlidar.py -
RVIZ
ros2 launch ydlidar_ros2_driver ydlidar_launch_view.py -
echo scan topic
ros2 run ydlidar_ros2_driver ydlidar_ros2_driver_client or ros2 topic echo /scan
The driver offers users a wealth of options when using different launch file. The launch file directory
is "ydlidar_ros2_ws/src/ydlidar_ros2_driver/launch". All launch files are listed as below :
| launch file | features |
|---|---|
| ydlidar.py | Connect to defualt paramters Publish LaserScan message on scan topic |
| ydlidar_launch.py | Connect ydlidar.yaml Lidar specified by configuration parameters Publish LaserScan message on scan topic |
| ydlidar_launch_view.py | Connect ydlidar.yaml Lidar specified by configuration parameters and setup RVIZ Publish LaserScan message on scan topic |
| Topic | Type | Description |
|---|---|---|
scan |
sensor_msgs/LaserScan | 2D laser scan of the 0-angle ring |
| Service | Type | Description |
|---|---|---|
stop_scan |
std_srvs::Empty | turn off lidar |
start_scan |
std_srvs::Empty | turn on lidar |
The ydlidar_ros2_driver internal parameters are in the launch file, they are listed as below :
| Parameter name | Data Type | detail |
|---|---|---|
| port | string | Set Lidar the serial port or IP address it can be set to /dev/ttyUSB0, 192.168.1.11, etc. default: /dev/ydlidar |
| frame_id | string | Lidar TF coordinate system name. default: laser_frame |
| ignore_array | string | LiDAR filtering angle area eg: -90, -80, 30, 40 |
| baudrate | int | Lidar baudrate or network port. default: 230400 |
| lidar_type | int | Set lidar type 0 -- TYPE_TOF 1 -- TYPE_TRIANGLE 2 -- TYPE_TOF_NET default: 1 |
| device_type | int | Set device type 0 -- YDLIDAR_TYPE_SERIAL 1 -- YDLIDAR_TYPE_TCP 2 -- YDLIDAR_TYPE_UDP default: 0 |
| sample_rate | int | Set Lidar Sample Rate. default: 9 |
| abnormal_check_count | int | Set the number of abnormal startup data attempts. default: 4 |
| fixed_resolution | bool | Fixed angluar resolution. default: true |
| reversion | bool | Reversion LiDAR. default: true |
| inverted | bool | Inverted LiDAR. false -- ClockWise. true -- CounterClockWise default: true |
| auto_reconnect | bool | Automatically reconnect the LiDAR. true -- hot plug. default: true |
| isSingleChannel | bool | Whether LiDAR is a single-channel. default: false |
| intensity | bool | Whether LiDAR has intensity. true -- G2 LiDAR. default: false |
| support_motor_dtr | bool | Whether the Lidar can be started and stopped by Serial DTR. default: false |
| angle_min | float | Minimum Valid Angle. default: -180 |
| angle_max | float | Maximum Valid Angle. default: 180 |
| range_min | float | Minimum Valid range. default: 0.1 |
| range_max | float | Maximum Valid range. default: 16.0 |
| frequency | float | Set Scanning Frequency. default: 10.0 |
| invalid_range_is_inf | bool | Invalid Range is inf. true -- inf. false -- 0.0. default: false |
| More paramters details, see here |
If you have any extra questions, please feel free to contact us


