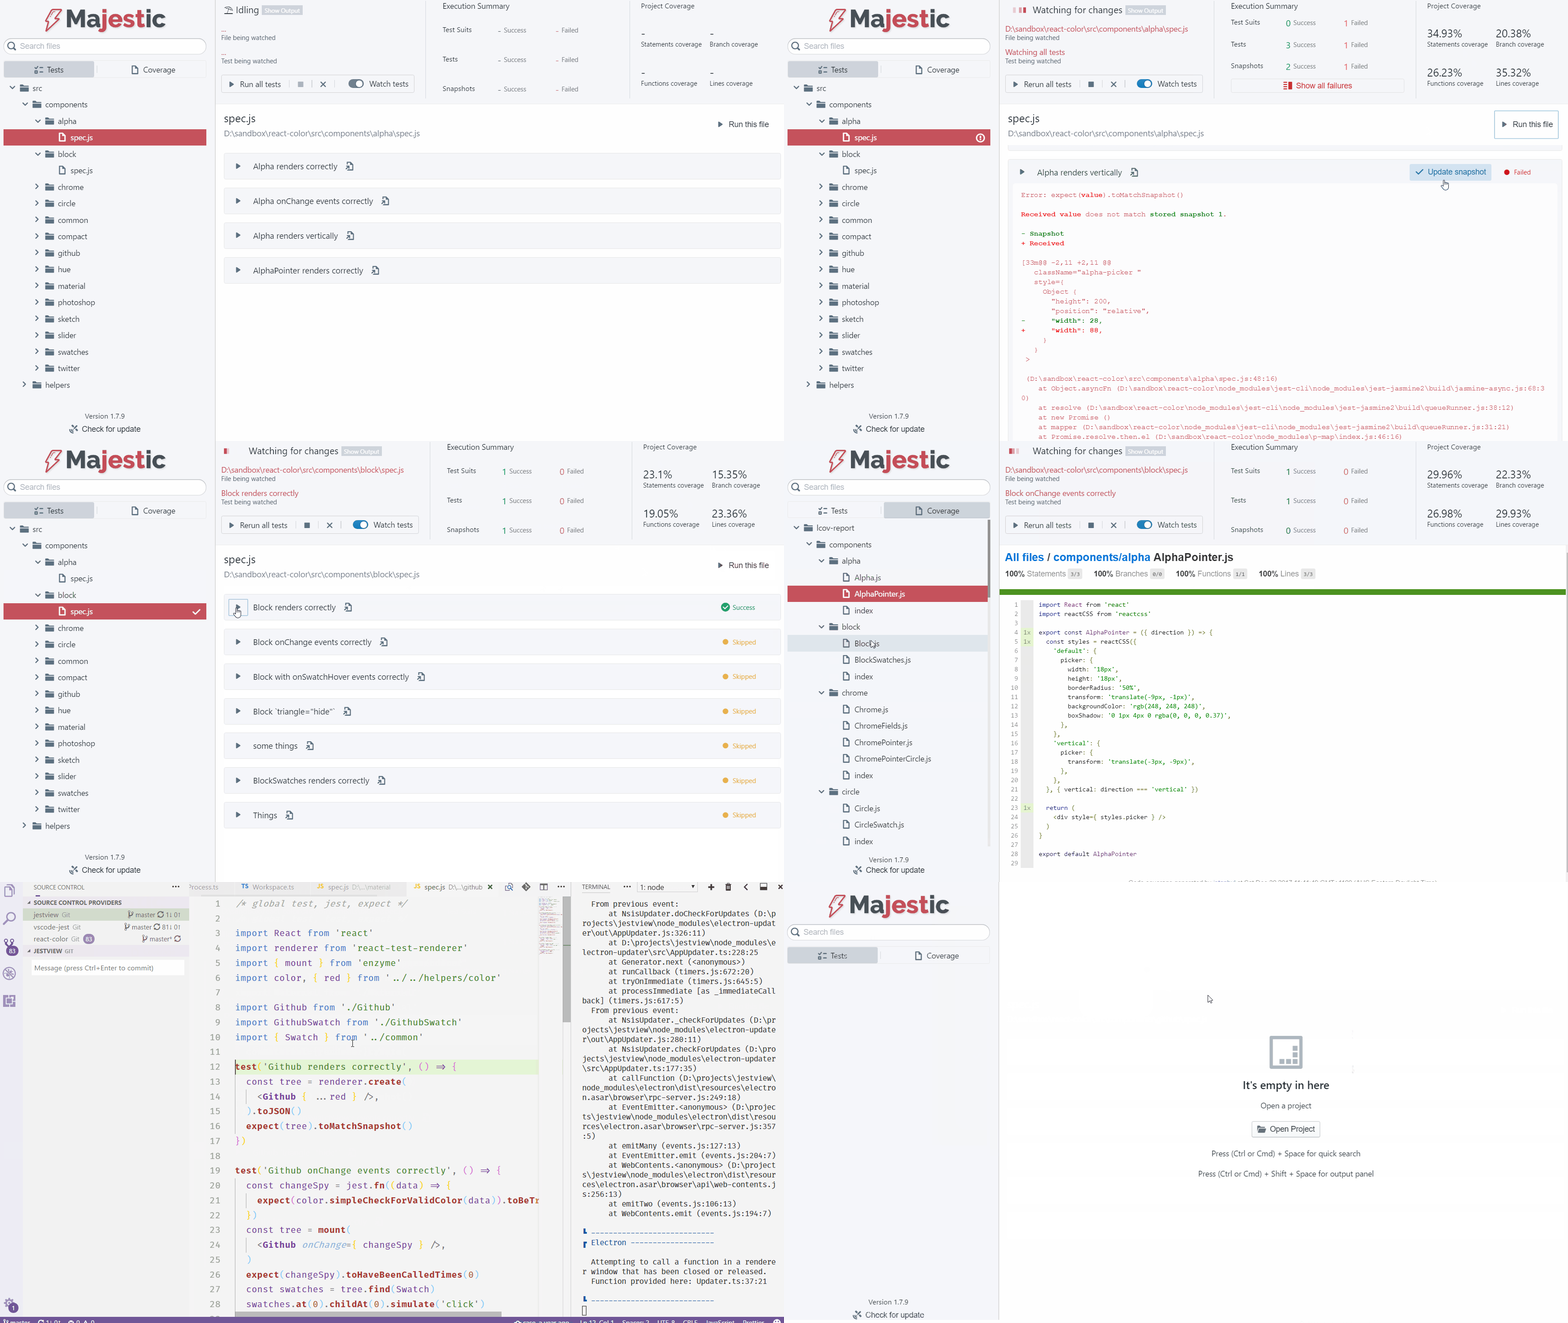
Majestic is an electron app that provides a UI for running tests with Jest. Jest CLI itself provides one of the best testing experiences available today. But Majestic humbly tries to expand upon it by providing a rich UI to be used during the dev/test loop.
- Run the whole project, a file or a particular test with a click
- Watch the whole project, a file or a test
- Update specific snapshots with a click
- Inline coverage reports
- Zero configuration (Sorry, I had to)
- Support for typescript projects
- Support for Create-React-App out of the box
- Quick search to search across all your test (It) statements
- Failure summary shows all test failtures in a single screen. Useful when you have failures across multiple files.
- Locate a specific test in your editor with the click of a button
- Debug in VSCode with a click
- Console.log() would show up on the UI
Ok, I lied partially about the zero config part.
Majestic is a zero config tool if you keep all your jest configuration in the package.json file.
If you have an external jest config file, you should have a jestConfig key in the package.json pointing to the file as shown below.
{
  "name": "my-awesome-proj",
  "version": "0.1.0",
  "description": "..",
  "majestic": {
    "jestConfig": "./jest-custom.config.js"
  }
}- Install the VSCode majestic extension
- Open the Project in VS Code
- Open the same project in Majestic
- Click the debug button on the test you want to debug
Majestic displays coverage reports generated by Jest. So make sure to have HTML coverage report configured so Majestic can display them.
It's really simple.
{
  "collectCoverage": true,
  "coverageReporters": ["html"]
}- "test": "react-scripts test --env=jsdom",
+ "test": "react-scripts test --env=jsdom --coverage",If you want to provide additional parameters to jest, you can define a custom run script in the package.json file as below.
{
  "name": "my-awesome-proj",
  "version": "0.1.0",
  "description": "..",
  "majestic": {
    "runScript": "jest --silent"
  }
}Majestic relies on jest-editor-support, a module from jest, which allows the app to execute jest programmatically.
git clone https://github.com/facebook/jest.git
cd jest
yarn install

# link jest-editor-support
cd packages/jest-editor-support
yarn link
Now let's setup majestic.
git clone https://github.com/Raathigesh/majestic.git
cd majestic/app

# this would install and would do a yarn link for jest-editor-support
yarn install

# start the app
yarn dev
To use react dev tools, you can use electron-react-devtools, which should already be installed. When you open devtools, type the following into the console:
require("electron-react-devtools").install();And then simply refresh (F5). You'll now see a React tab in dev tools. Happy debugging!
This tool is inspired by https://wallabyjs.com/. Check it out.
Thank you @orta for building VSCode Jest and doing the heavy lifting.
Raathigeshan 💻 📖 💬 👀 🤔 🎨 |
James Adams 💻 🐛 📖 🤔 |
Lucas Azzola 💻 👀 🤔 |
|---|
This project follows the all-contributors specification. Contributions of any kind are welcome!
MIT © Raathigeshan


