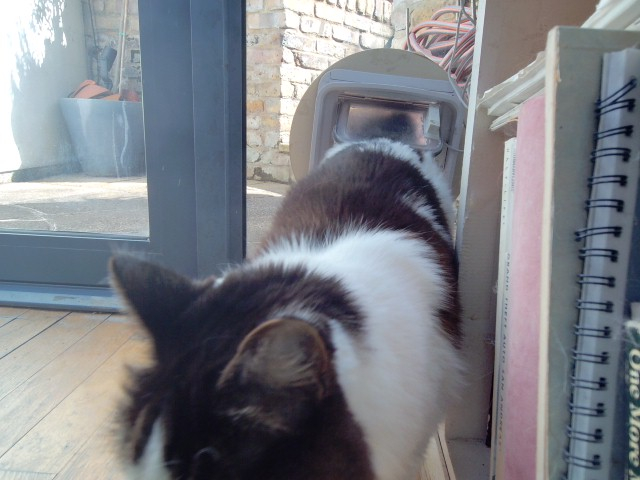
This is an extension of the original tweeting-catflap project by Bernie Sumption (original project repository).
Follow Daphne's comings and goings at the original Twitter account, and now also on Bluesky.
TODO, what is this and what do you need to use it?
- Install a fresh copy of Raspberry Pi OS Desktop 64 bit edition on the Raspberry Pi 4.
- Configure your wifi details or connect an ethernet cable to the Raspberry Pi. If you're using the official Raspberry Pi Imager, you can configure your wifi details whilst installing the operating system.
Once you have your Raspberry Pi up and running, it should display a graphical desktop environment. You need to configure a few things...
Start the terminal and enter the following command:
sudo raspi-configThe Raspberry Pi configuration application appears. You should:
- Choose menu option 6 (Advanced Options).
- Choose menu option A1 (Expand Filesystem).
- Click "OK" when you see the message saying "Root partition has been resized."
- Choose "Finish" to exit the raspi-config utility.
- Choose "Yes" when asked "Would you like to reboot now?"
Allow the Pi to reboot.
Start the terminal and enter the following command:
sudo apt updateThen (this one may take some time, answer "Y" to any questions it asks):
sudo apt upgradeReboot the Pi when it has finished:
sudo rebootWhen it has rebooted, start the terminal and check the Python version with the following command:
python --versionAt the time of writing this outputs Python 3.11.2. 3.11.<anything> is good.
Now check the version of Pip (a Python package manager):
pip --versionAt the time of writing this outputs:
pip 23.0.1 from /usr/lib/...23.<anything> is good.
Finally, check that the git command line tools are installed:
git --versionShould return something like git version 2.39.2. Any version is fine!
This project uses a USB web camera, which needs some additional software that doesn't come with Raspberry Pi OS. From the terminal, enter the commands:
sudo apt install fswebcamthen
sudo apt install gir1.2-peas-1.0Connect the camera to one of the USB ports on the Pi.
Now test the camera. Enter the command:
fswebcam --no-banner --gmt --delay 0.5 --resolution 2048x1536 --save capture.jpg --skip 2You should see output ending in Writing JPEG image to 'capture.jpg'.. Make sure capture.jpg contains a decent image:
open capture.jpgOnce you've verified that the image is good, delete it:
rm capture.jpgInstall the extra Python libraries needed for the project. Enter the following commands at the terminal:
sudo apt install python3-tweepy
sudo pip install atproto --break-system-packagesNow it's time to get the code for the project from GitHub and install it on the Raspberry Pi. At the terminal, type the following commands:
cd ~/Desktop
git clone https://github.com/simonprickett/tweeting-catflap.git
cd tweeting-catflap
Keep this terminal open. The sections that follow assume that you have a terminal open with the current directory being ~/Desktop/tweeting-catflap.
Enter the following command at the terminal:
./capture-image.shNow make sure capture.jpg contains a decent image:
open capture.jpgOnce you've verified that the image is good, delete it:
rm capture.jpgYou will need your login and password for Bluesky. Add them to settings.py by adding the following lines then saving your changes:
bluesky_user="<YOUR USER NAME OR DOMAIN e.g. simonprickett.bsky.social>"
bluesky_pass="<YOUR PASSWORD>"
post_bluesky=True
If you are using MFA on your Bluesky account (you should be) then you should create a separate App Password for this project and use that here.
TODO
python twitter_auth.py --key YOUR_KEY_HERE --secret YOUR_SECRET_HERETODO
{'oauth_token': '**REDACTED**', 'oauth_token_secret': '**REDACTED**', 'oauth_callback_confirmed': 'true', 'auth_url': 'https://api.twitter.com/oauth/authenticate?oauth_token=**REDACTED**'}
Created settings.py
TODO
cat settings.pyTODO
app_key="**REDACTED**"
app_secret="**REDACTED**"
oauth_token="**REDACTED**"
oauth_token_secret="**REDACTED**"
post_twitter=True
Treat these values like passwords. Don't share them or commit them to GitHub.
TODO wiring instructions and sample image.
Once you have everything wired up, turn the Pi back on and let it boot. Start a new Terminal session and enter the following commands:
cd ~/Desktop/tweeting-catflap
sudo python gpio_watcher.py
Hopefully, opening and closing the cat flap causes the code to output Change detected!. If it does, then exit back to the command prompt by pressing Ctrl-C. If you don't see any output, check the wiring and pin selection on the Raspberry Pi carefully, make any necessary adjustments and try again.
cd ~/Desktop/tweeting-catflapThe first time you start the project, create a history folder where old pictures will be stored.
mkdir historyNow, start the project:
sudo python main.pyAll being well, when you trigger the cat flap you should see output similar to this:
TODO
And hopefully a new Tweet on the Twitter account's timeline and in Bluesky, depending on which social network posts are enabled in settings.py.
Stop the project by pressing Ctrl-C.
TODO
TODO
