✨ Updated October 2019: As we have introduced some new features, this tutorial and the code samples have been updated! All the changes from the previous version of this example, read the DIFF.md
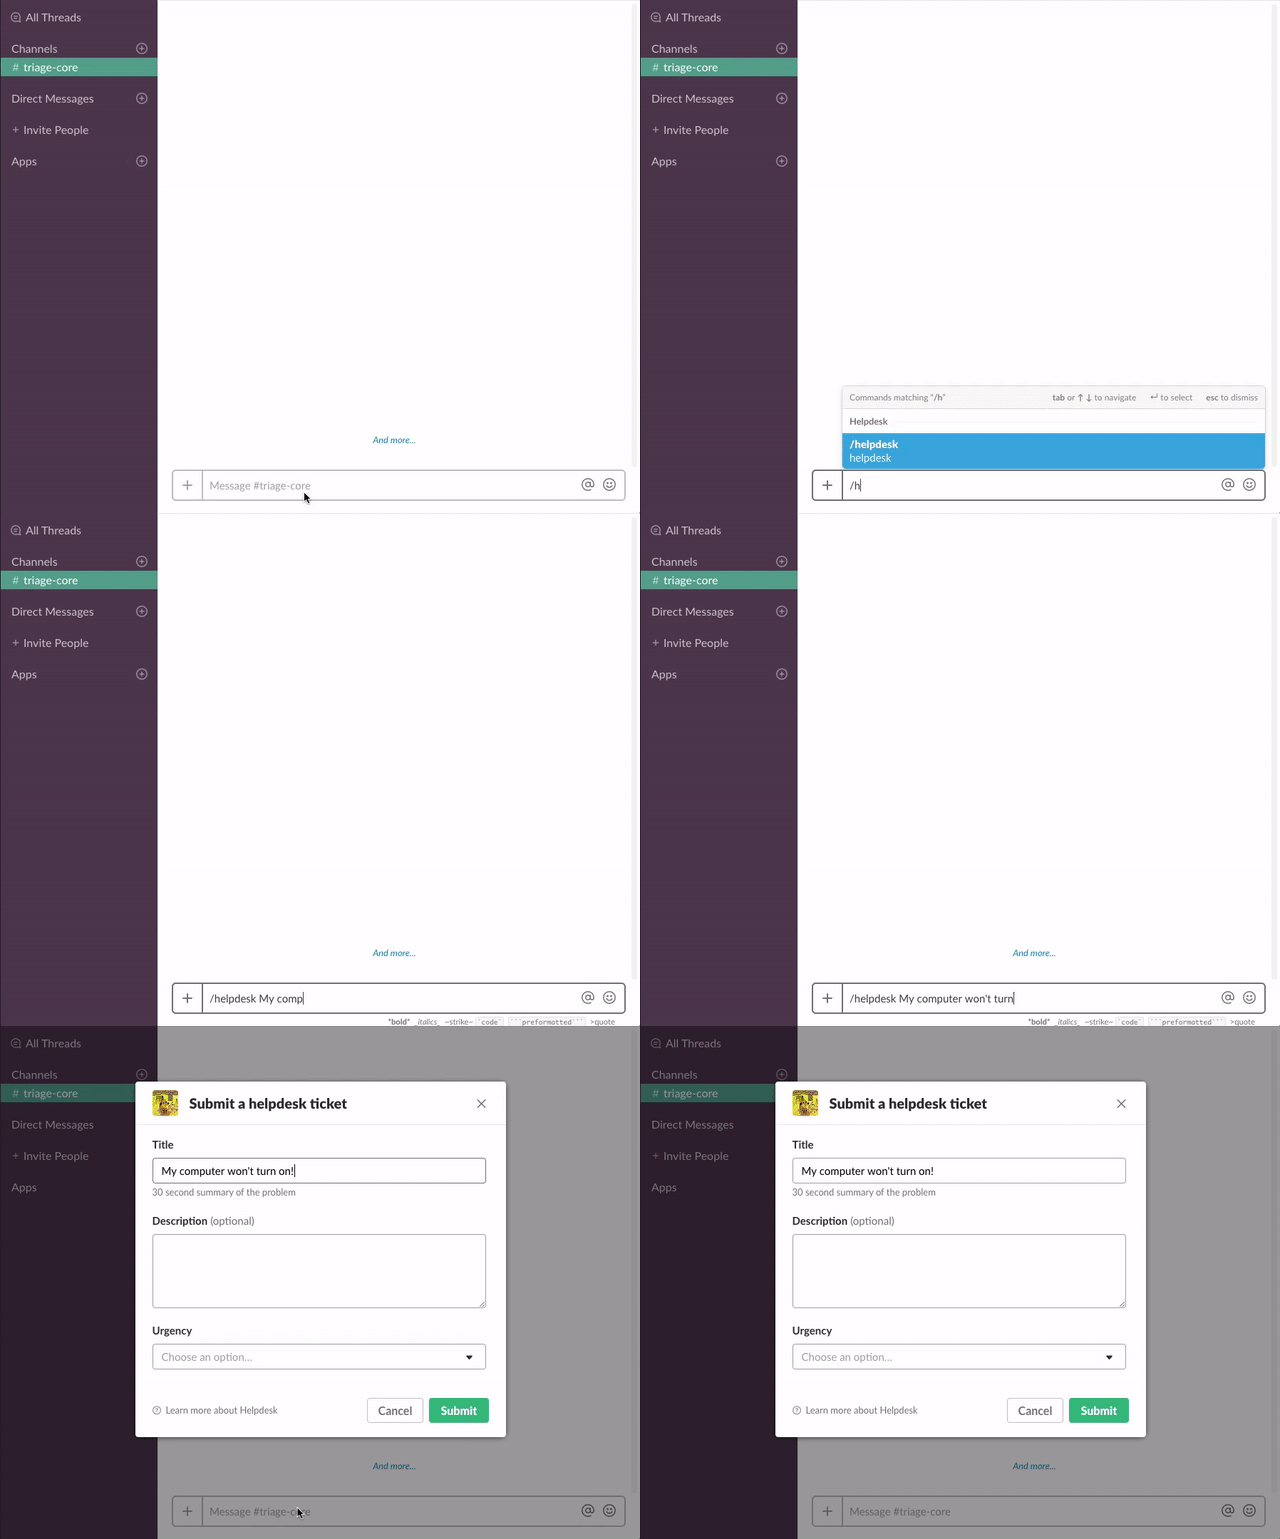
Use a slash command and a dialog to create a helpdesk ticket in a 3rd-party system. Once it has been created, send a message to the user with information about their ticket.
- Create an app at https://api.slack.com/apps
- Add a Slash command (See Add a Slash Command section below)
- Enable Interactive components (See Enable Interactive Components below)
- Navigate to the OAuth & Permissions page and select the following bot token scopes:
commandschat:writeusers:readusers:read.emailim:write
- Click 'Save Changes' and install the app (You should get an OAuth access token after the installation)
- Go back to the app settings and click on Slash Commands.
- Click the 'Create New Command' button and fill in the following:
- Command:
/helpdesk - Request URL: Your server or Glitch URL +
/command - Short description:
Create a helpdesk ticket - Usage hint:
[the problem you're having]
- Command:
If you did "Remix" on Glitch, it auto-generate a new URL with two random words, so your Request URL should be like: https://fancy-feast.glitch.me/command.
- Go back to the app settings and click on Interactive Components.
- Set the Request URL to your server or Glitch URL +
/interactive. - Save the change.
- Set the following environment variables to
.env(see.env.sample):SLACK_ACCESS_TOKEN: Your bot token,xoxb-(available on the OAuth & Permissions once you install the app)SLACK_SIGNING_SECRET: Your app's Signing Secret (available on the Basic Information page)
- If you're running the app locally, run the app (
npm start). Or if you're using Glitch, it automatically starts the app.
- Get the code
- Clone this repo and run
npm install
- Clone this repo and run
- Set the following environment variables to
.env(see.env.sample):SLACK_ACCESS_TOKEN: Your bot token,xoxb-(available on the OAuth & Permissions once you install the app)SLACK_SIGNING_SECRET: Your app's Signing Secret (available on the Basic Information page)
- If you're running the app locally, run the app (
npm start).
If you want to run it locally, I recommend creating a localhost tunnel with ngrok!

