Spatial Data Analysis with PySAL @FOSS4G
Instructors
- Sergio Rey - University of California, Riverside
- Wei Kang - University of California, Riverside
- Elijah Knaap - University of California, Riverside
- Stefanie Lumnitz - University of British Columbia
This repository contains the materials and instructions for the PySAL workshop at FOSS4G 2019.
Schedule (Proposed)
- 2:00-3:30
- PySAL Overview
- Spatial data processing
- Spatial weights
- Choropleth mapping and geovisualization
- 3:30-4:00
- Break
- 4:00-5:30
- Global spatial autocorrelation
- Local spatial autocorrelation
- Spatial dynamics
Obtaining Workshop Materials
If you are familiar with GitHub, you should clone or fork this GitHub repository to a specific directory. Cloning can be done by:
git clone https://github.com/sjsrey/pysalfoss4g19.gitIf you are not using git, you can grab the workshop materials as a zip file by pointing your browser to (https://github.com/sjsrey/pysalfoss4g19.git) and clicking on the green Clone or download button in the upper right.
Extract the downloaded zip file to a working directory.
Installation
We will be using a number of Python packages for geospatial analysis.
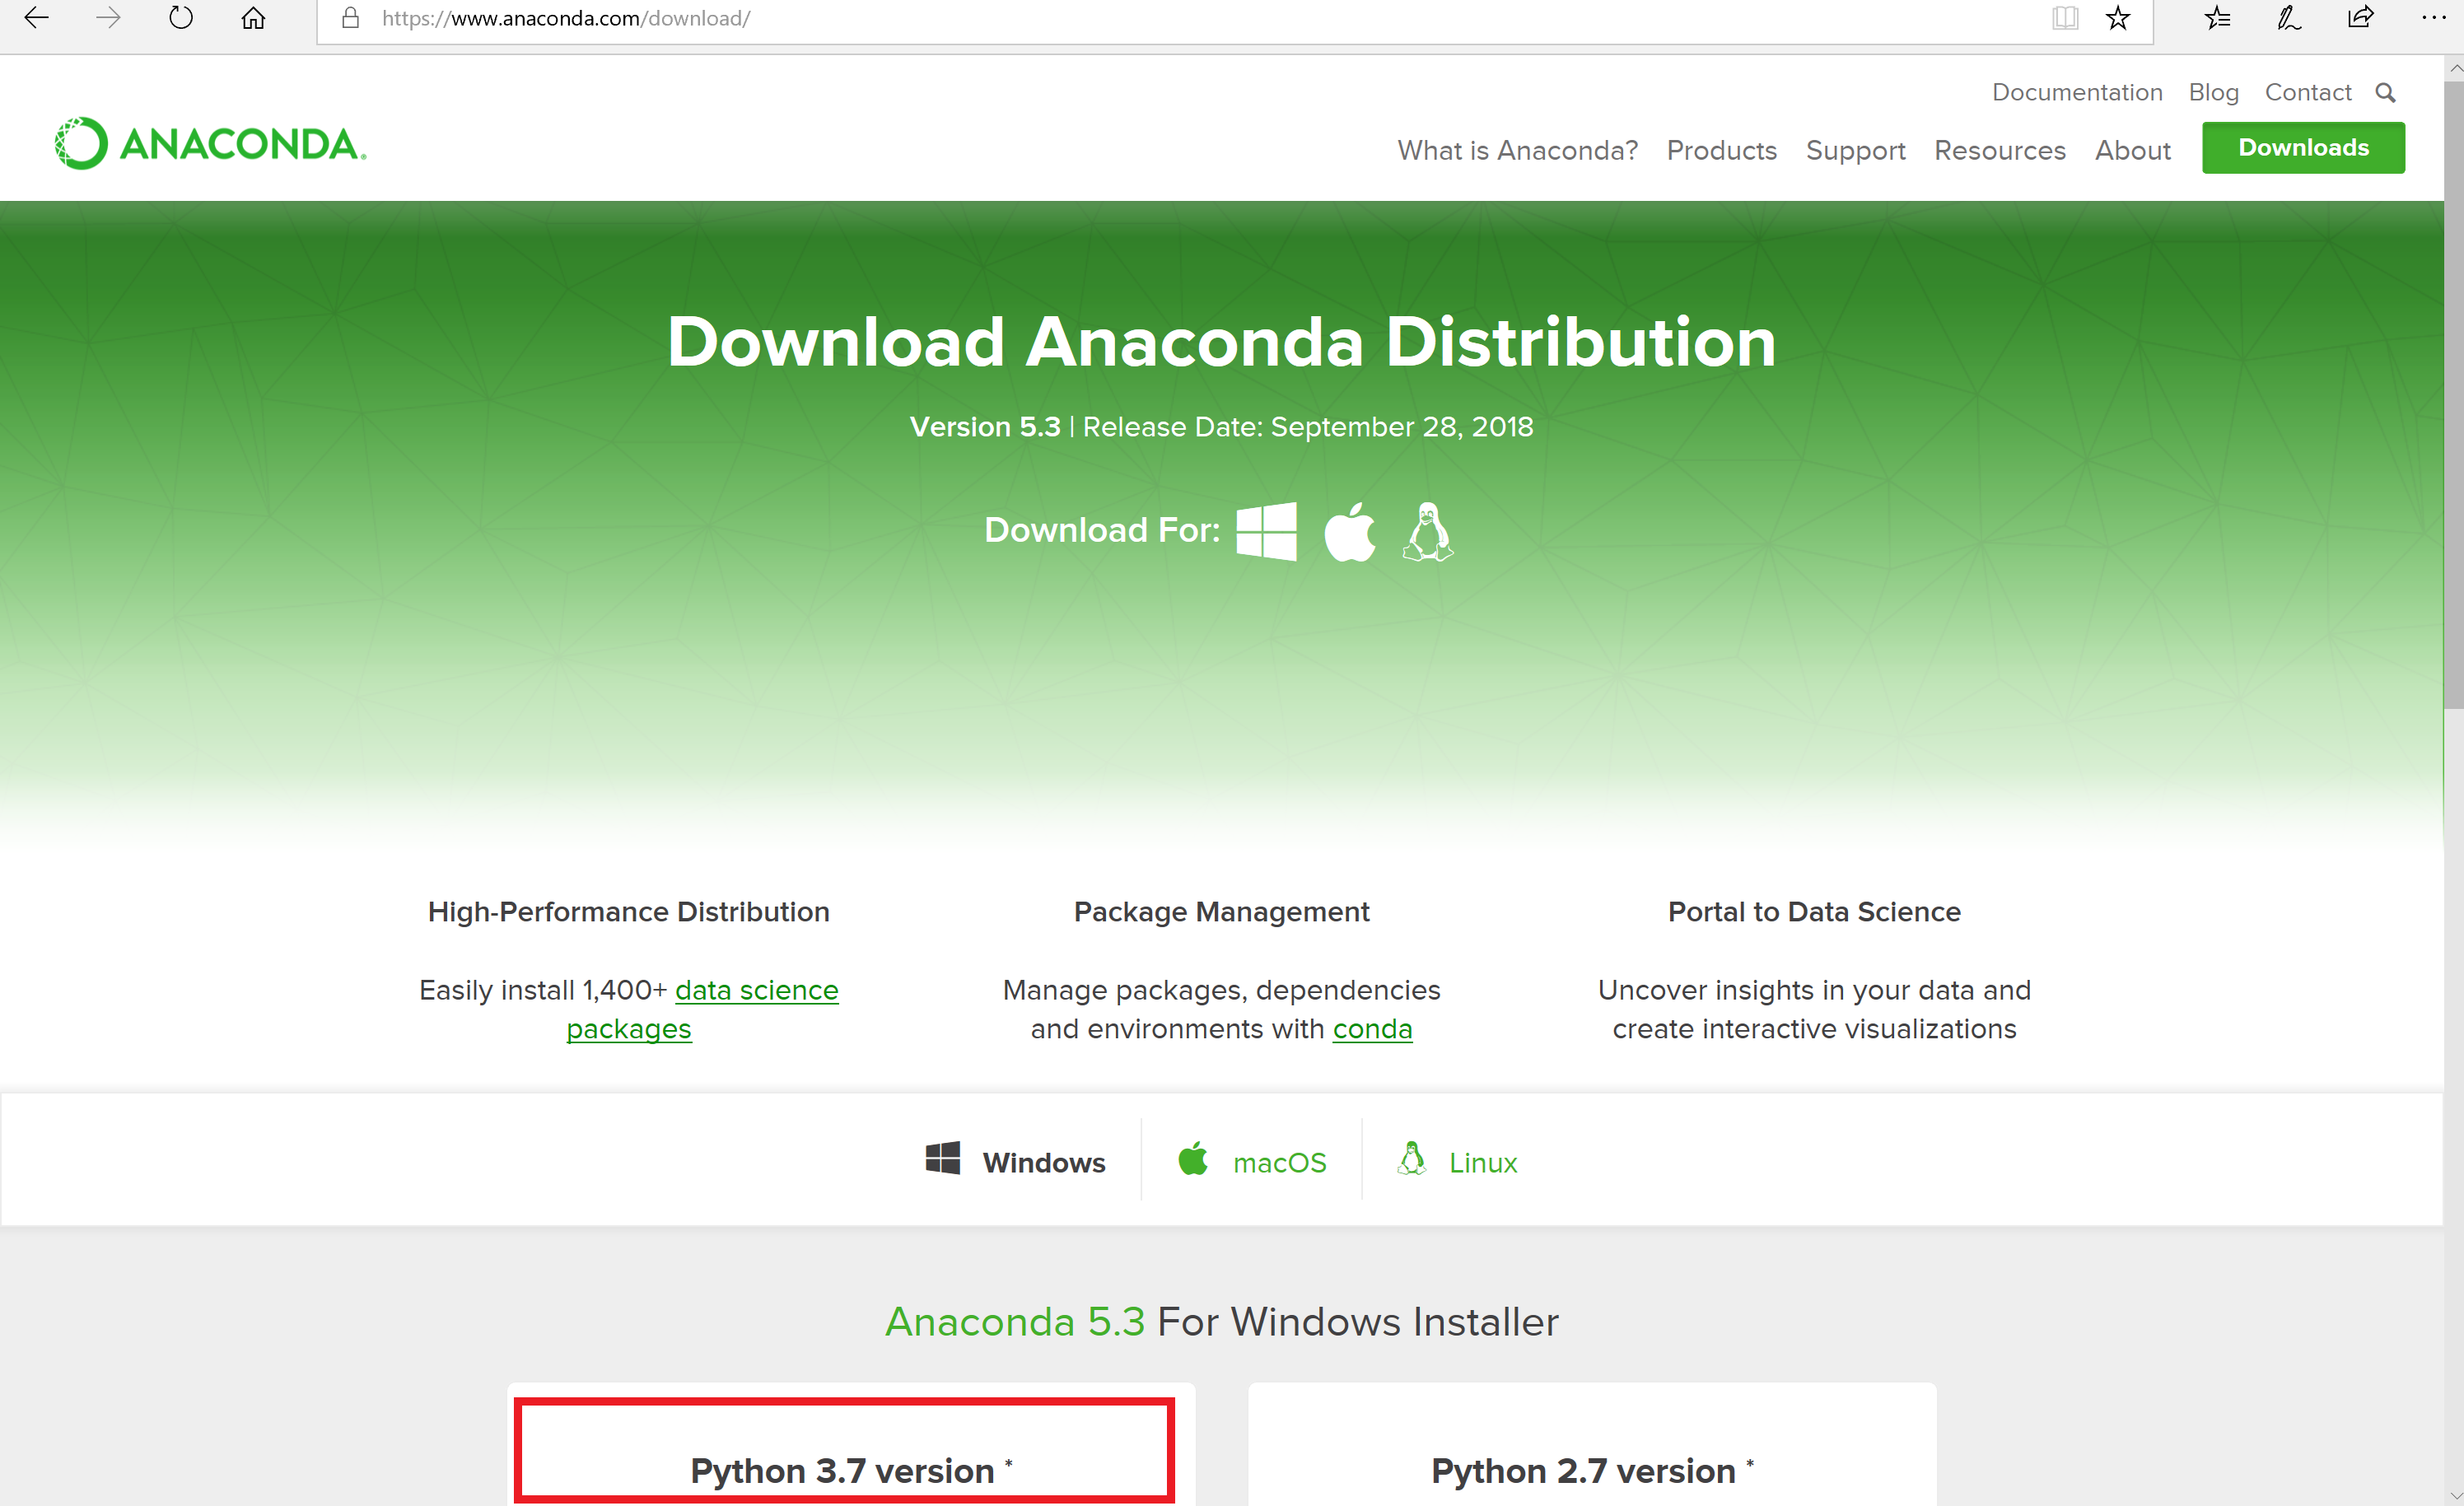
An easy way to install all of these packages is to use a Python distribution such as Anaconda. In this workshop we will use anaconda to build an environment for Python 3.6. It does not matter which version of anaconda is downloaded. We recommend installing Anaconda 3.7.
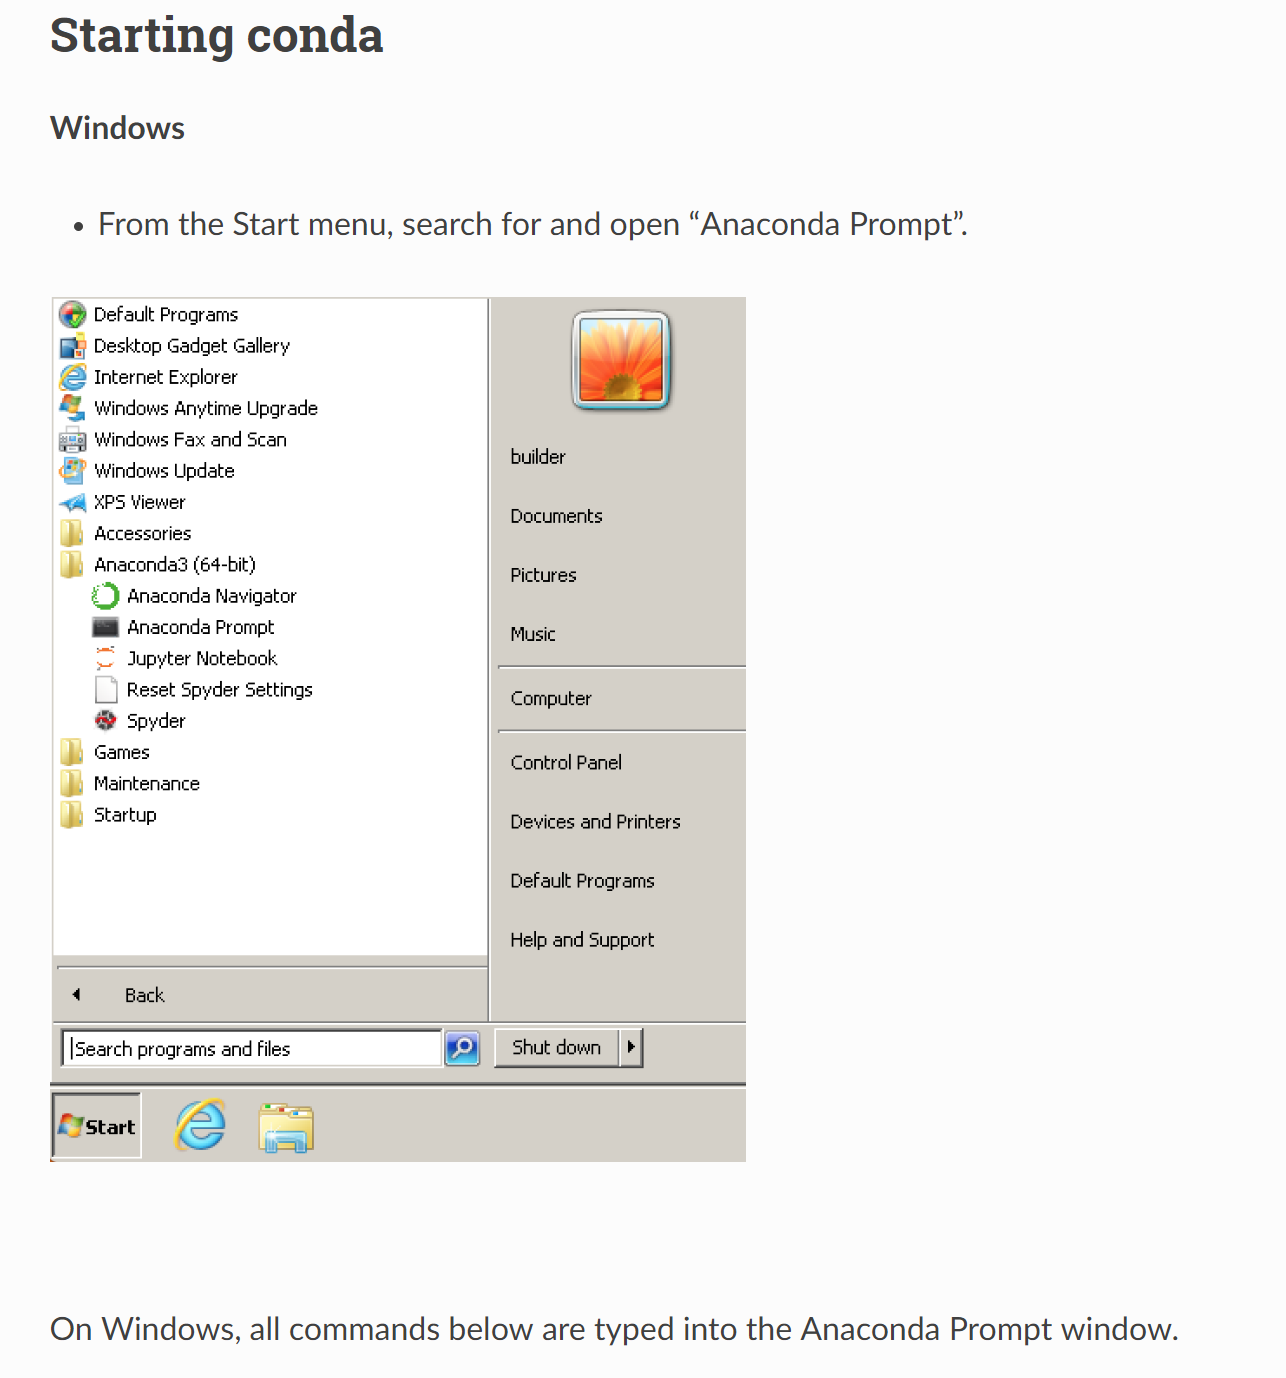
On windows, all our work will begin from an anaconda prompt, which you can start as follows:
Start a terminal and navigate to the directory of the downloaded/ cloned materials. For example, if the materials now live in the directory /Users/weikang/Downloads/pysalnarsc18-master, you need to navigate to that directory from the terminal (using command cd):
Once we have done that, run:
conda-env create -f workshop.ymlThis will build a conda python 3.6 environment that sandboxes the installation of the required packages for this workshop so we don't break anything in your computer's system Python (if it has one).
This may take 10-15 minutes to complete depending on the speed of your network connection.
Once this completes, you can activate the workshop environment with:
- on Mac, Linux
source activate workshop- on Windows:
activate workshopNext, you will want to test your installation with:
jupyter-nbconvert --execute --ExecutePreprocessor.timeout=120 check_workshop.ipynbYou should see something like:
[NbConvertApp] Converting notebook check_workshop.ipynb to html
[NbConvertApp] Executing notebook with kernel: python3
[NbConvertApp] Writing 347535 bytes to check_workshop.html
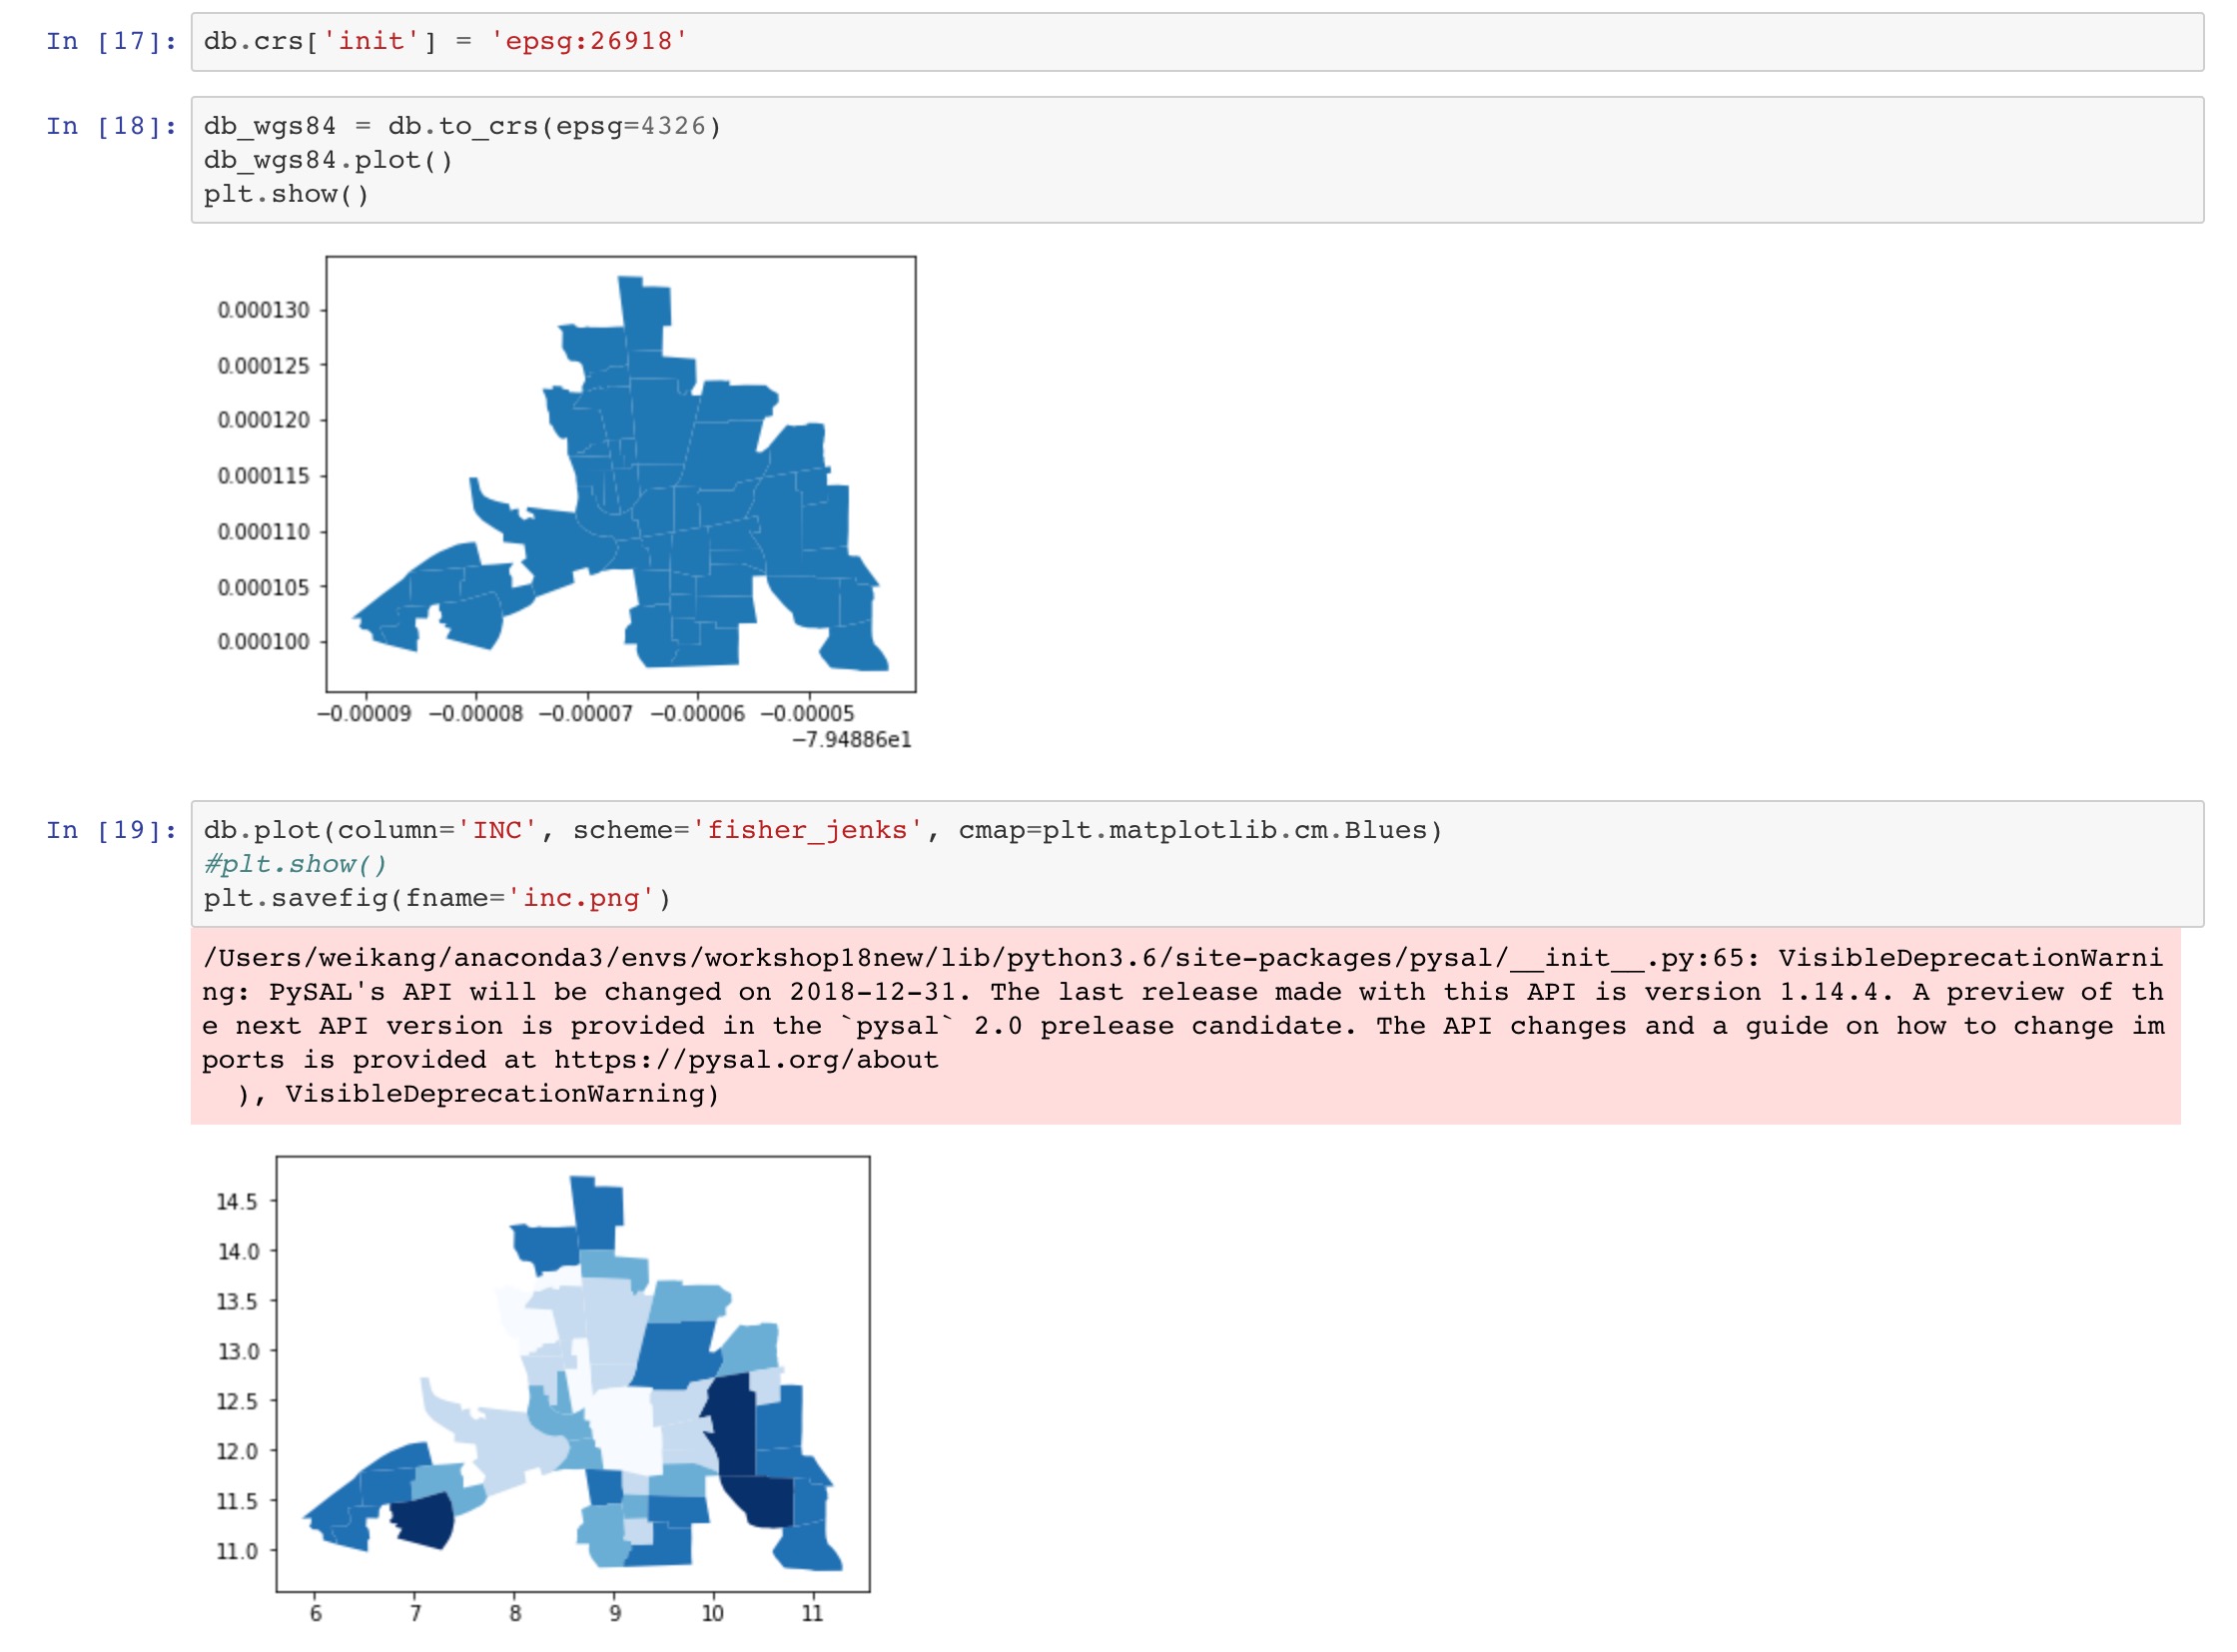
Open check_workshop.html in a browser, and scroll all the way down, you should see something like:
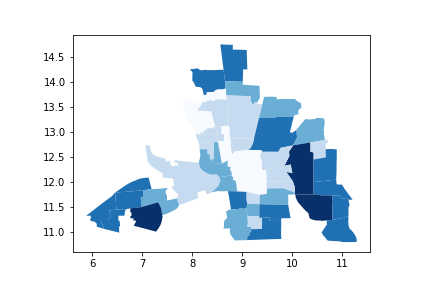
You should also see a new file in the current directory called inc.png that contains a map looking something line:
If you do see the above, you are ready for the tutorial. If not, please contact either of us for help.
Troubleshooting
If you encounter the following error when starting jupyterlab:
FileNotFoundError: [WinError 2] The system cannot find the file specifiedA solution is to issue the following command in the anaconda prompt:
python -m ipykernel install --user


