To see if you have existing Azure AI Resources or to return to previously deployed Azure AI Resourses:
- Login to Azure AI Studio https://ai.azure.com/
- Login to Azure Machine Learning Studio https://ml.azure.com/
If you have no existing Azure AI Resourses please use this Azure AI Workshop GitHub Repo to deploy them.
This is a GitHub Repo for an Azure AI Studio Demo and Workshop deployed using Azure ARM Templates Accelerators and Bicep language to deploy the development environments. It includes three development use cases:
Step 1. Deploy Azure AI Studio using the ARM Deploy to Azure button
aistudiowestus
Step 2. Deploy Azure AI Studio services using Bicep script in VsCode
aistudiowestusprojresources
Step 3. Delete the exiting AI Hub in the Azure Portal Resource Group
Step 4. Create a new Azure AI Studio Hub in AI Studio
Step 5. Create a new AI Studio Project in AI Studio
Step 6. Create a new connection and Data source in the Project Components of AI Studio
Step 7. Create a new Index in the Project Components of AI Studio
Step 8. Create a new system message and Add your data in Chat in the Project playground of AI Studio
Step 9. Test your chat in Chat of the Project playground of AI Studio
Step 10. Deploy to a web app in Chat of the Project playground of AI Studio
Step 11. Launch the web app in Chat of the Project playground of AI Studio
Step 12. Login to the web app and test the chat
-
Build a RAG App in the Azure AI Studio Playground
Clone this GitHub repo
git clone https://github.com/DataSnowman/azureaistudio.gitNote: At the time of this demo (Feb 23, 2024) the East US2 was the most complete region for available LLMs -
Build a RAG App in Azure AI Studio using Code-First
Note: If you did the "Build a RAG App in the Azure AI Studio Playground" use case already you can re-use the Azure AI Studio you have already deployedA) If not you can Deploy Azure AI Studio
-
Build a ChatGPT4 Turbo with Vision App in the Azure AI Studio Playground
Note: At the time of this demo (Feb 23, 2024) ChatGPT Turbo4 with Vision was only available in West US region so it required an additional deployment of Azure AI Studio in West US
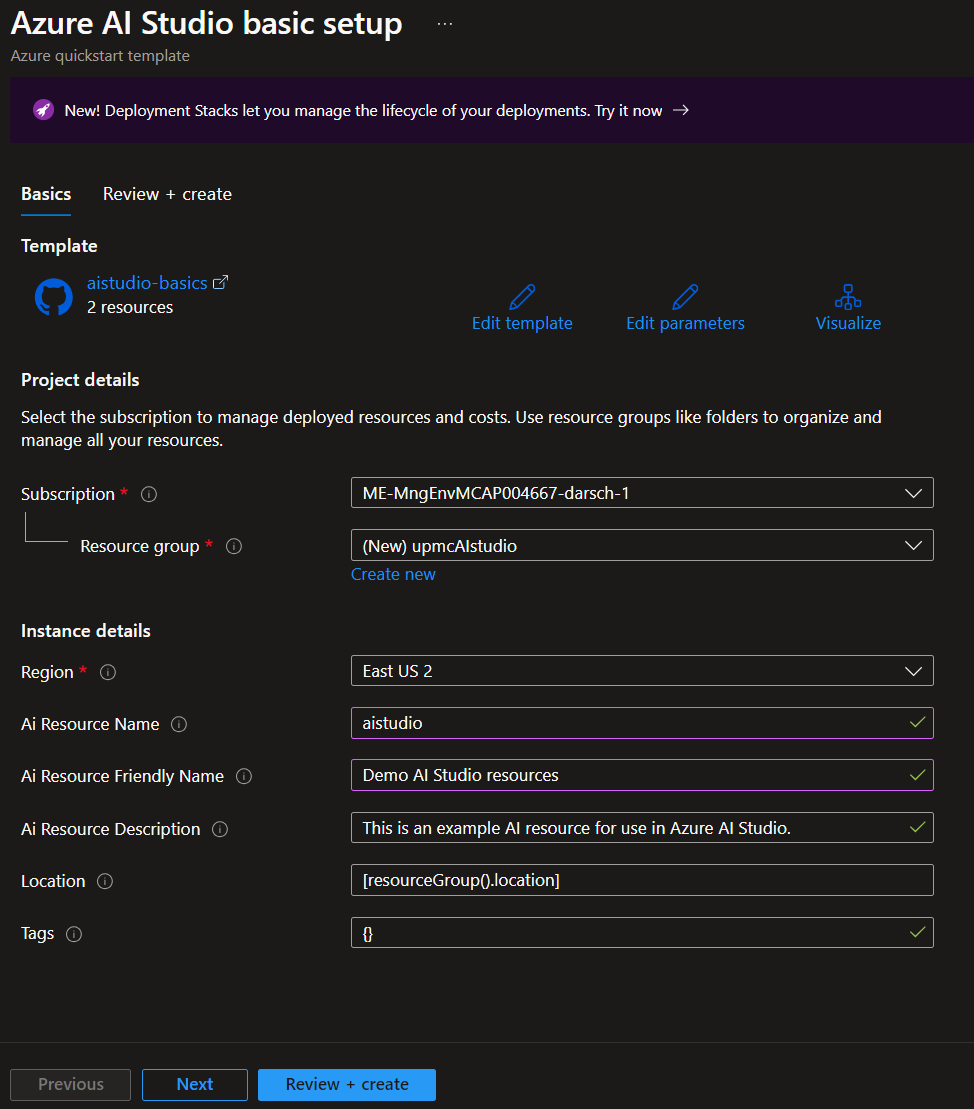
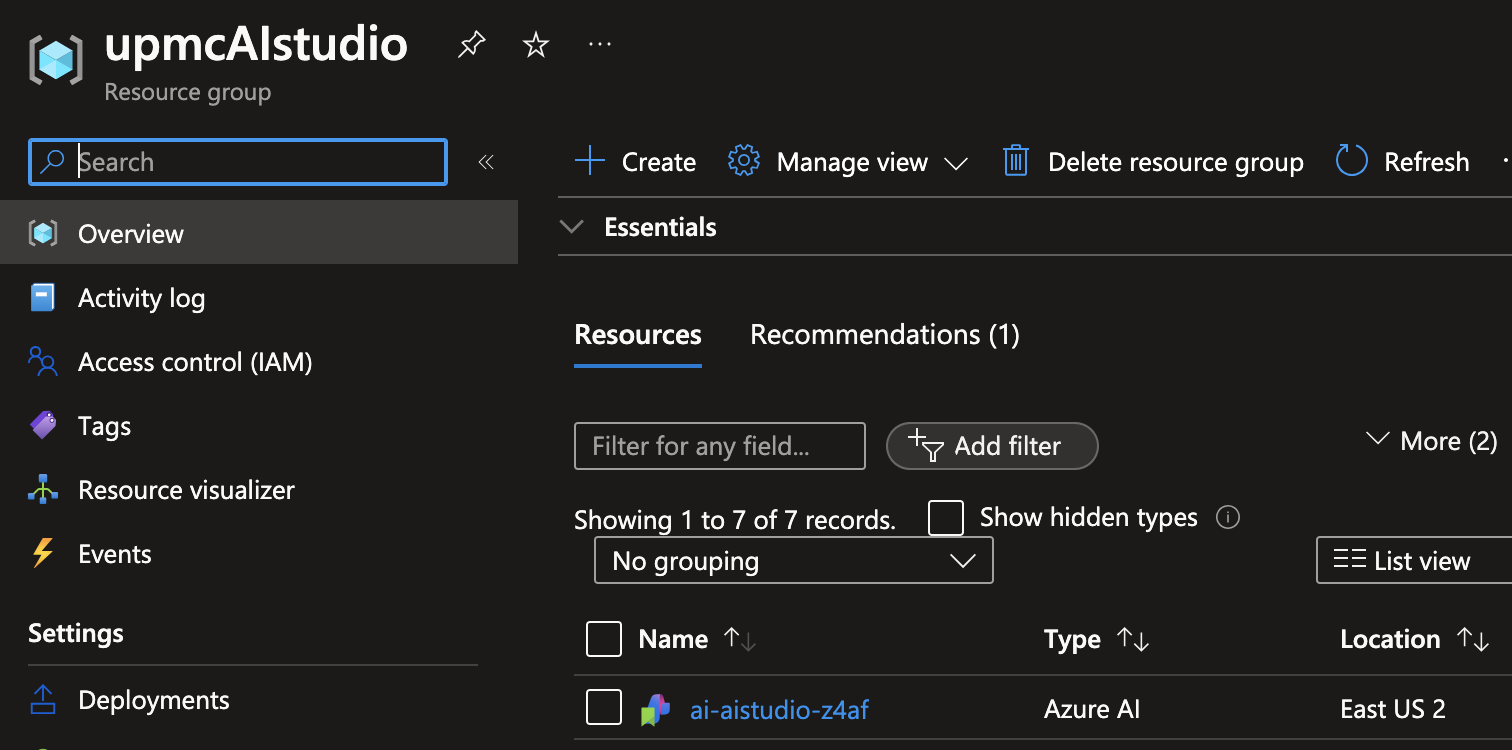
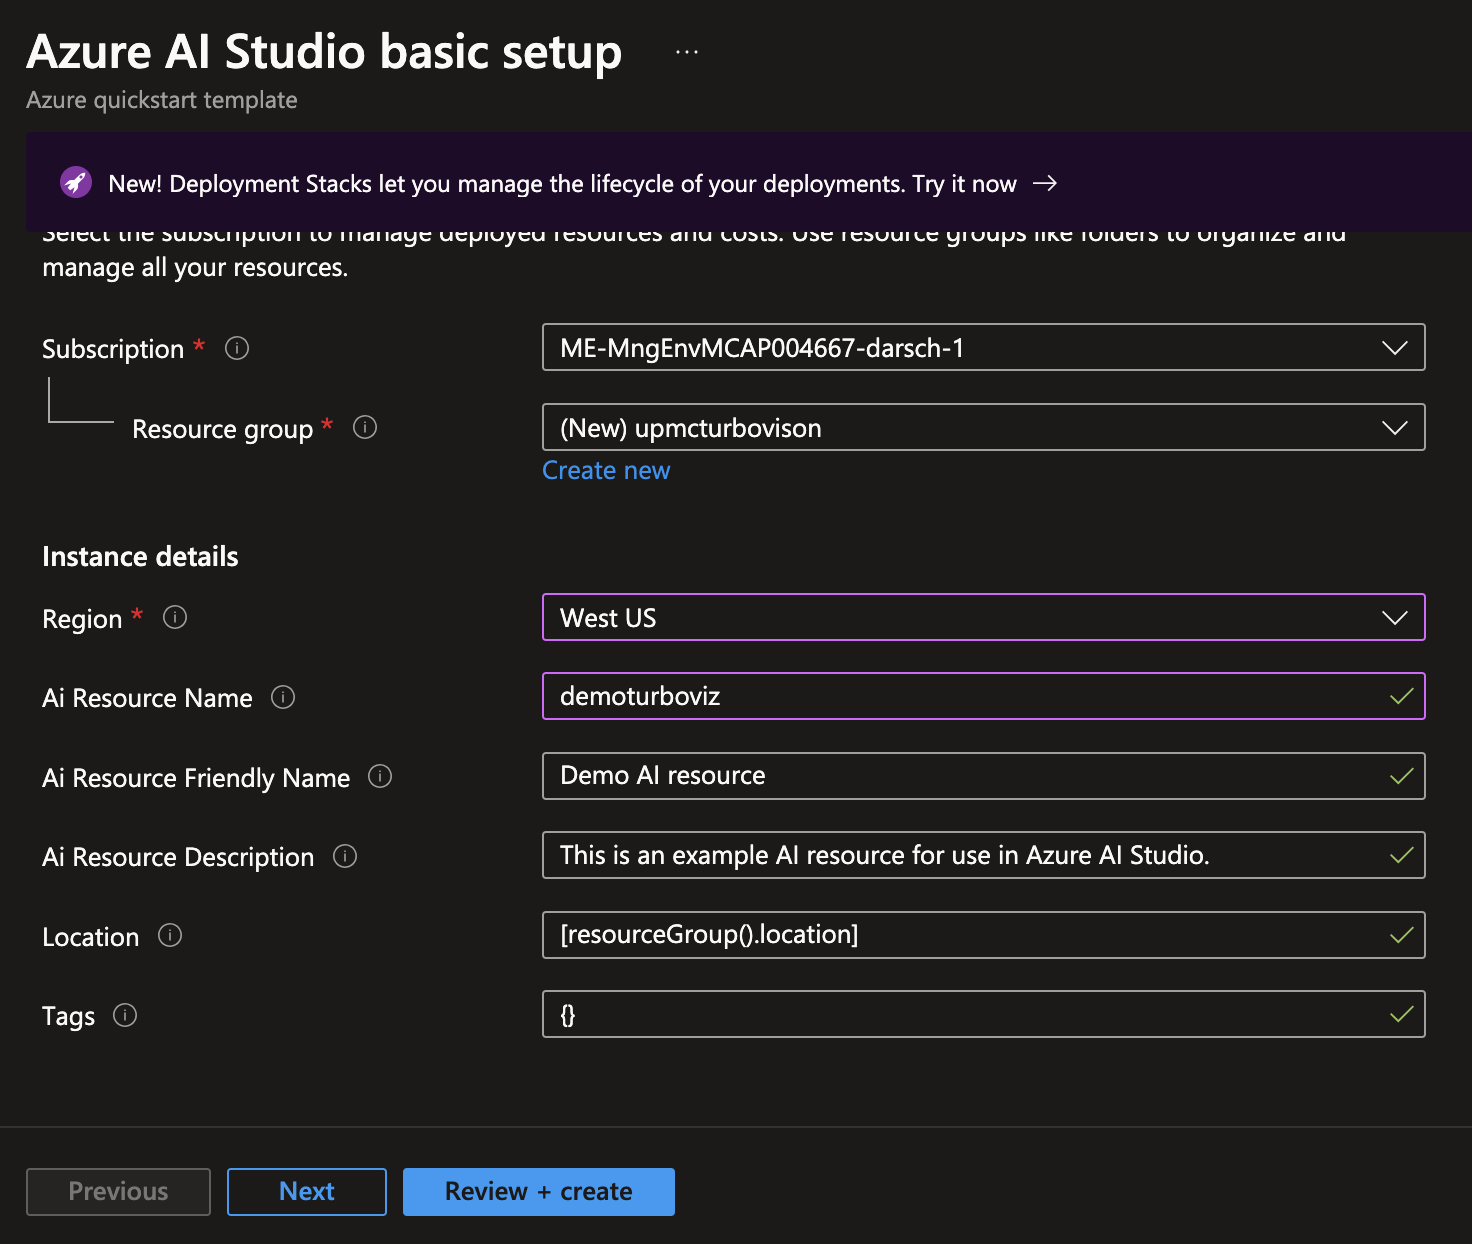
Based on an updated Quickstart template for the Azure AI Studio basic setup
This template deploys the following:
- Azure AI Studio
- Azure AI services
- Application Insights
- Container registry
- Key vault
- Storage account
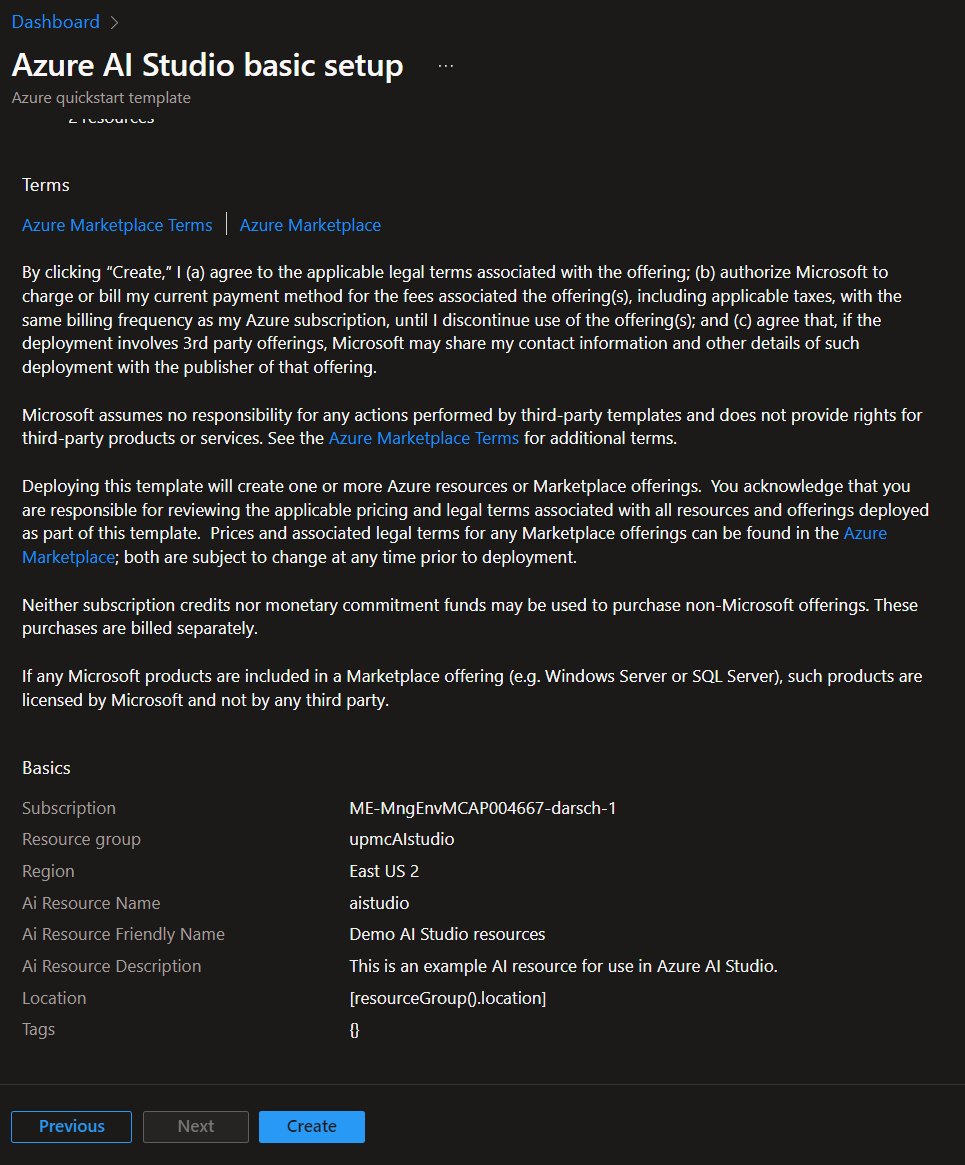
Fill out the form and click Review + create
Click Create
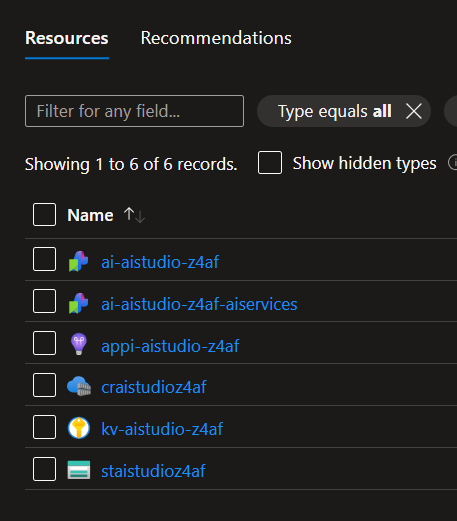
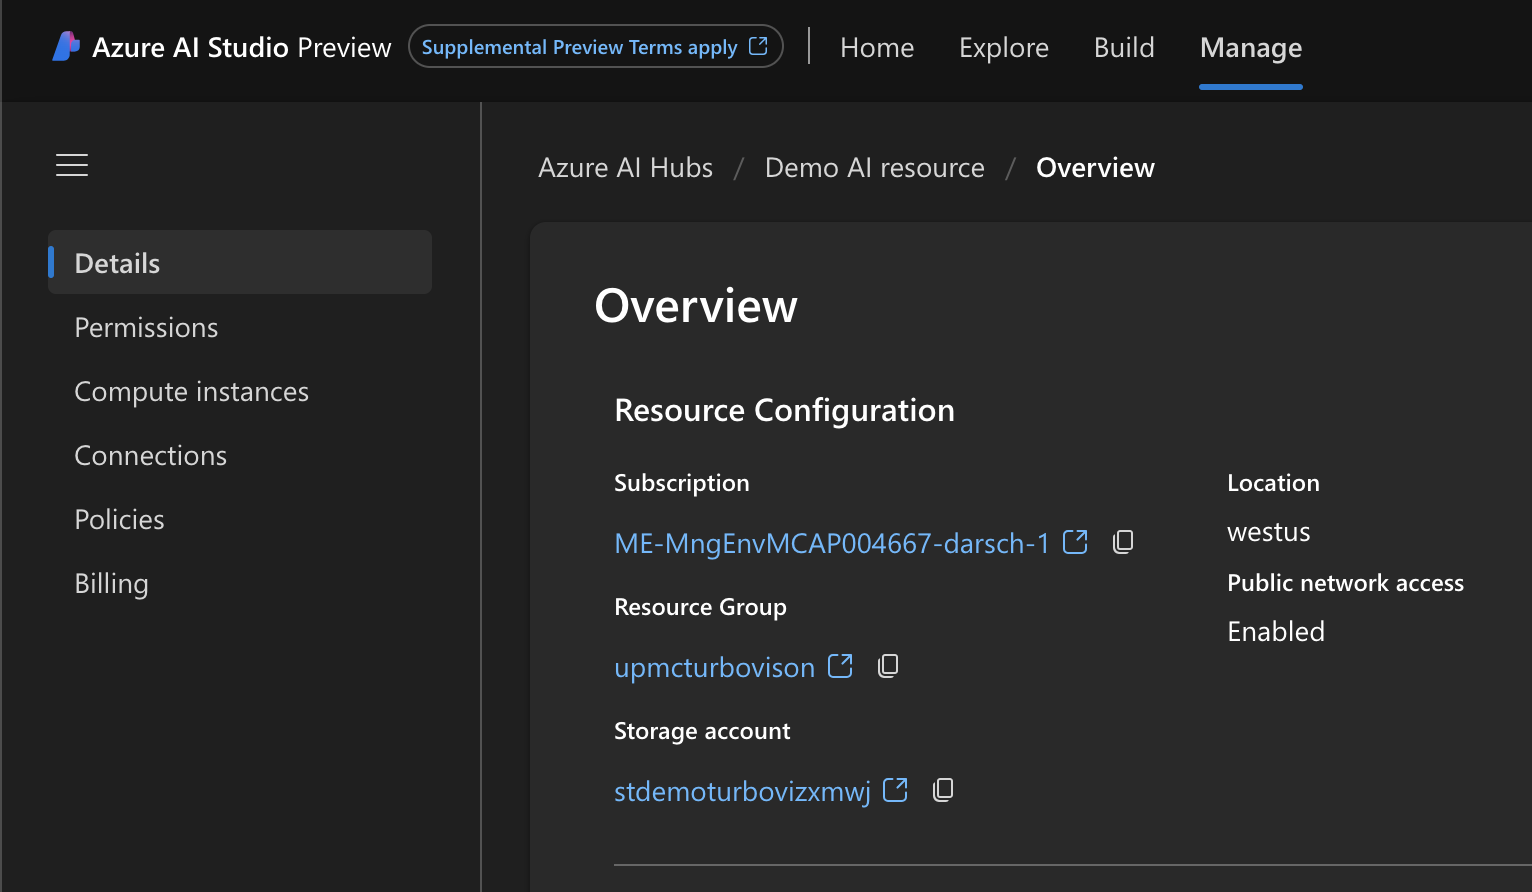
The deployed services should look something like this:
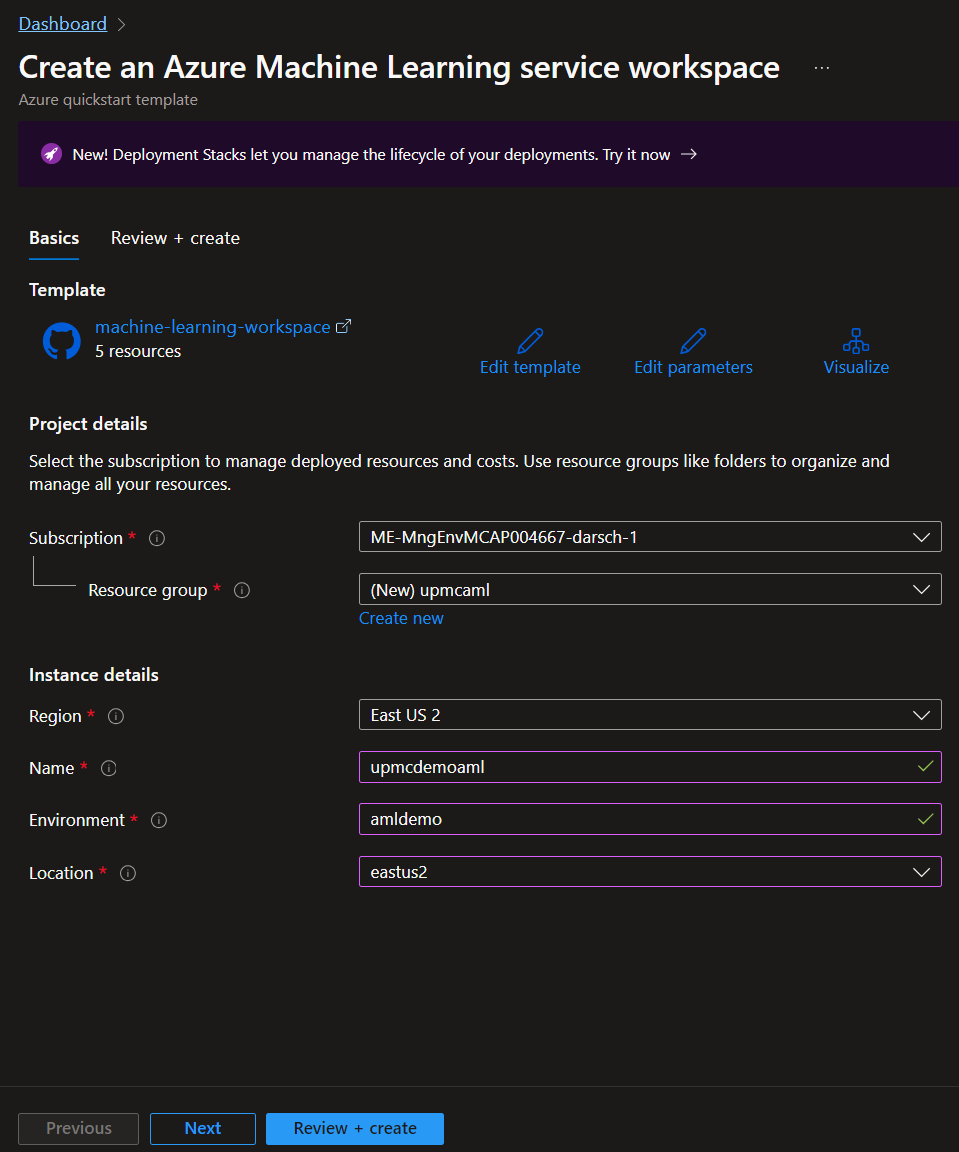
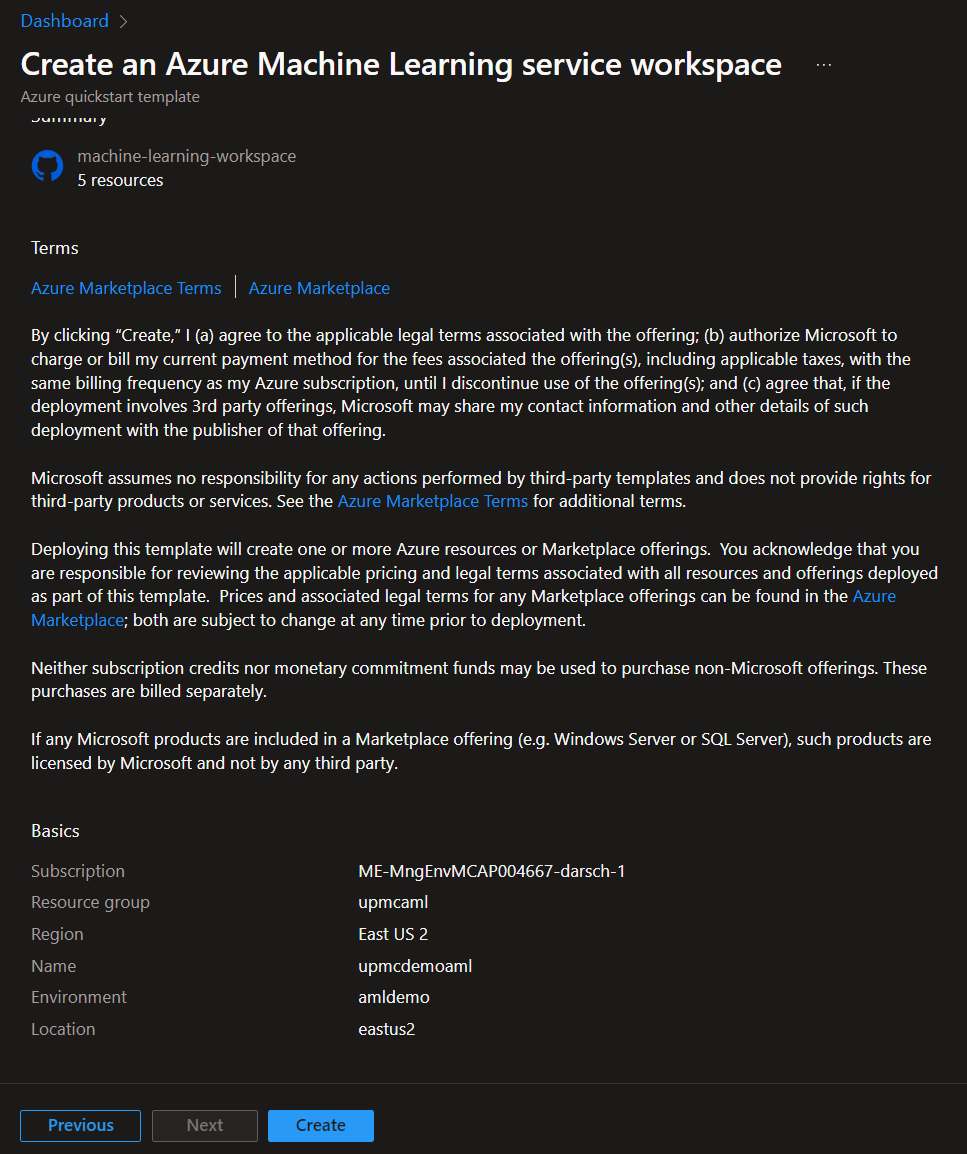
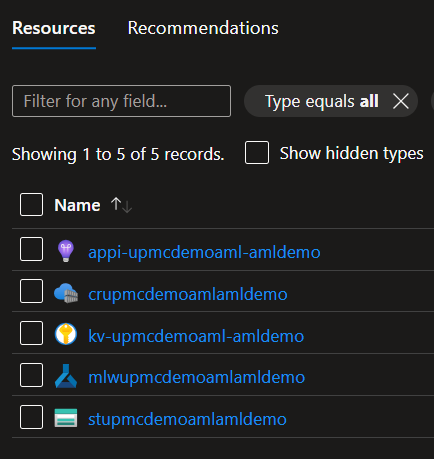
Based on the Quickstart template for the Create an Azure Machine Learning service workspace
This template deploys the following:
- Azure Machine Learning workspace
- Application Insights
- Container registry
- Key vault
- Storage account
Fill out the form and click Review + create
Click Create
The deployed services should look something like this:
If you have Visual Studio Code installed If not go here, you can use the Bicep extension to run Bicep scripts by doing the following:
-
Open the infra\DeployAzureResources.bicep script.
-
Use Ctrl+Shift+P (or Cmd+Shift+P on Mac) to open the Visual Studio Code Command Palette prompt. Then, type
Bicepinto the search menu and click onBicep: Deploy Bicep Fileto chose it.
- Provide a name for the deployment or accept the automatically provided name by clicking Enter.
-
Select the appropriate subscription. This subscription must be listed for Azure OpenAI access!
-
Select
Create new Resource Group
Enter a name for that Resource Group
- Select a location (region)
- There will not be a parameter file for this script, so it is safe to choose None.
At this point, the deployment script will kick off. You can select the link in the Output window to view the deployment in the Azure portal.
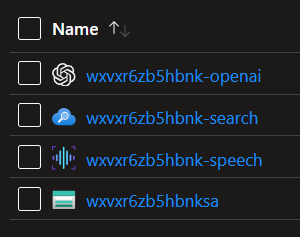
Once your deployment completes, you should see all of your resources in the resource group you have created. These include and Azure OpenAI service, an Azure AI Search service, a Speech service, and a storage account.
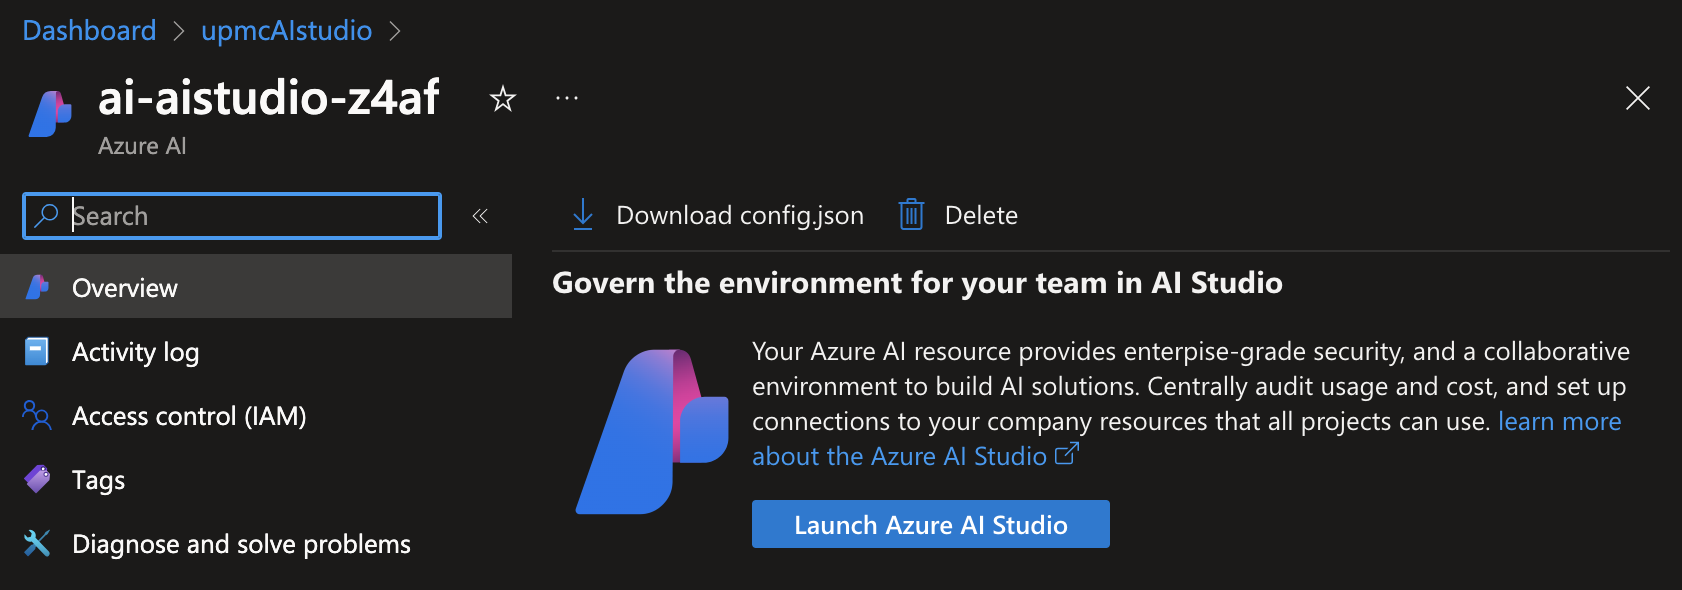
Open up the Resource Group that you deployed AI Studio into and click on the Azure AI resource
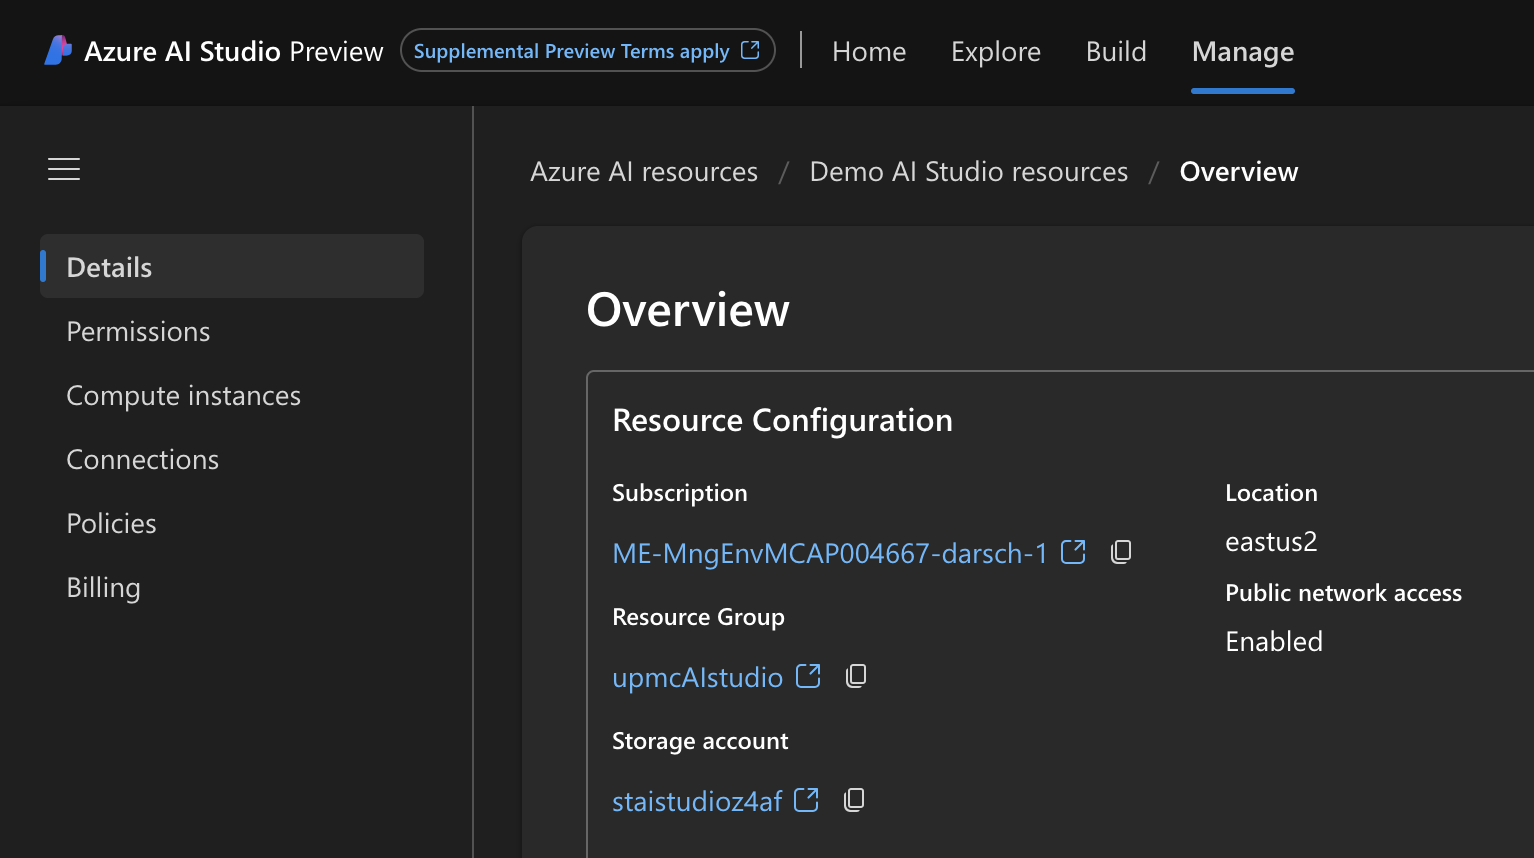
Click on Launch Azure AI Studio
This will take you to the Manage tab of Azure AI Studio
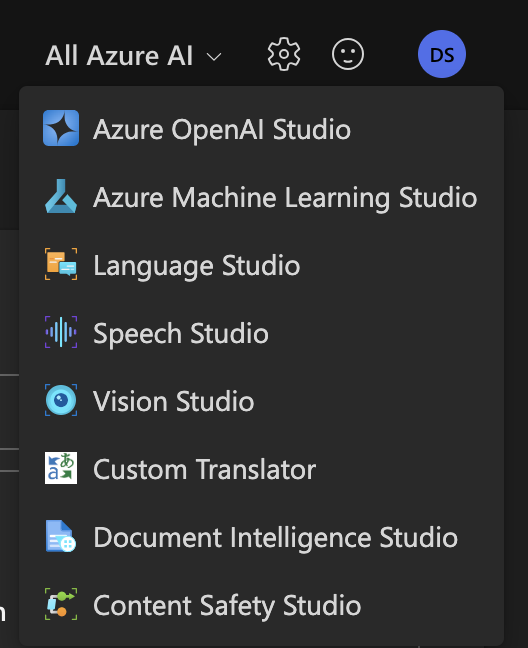
Navigate to the All Azure AI Dropdown. We won't look at these now, but this is where you would navigate to the other Azure AI Cognitive Services Studios like Azure Machine Learning Studio and Speech Studio.
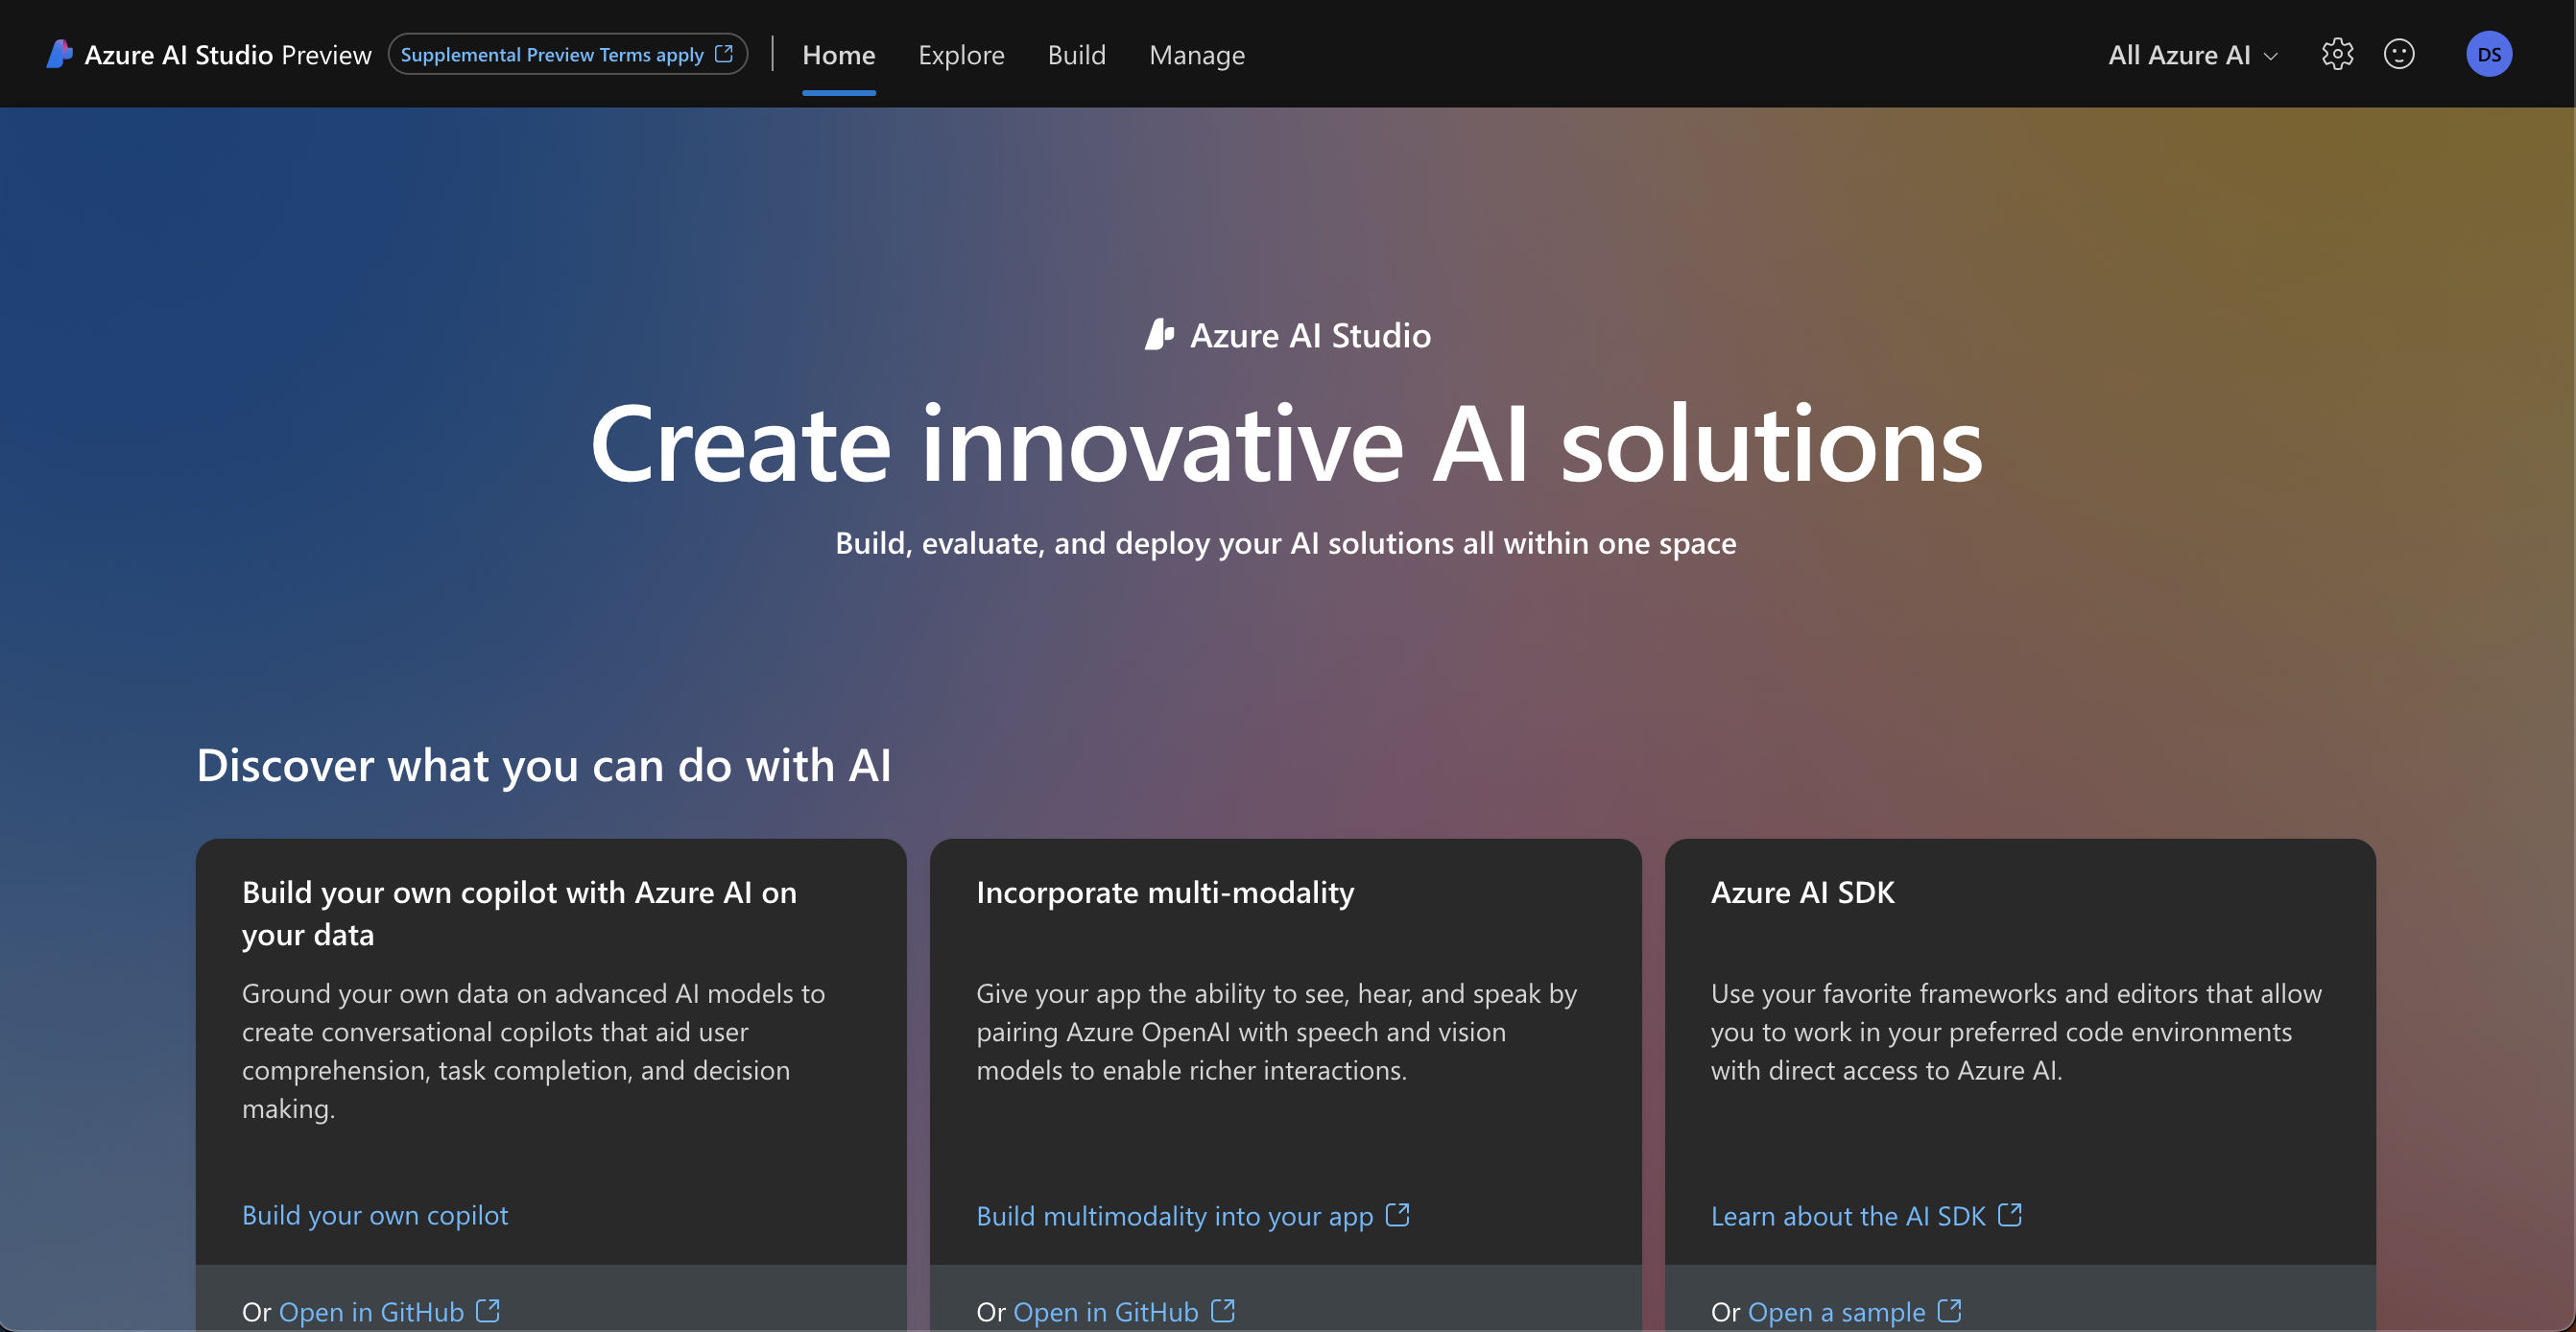
Navigate to the Home tab and have a look around the page
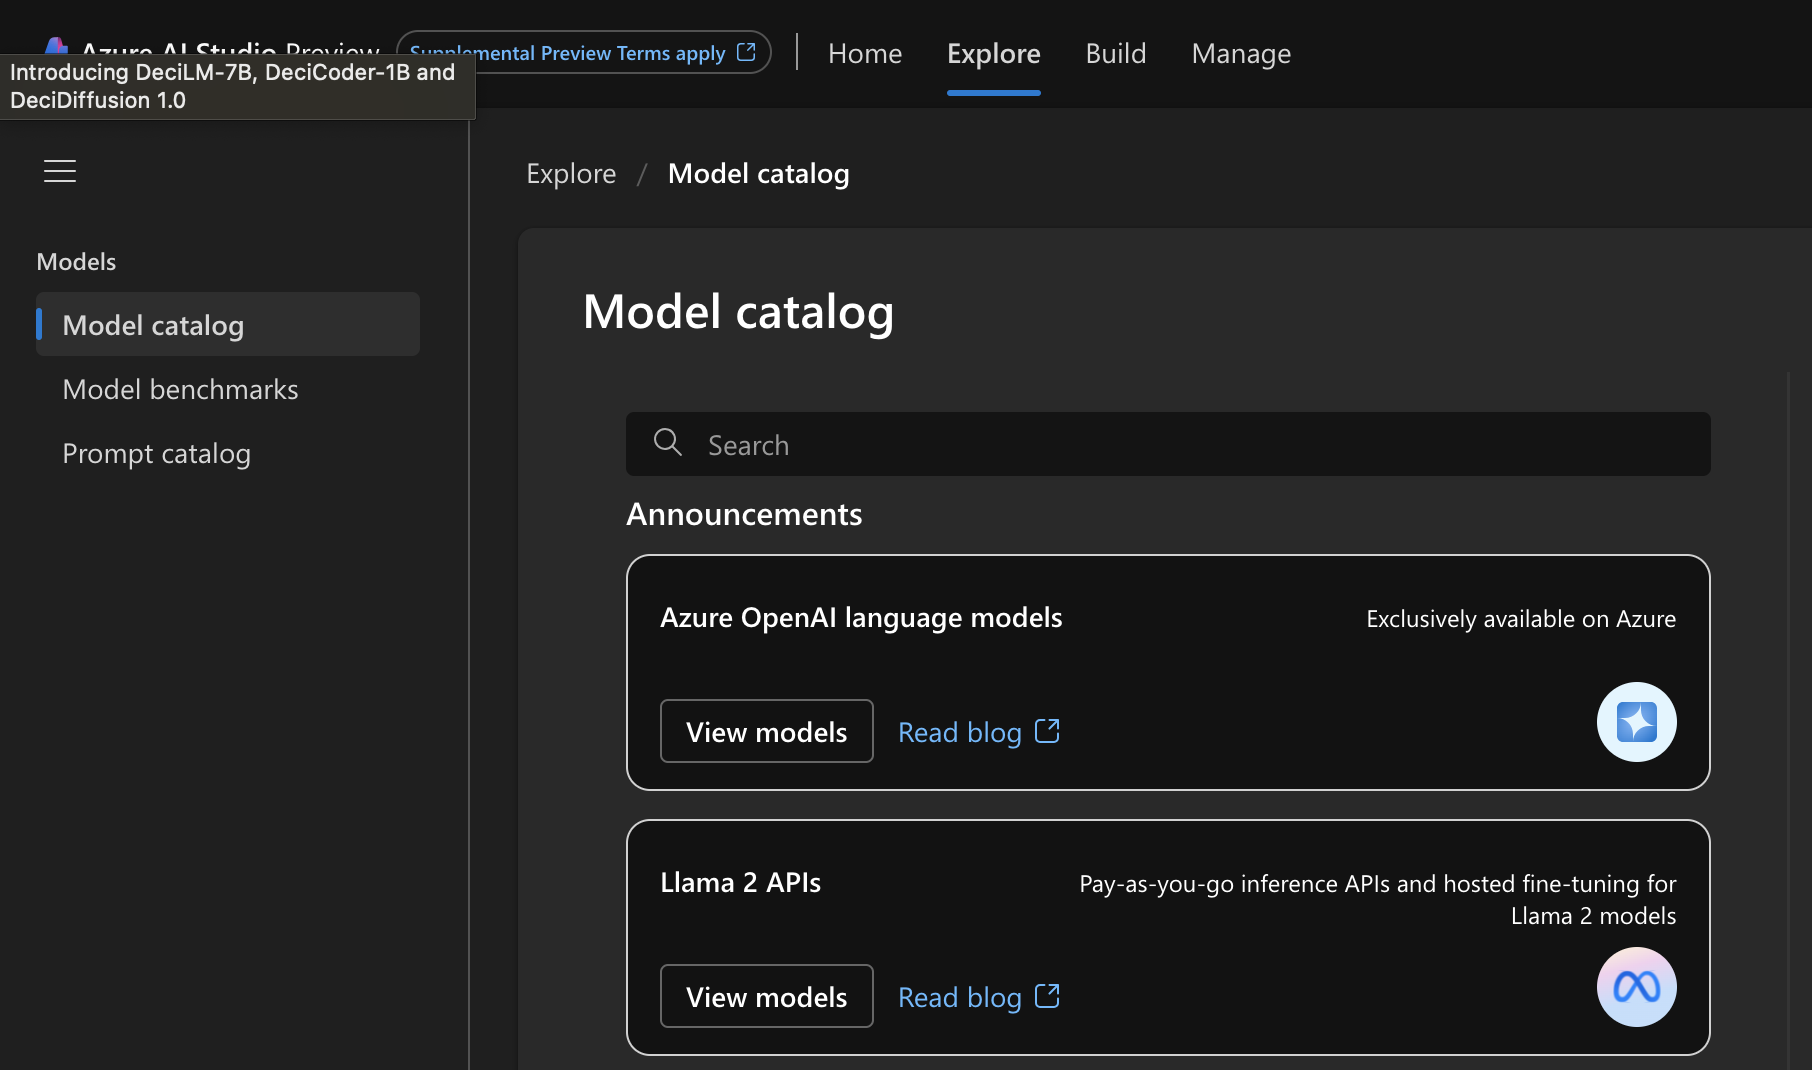
Navigate to the Explore tab and look around (explore) the page
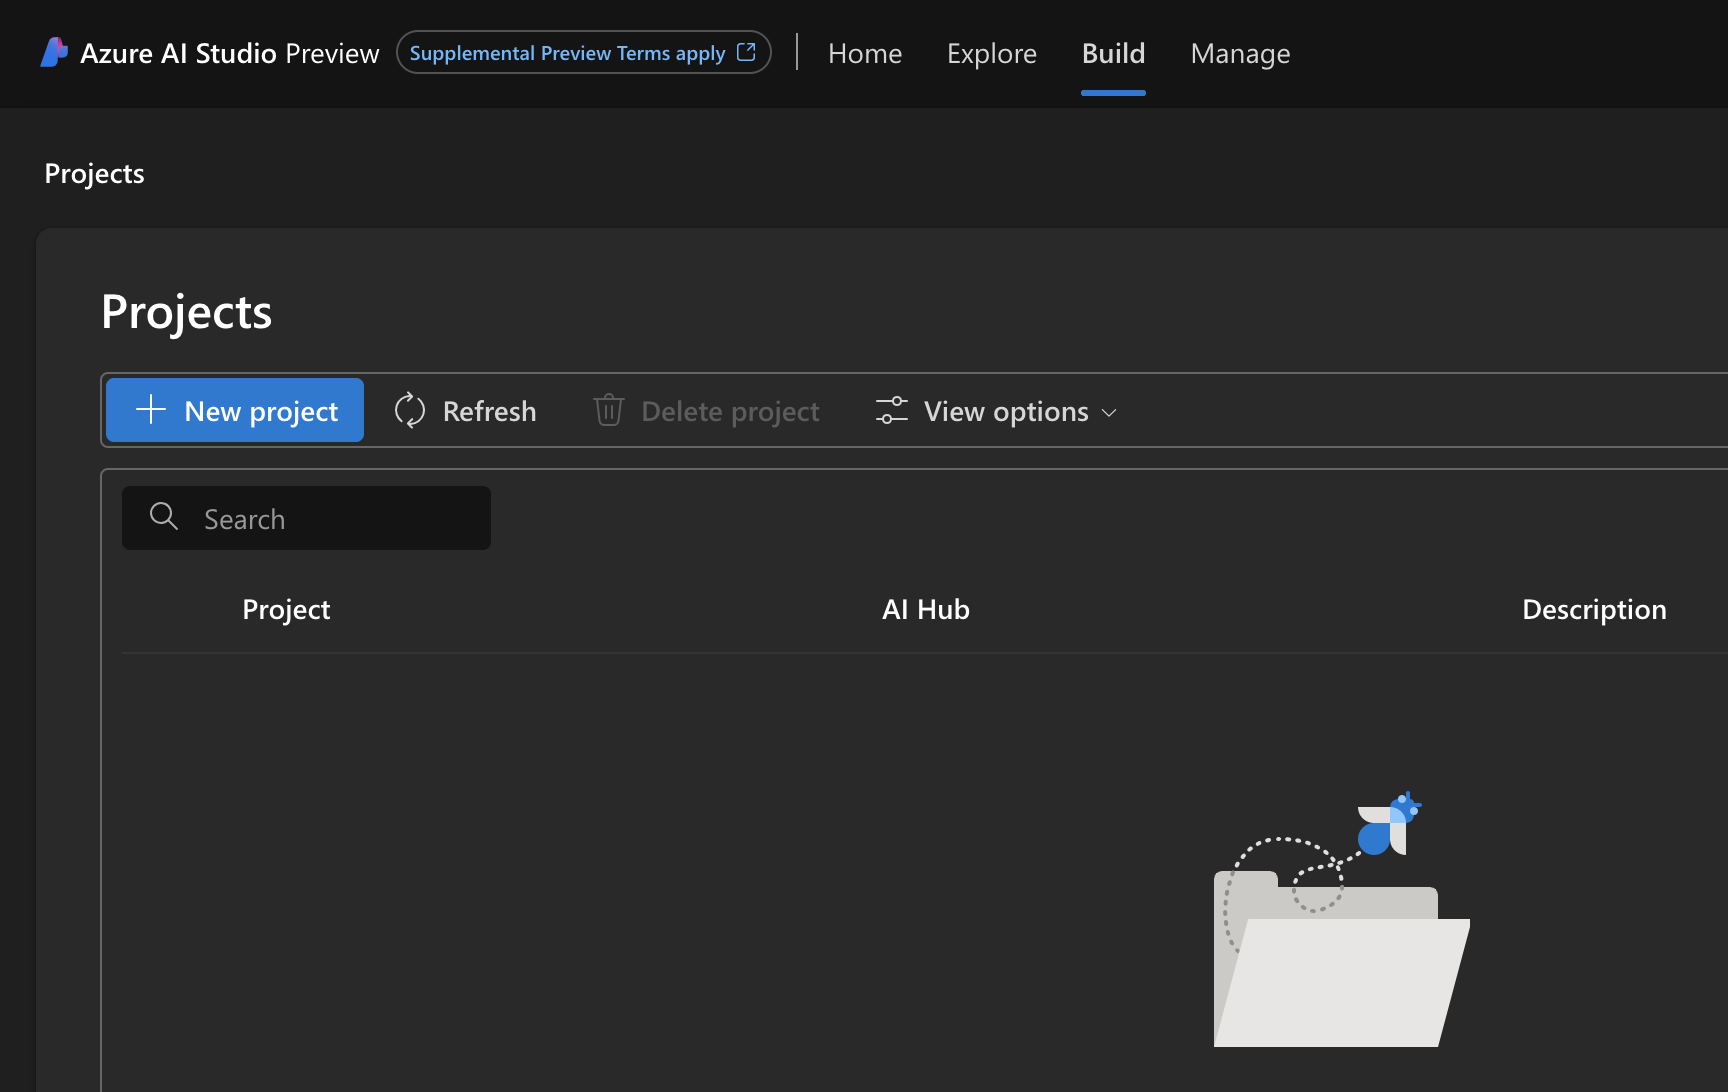
Navigate to the Build tab and look around the page
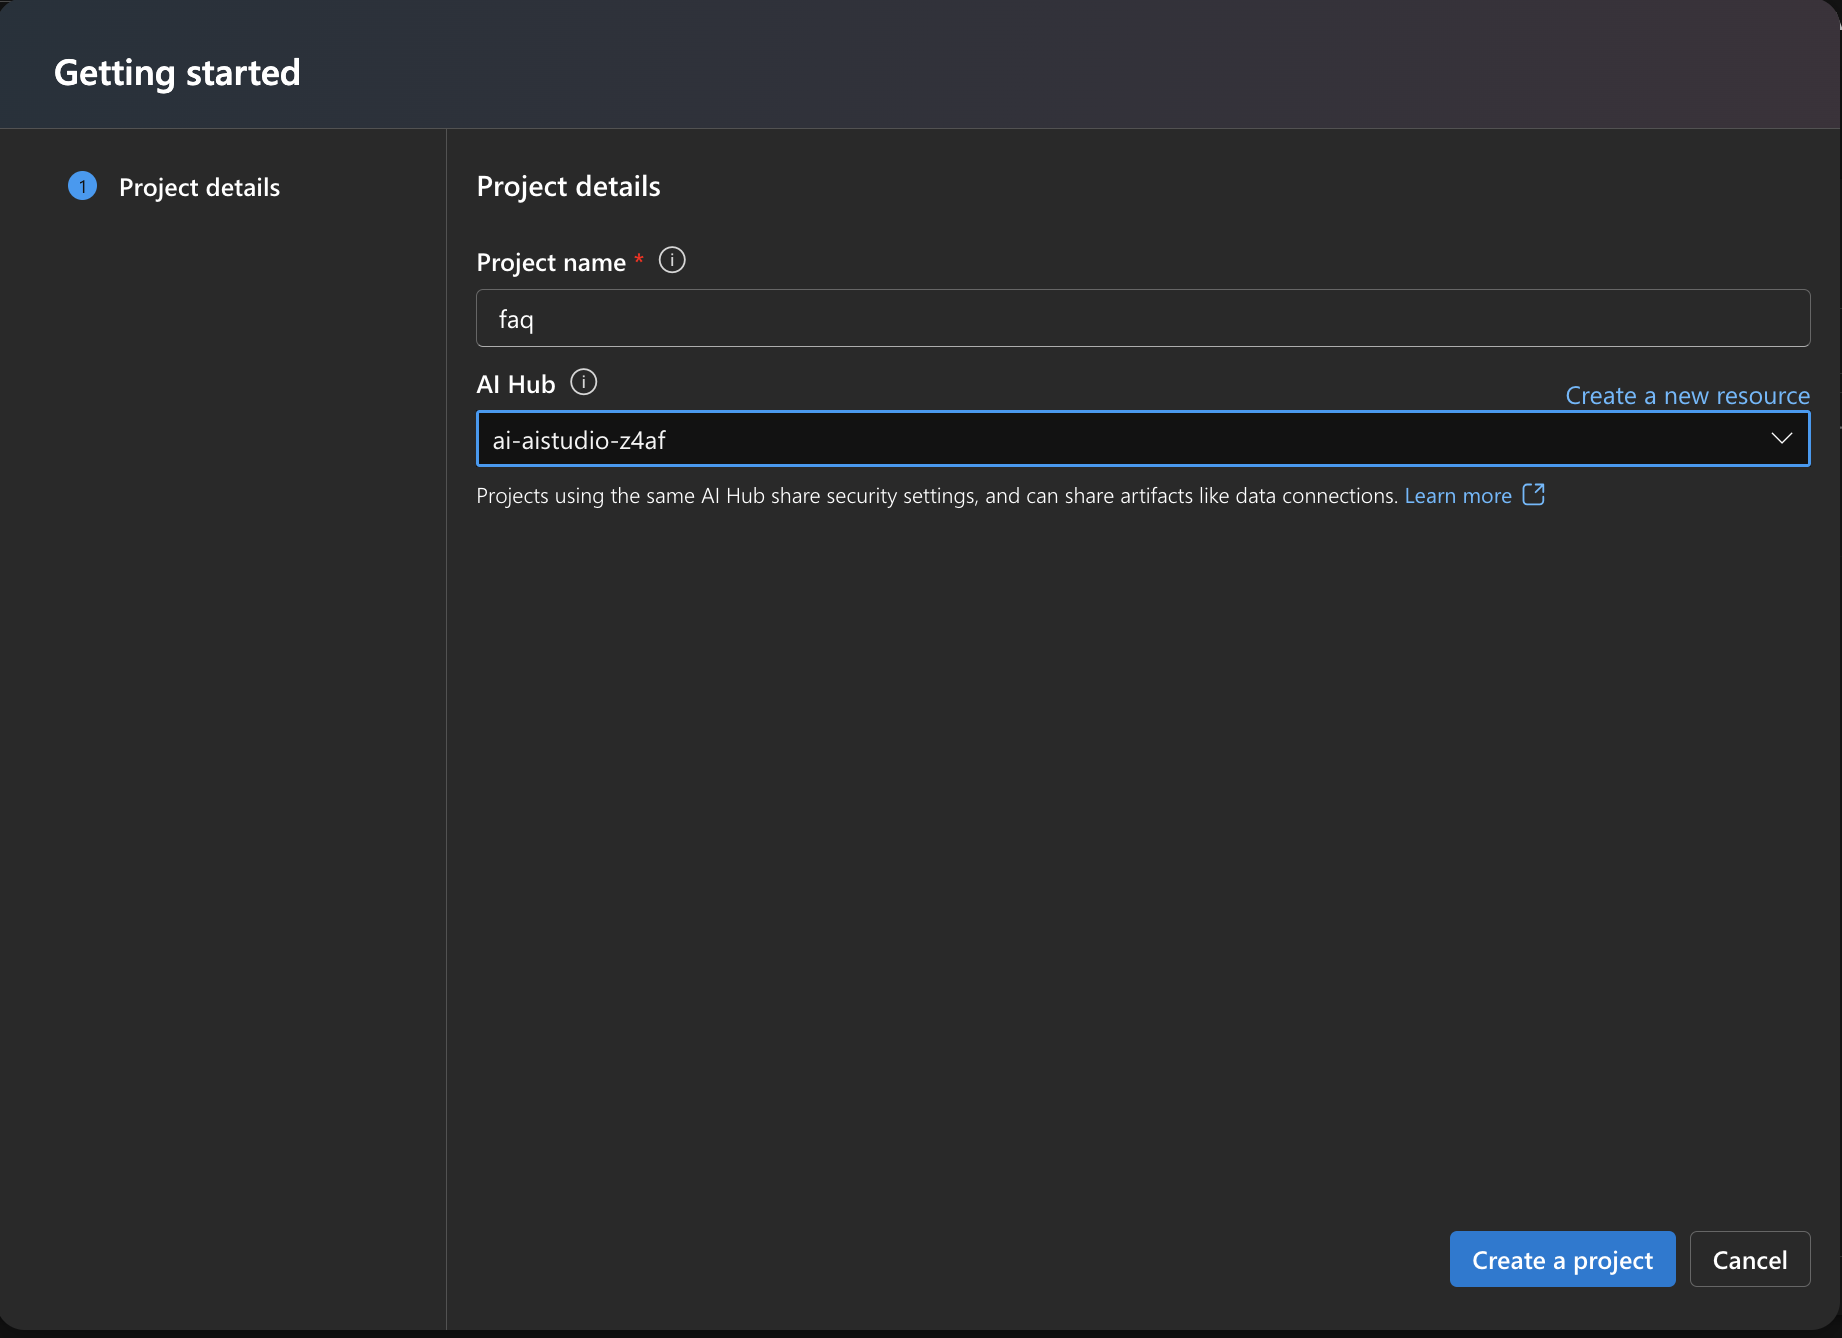
In the Build tab click New project. Call the project something like faq and click the Create a project button
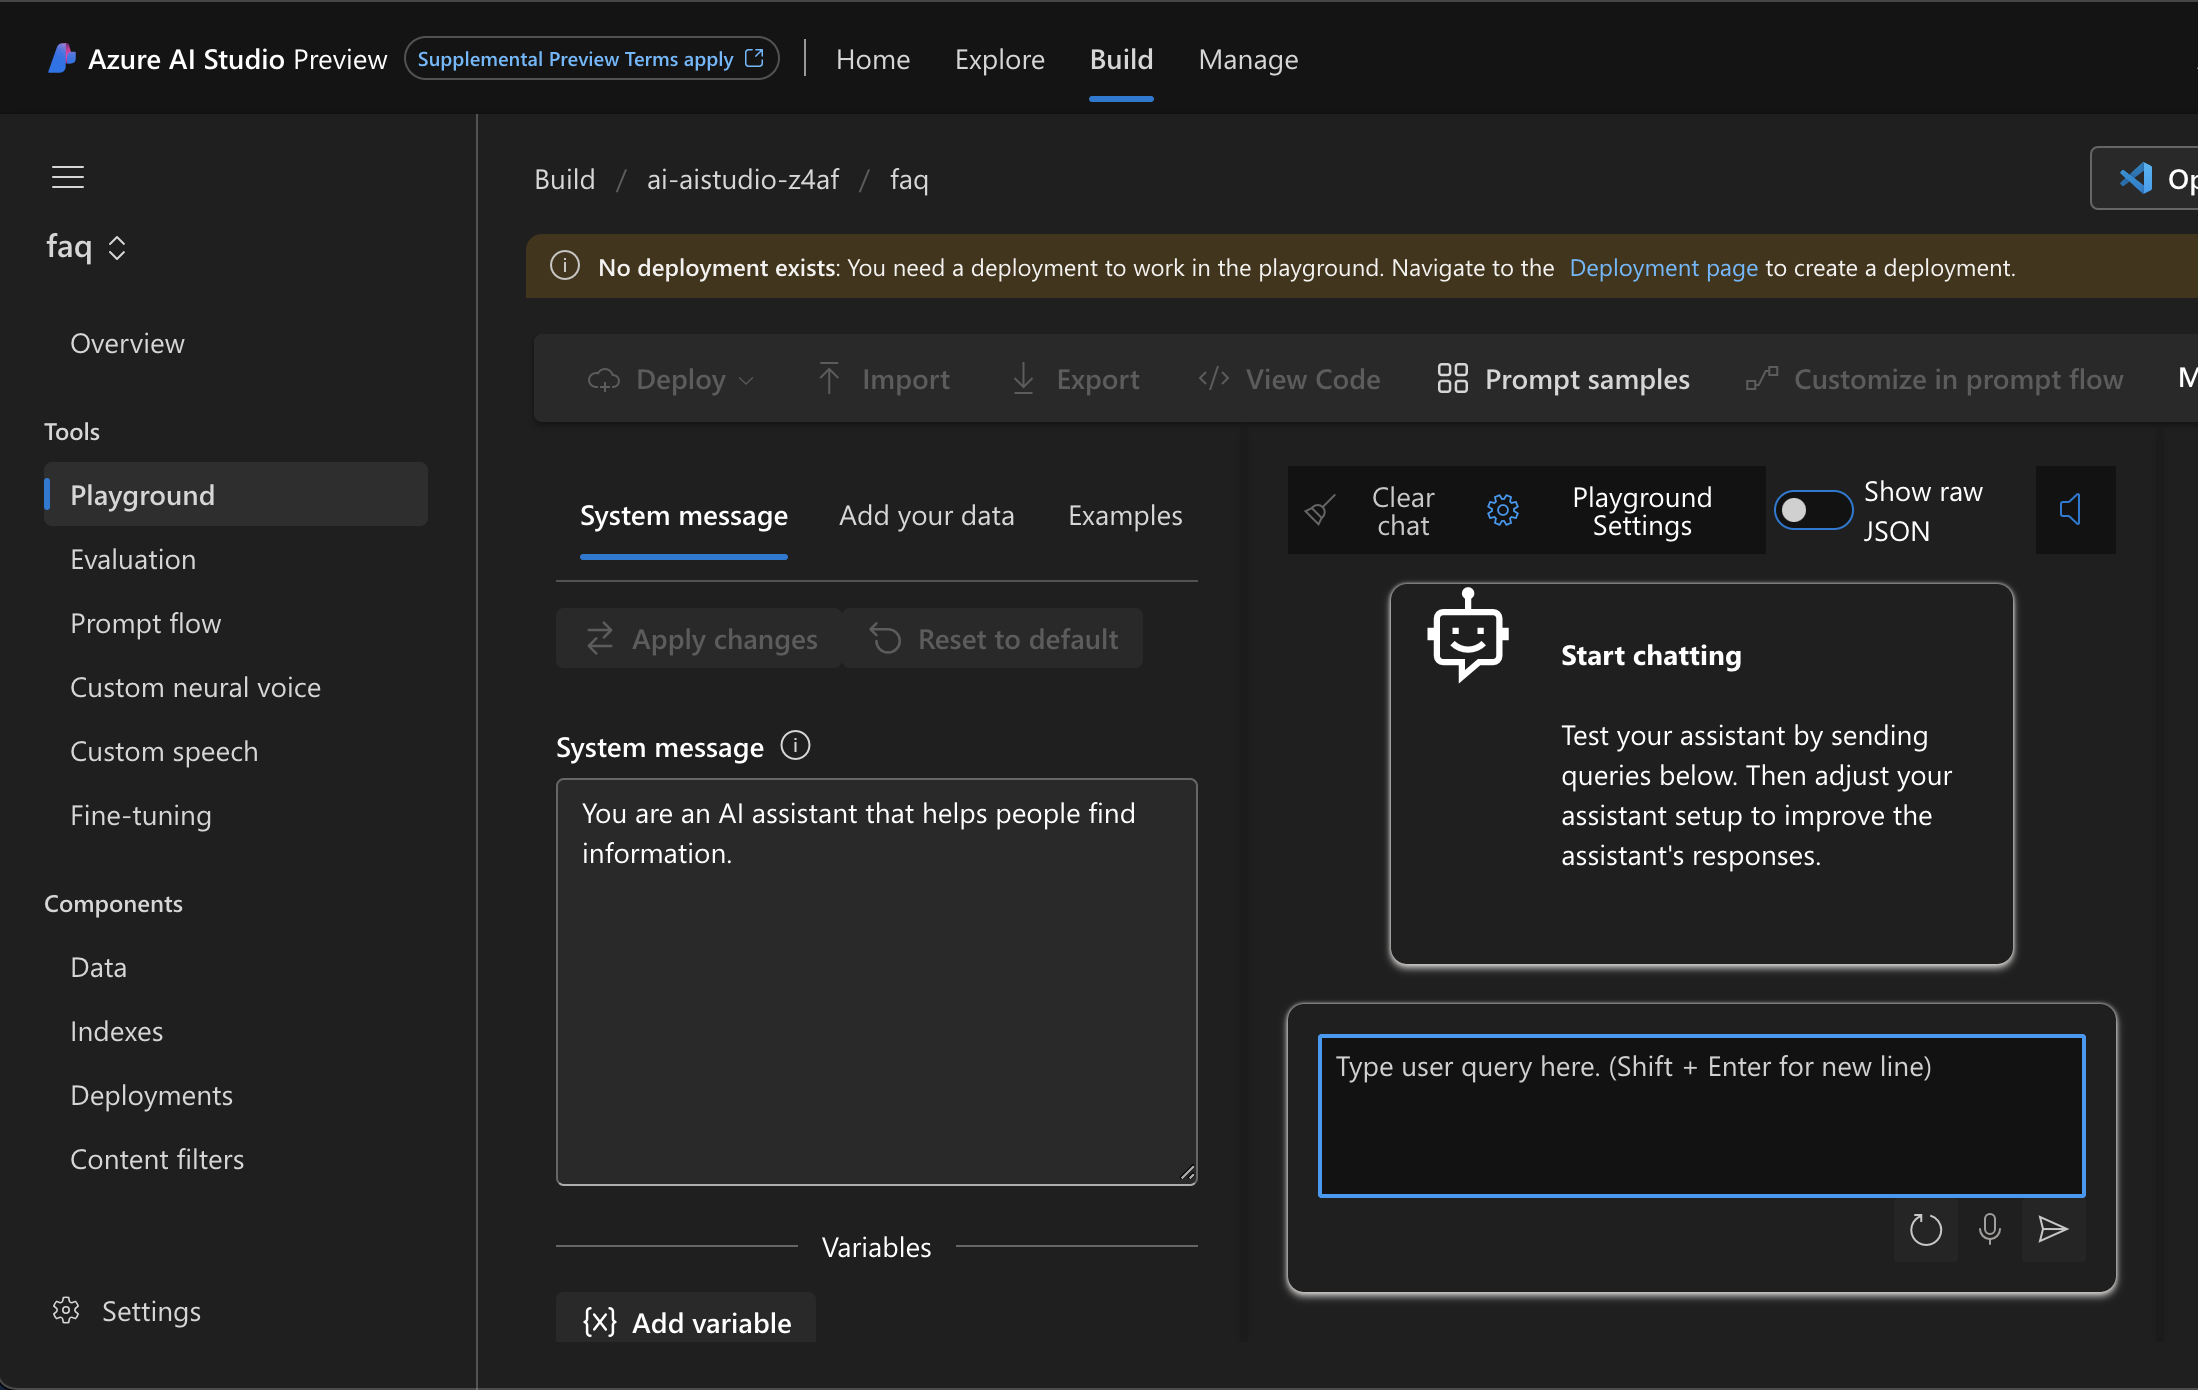
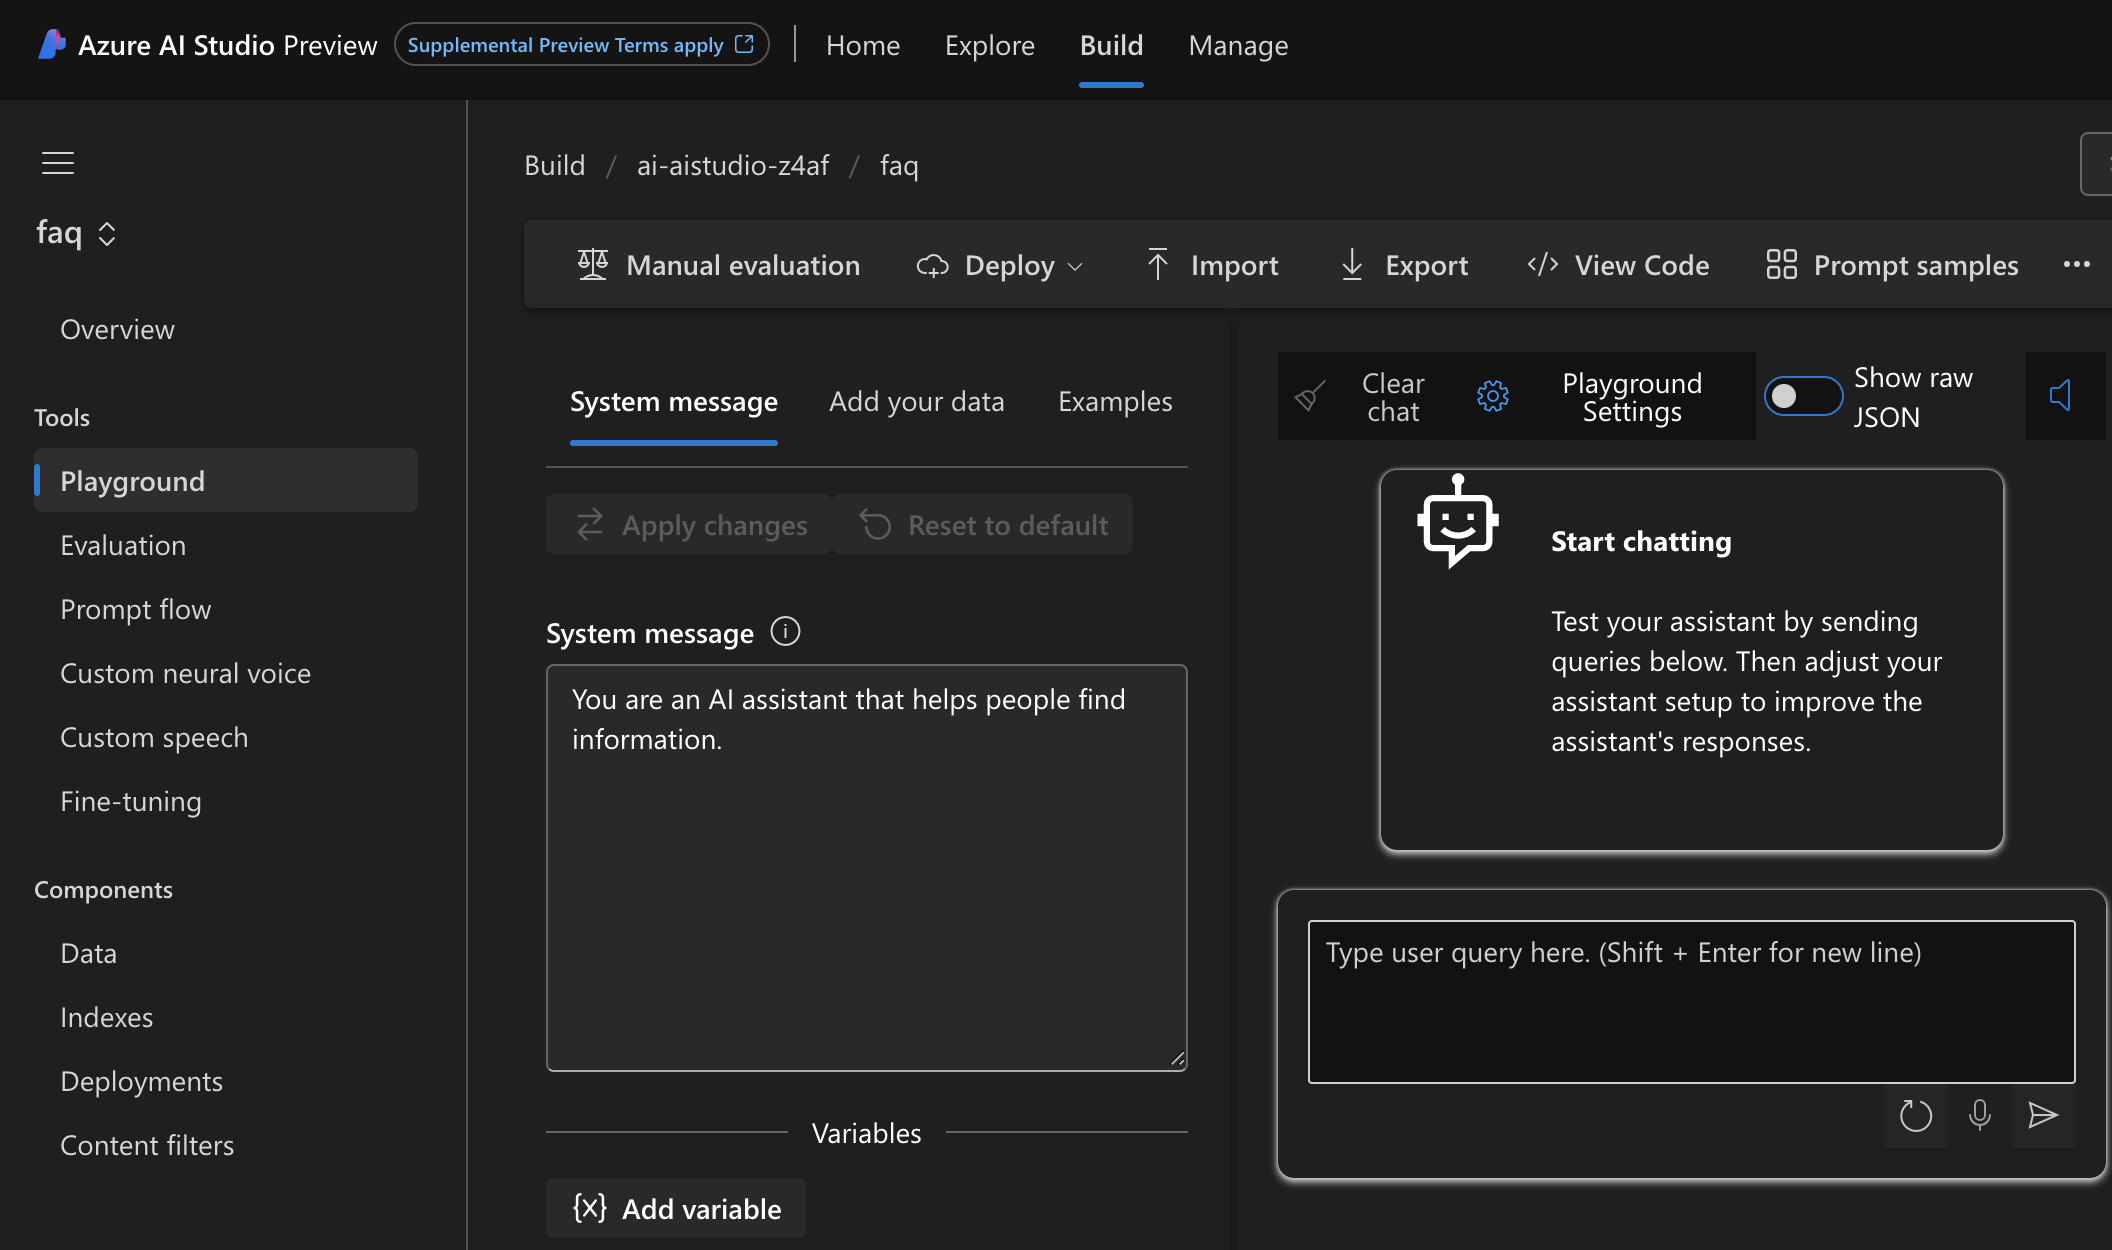
Click on the Playground tab in the Tools on the left nav
Notice the banner near the top of the page
No deployment exists: You need a deployment to work in the playground. Navigate to the Deployment page to create a deployment.
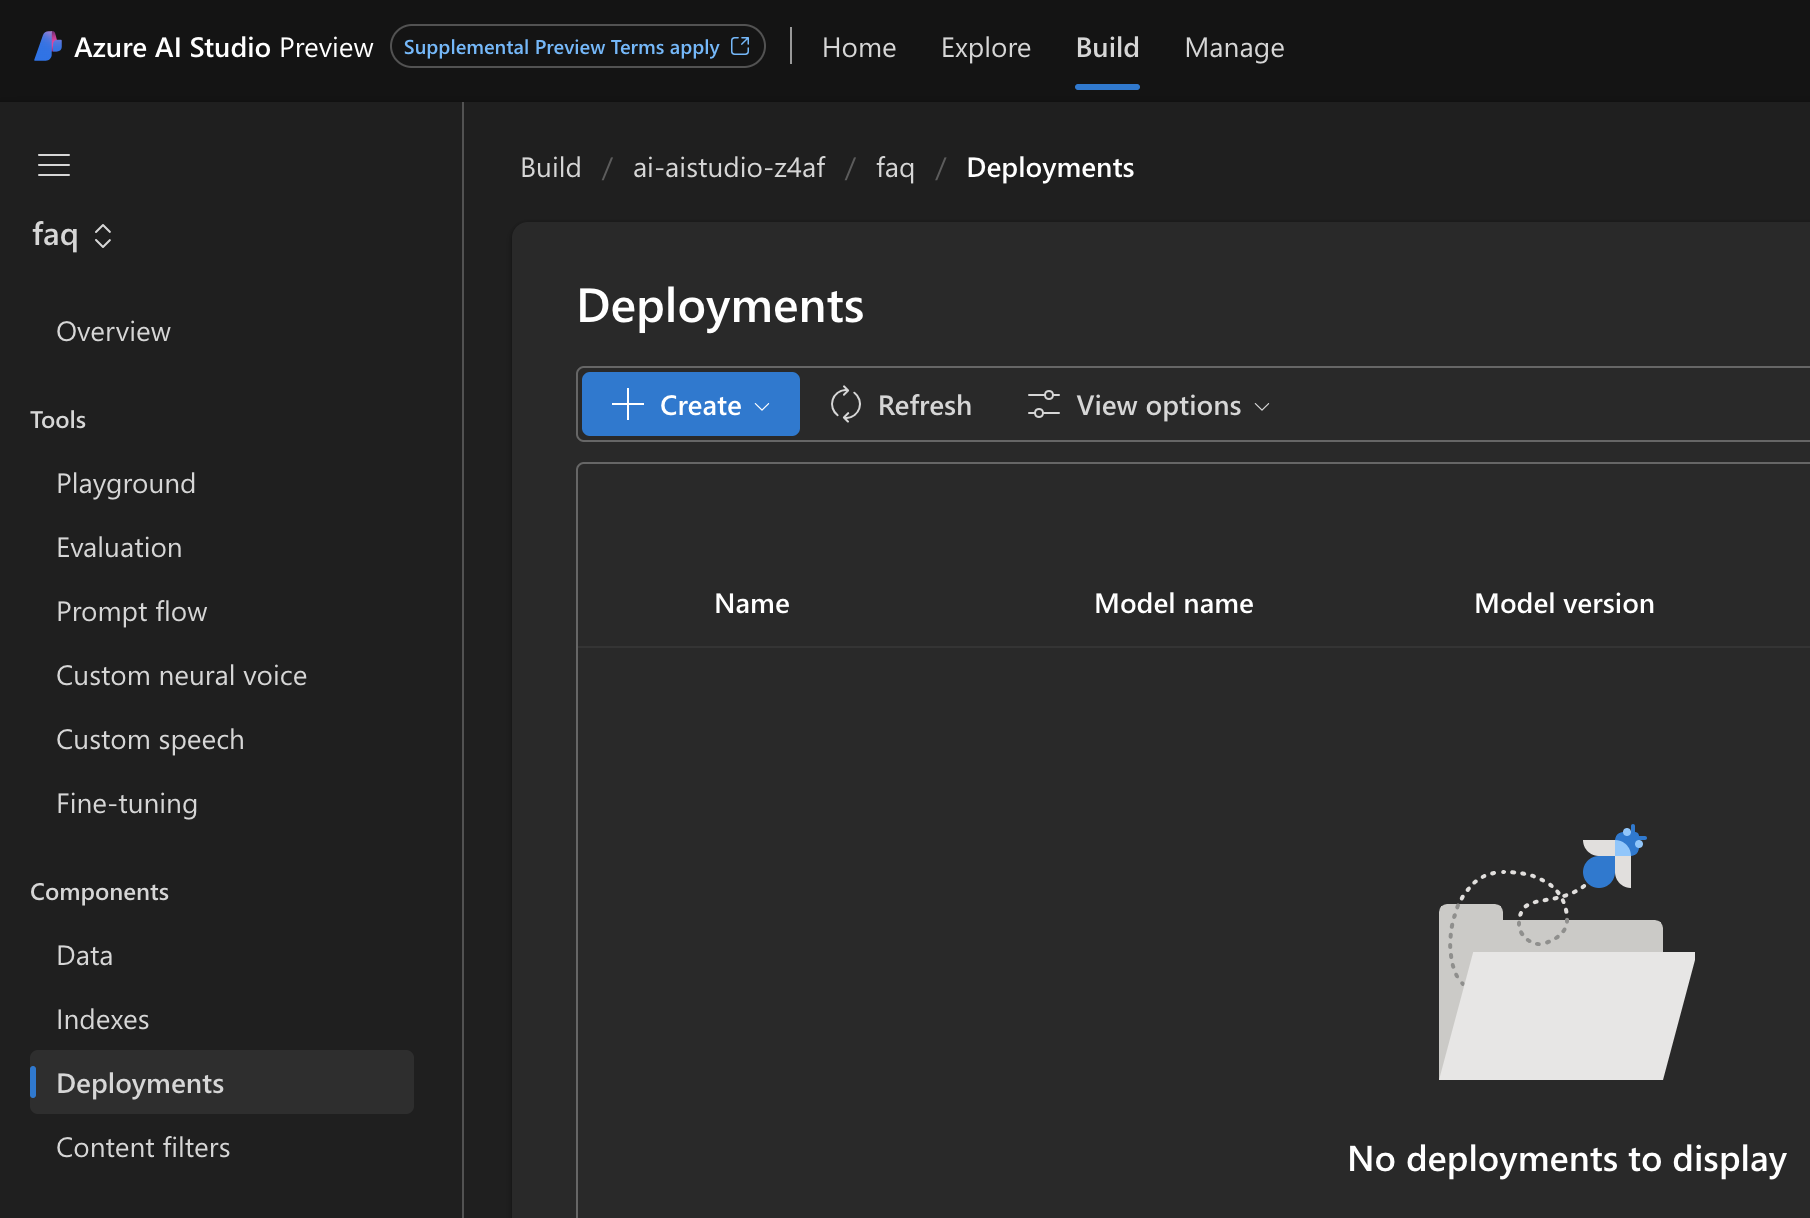
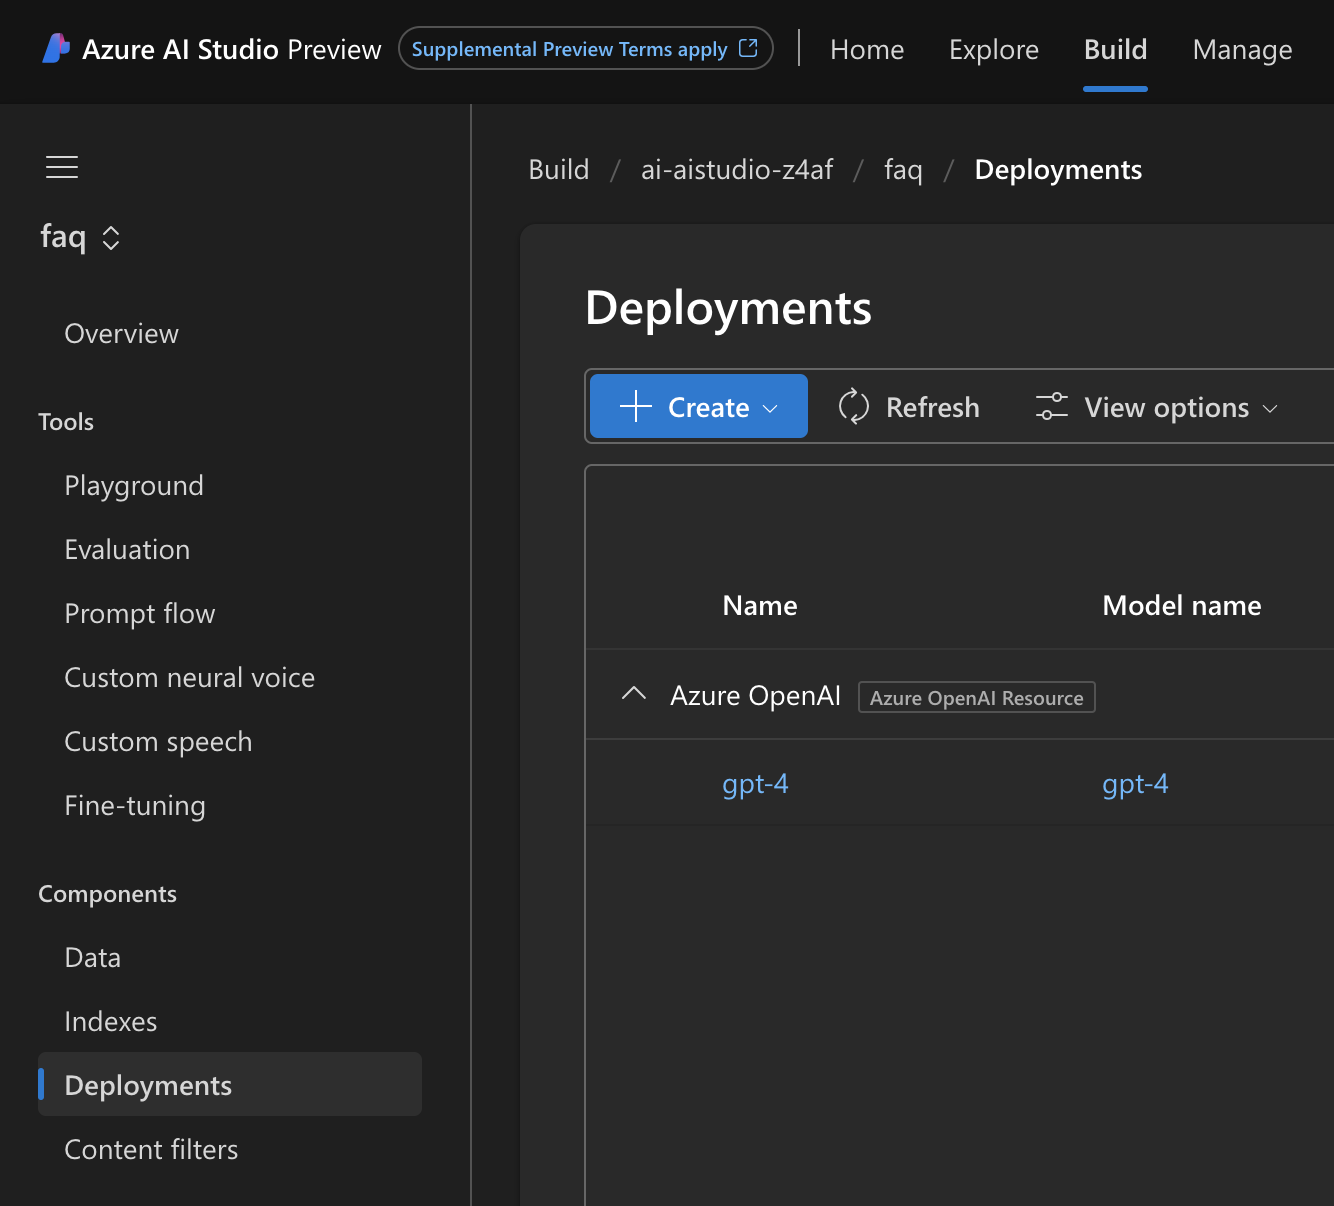
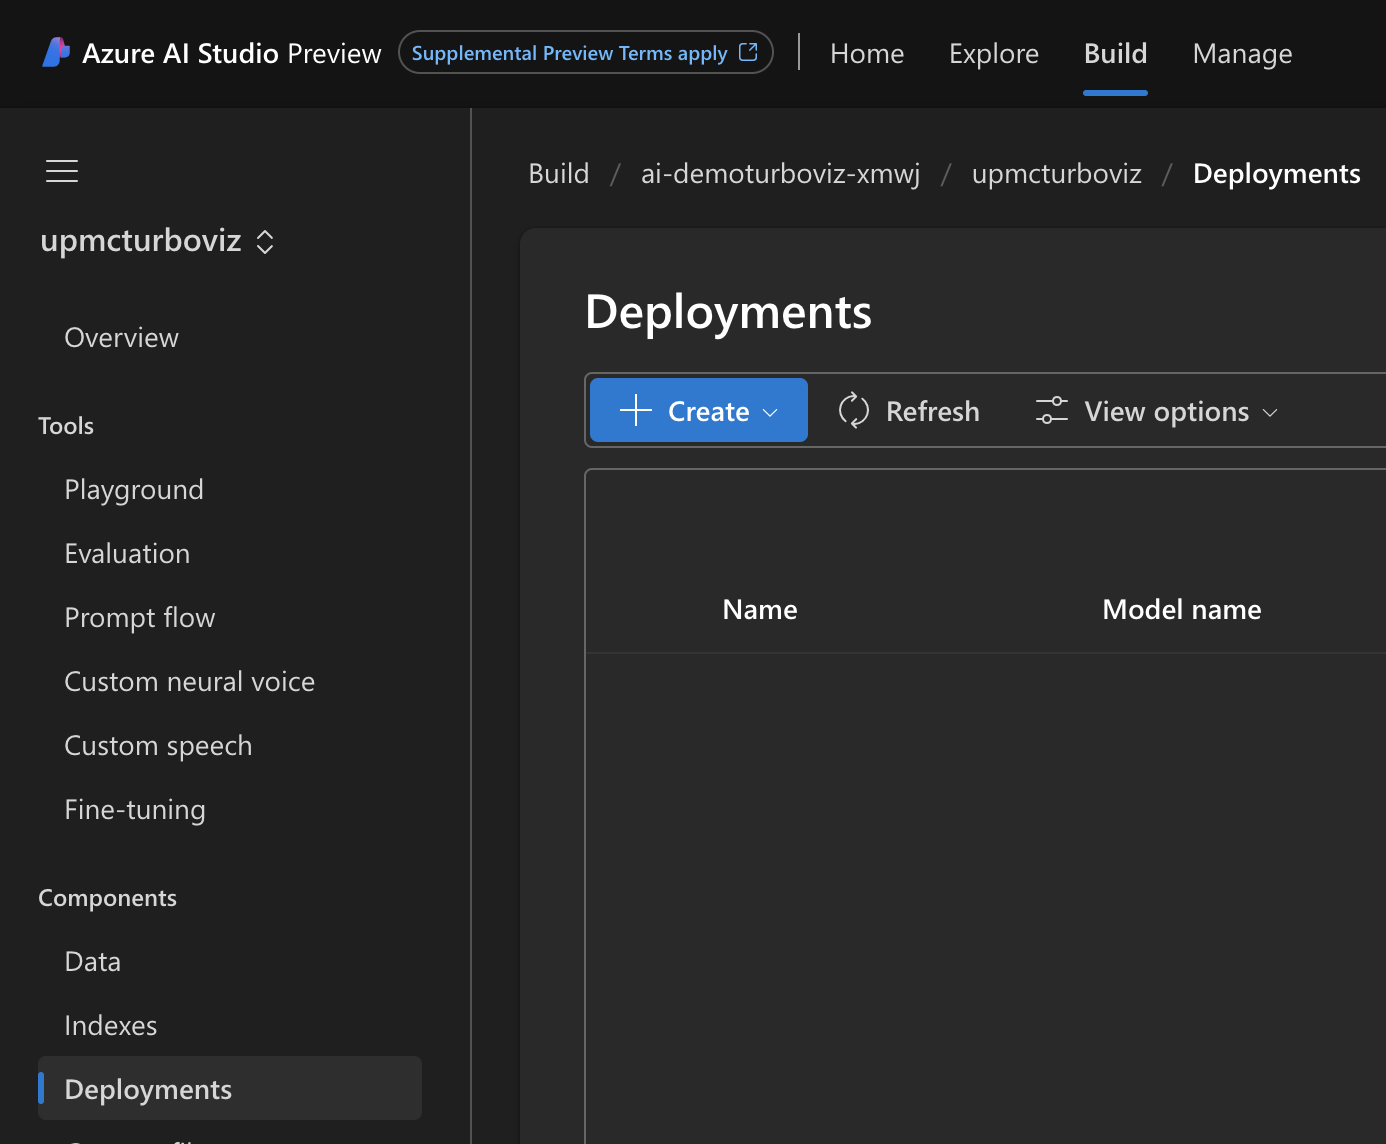
Click on Deployments in the Components on the left nav and click +Create
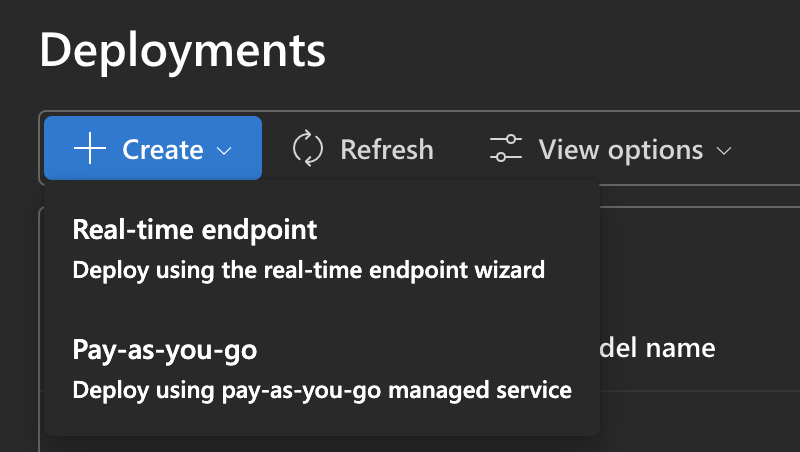
Select Real-time endpoint
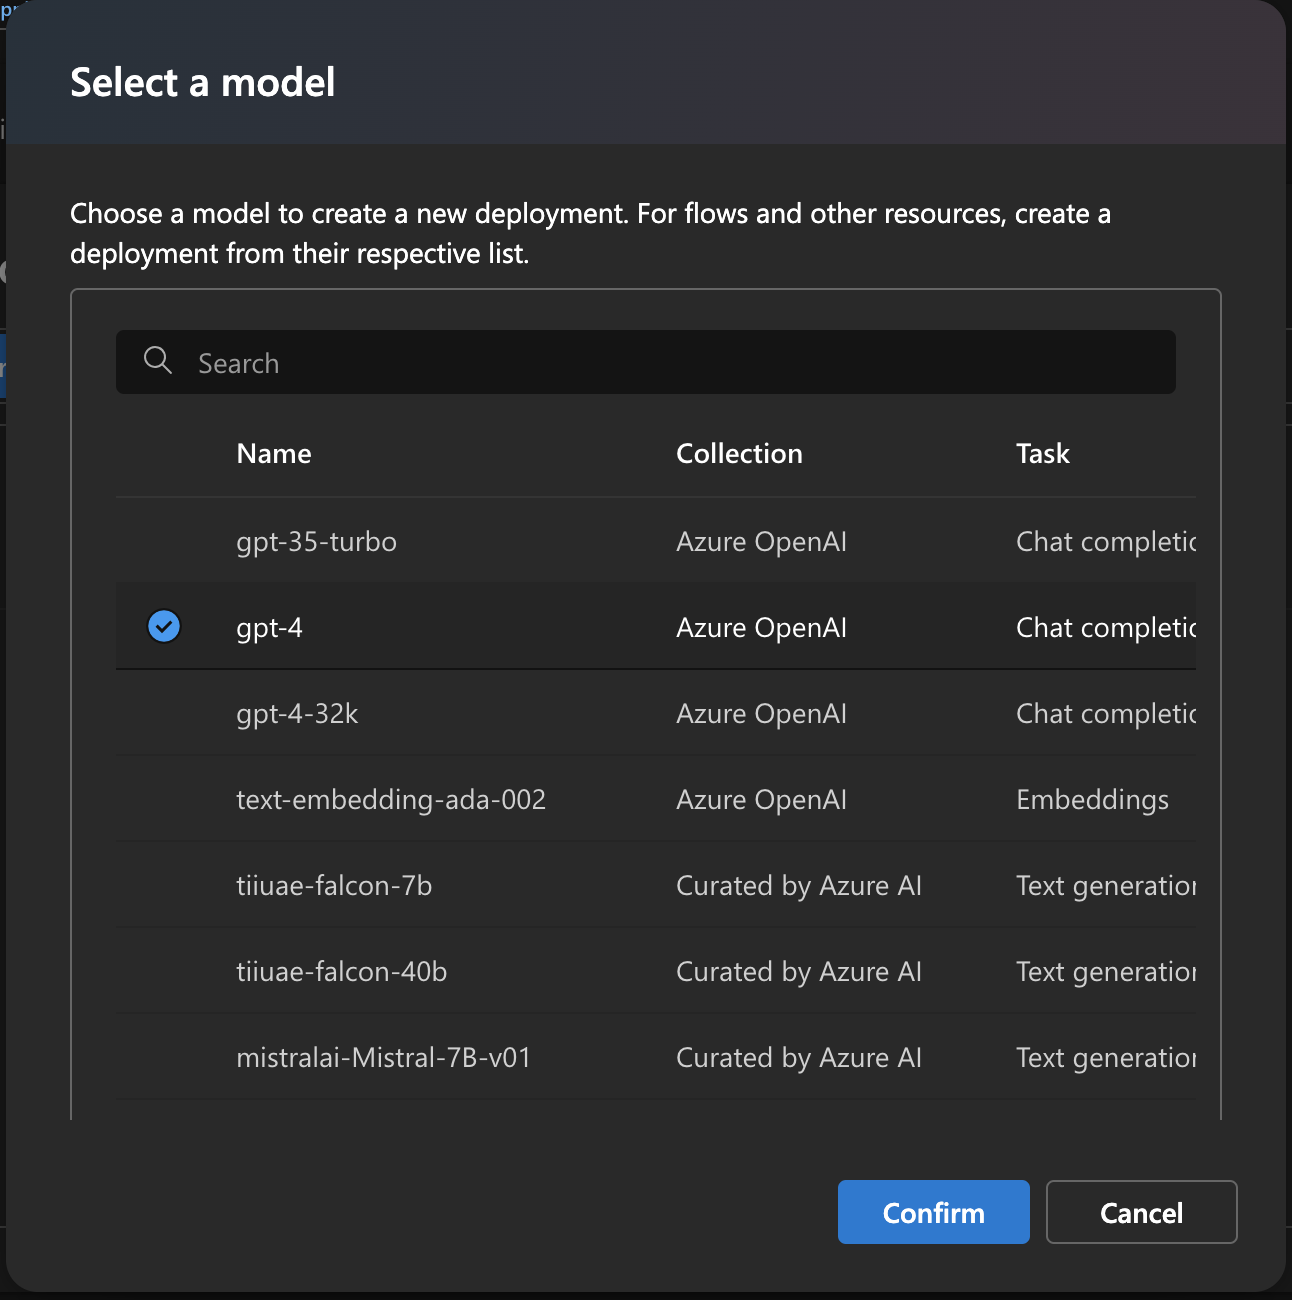
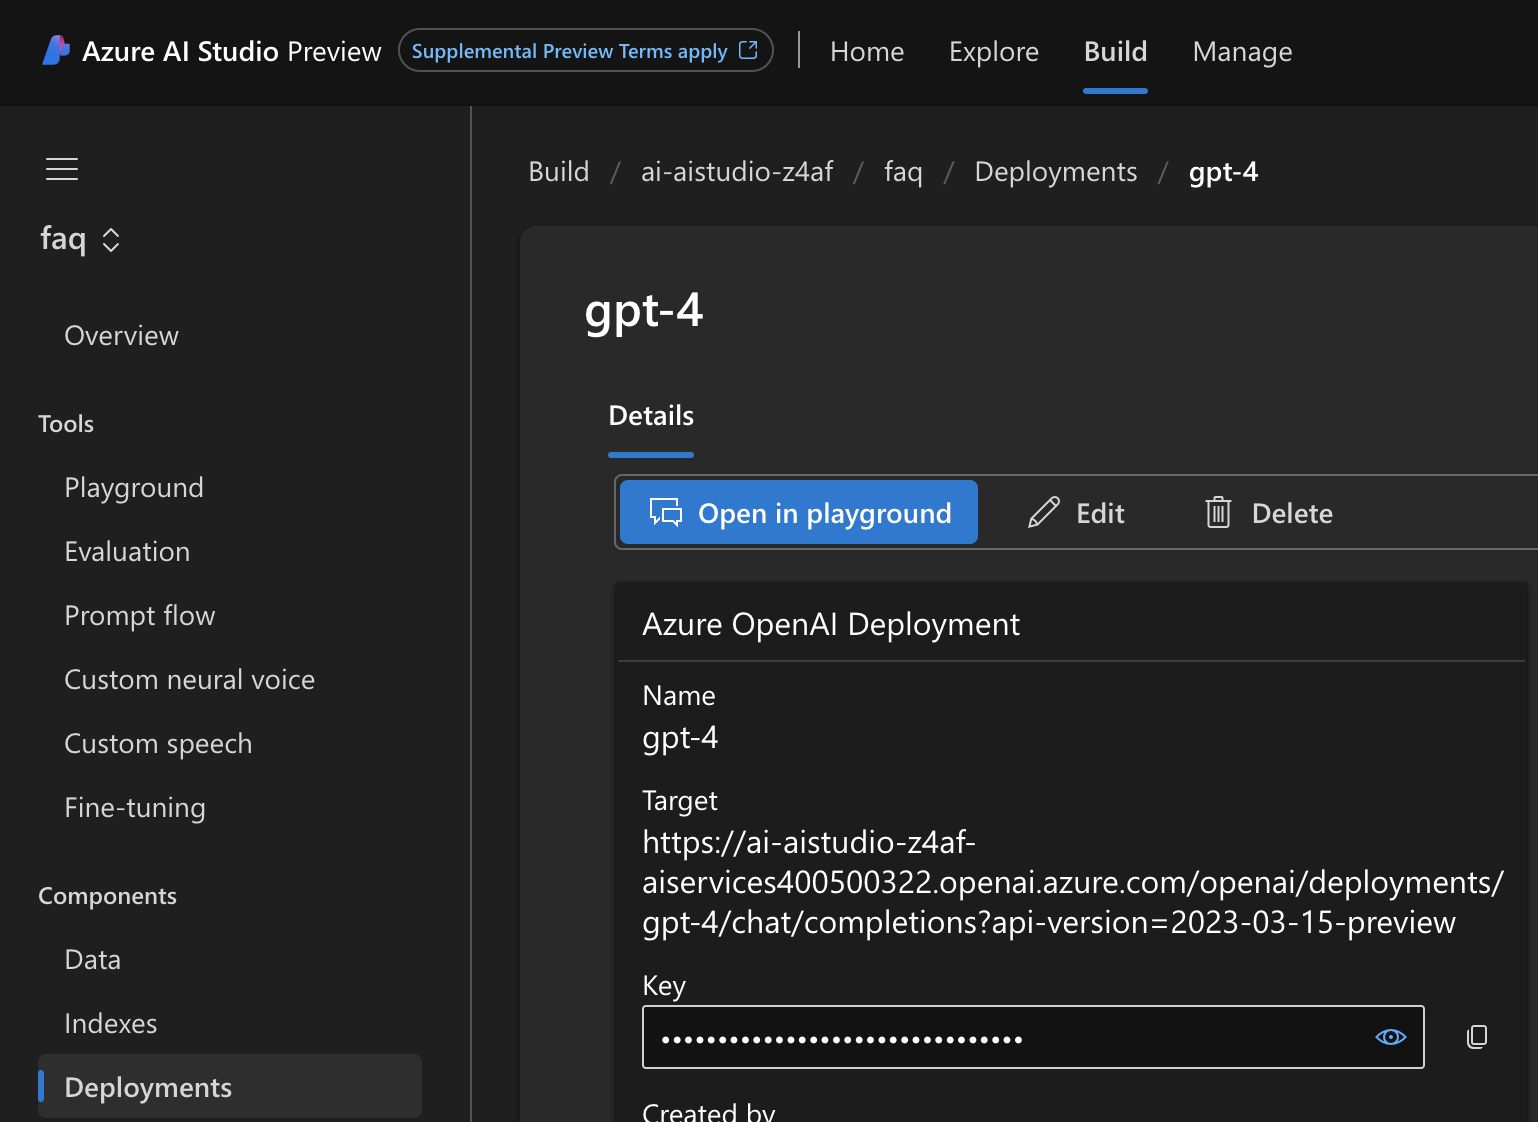
Select gpt4 and click Confirm
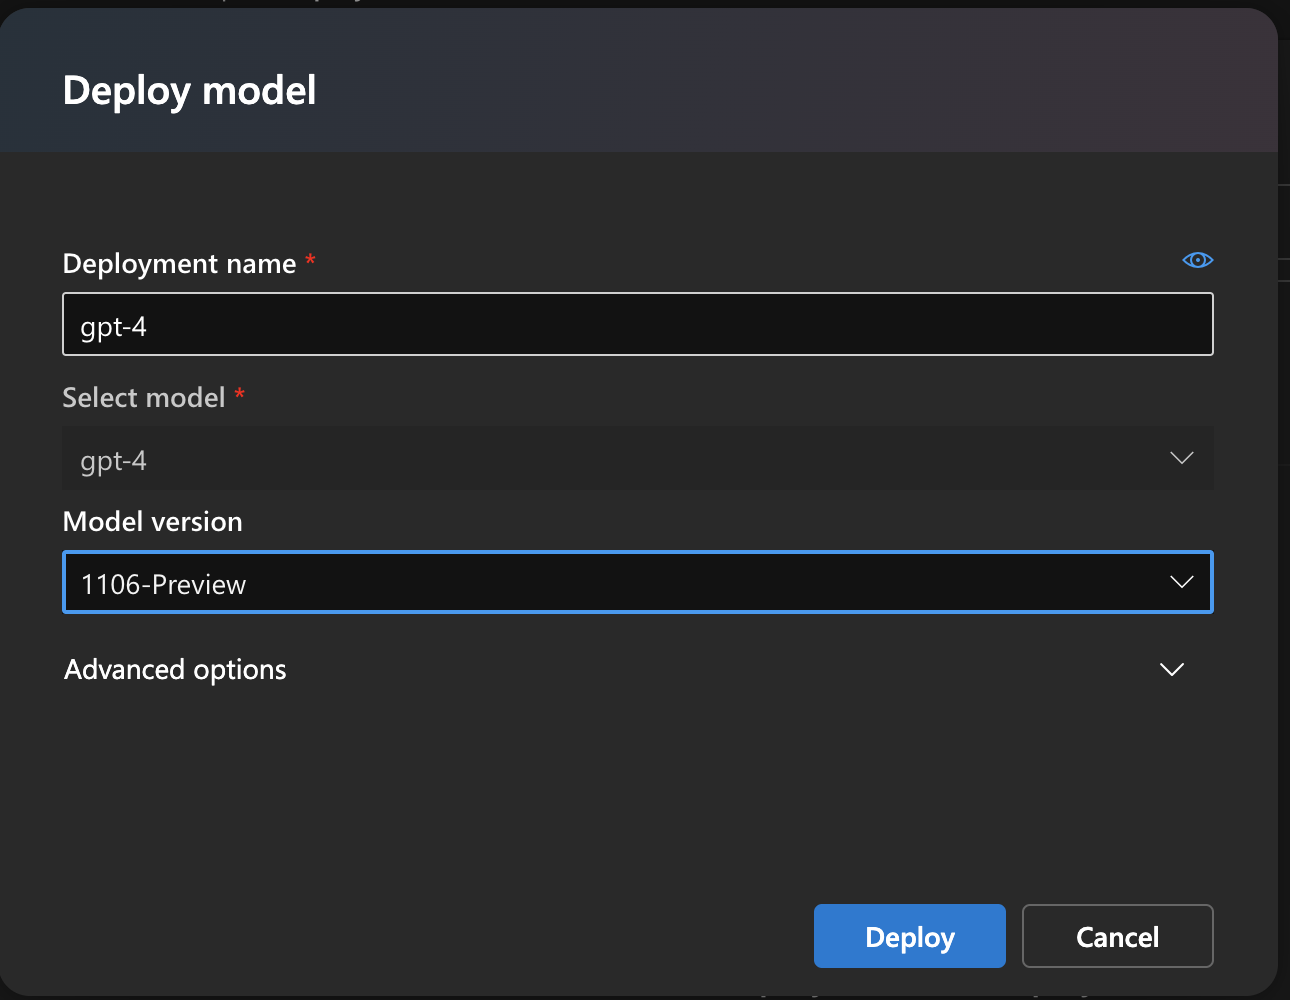
Click Deploy
You should have you first model deployment
Click back on the Deployments on the left nav and click +Create again
Select Real-time endpoint
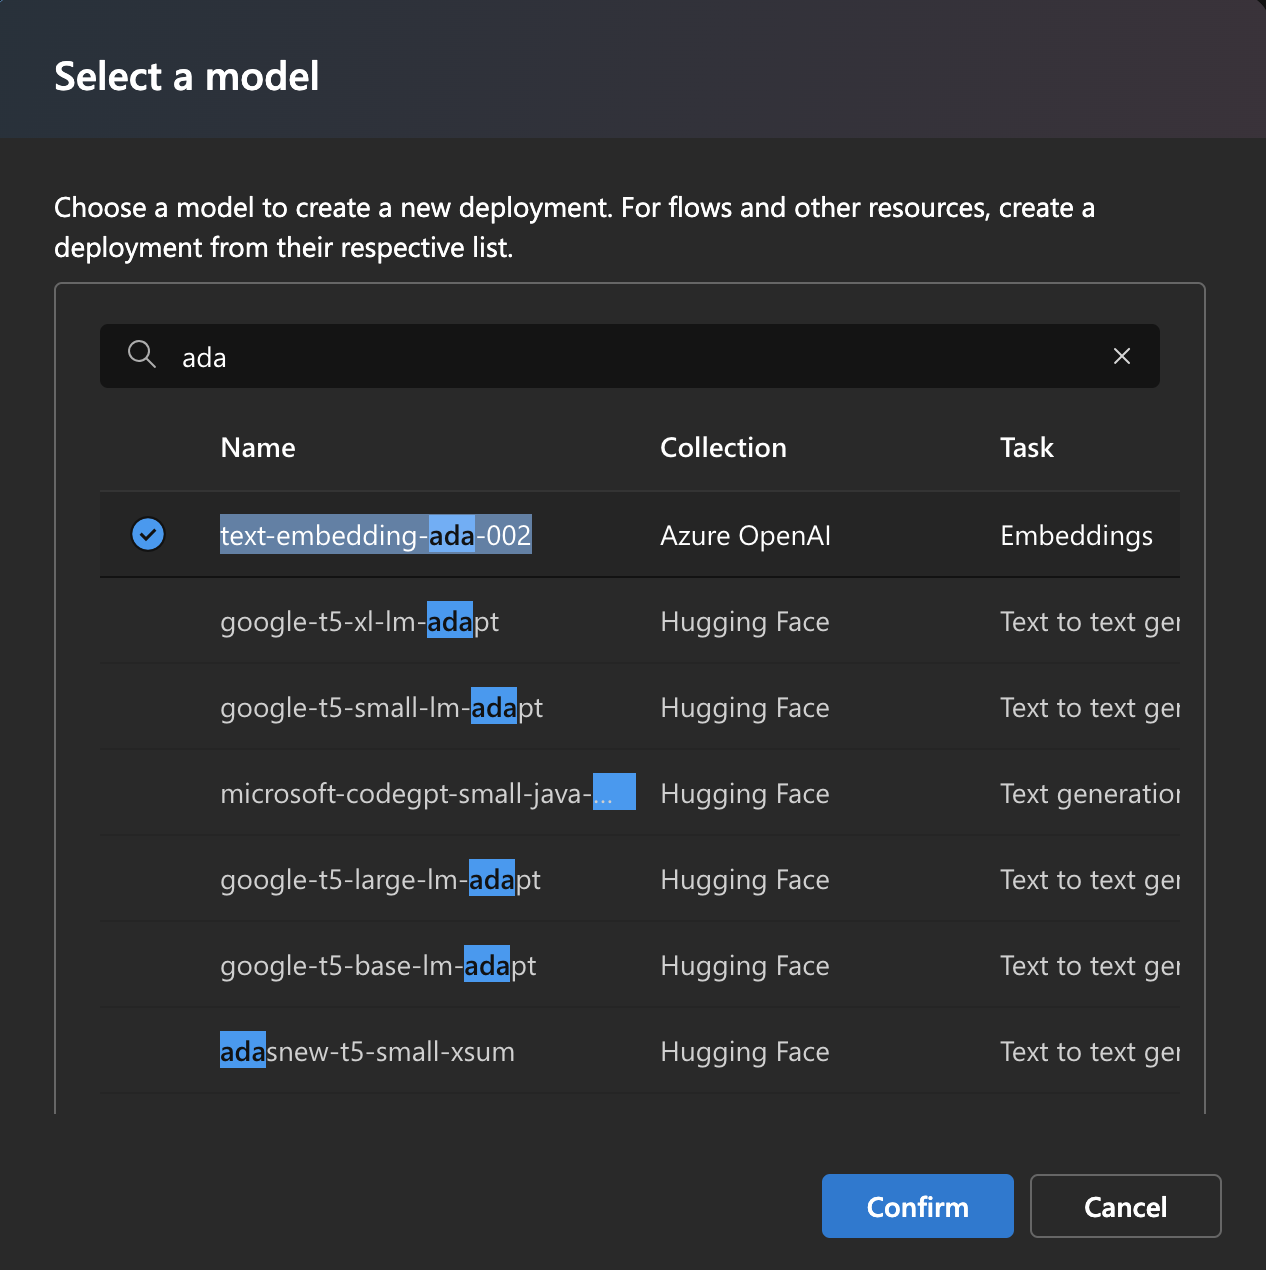
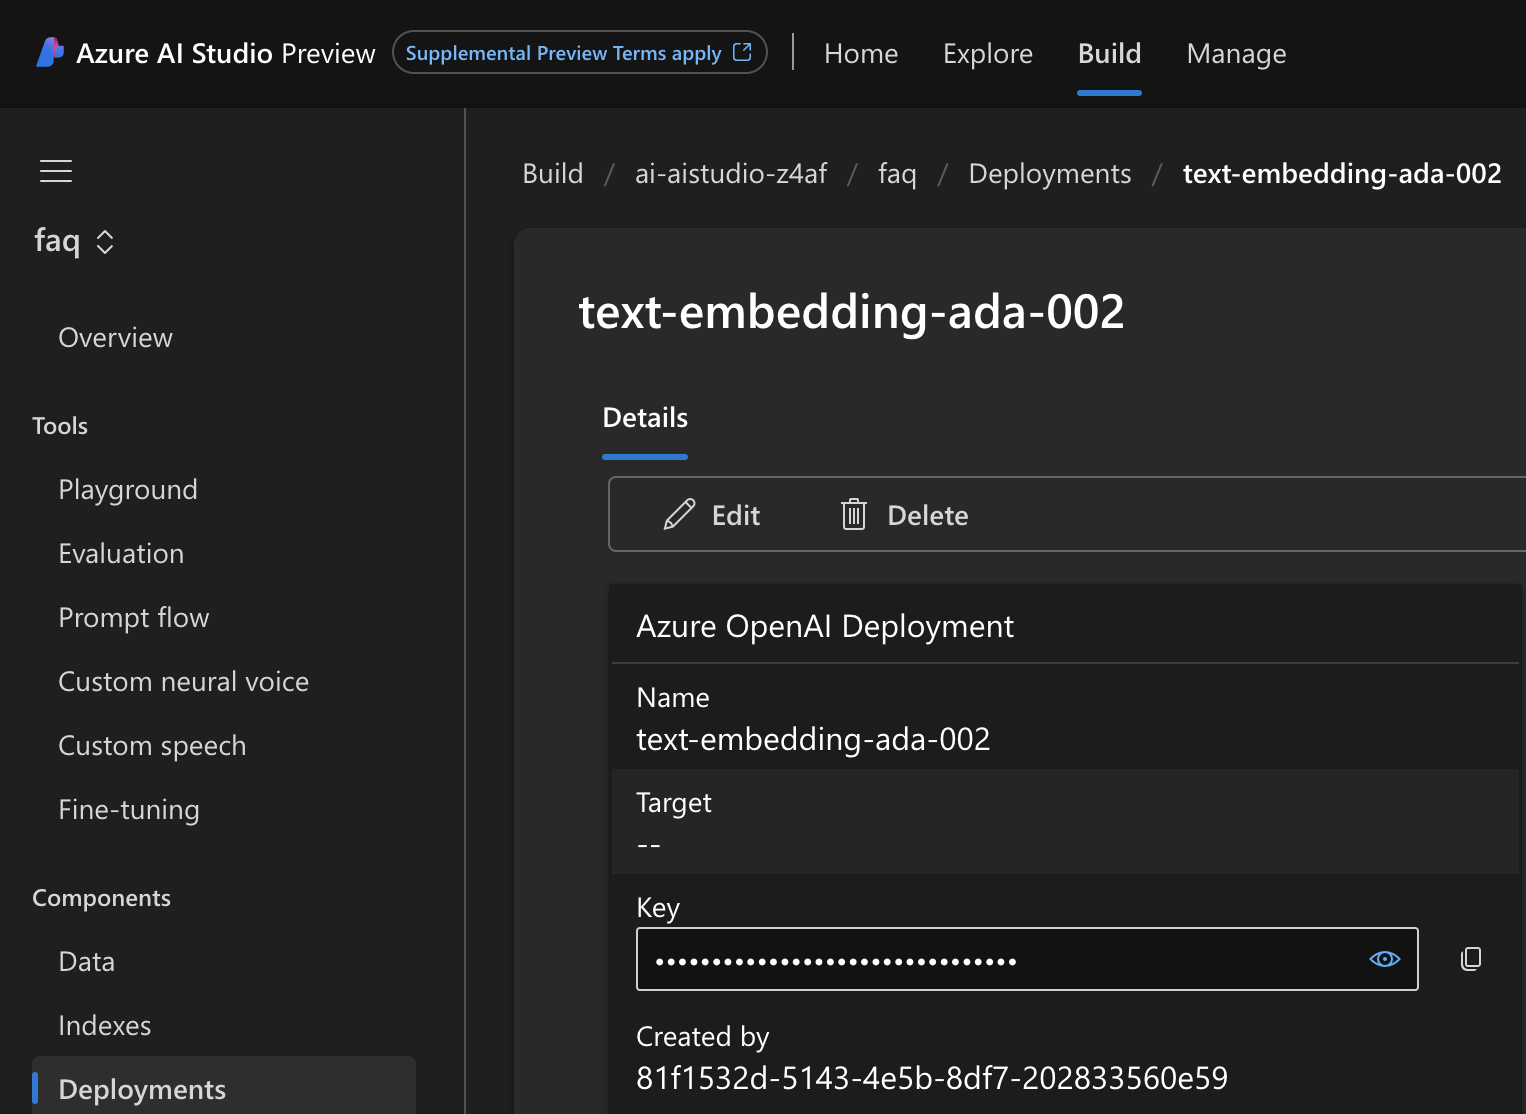
Search for ada and select text-embedding-ada-002 and click Confirm
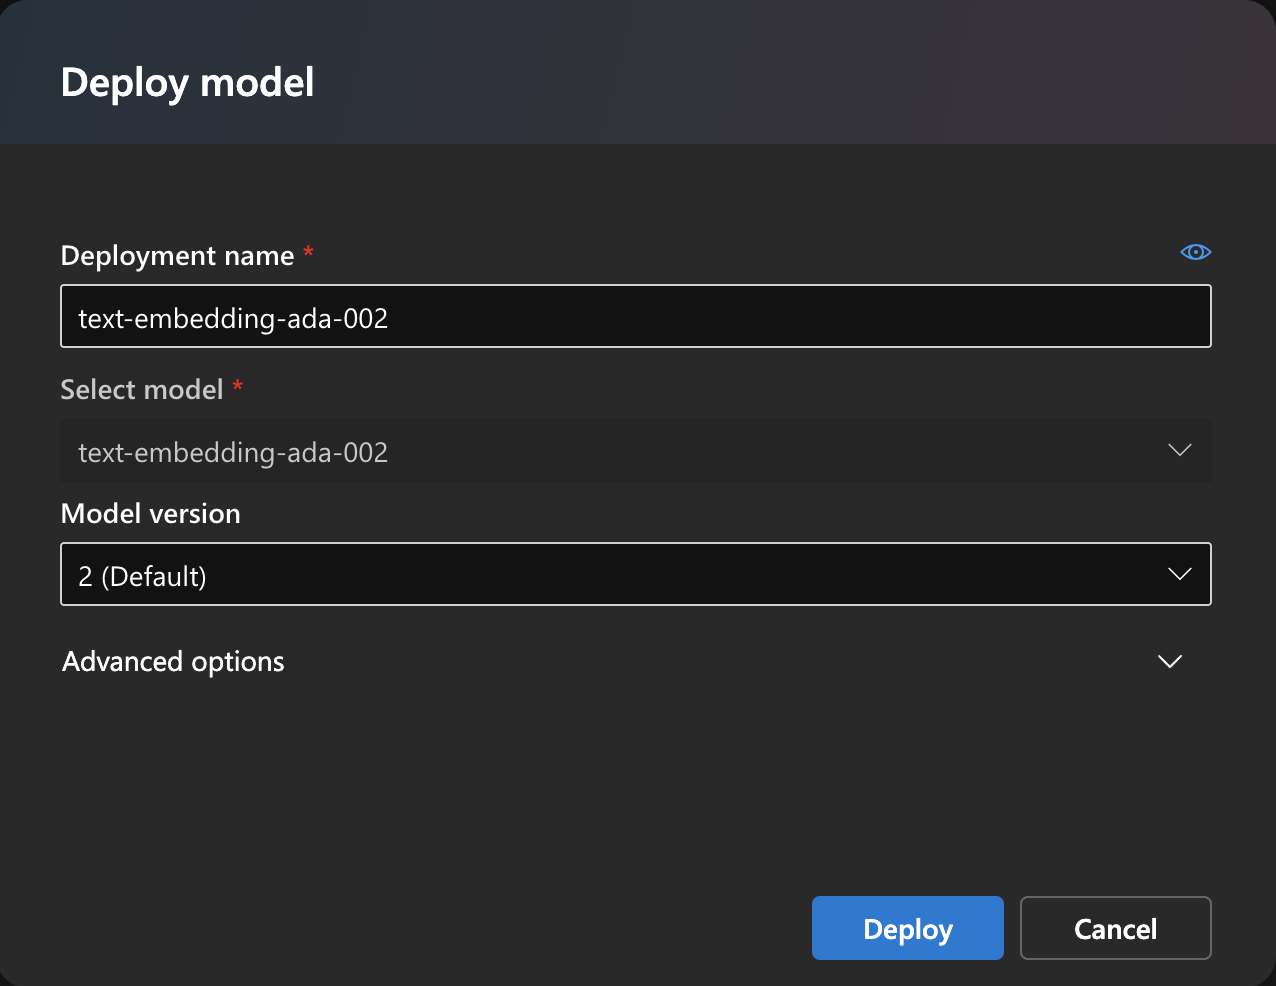
Click Deploy
You should have you second model deployment
Click back on Playground on the left nav
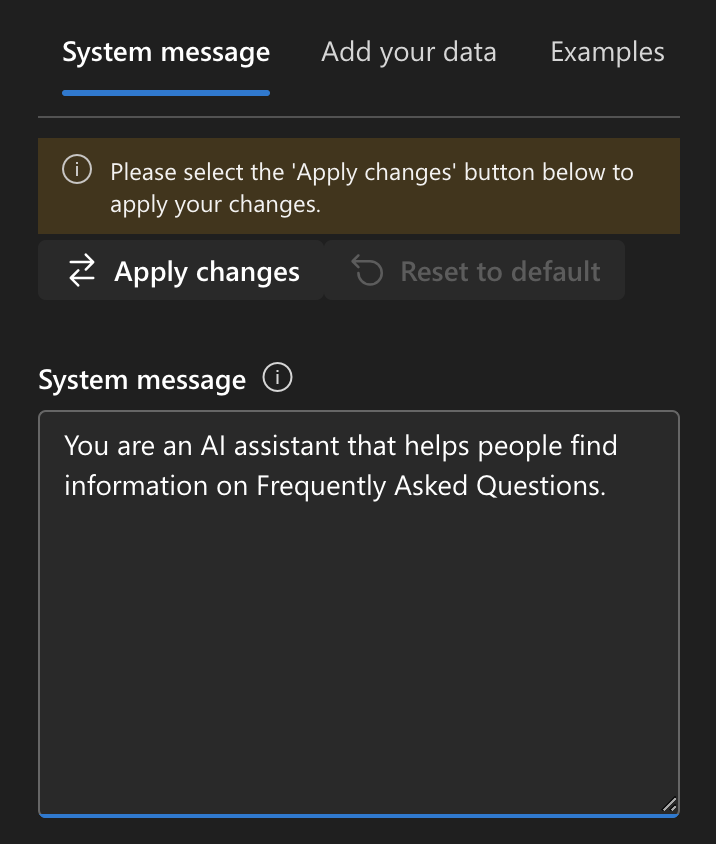
In the System message change it slightly to read as follows:
You are an AI assistant that helps people find information on Frequently Asked Questions.
Click on Apply changes and Continue
Prepare to Add your data
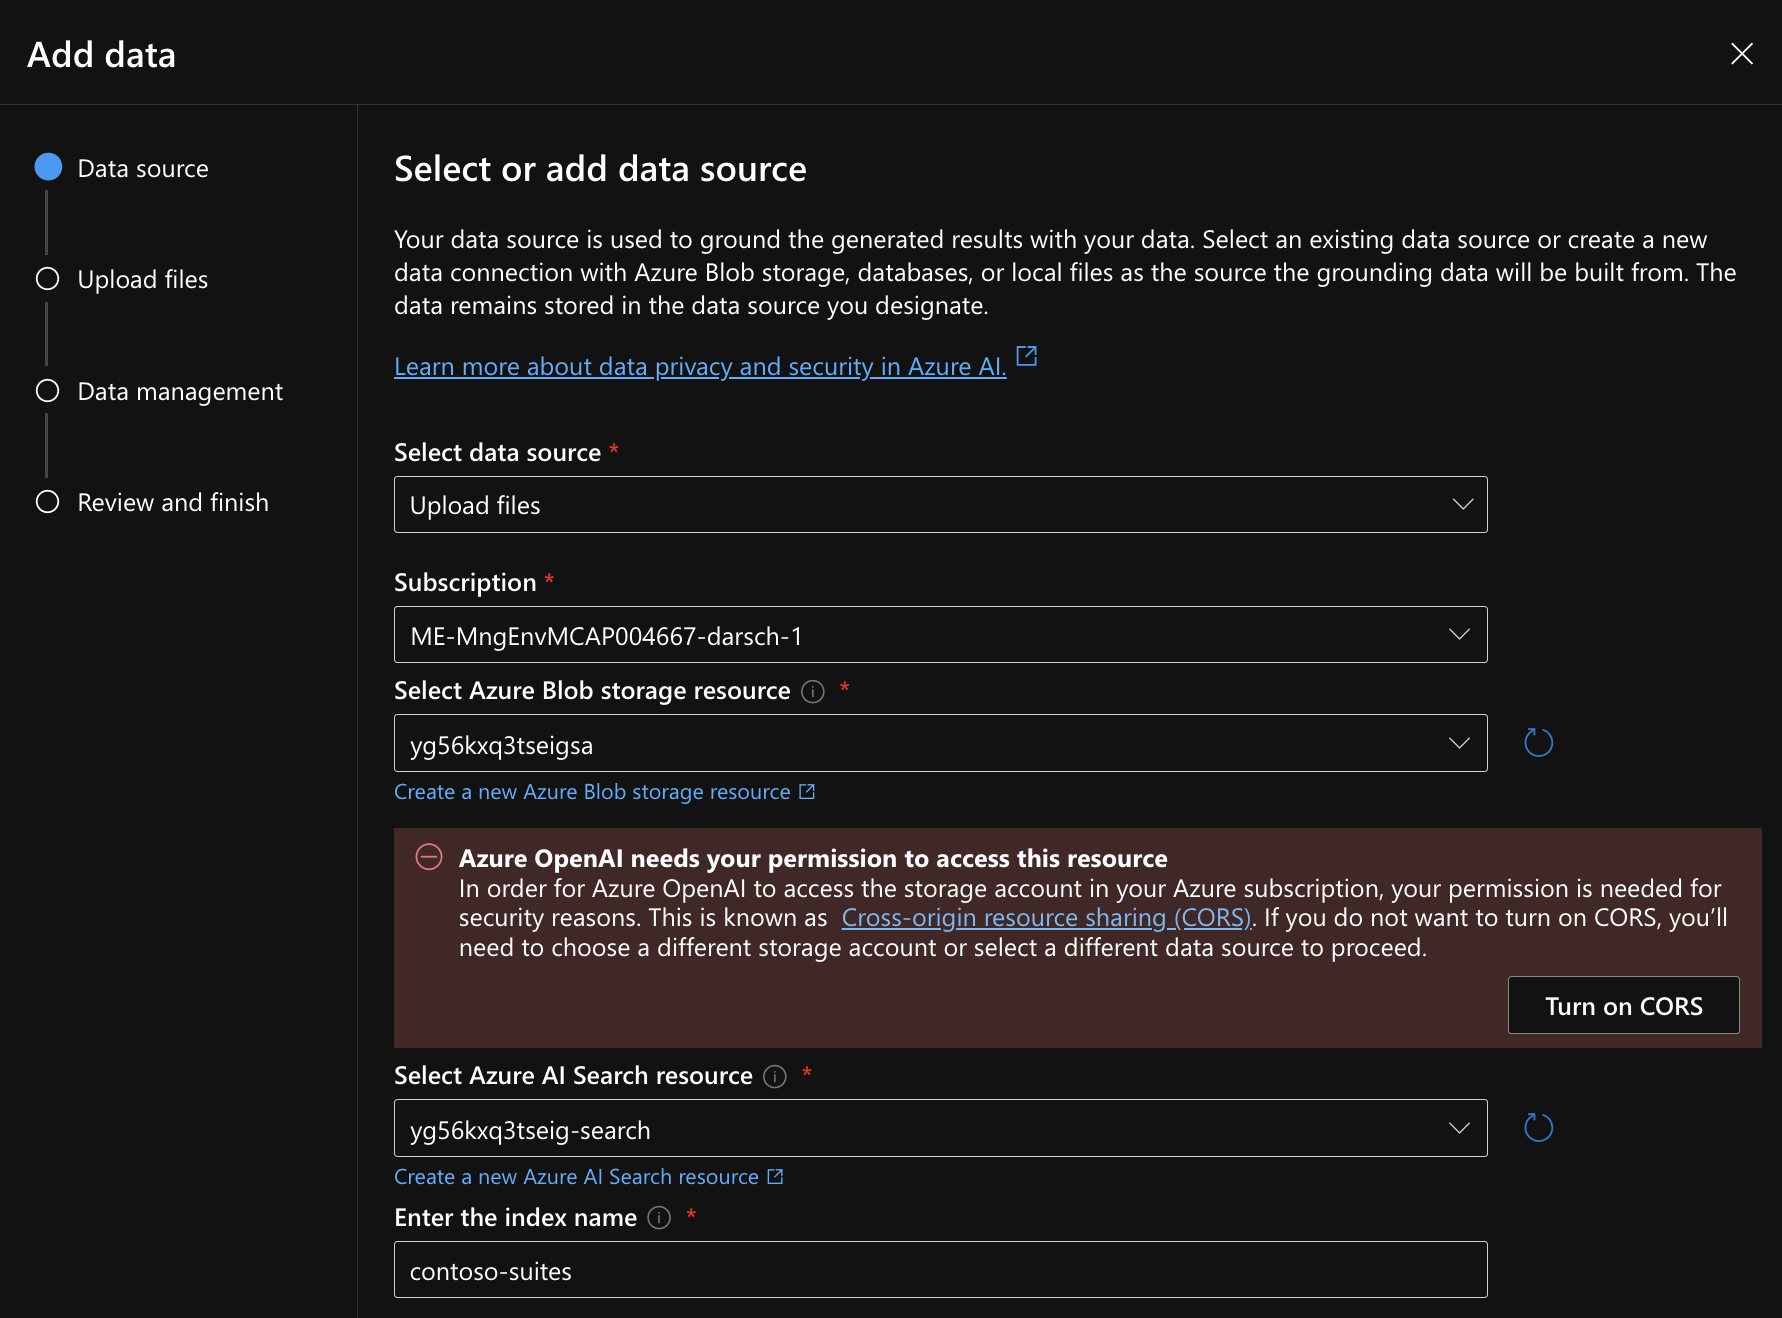
Make sure you use the storage account and Azure AI Search you created with Bicep earlier in Deploy Demo Project Resources , as the storage account must be in the same region as Azure AI Search.
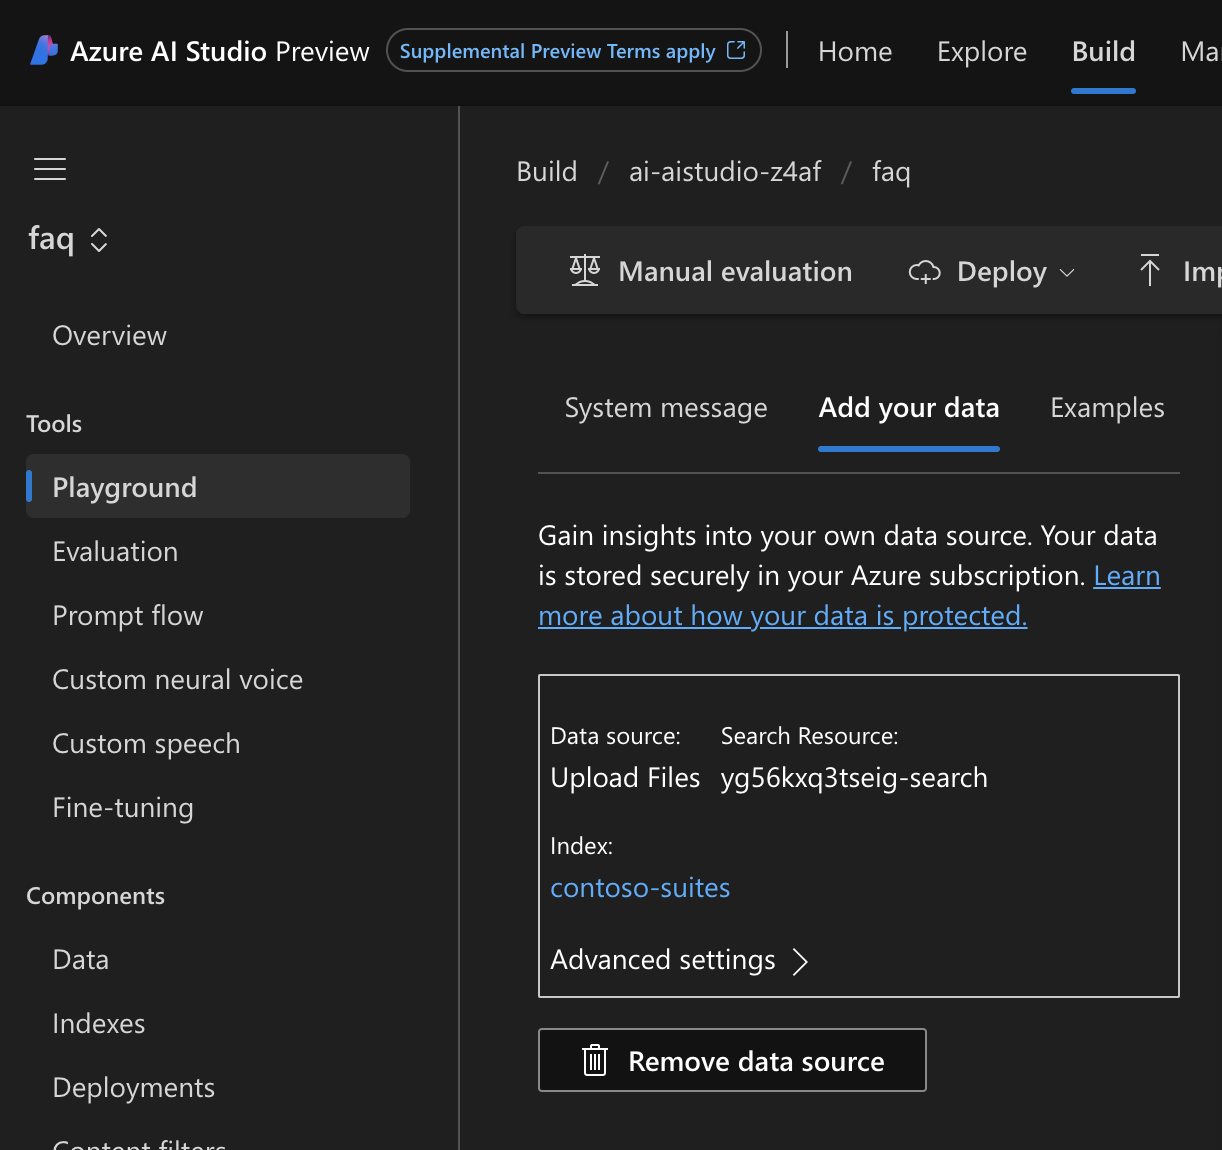
Back in the Azure AI Studio Playground click on the Add your data tab and click Add a datasource button
Click on the Turn on CORS button
Enter a Index name like contoso-suites,
Click the check box for Add vector search for this resource,
Select the Ada embedding model,
and click the check box for I acknowledge that connecting to an Azure AI Search account will incur usage to my account
Click Next
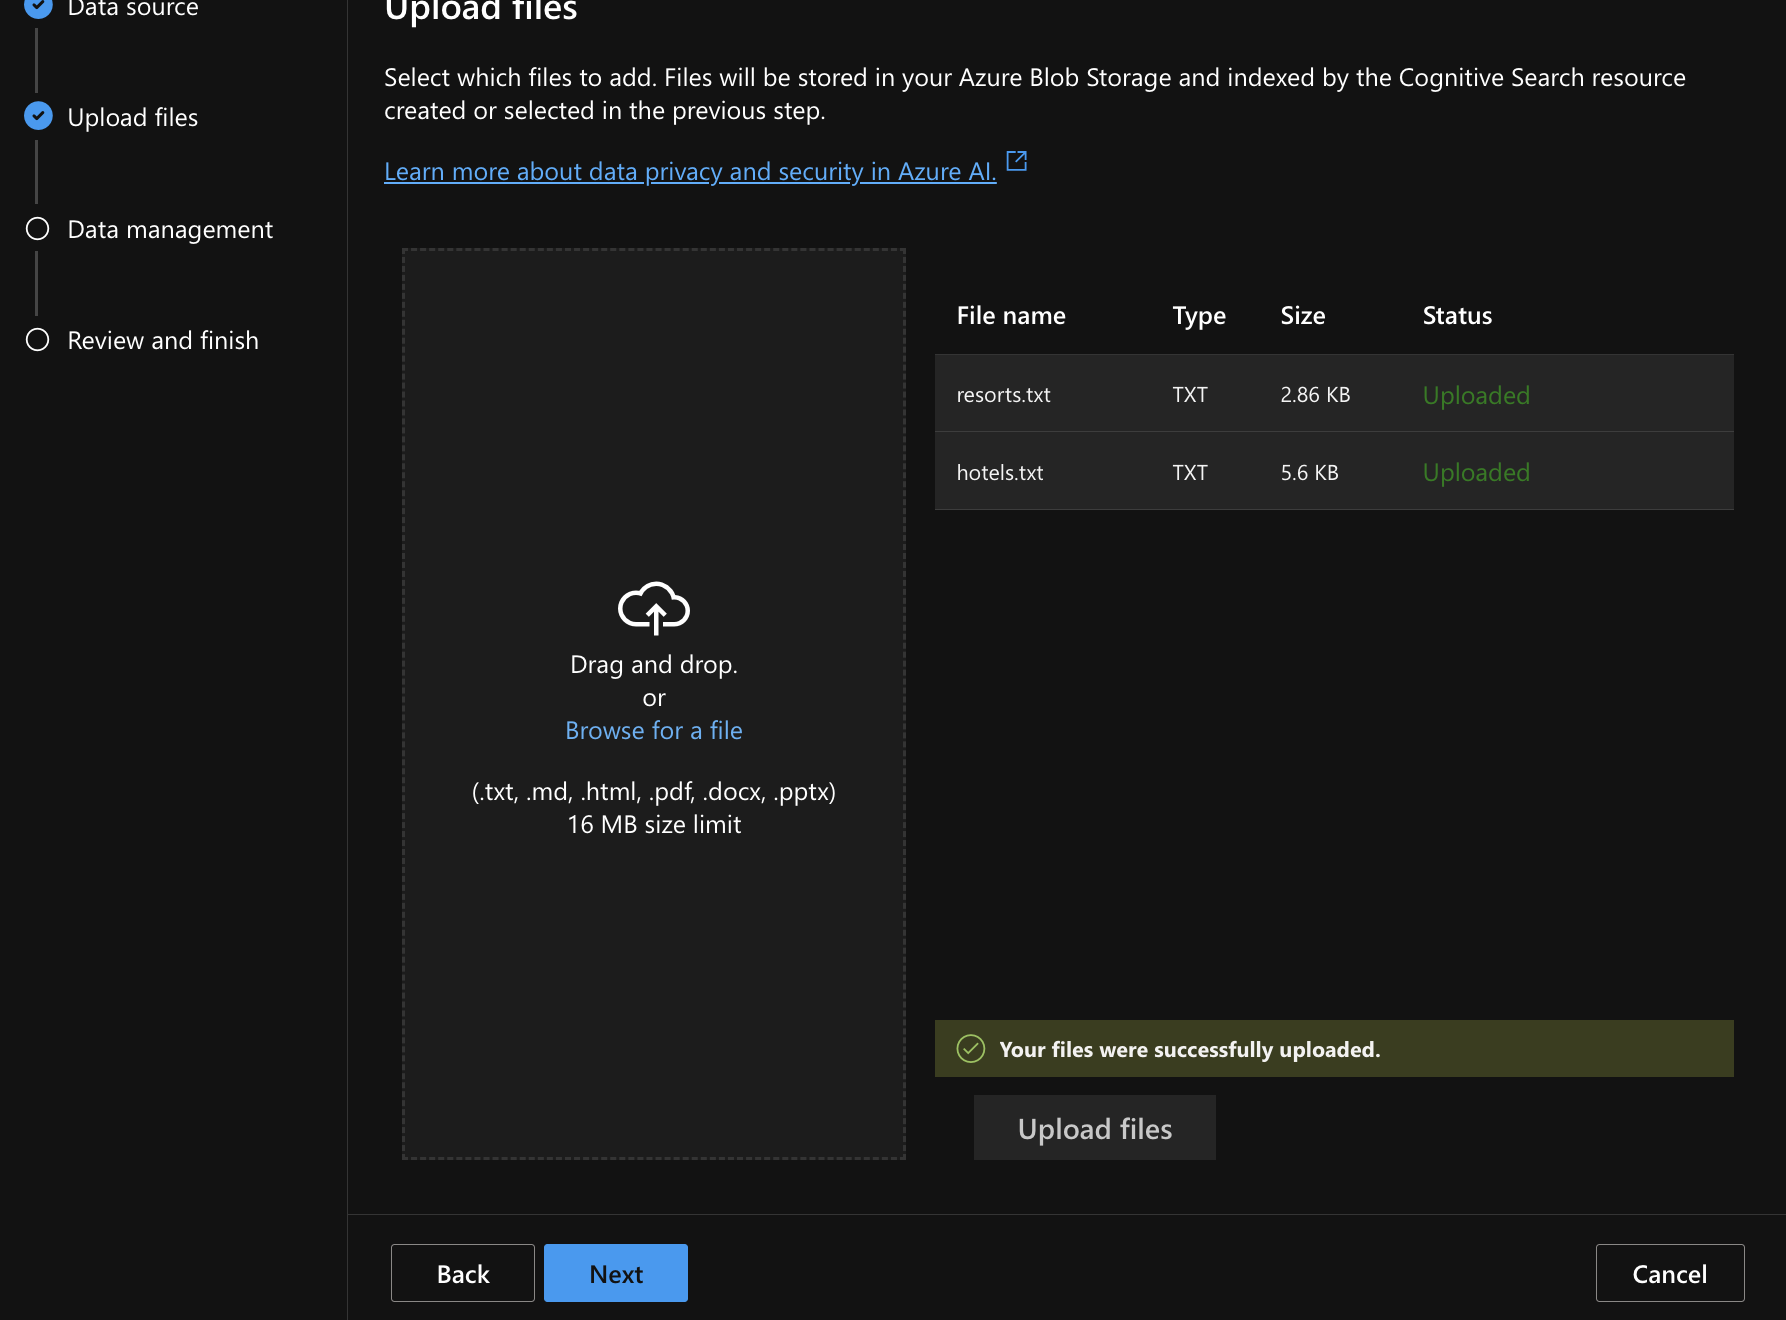
Navigate to the files hotels.txt and resorts.txt in the Repo that you cloned /datasnowman/azureaistudio/data
Upload the file by clicking Upload files
Click Next
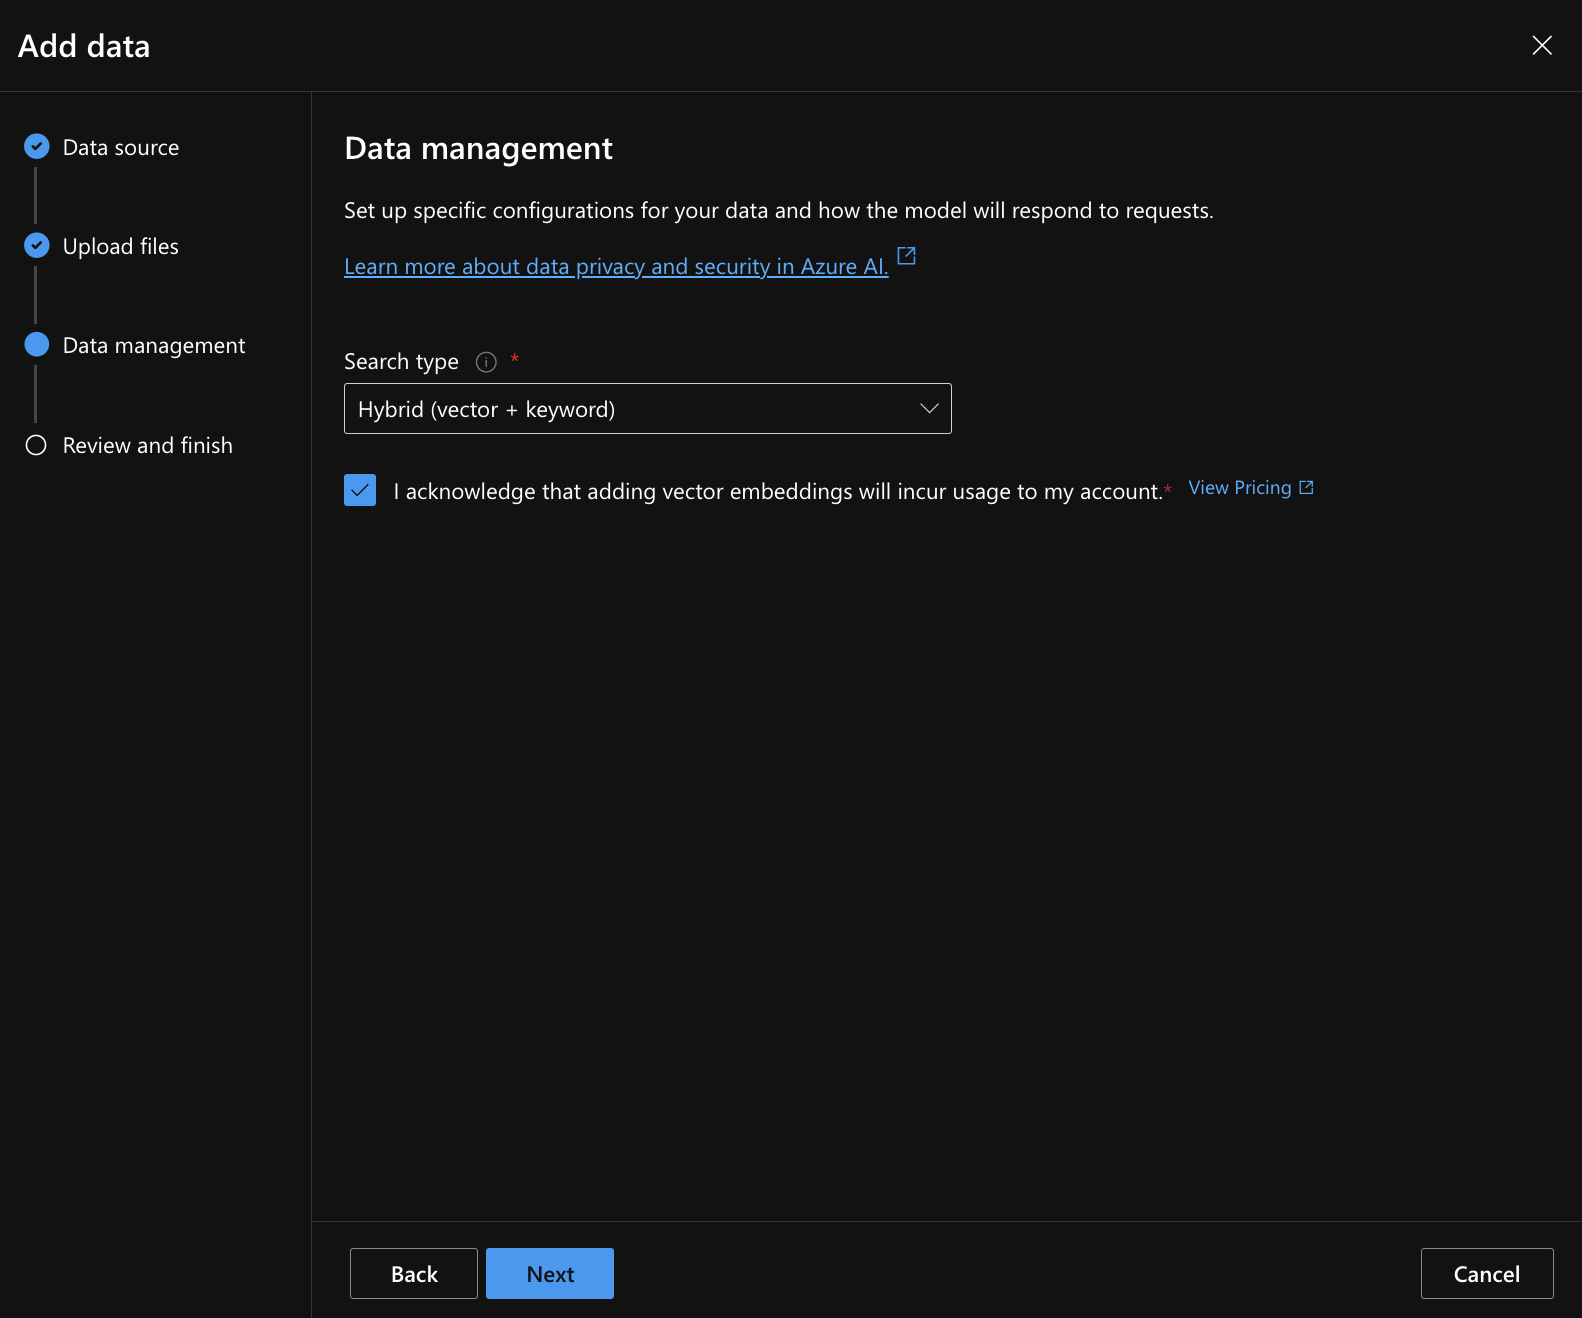
Select Hbrid (vector + keyword) and check the Acknowledge checkbox and click Next
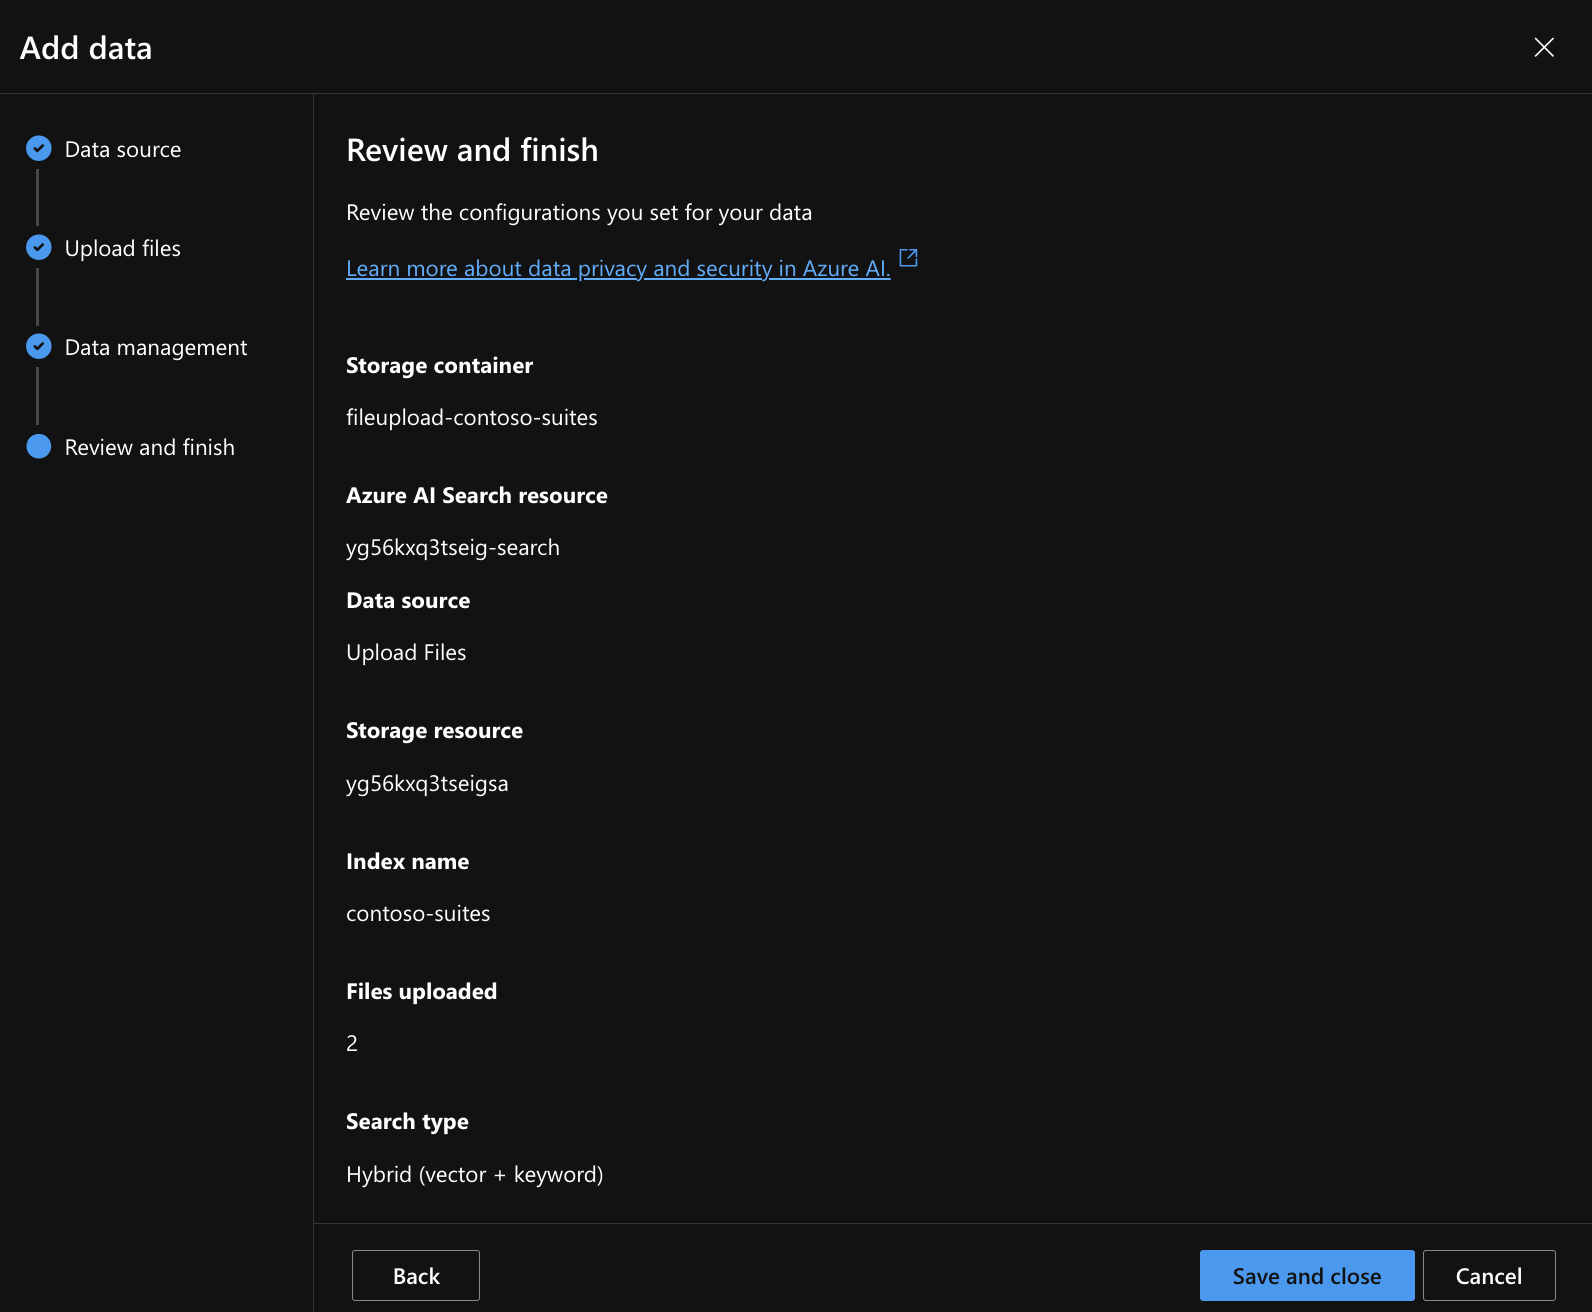
Click Save and close
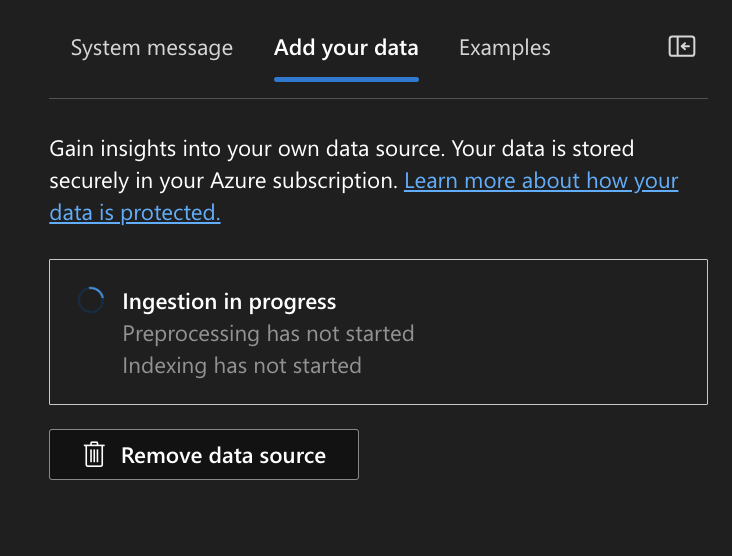
The Ingestion in progress should be visable
The data should be uploaded and indexed
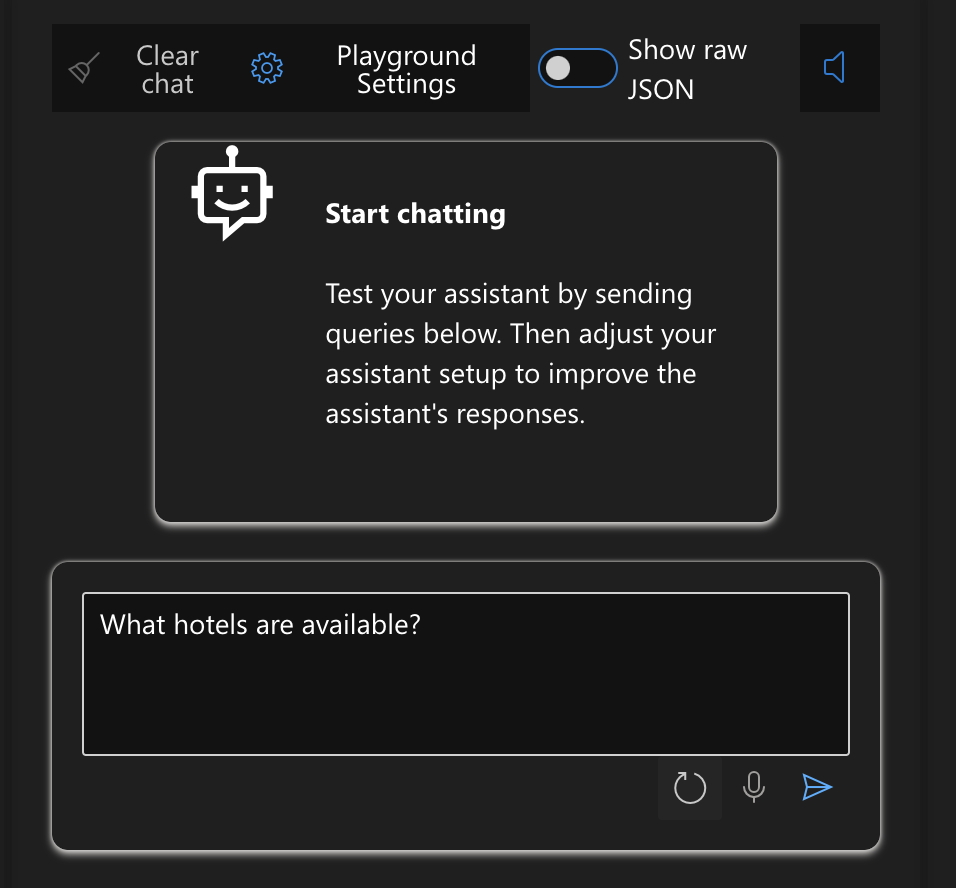
Test the with Start Chatting. Enter this into the Chat and click the run arrow
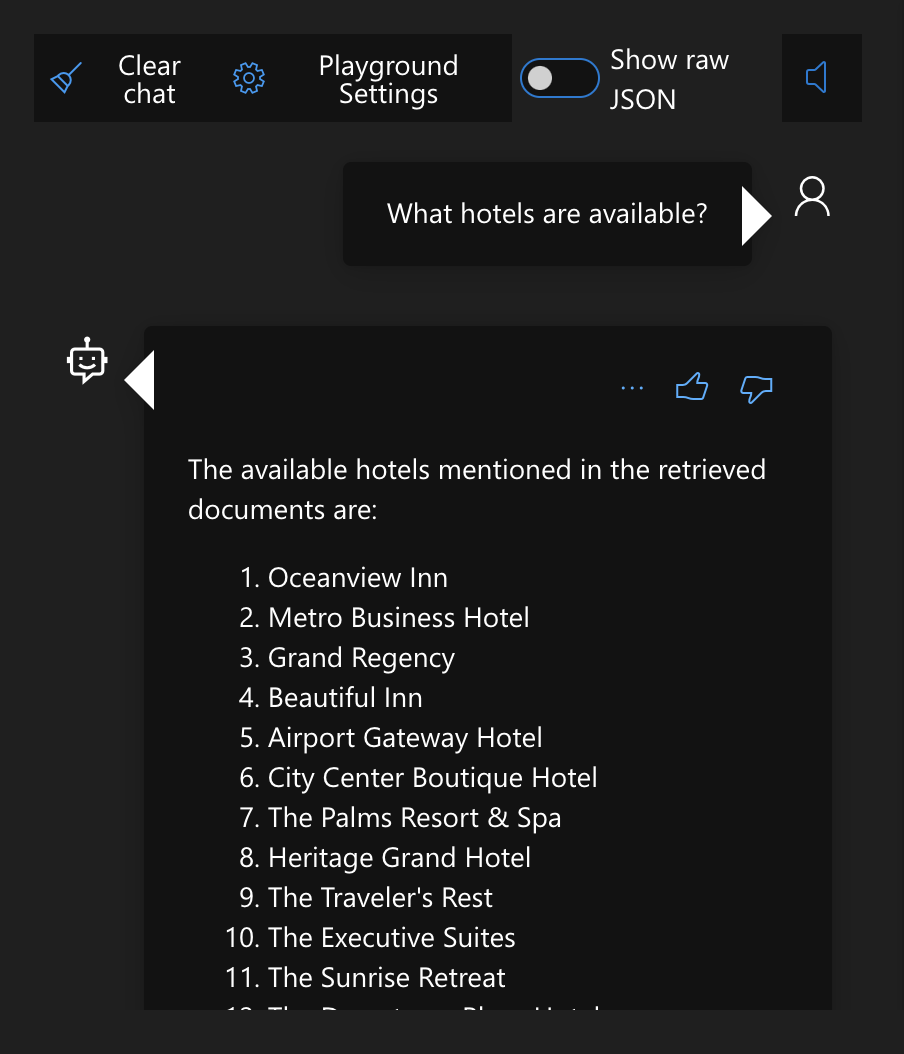
What hotels are available?
Here is what should be returned
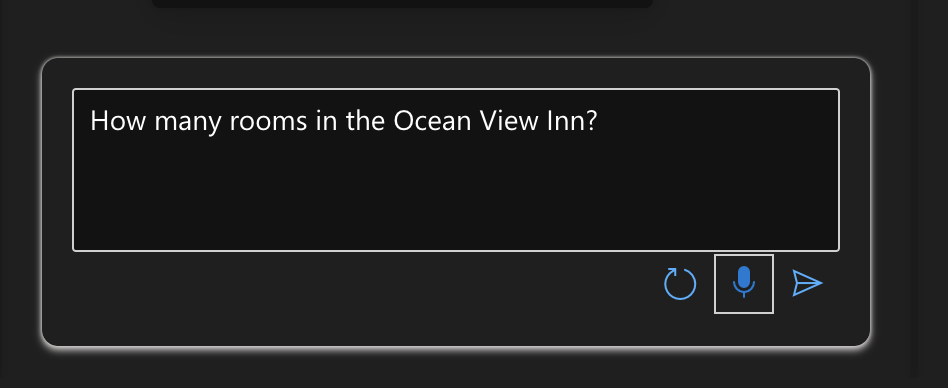
Add speech to text by clicking on the microphone in the chatbox
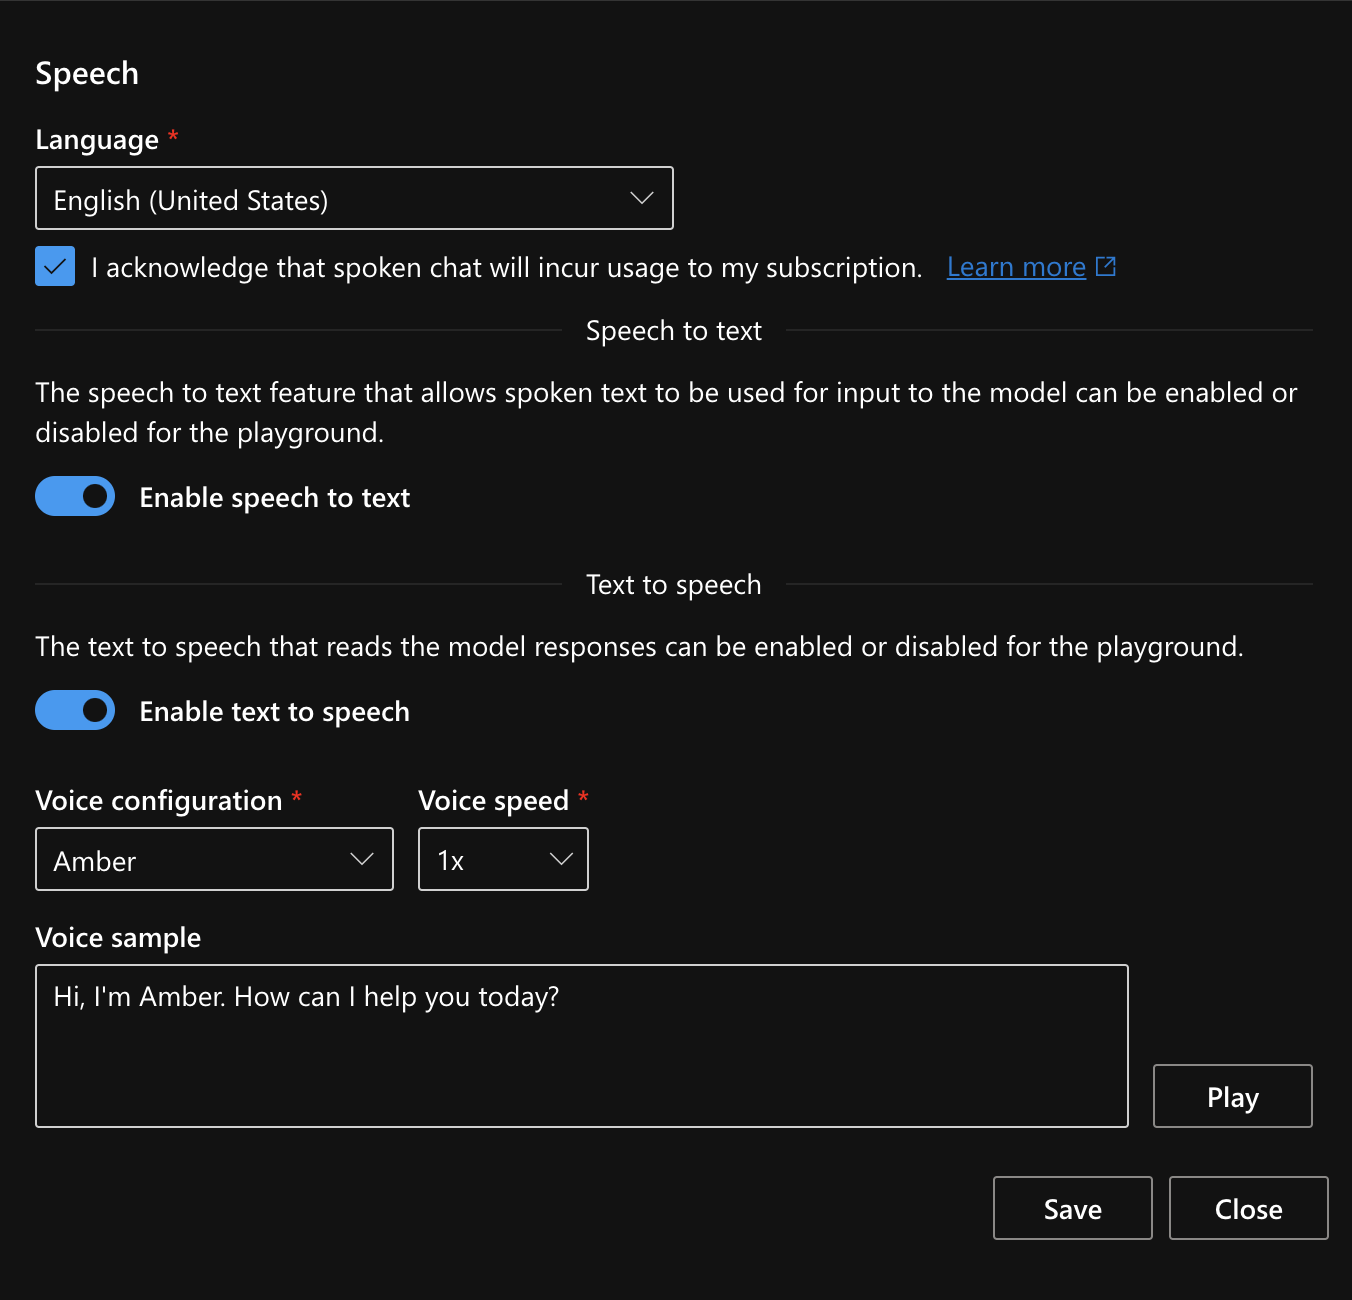
Enable Speech to text and Text to Speech
Pick a Voice configuration and select Play
Click Save
Click on the microphone in the chatbox and say How many rooms in the Oceanview Inn? and click the run arrow
The voice "Amber" should tell you it has 60 rooms
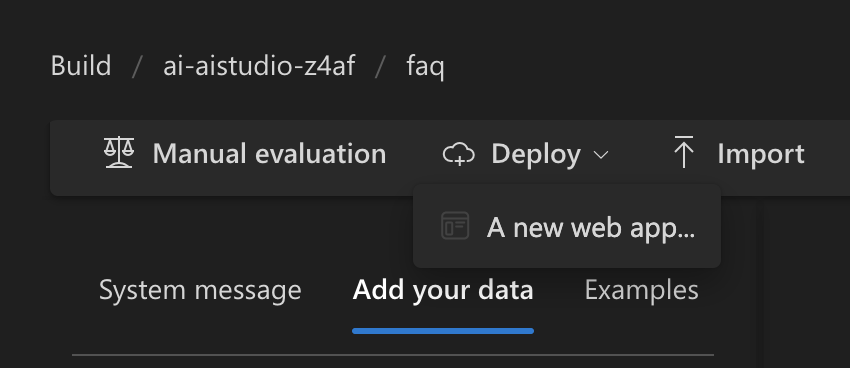
Deploy a new web app
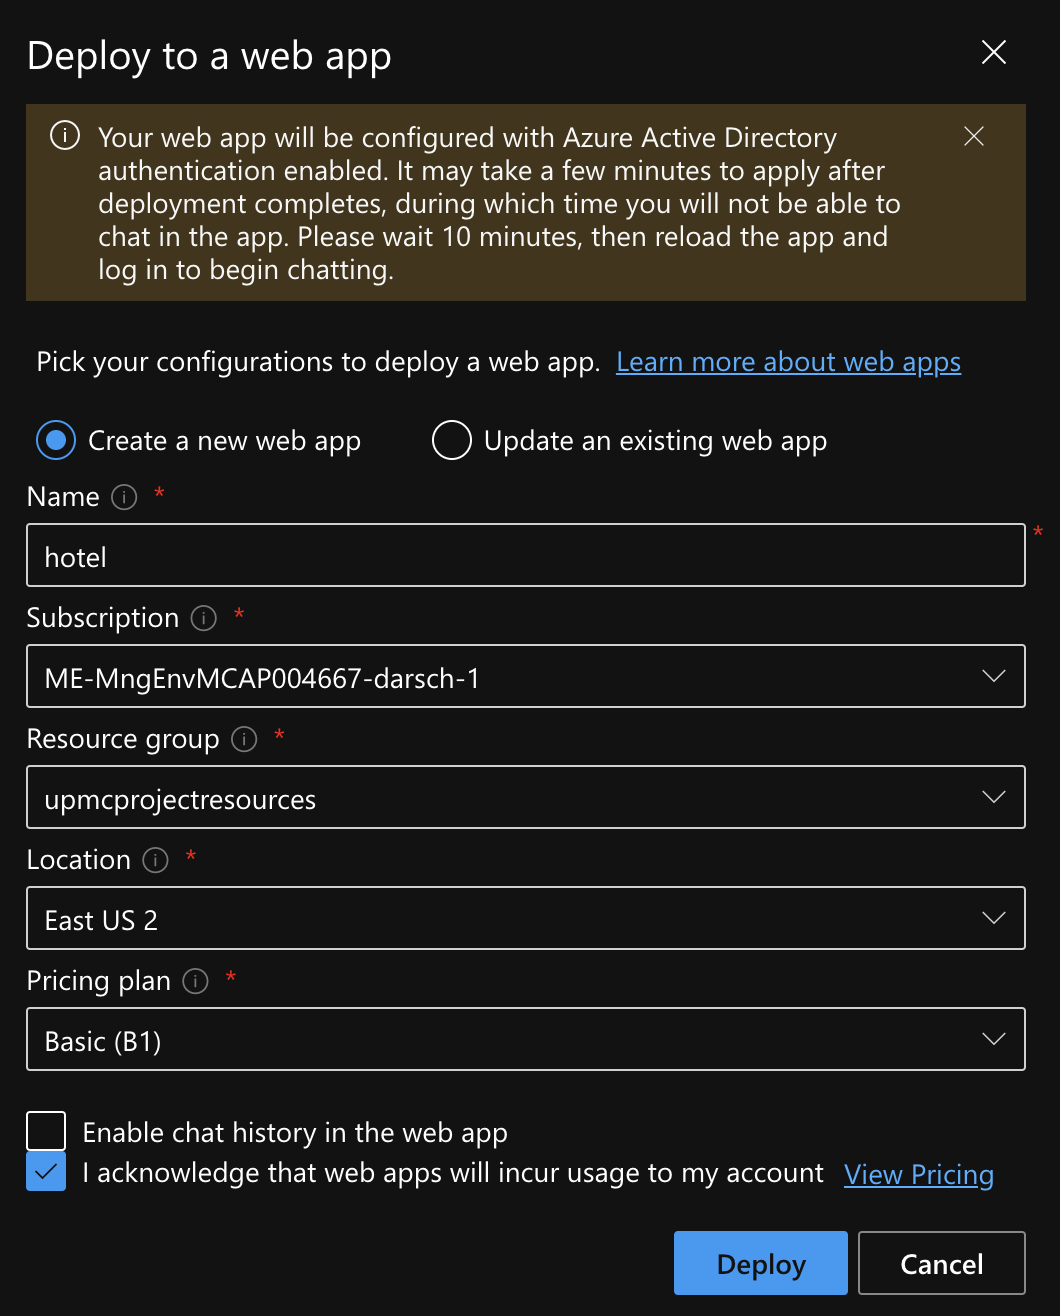
Fill out the form and click Deploy
Wait on the page for it to deploy
Click on the Launch button
When the app deploys try it out
PLEASE REFER TO THE FOLLOWING GITHUB REPO FOR THE CODE-FIRST EXPERIENCE AND AI RESOURCE DEPLOYMENT
Choices:
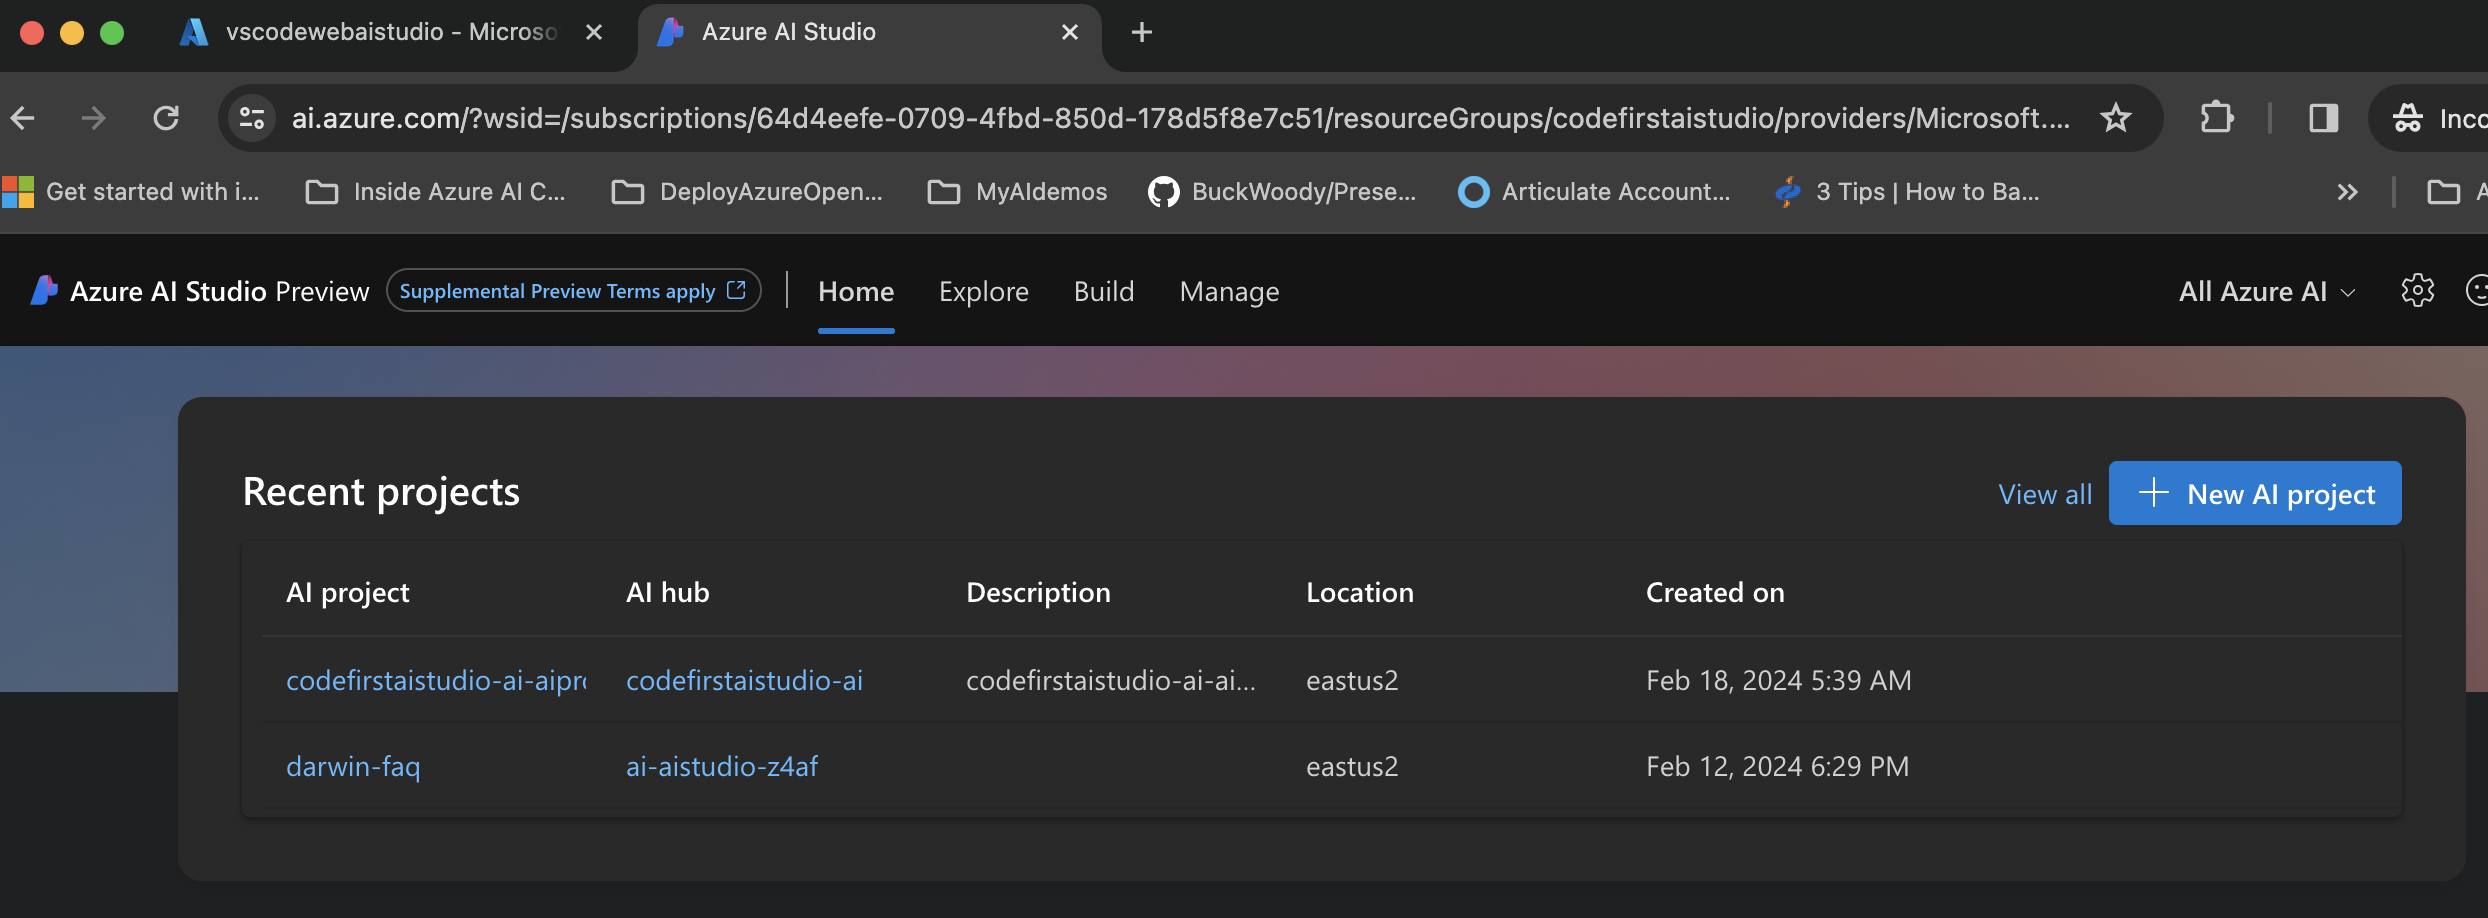
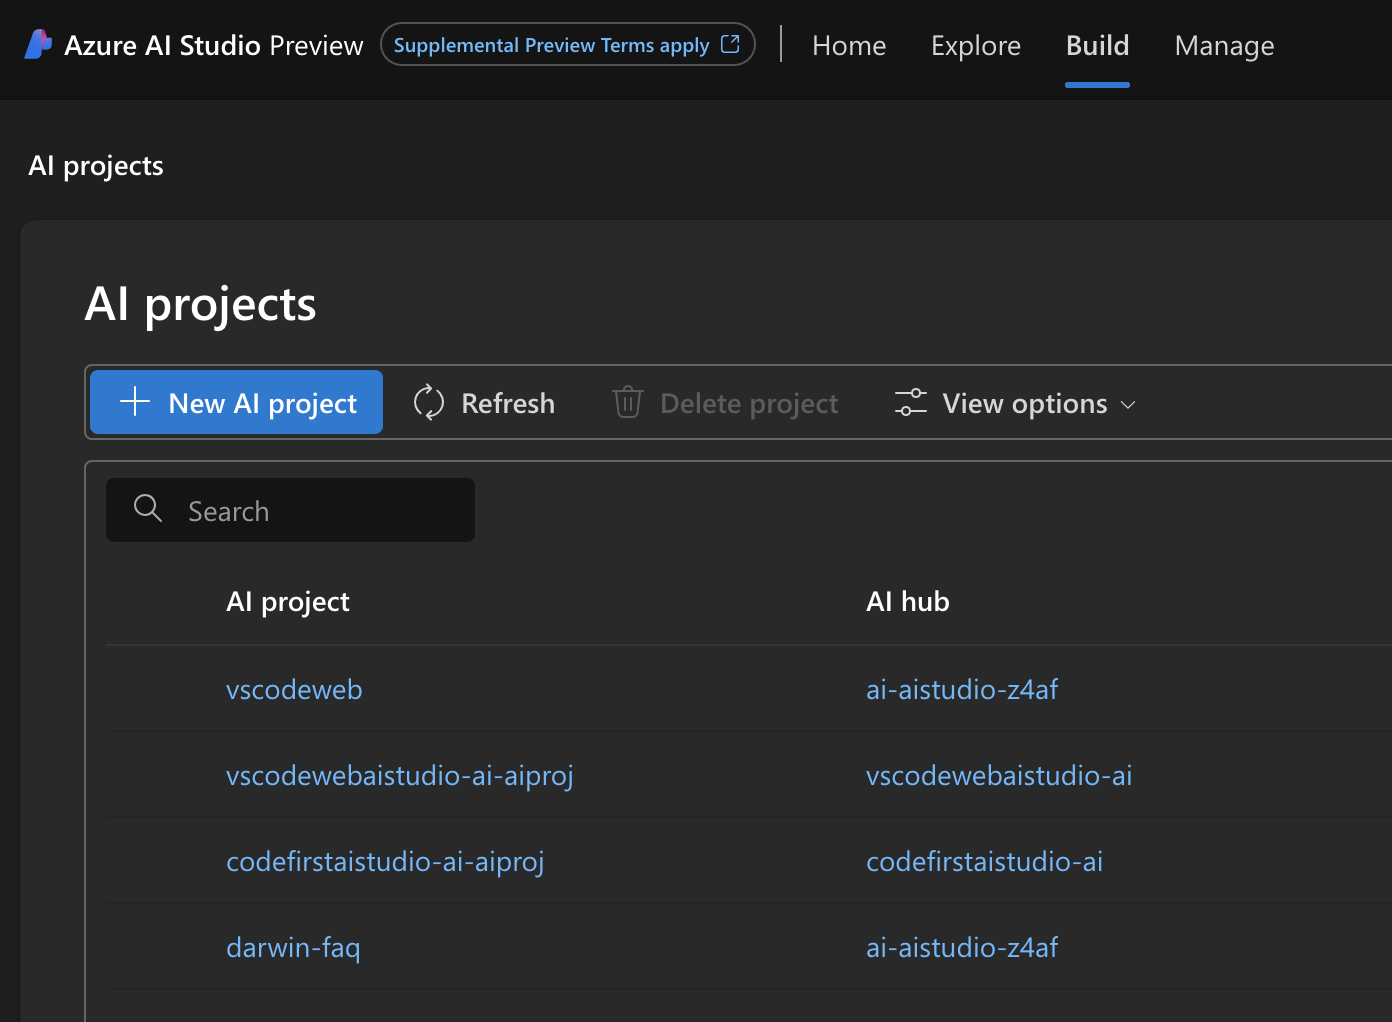
Create a New ai project in Azure AI Studio
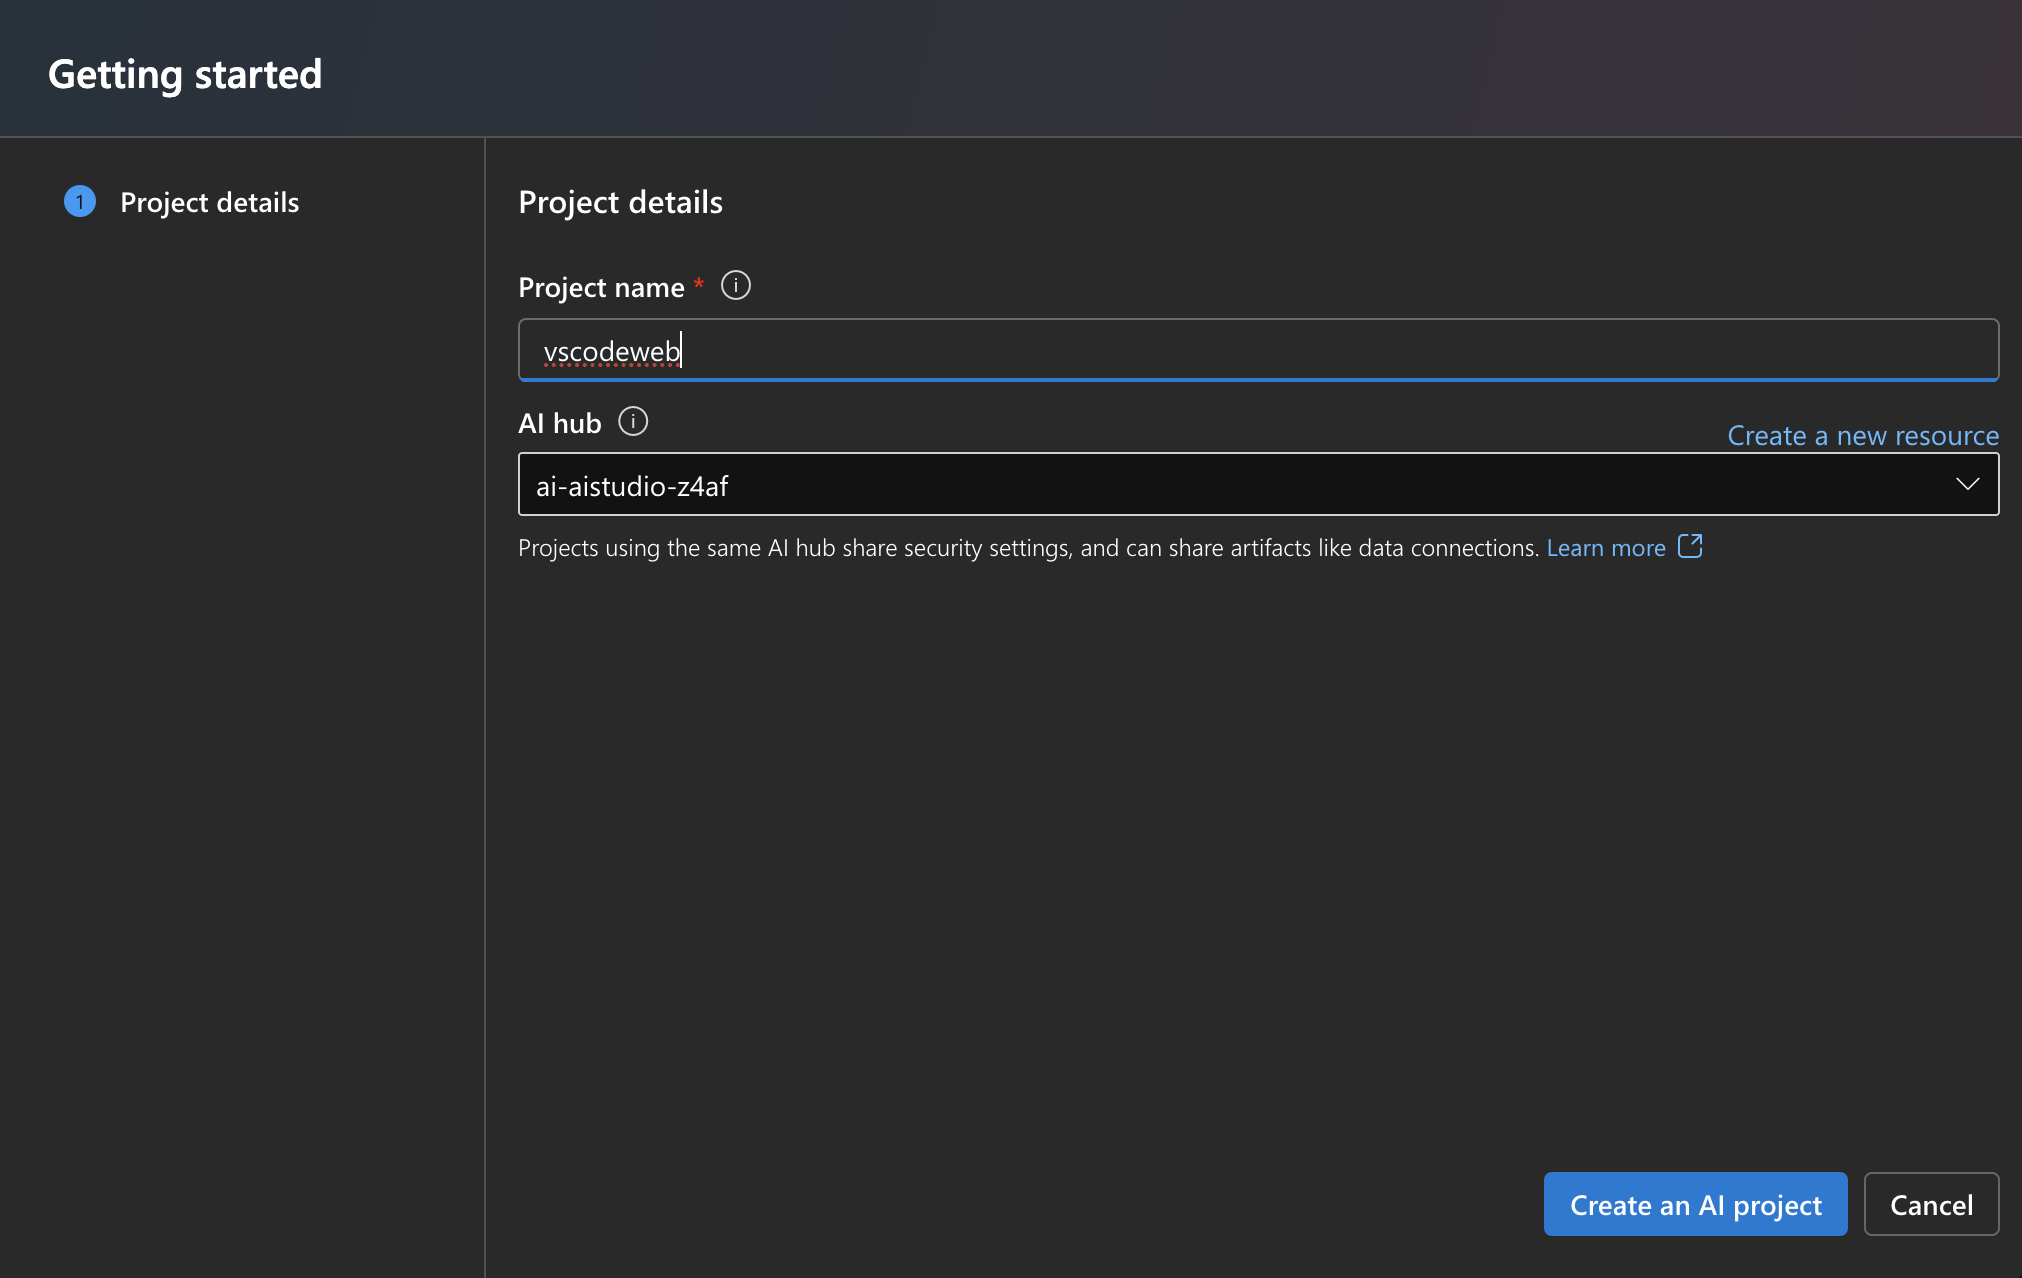
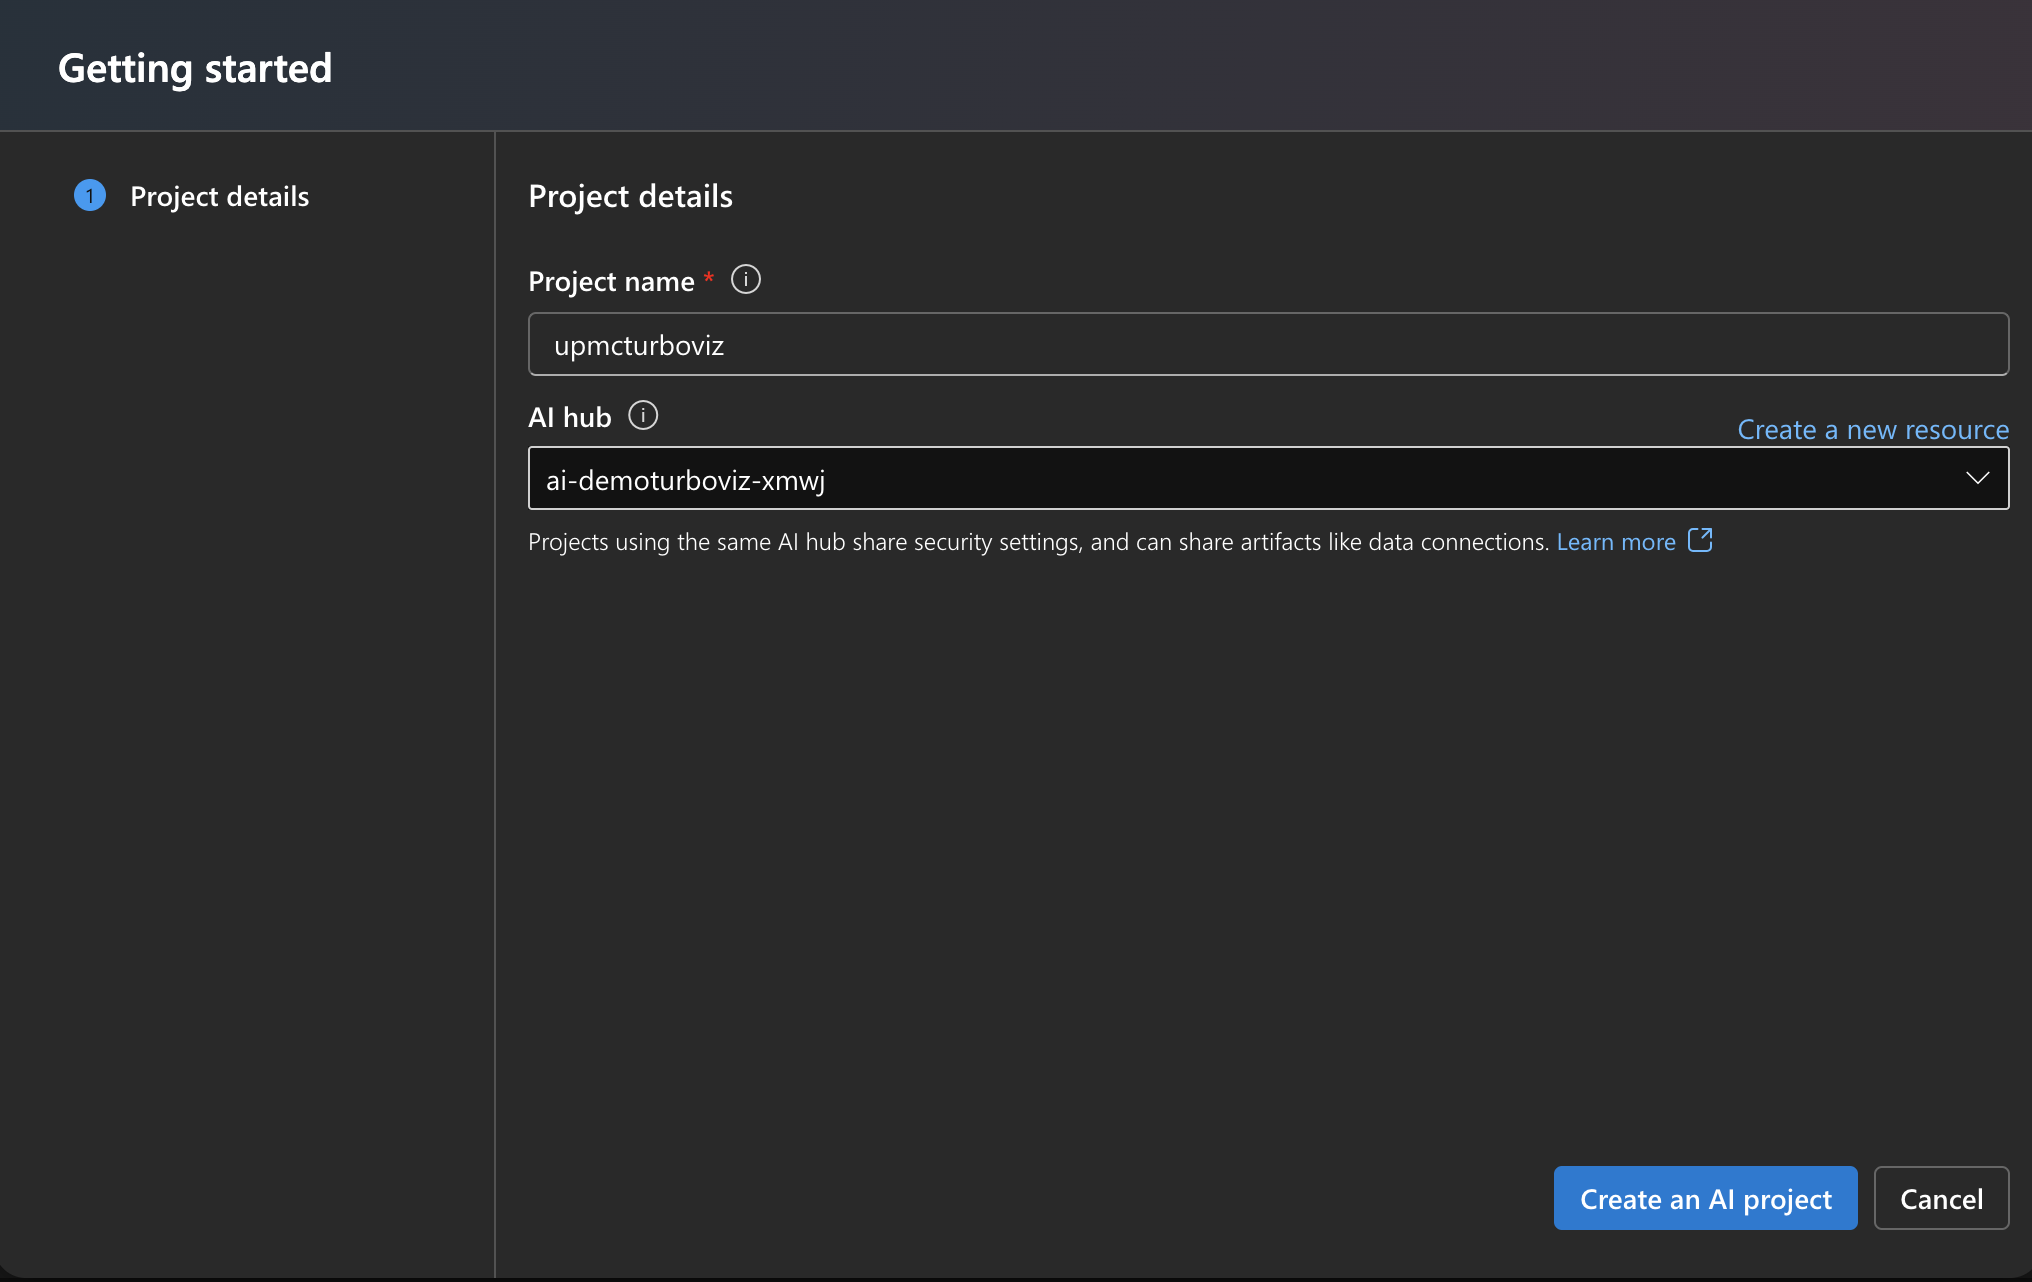
Give the project an name and click Create an AI project
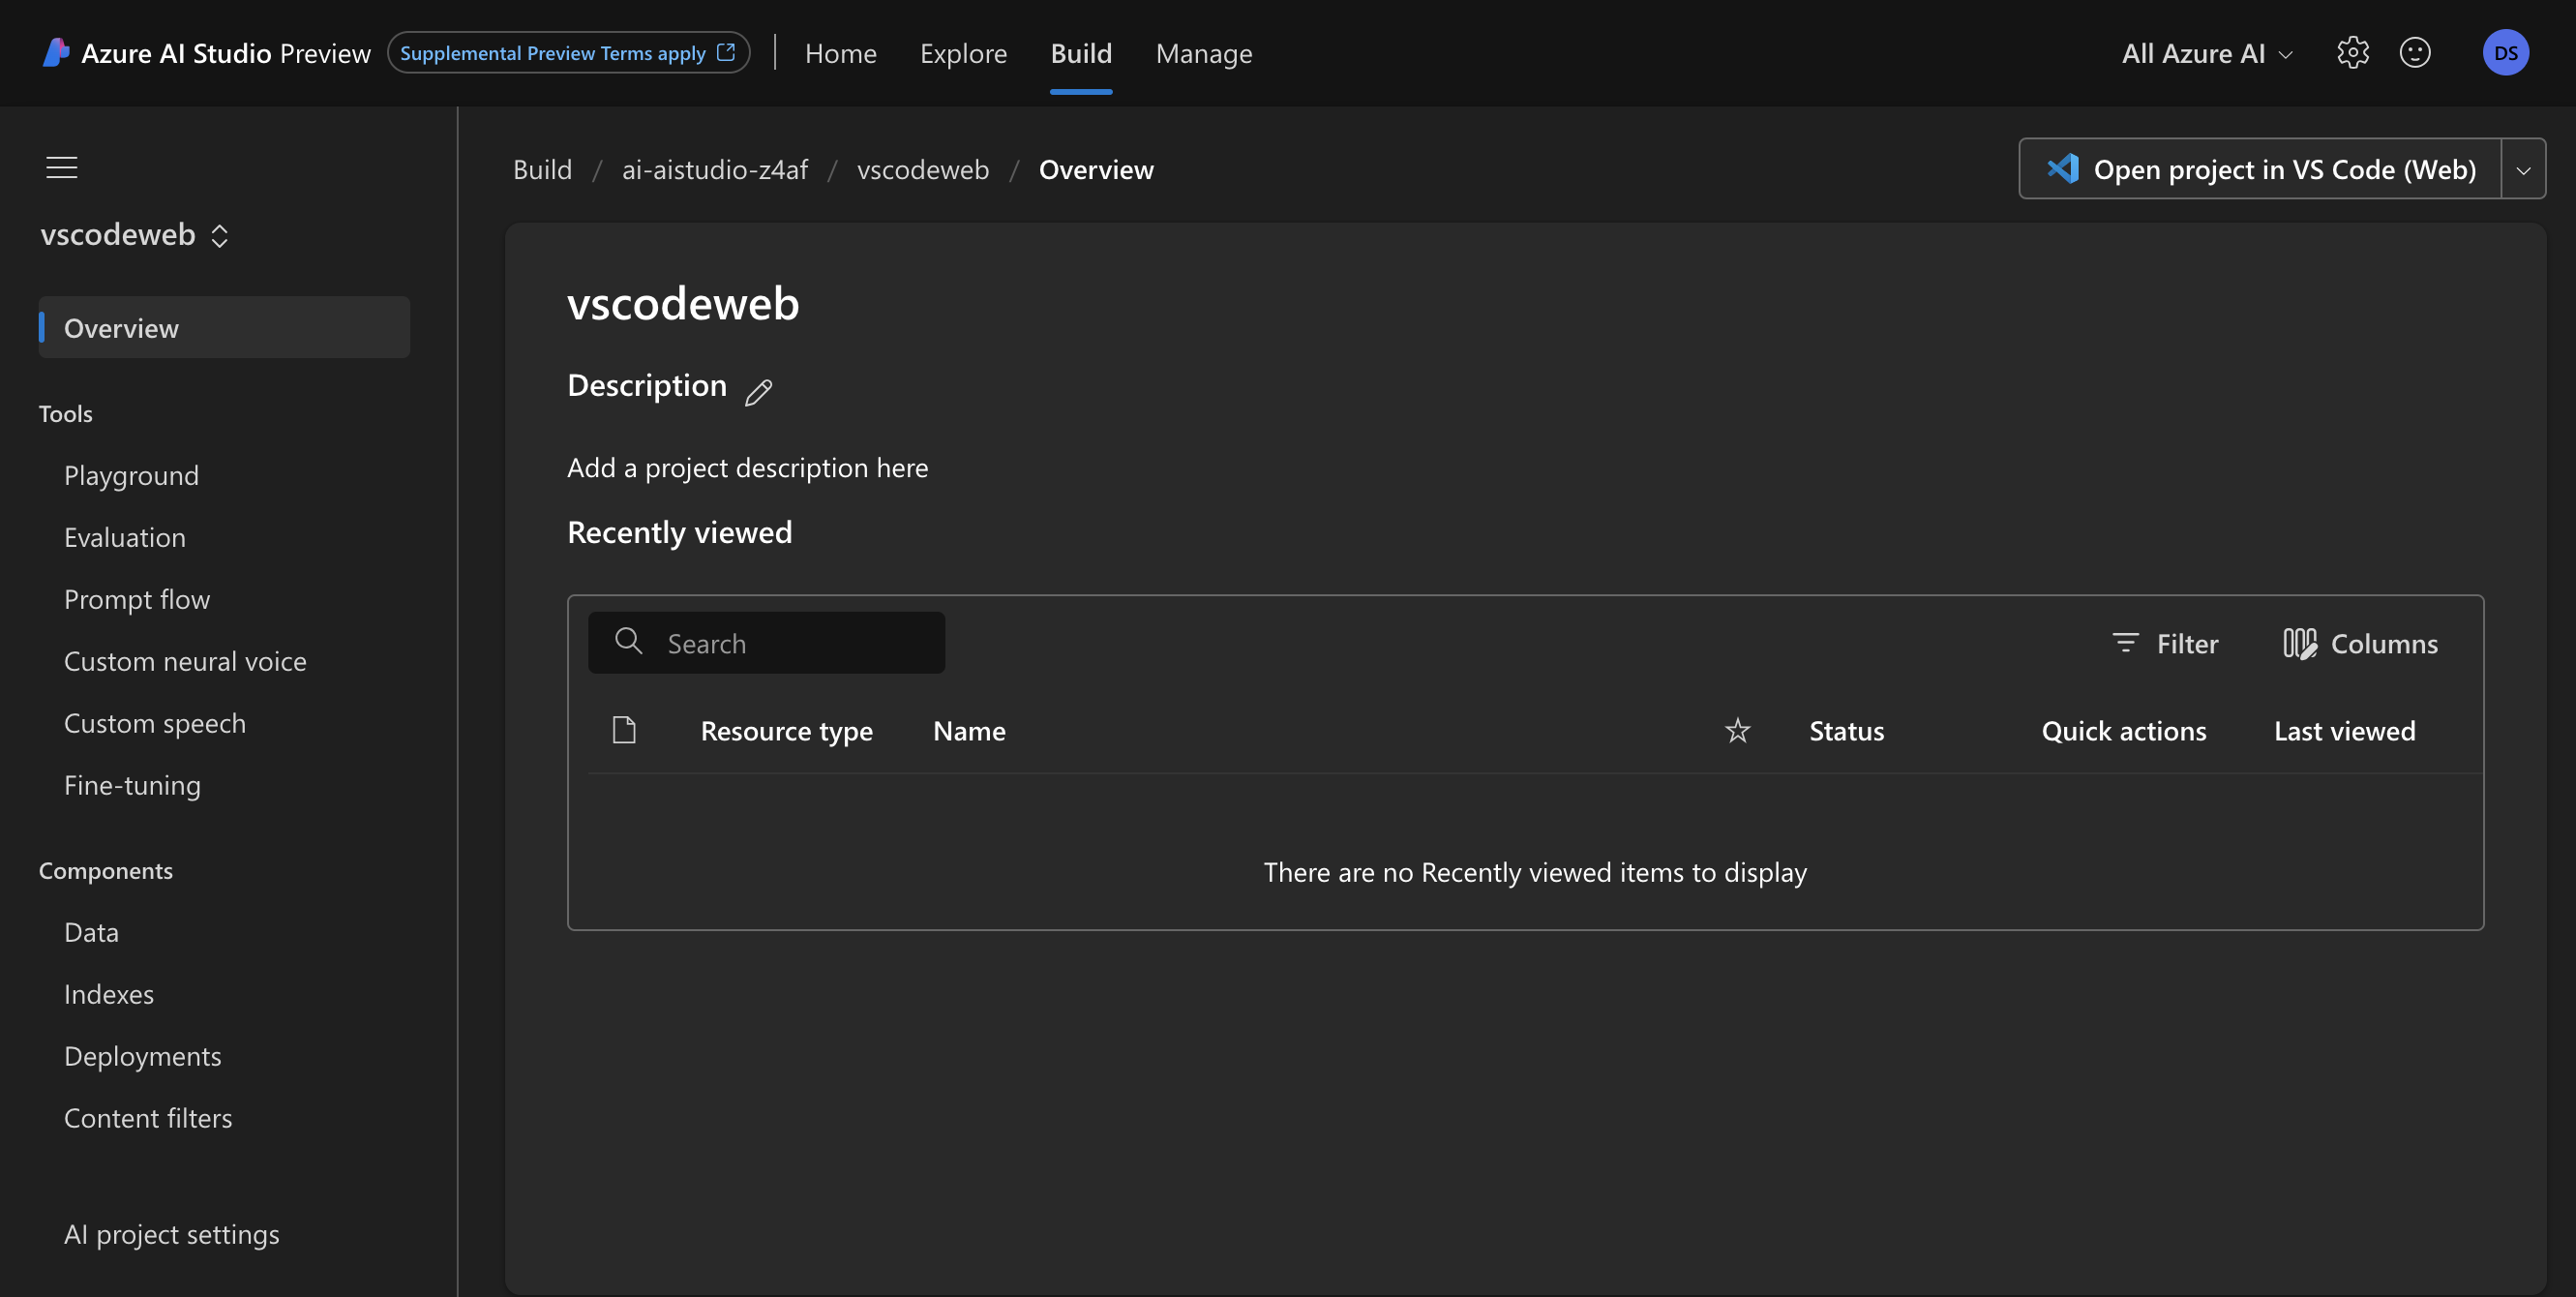
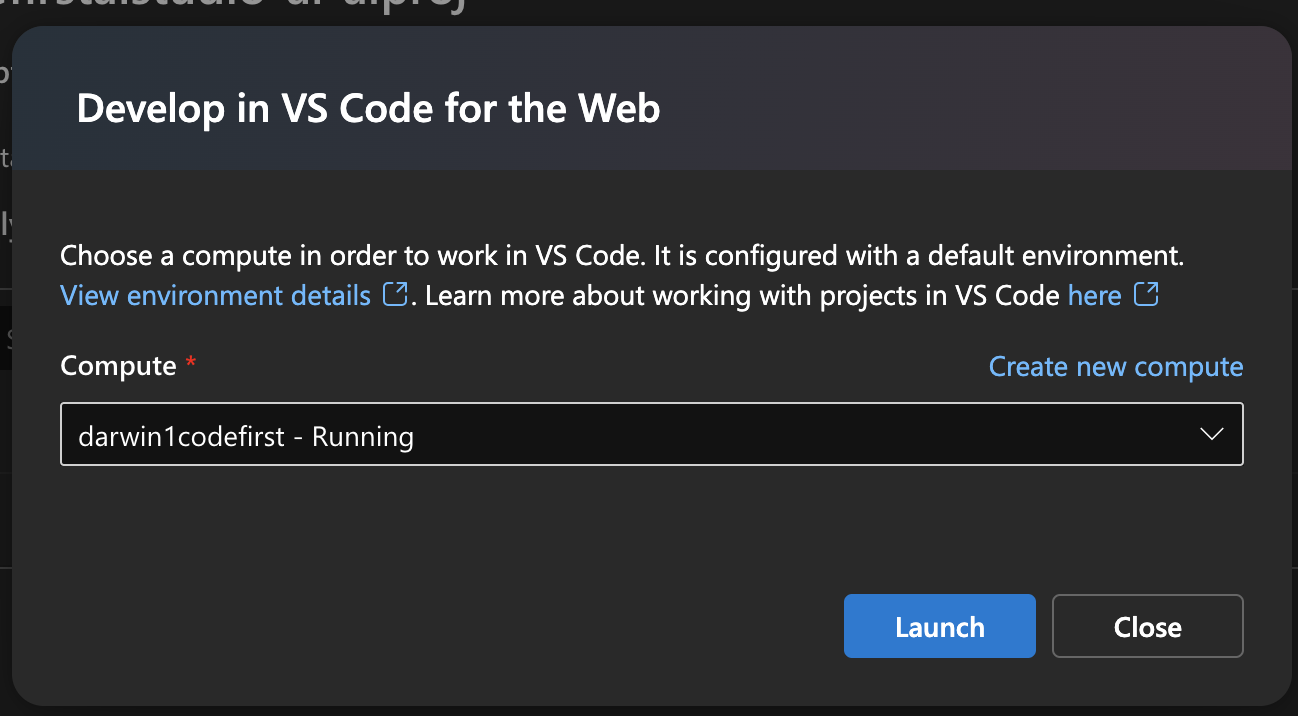
Click the Open project in VS Code (Web) button
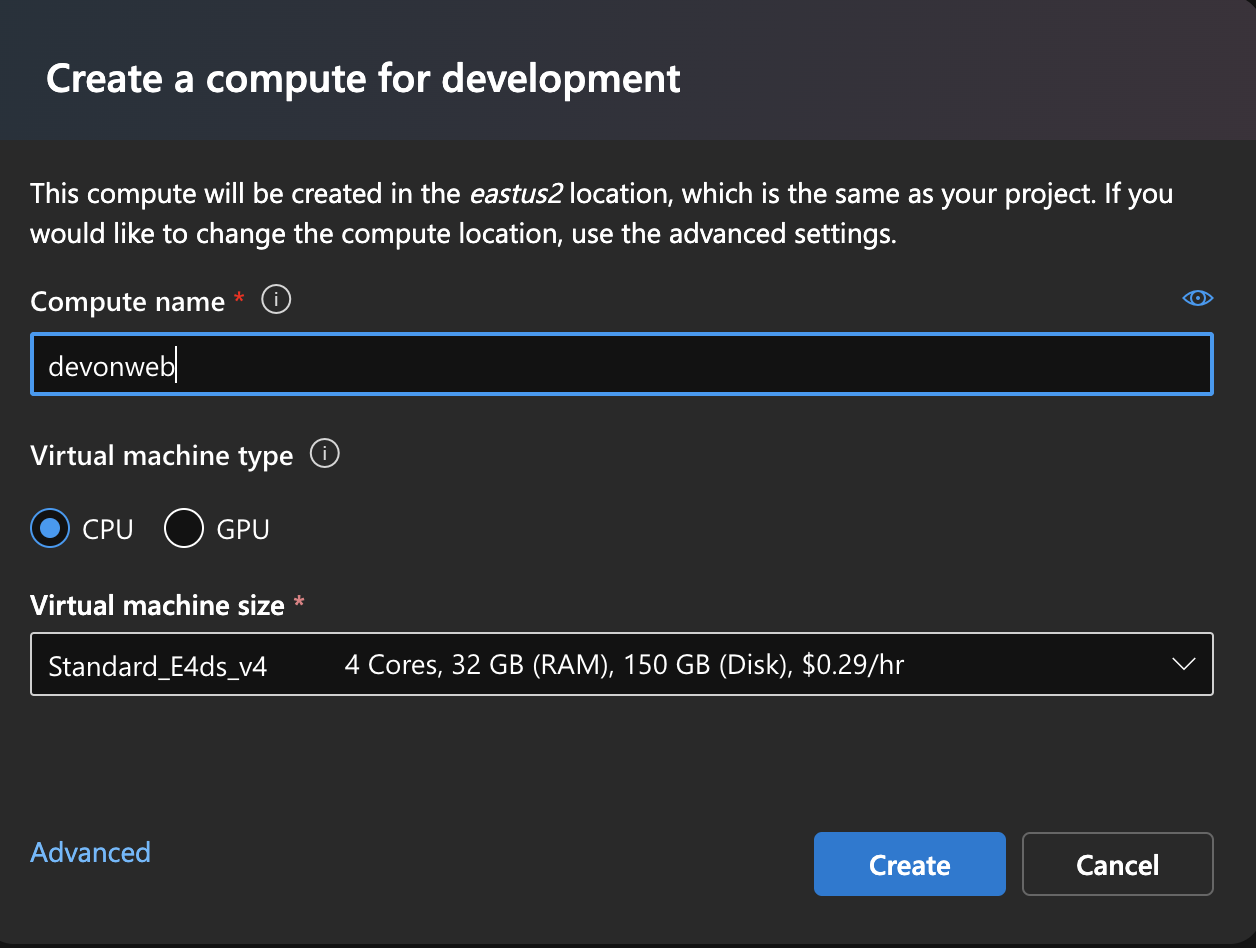
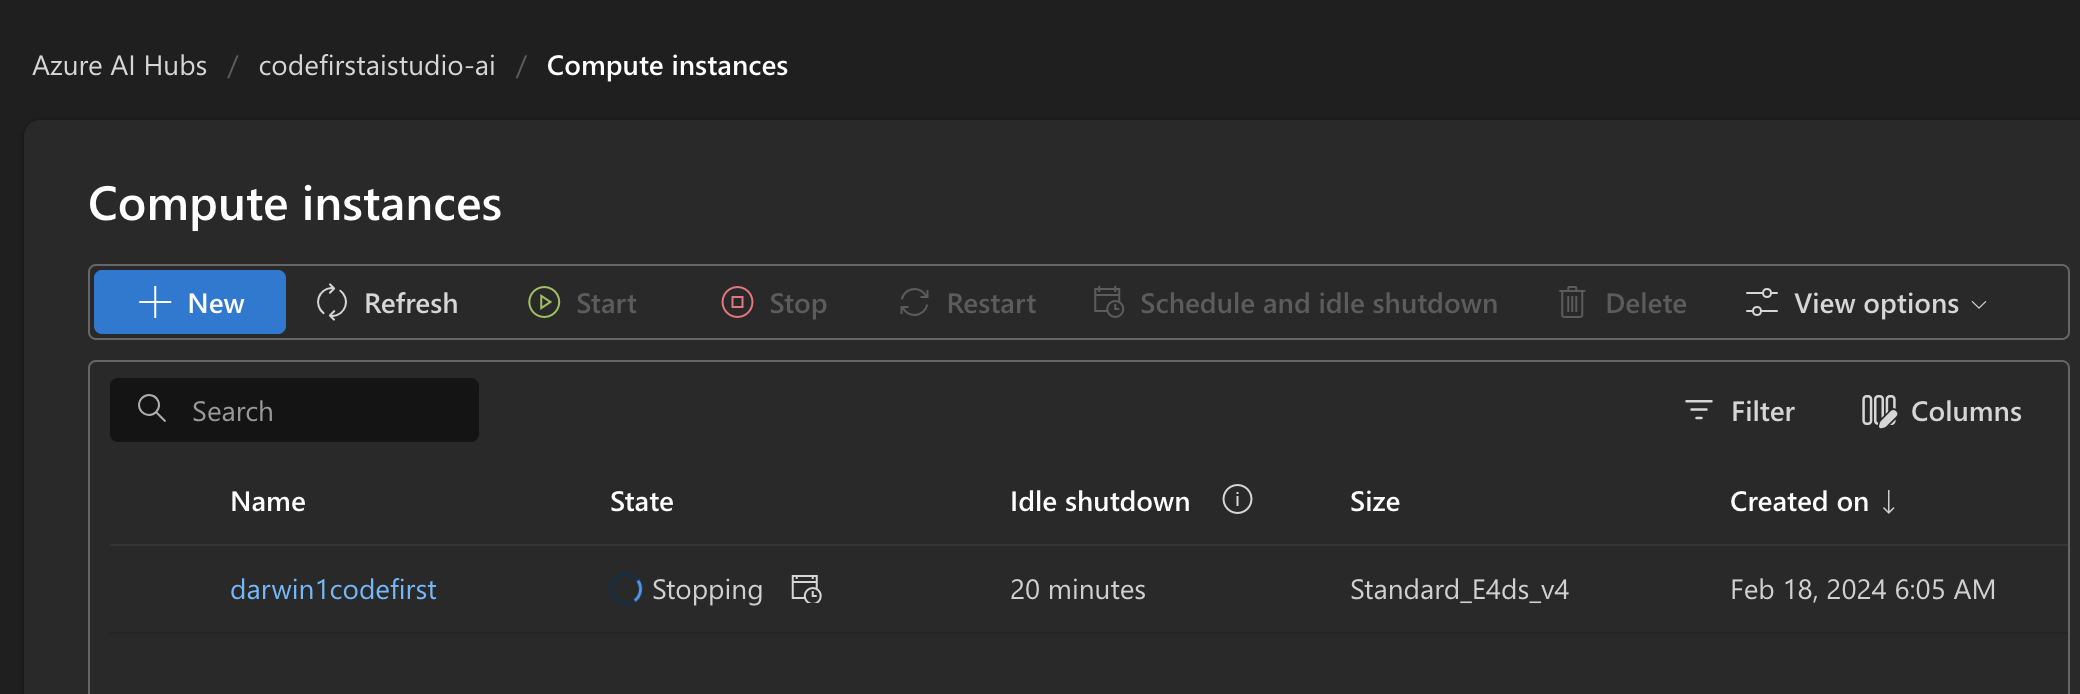
Provide a Compute name and Virtual machine size and click create
When the compute is ready click Launch
Follow the README.md
The Azure AI SDK To get started with the AI SDK, we recommend the aistudio-copilot-sample repo as a comprehensive starter repository that includes a few different copilot implementations. For the full list of samples, check out the Azure AI Samples repository.
- Open a terminal
- Clone a sample repo into your project's code folder. You may be prompted to authenticate to Github
cd code
git clone https://github.com/azure/aistudio-copilot-sample
Follow along in Step 2 of the aistudio-copilot-sample step-2-create-and-connect-to-azure-resources
When you are done remember to Stop the compute
Note: At the time of this demo (Feb 23, 2024) ChatGPT Turbo4 with Vision was only available in West US region so it required an additional deployment of Azure AI Studio in West US
Create a Azure AI Studio deployment
Click on the AI service
Click on Launch Azure AI Studio
You will land here. Click on the Build tab
Click New AI project
Click Create an AI project
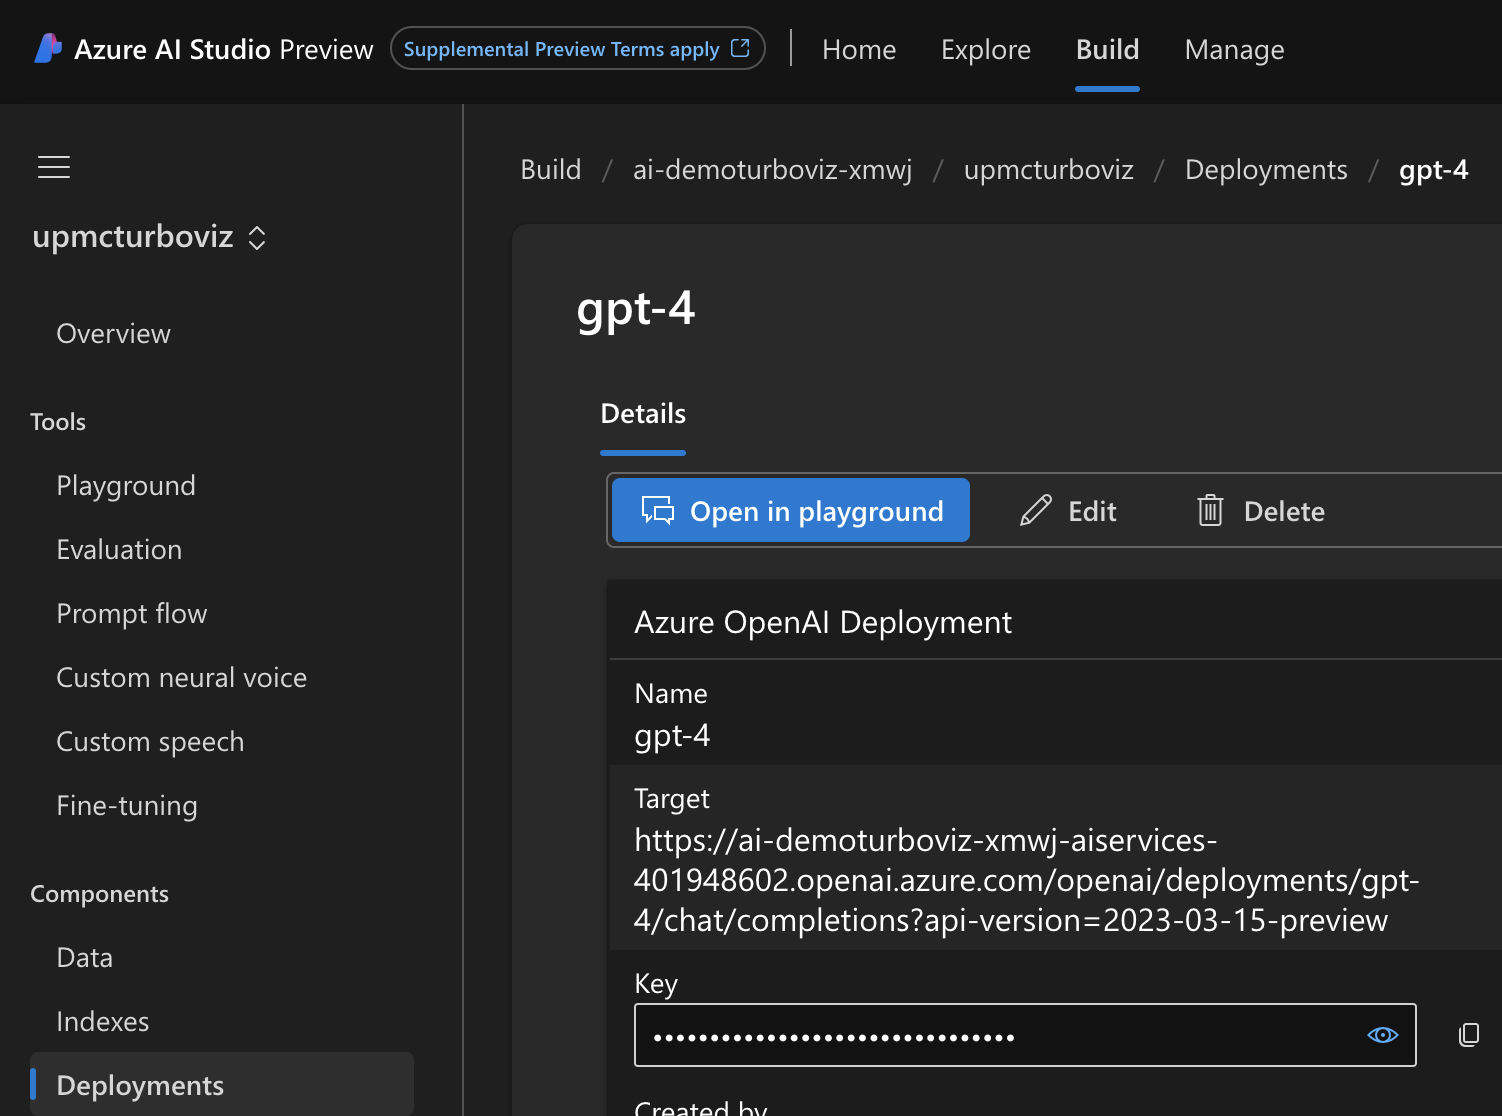
Click on Deployements and click +Create
Select Real-time endpoint
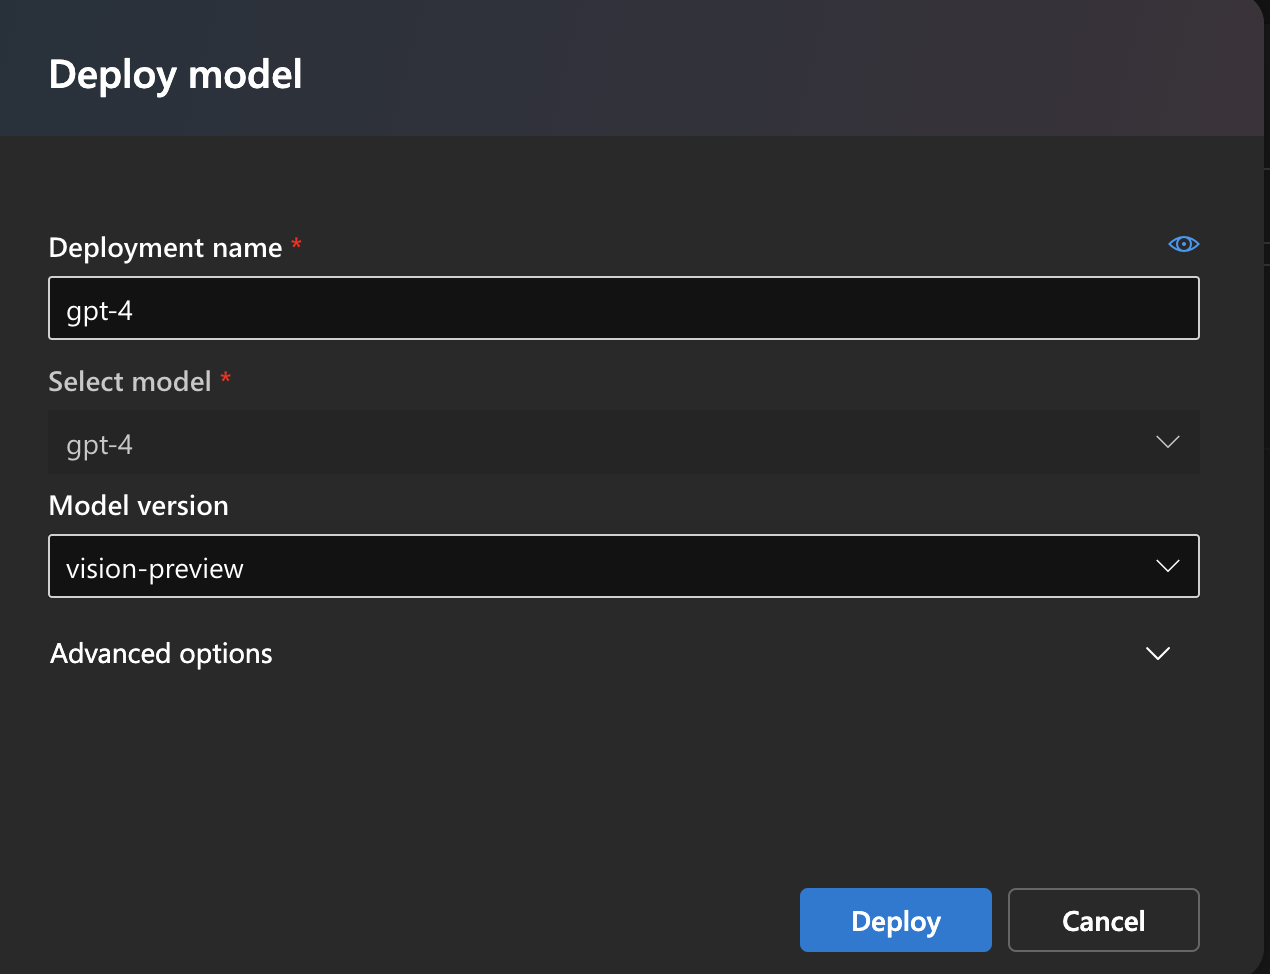
Select gpt4 and click Confirm
Choose Model version Vision-preview. Click Deploy
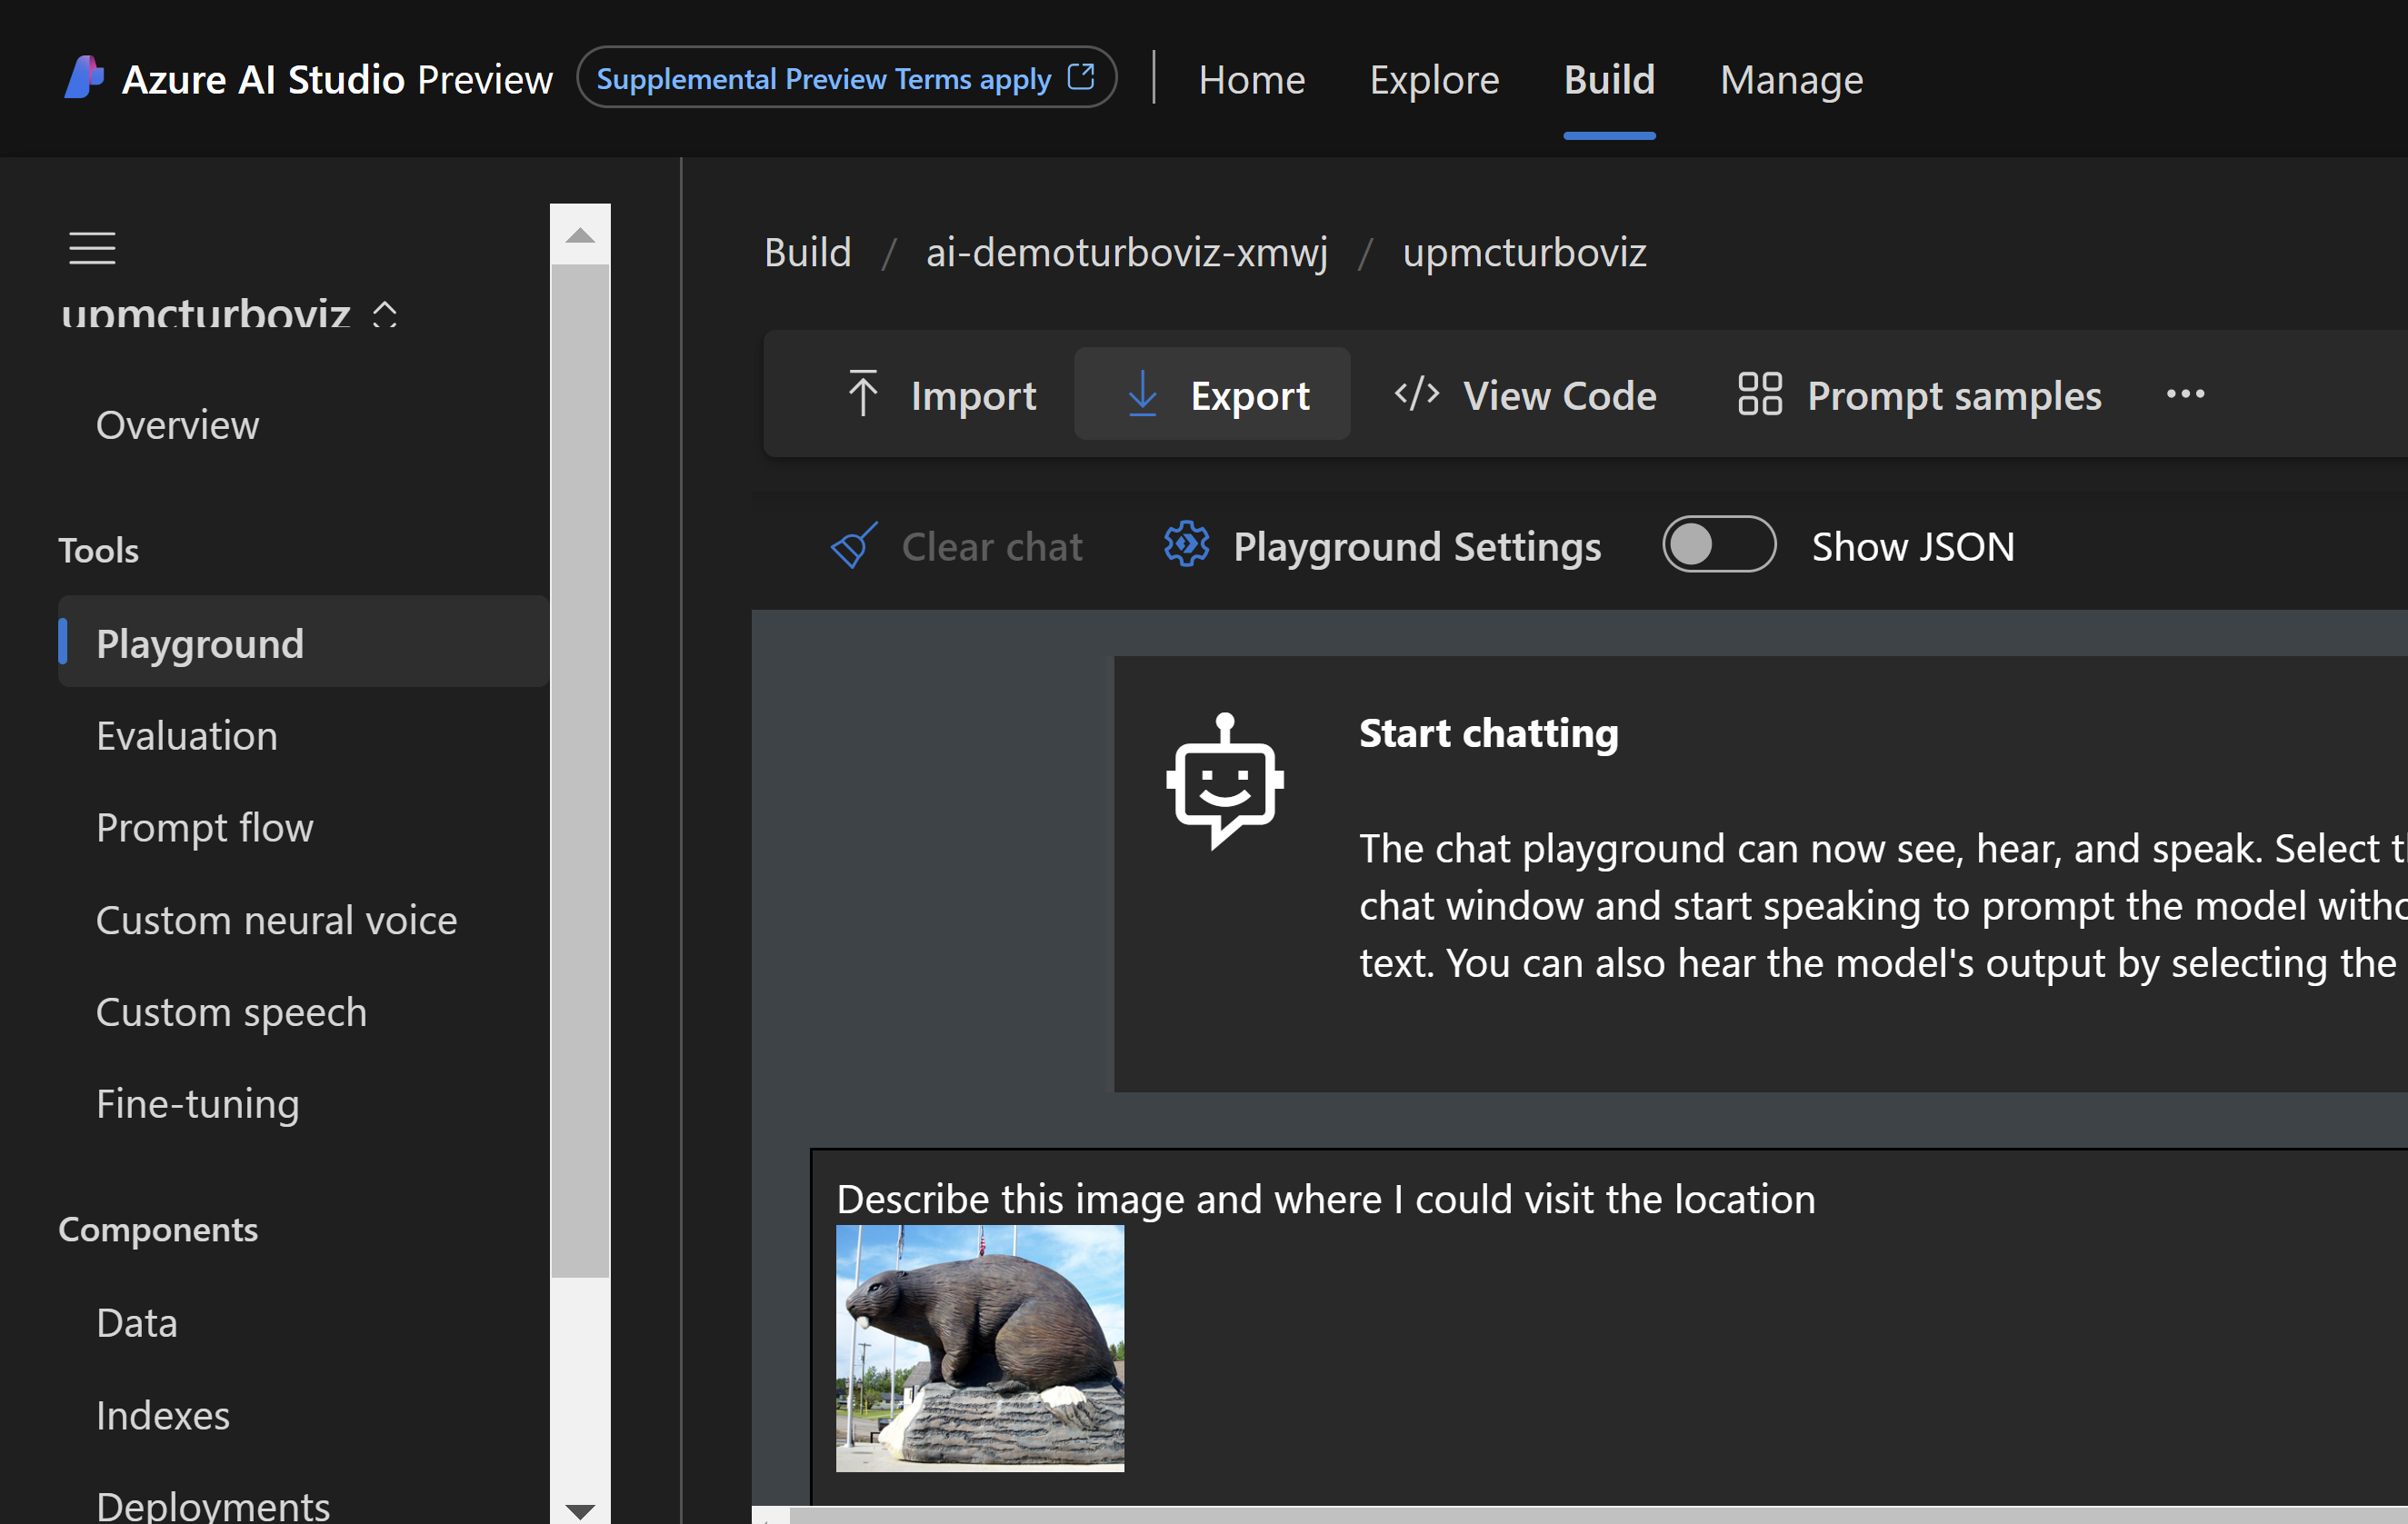
Click Open in playground
In the Start chatting section enter the following:
Describe this image and where I could visit the location
And click on the paperclip attach to add the following picture beaverlodge.jpg from the path of the cloned repo azureaistudio\data\beaverlodge.jpg
Click on the run arrow and it should return something like this:
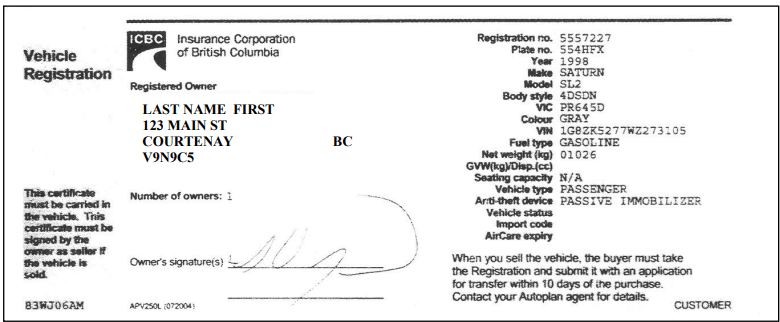
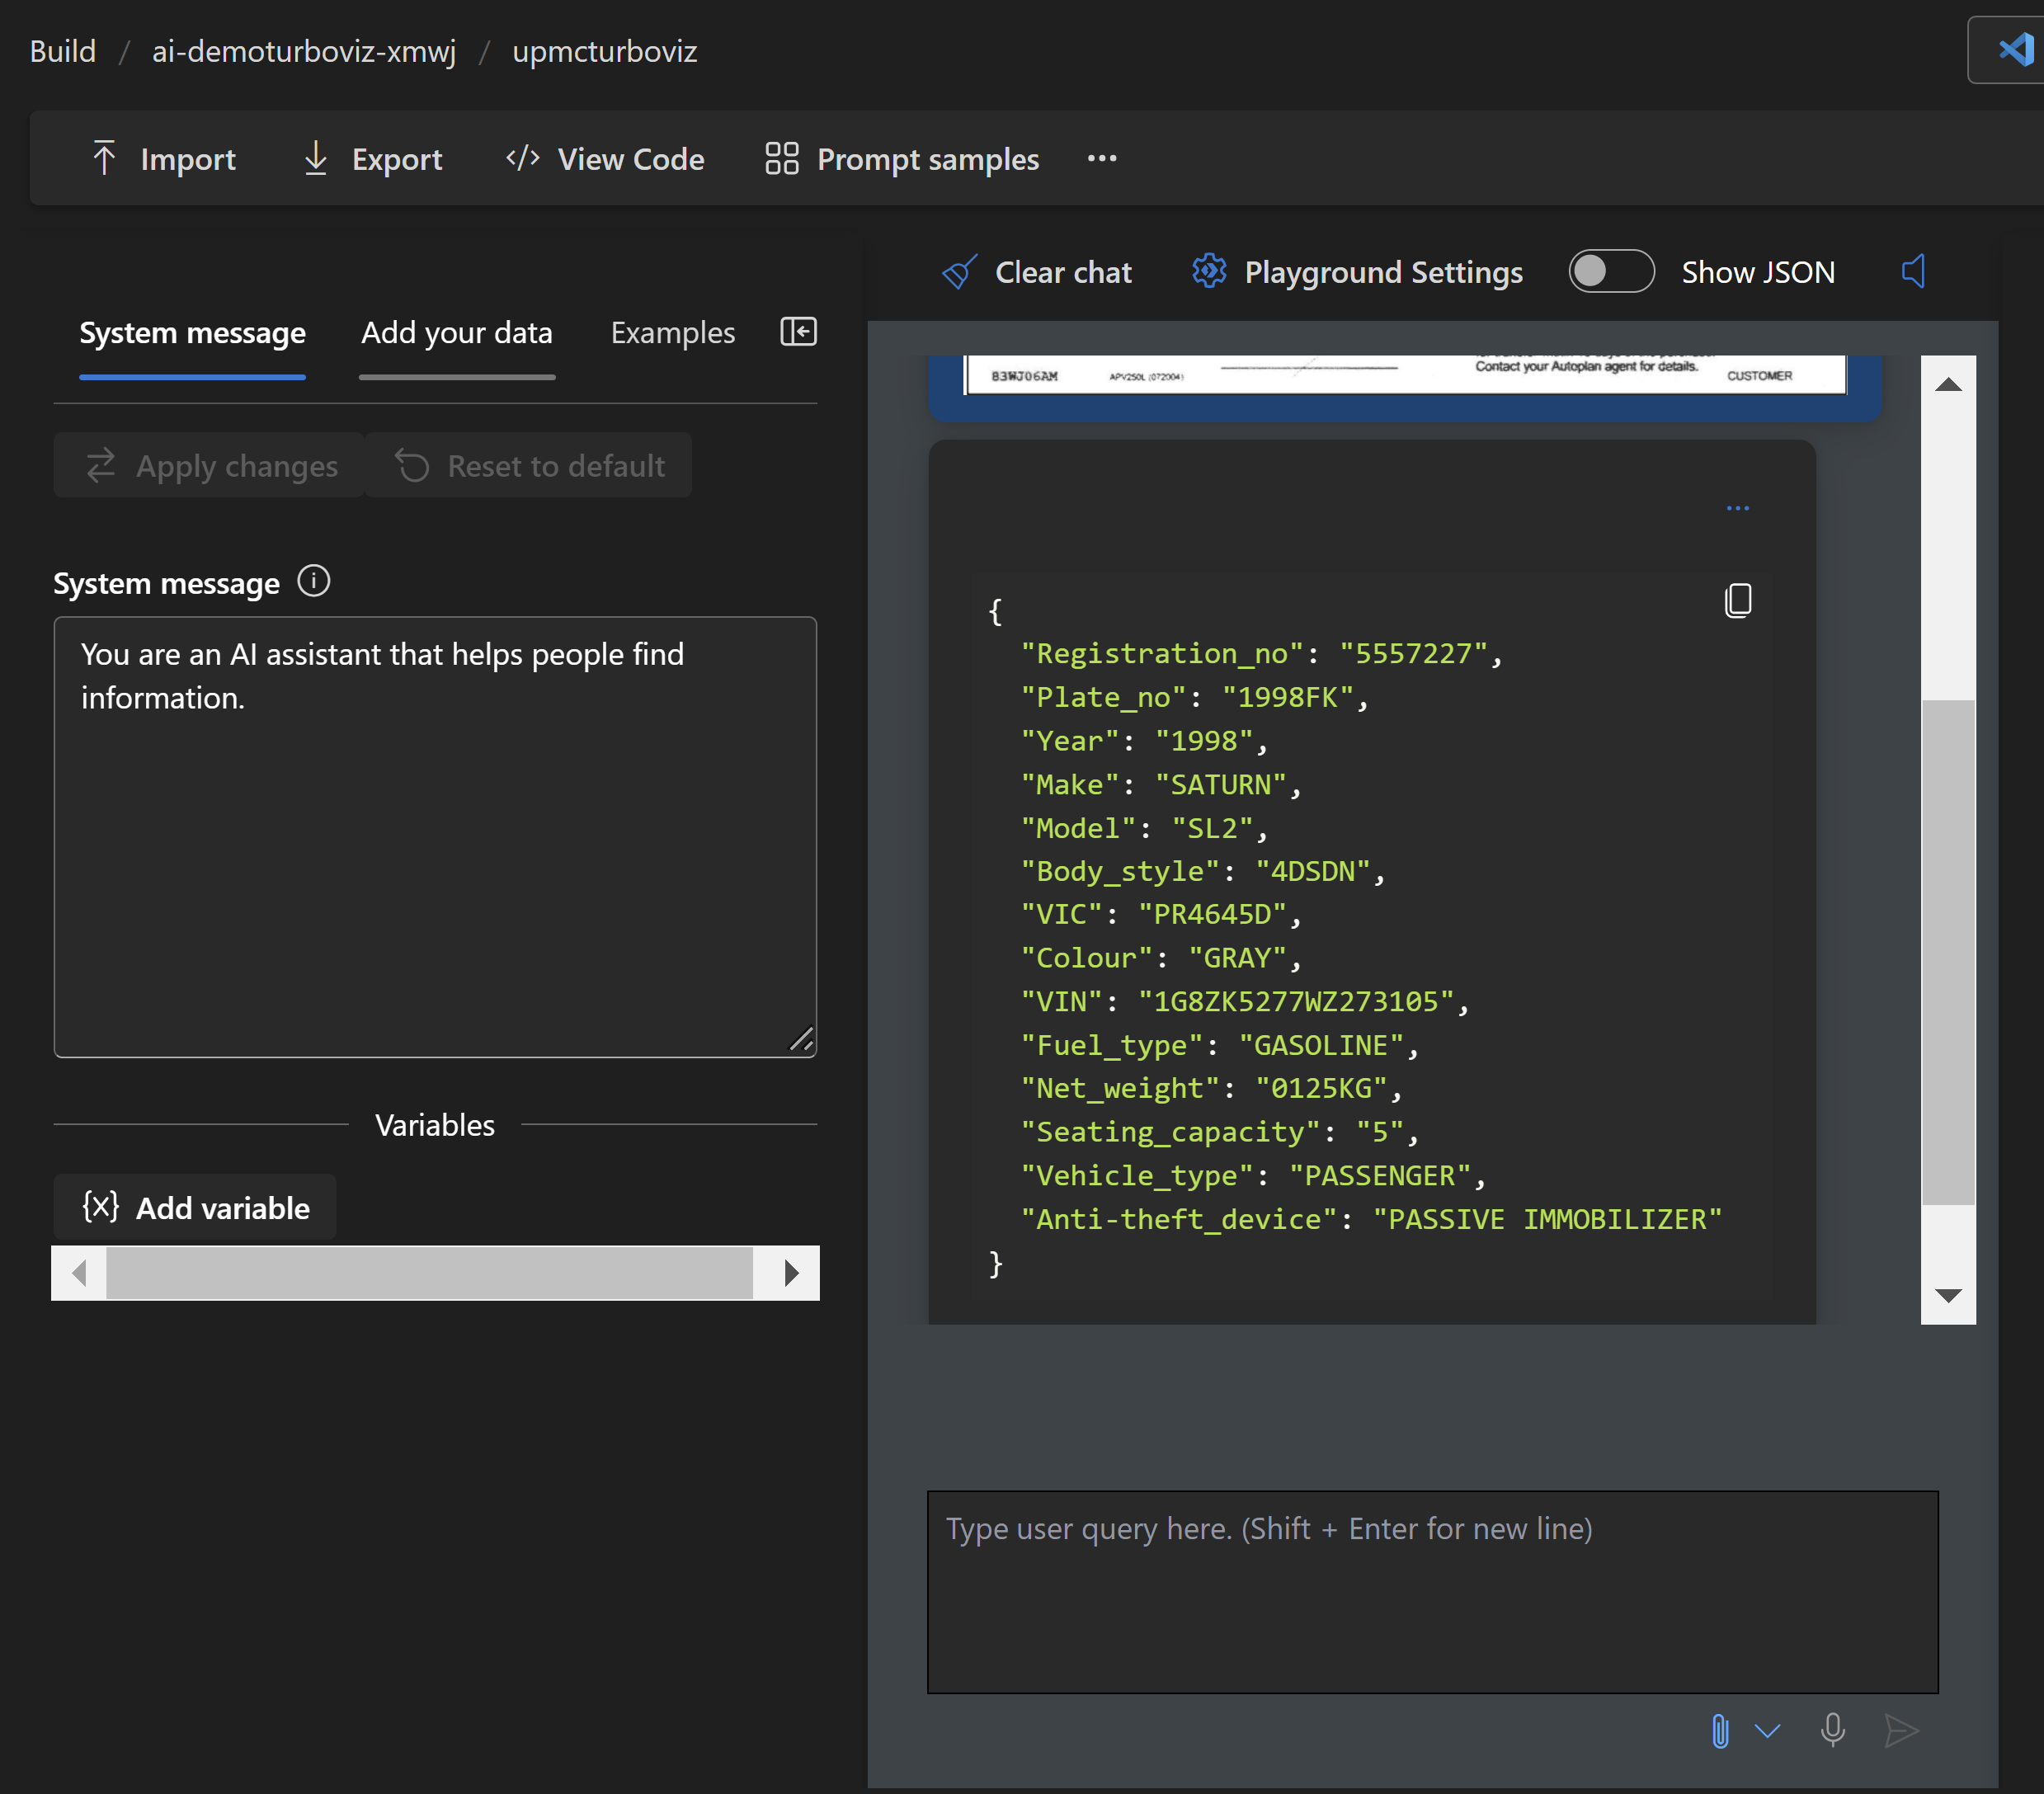
Lets try another image of a vehicle registration
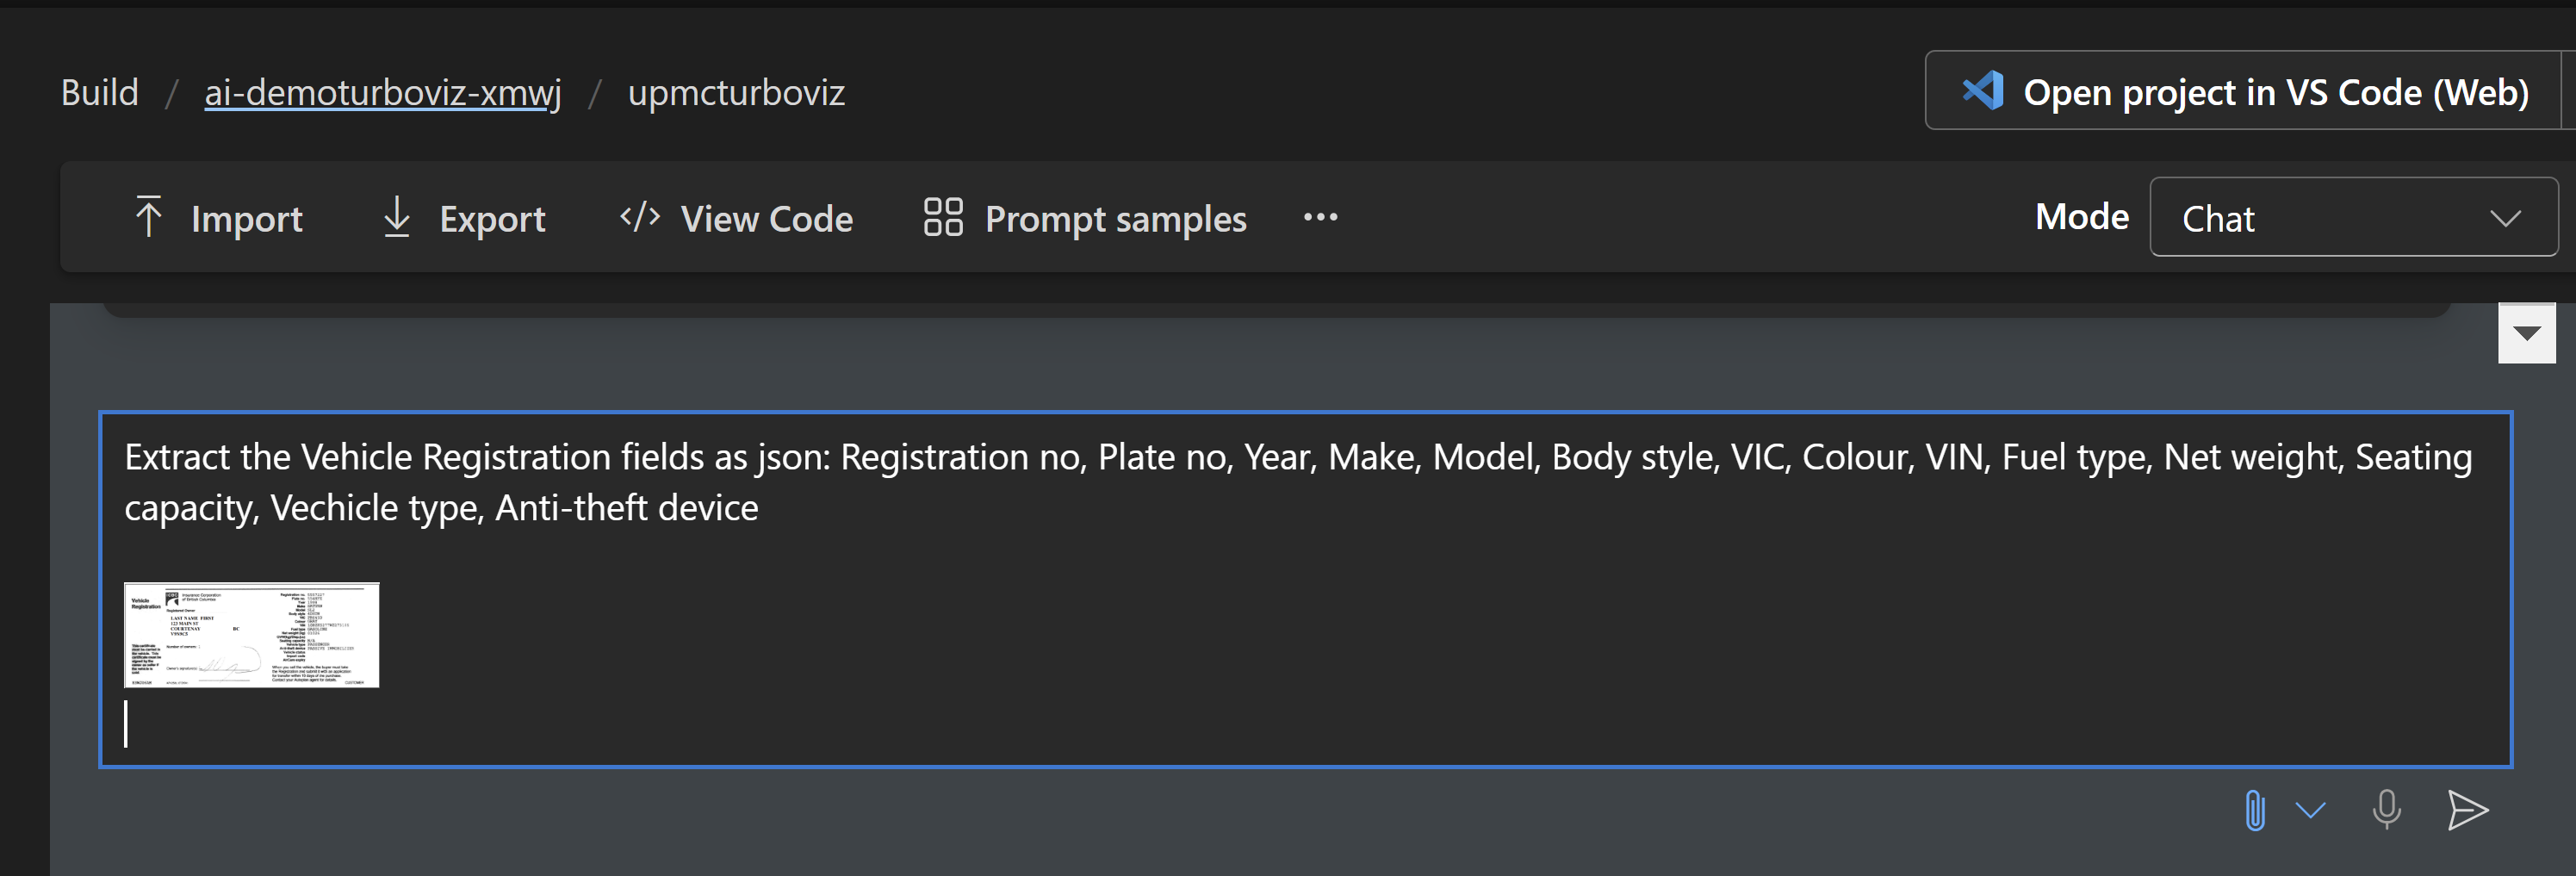
In the Start chatting section enter the following:
Extract the Vehicle Registration fields as json: Registration no, Plate no, Year, Make, Model, Body style, VIC, Colour, VIN, Fuel type, Net weight, Seating capacity, Vechicle type, Anti-theft device
And click on the paperclip attach to add the following picture bcicbcregistration.png from the path of the cloned repo azureaistudio\data\bcicbcregistration.png
Click on the run arrow and it should return something like this:
{
  "Registration_no": "5557227",
  "Plate_no": "1998FK",
  "Year": "1998",
  "Make": "SATURN",
  "Model": "SL2",
  "Body_style": "4DSDN",
  "VIC": "PR4645D",
  "Colour": "GRAY",
  "VIN": "1G8ZK5277WZ273105",
  "Fuel_type": "GASOLINE",
  "Net_weight": "0125KG",
  "Seating_capacity": "5",
  "Vehicle_type": "PASSENGER",
  "Anti-theft_device": "PASSIVE IMMOBILIZER"
}


