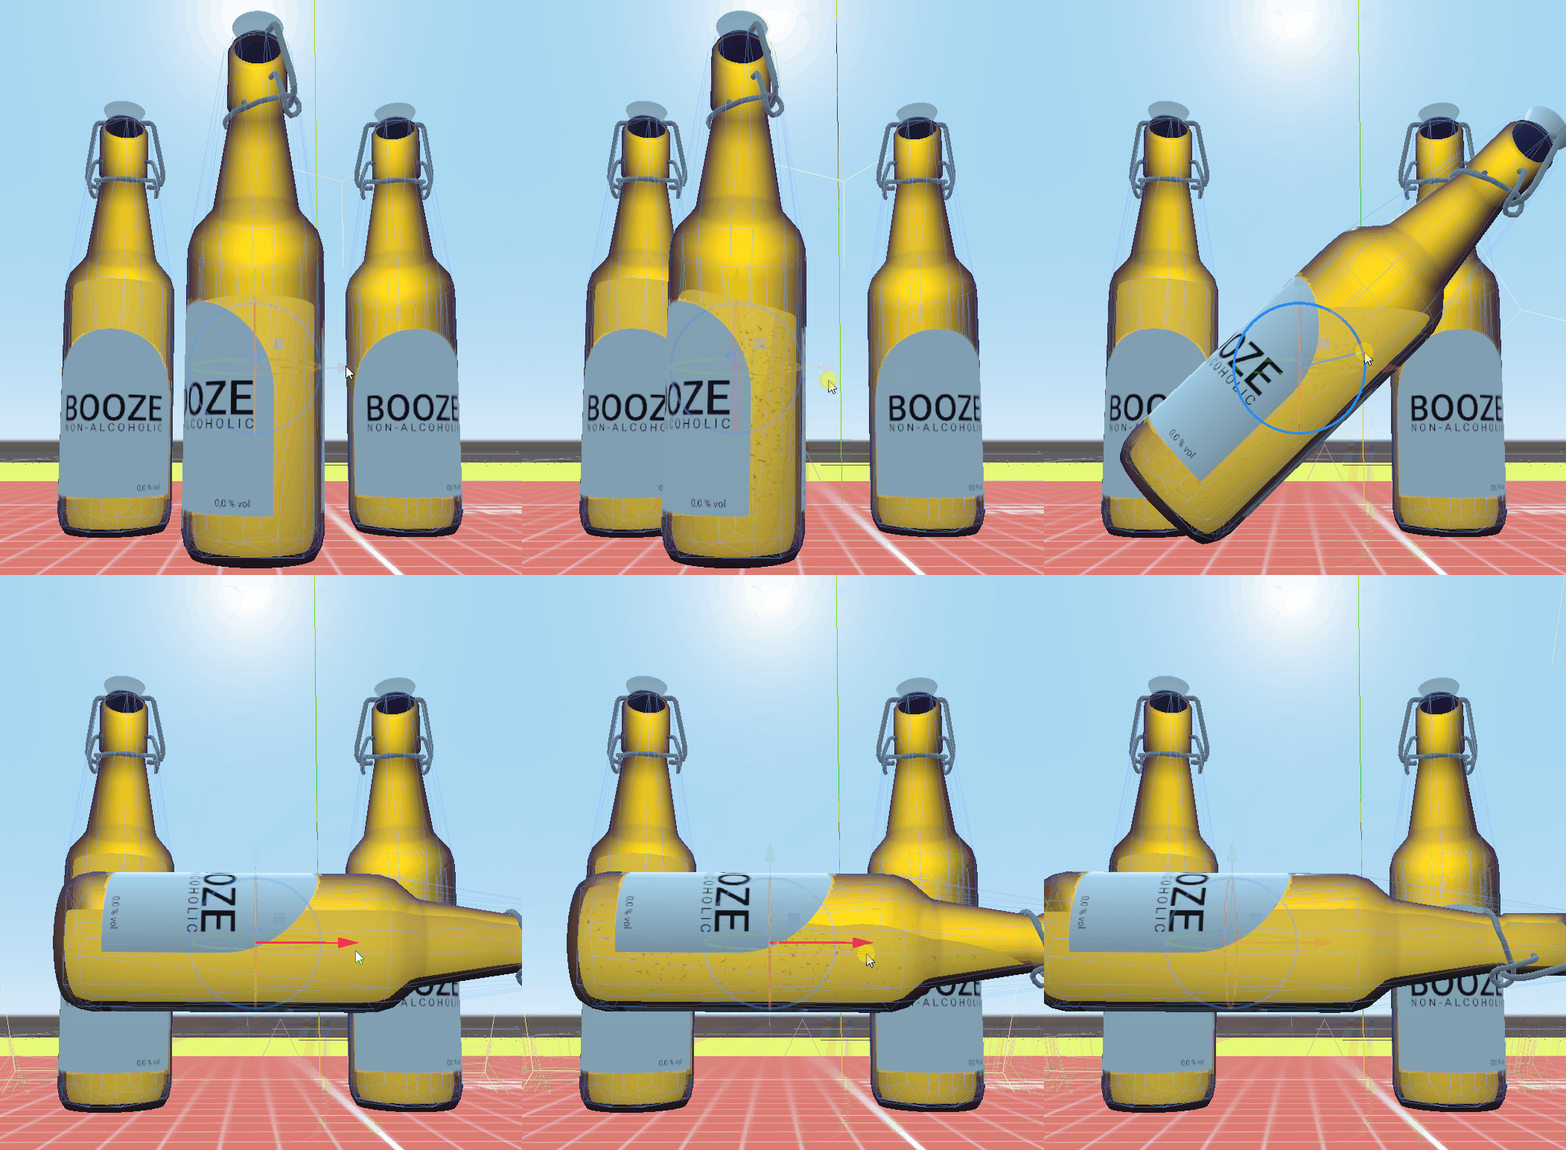
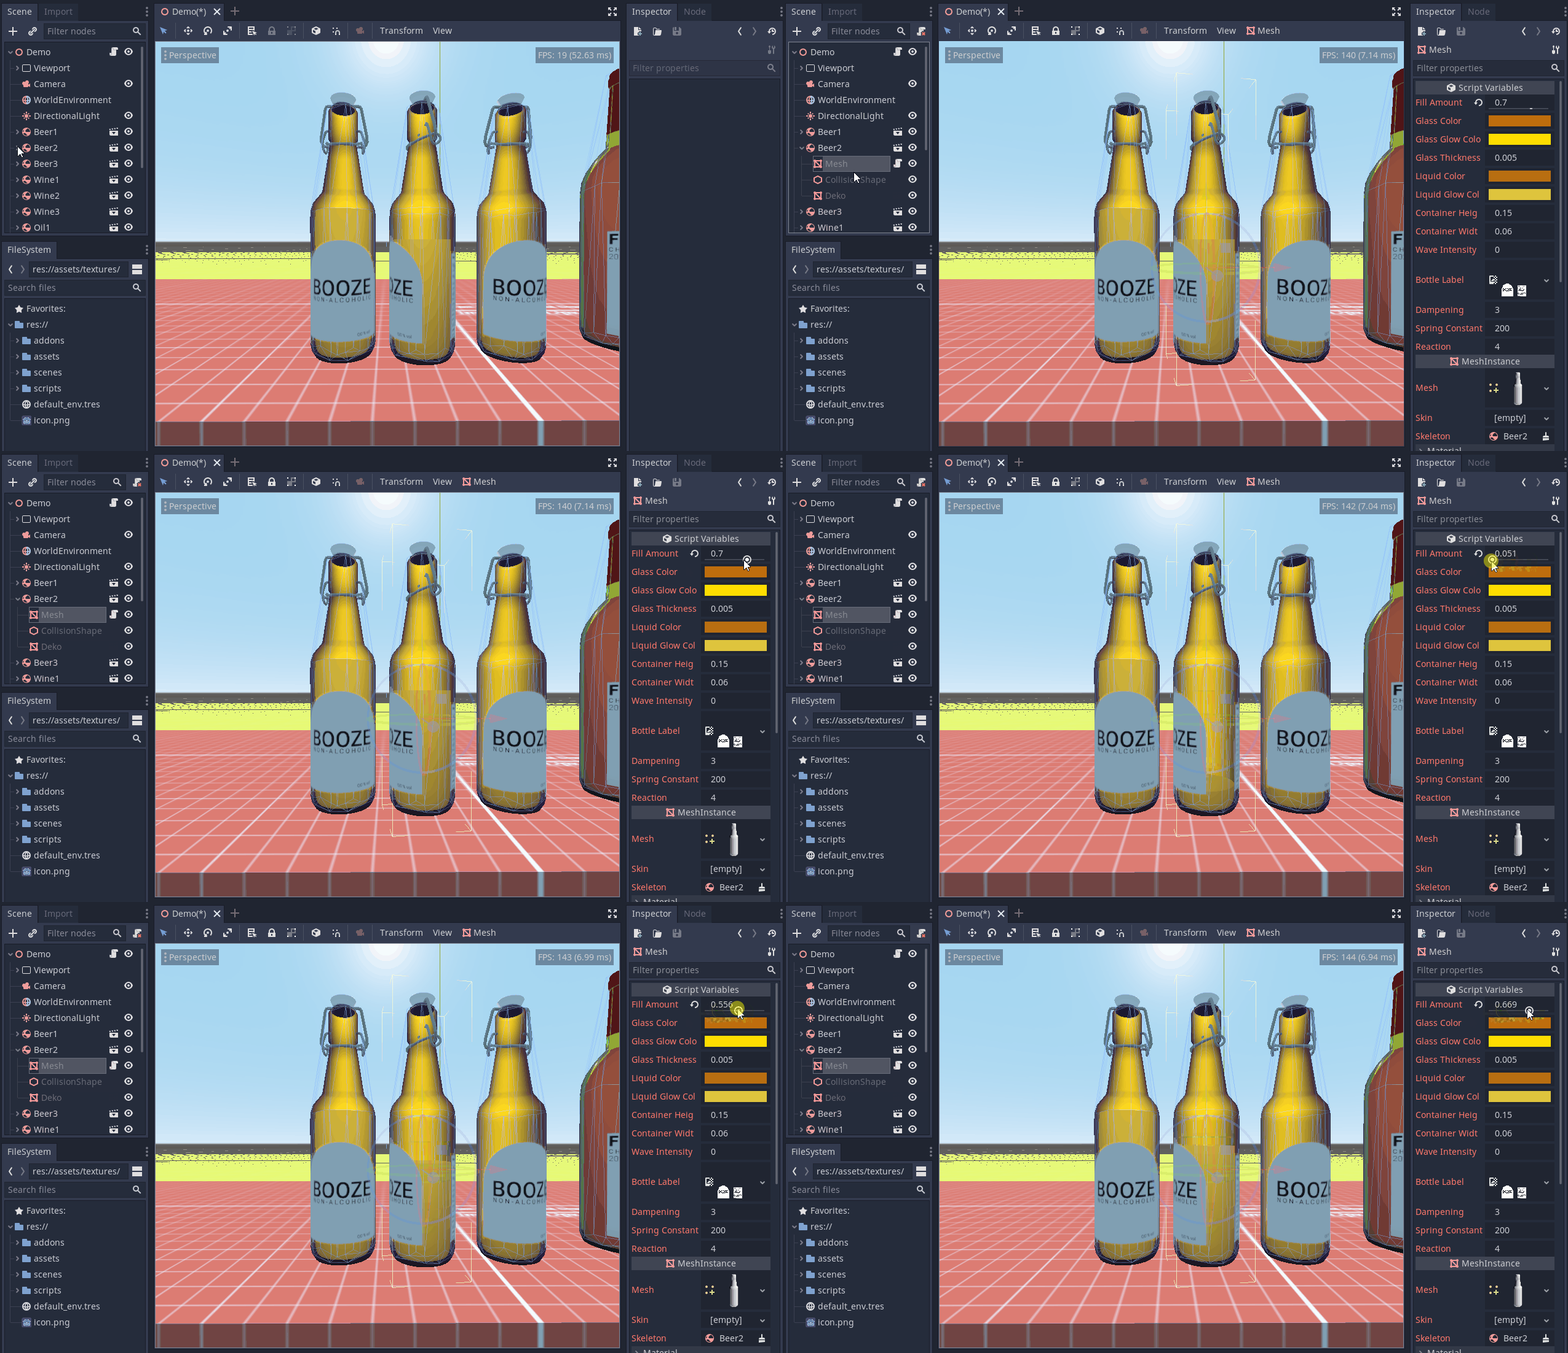
Liquid Container Demo
This repository contains a demo scene for a liquid-in-container shader I made in the Godot Engine. The containers use tool scripts and and can thus be run directly from the editor or the scene can be started in OpenVR.
Instructions
Open scenes/Demo.tscn to view the demo scene and play the project to run it in VR.
Material properties can be edited by changing the exported variables of the mesh script.
Material
The material is located in assets/materials/LiquidContainer.tres and the shaders used for each pass are located in assets/shaders.
The material renders in four passes:
First pass glass.shader: Render the back faces of the mesh and add some lighting to simulate the glass. Drawn behind all other passes.
In order to only draw the back faces we use
render_mode cull_front;
(I also override the lighting by reversing the normals via NORMAL = -NORMAL and writing to DIFFUSE_LIGHT in void light().
Second pass liquid.shader: Move the vertices of the model inwards a bit to simulate glass thickness and discard all fragments above the liquid line. Add some lighting and bubbles.
Moving the vertices inwards is easy:
void vertex() {
  VERTEX -= glass_thickness * NORMAL;
  ...
 }
In order to obtain the position in the container but rotated to world coordinates (to keep the liquid aligned with the world horizon) we do (where pos is a varying)
void vertex() {
  ...
  pos = mat3(WORLD_MATRIX)*VERTEX;
  ...
 }
The height above which to discard is defined by the varying liquid_line as follows:
void vertex() {
  ...
  float d = dot(vec3(WORLD_MATRIX[0][1], WORLD_MATRIX[1][1], WORLD_MATRIX[2][1]), vec3(0.0f, 1.0f, 0.0f));
  float m = lerp(width, height, abs(d));

  liquid_line = (fill_amount - 0.5f) * m
          + wave_intensity * length(coeff) * (texture(waves_noise, 2.0*pos.xz + 0.5*TIME * vec2(1.0, 1.0)).r - 0.5f
                                + texture(waves_noise, 2.0*pos.xz - 0.5*TIME * vec2(1.0, 1.0)).g - 0.5f)
          + dot(pos.xz, coeff);
  ...
}
We lerp between the width and the height of the container depending on the orientation of its z axis. This allows more realistic simulation of a constant liquid volume. Then, we add a noise texture (in this case Worley noise) moved over time and superimposed to create the smaller waves and finally the incline of the liquid surface based on the current coefficients coeff of the incline (which are set by the script).
Then, in the fragment shader we do
void fragment() {
  if (pos.y > liquid_line) discard;
  ...
 }
Third pass surface.shader: Similar to the second pass but cull front faces. Recalculate the normals to simulate the surface. Has to be drawn behind the second pass.
Fourth pass tint.shader: Draw the label texture and darken the edges of the container. Add some lighting effects like clearcoat to simulate the glass in front of the liquid. Drawn in front of all other passes.
I also posted a more detailed explanation of a previous version on Reddit, however, this may be outdated in parts.
Script
The motion of the surface is calculated in a script that then sets coeff in the second and the third pass.
This script can be found in scripts/Bottle.gd and has to be assigned to any mesh using the LiquidContainer material.
Apart from defining the exports, it also contains this section:
func _physics_process(delta):
    var accell_3d = (pos - 2 * pos_old + pos_old_old) / delta / delta
    pos_old_old = pos_old
    pos_old = pos
    pos = to_global(translation)

    accell = Vector2(accell_3d.x, accell_3d.z)

    coeff_old_old = coeff_old
    coeff_old = coeff
    coeff = delta*delta* (-spring_constant*coeff_old - reaction*accell) + 2 * coeff_old - coeff_old_old - delta * dampening * (coeff_old - coeff_old_old)

    material_pass_2.set_shader_param("coeff", coeff)
    material_pass_3.set_shader_param("coeff", coeff)

    ...
In it, the incline of the liquid is modelled as a dampened harmonic oscillator with the acceleration of the mesh as an external force.
Notes and Pitfalls
-
Calculating
liquid_linein the vertex shader has the advantage of only having two texture reads per vertex but requires additional geometry on flat surfaces. Moving this to the fragment shader is possible for better looking results but requires to texture reads per fragment. -
For simpler materials, render pass 2 and 3 (liquid and surface) could be done in a single pass with
render_mode cull_disabledbut there will be z fighting between back and front faces. This causes problems on transparent and textured liquids. -
Export your meshes with smooth shading (in Blender:
Object > Shade Smooth) for good results.
About
You can find be on Twitter as @CaptainProton42 and on Reddit as u/CaptainProton42.
Atrributions
This repository uses the Godot OpenVR Native module, for more information and licensing see README_VR.md
The controller script is based on the VR starter tutorial: https://docs.godotengine.org/en/3.1/tutorials/vr/vr_starter_tutorial.html
Basic idea is taken from https://twitter.com/minionsart/status/986374665399685121

