Soccer On Your Tabletop [Project Page]
Konstantinos Rematas, Ira Kemelmacher-Shlizerman, Brian Curless, Steve Seitz, in CVPR 2018
Warning: I am in the process of transferring the repo, so some things probably will not work.
This repository contains:
Upconversion of YouTube Soccer videos to 3D
- Camera Calibration
- Player Analysis (detection/segmentation/tracking)
- Player Depth estimation
- Temporal Game Reconstruction
Scripts for getting training data from video games
- Electronic Arts FIFA 2016 RenderDoc Depth buffer capture
- Depth buffer to point cloud
Visualization tools
- Example Unity project
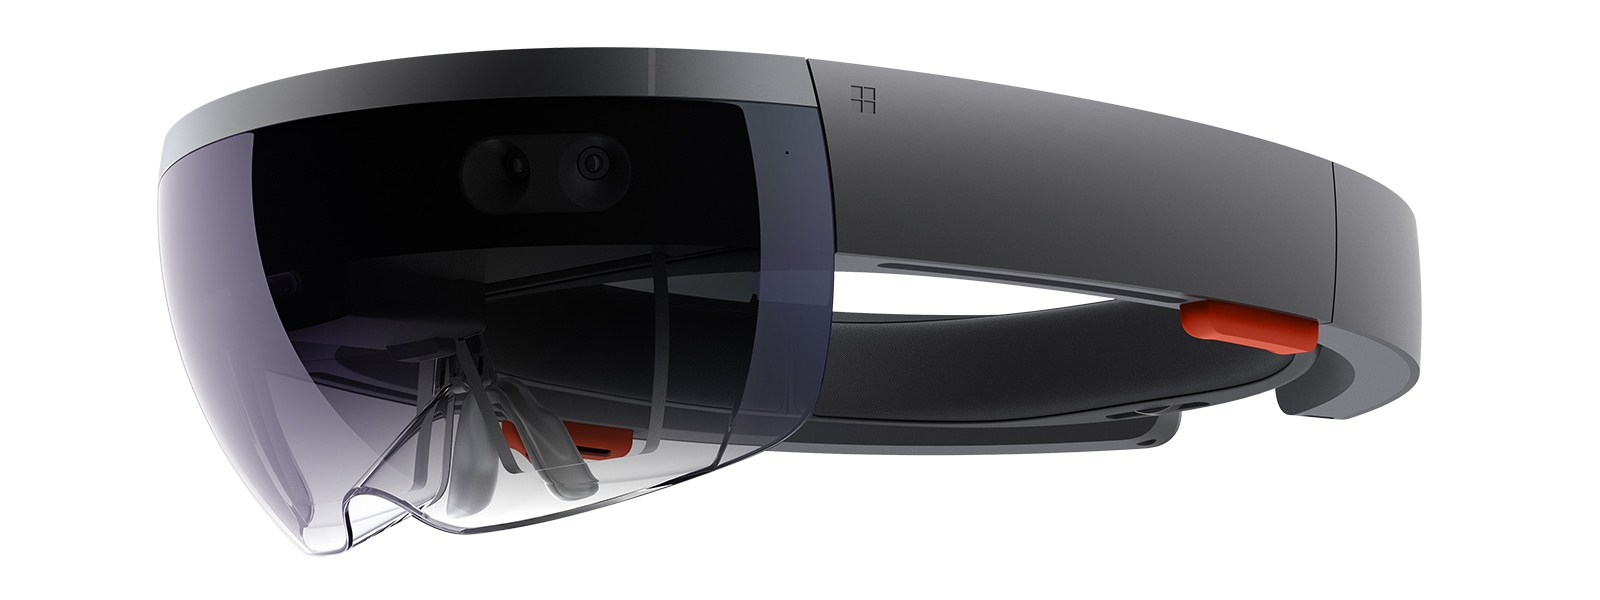
- Hololens VS Solution
These are the non "pip3 install" dependencies:
- Detectron for detection and (instance) segmentation.
- OpenPose for the players' pose estimation.
- OpenCV 3.1 + OpenCV_contrib for image loading/edge estimation etc. I followed this guide and it worked fine.
- Eigen3 for the instance segmentation
- Cocoapi for mask utilities
- Boost
- CMake
The pipeline contains parts written or depending on python2, python3, cython, C/C++, which makes it a bit difficult to combine everything in one system. Therefore we break it into individual parts that have specific inputs and outputs (eg png to pickle) and communicate through a python3 class that reads, processes and writes the intermediate and final results.
First, download the repo and install its dependencies
# SOCCERCODE=/path/to/soccercode
git clone https://github.com/krematas/soccerontable $SOCCERCODE
pip3 install -r requirements.txt
Let's start by downloading an example dataset
wget http://grail.cs.washington.edu/projects/soccer/barcelona.zip
unzip barcelona.zip
# DATADIR=/path/to/barcelona

  barcelona
  ├── images
      ├── 00000.jpg
      ├── 00001.jpg
      ├── ...
The original video was cropped from YouTube and frames were extracted with avconv.
Run Detectron to get bounding boxes and segmentation masks
mkdir $DATADIR/detectron
# DETECTRON=/path/to/clone/detectron
cp utils/thirdpartyscripts/infer_subimages.py ./$DETECTRON/tools/
cd $DETECTRON
python2 tools/infer_subimages.py --cfg configs/12_2017_baselines/e2e_mask_rcnn_R-101-FPN_2x.yaml --output-dir $DATADIR/detectron --image-ext jpg --wts https://s3-us-west-2.amazonaws.com/detectron/35861858/12_2017_baselines/e2e_mask_rcnn_R-101-FPN_2x.yaml.02_32_51.SgT4y1cO/output/train/coco_2014_train:coco_2014_valminusminival/generalized_rcnn/model_final.pkl $DATADIR/images/
Now we can run the calibration step. In the first frame we give 4 manual correspondences and afterwards the camera parameters are optimized to fit a synthetic 3D field to the lines in the image.
cd $SOCCERCODE
python3 demo/calibrate_video.py --path_to_data $DATADIR
Next, we estimate poses, near the bounding boxes that Mask-RCNN gave.
# OPENPOSEDIR=/path/to/openpose/
export LD_LIBRARY_PATH=$LD_LIBRARY_PATH:/usr/local/cuda/lib64/
python3 demo/estimate_poses.py --path_to_data $DATADIR --openpose_dir $OPENPOSEDIR
The estimated poses cover very well the players in terms of localization/extend/etc. We use them to make individual crops of players for every frame for further processing. We use also the poses to refine the instance segmentation.
python3 demo/crop_players.py --path_to_data $DATADIR
export OMP_NUM_THREADS=8
./soccer3d/instancesegm/instancesegm --path_to_data $DATADIR/players/ --thresh 1.5 --path_to_model ./soccer3d/instancesegm/model.yml.gz
We combine the masks from Mask-RCNN and our pose-based optimization and we prepare the data for the network.
The model weights can be found here
# MODELPATH=/path/to/model/
python3 demo/combine_masks_for_network.py --path_to_data $DATADIR
python3 soccer3d/soccerdepth/test.py --path_to_data $DATADIR/players --modelpath $MODELPATH
Next, we convert tje estimated depthmaps to pointclouds.
python3 demo/depth_estimation_to_pointcloud.py --path_to_data $DATADIR
Finally we generate one mesh per frame, with the smooth position of the players, based on tracking. Note that the resolution of the mesh is reduced, so later it can easily fit into Hololens.
python3 demo/track_players.py --path_to_data $DATADIR
python3 demo/generate_mesh.py --path_to_data $DATADIR
Just to be sure that everything is fine, we can have a simple opengl visualization
python3 demo/simple_visualization.py --path_to_data $DATADIR
The unity project and the hololens visual studio solution can be downloaded below (click on the image). The project was done on Unity version 2018.1 and to run the Hololens VS solution you will need a Hololens (with a bluetooth keyboard to place the hologram properly).


