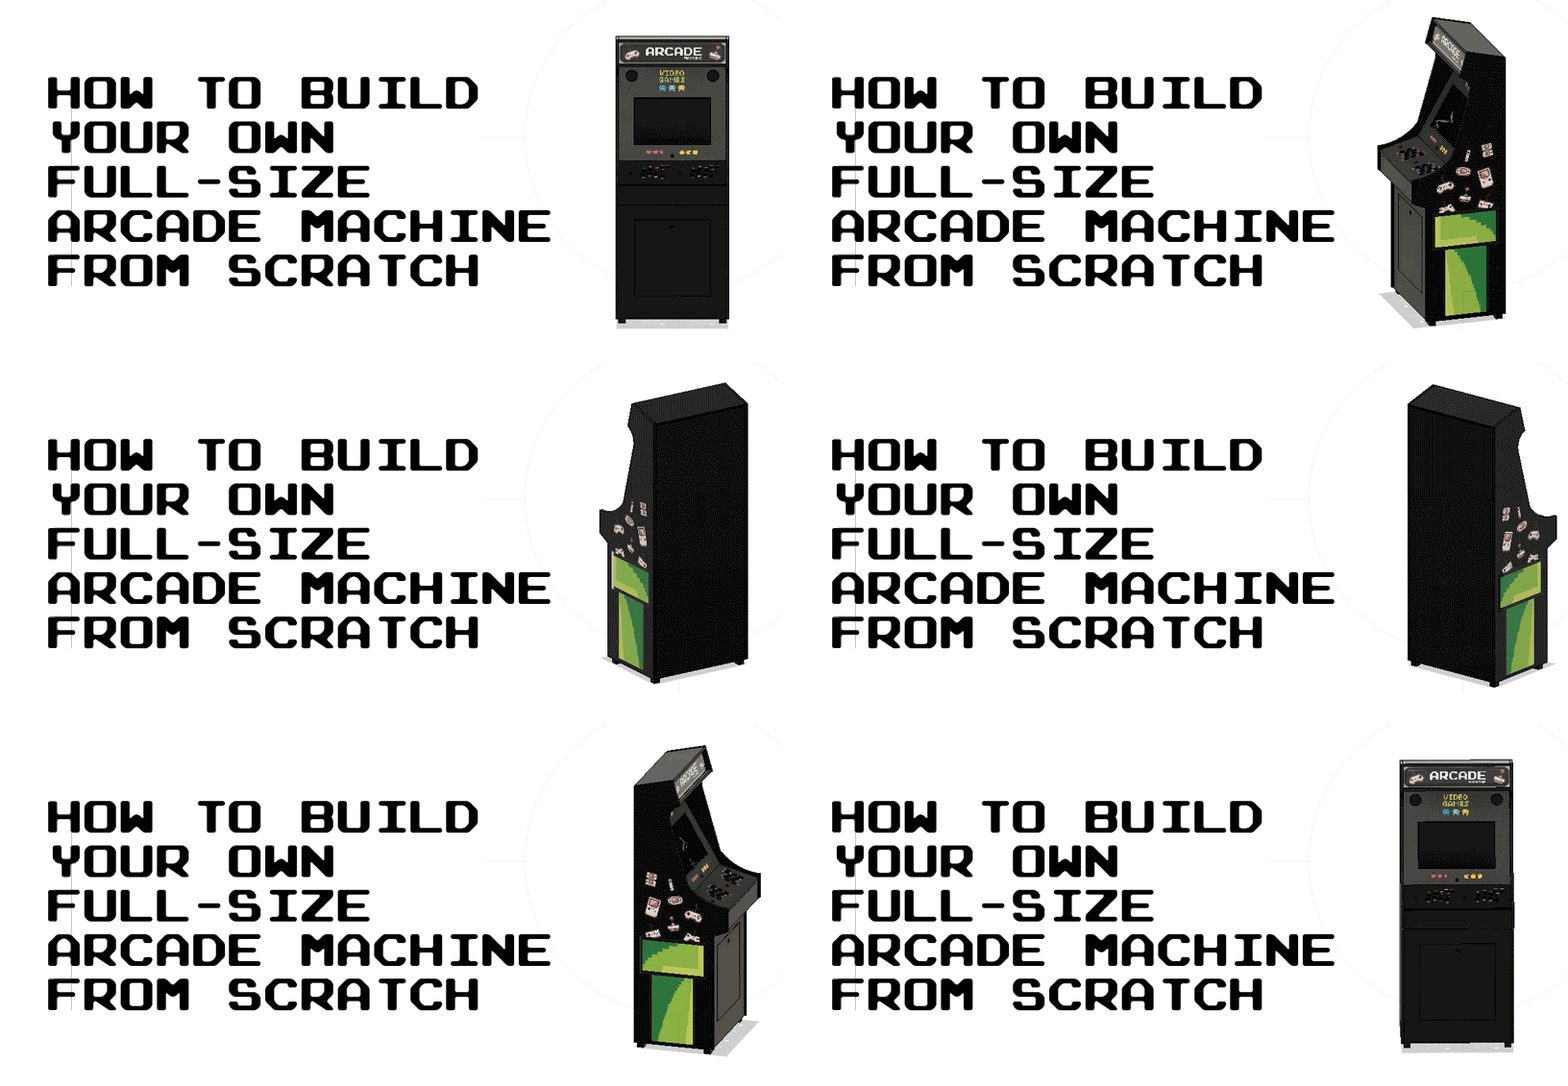
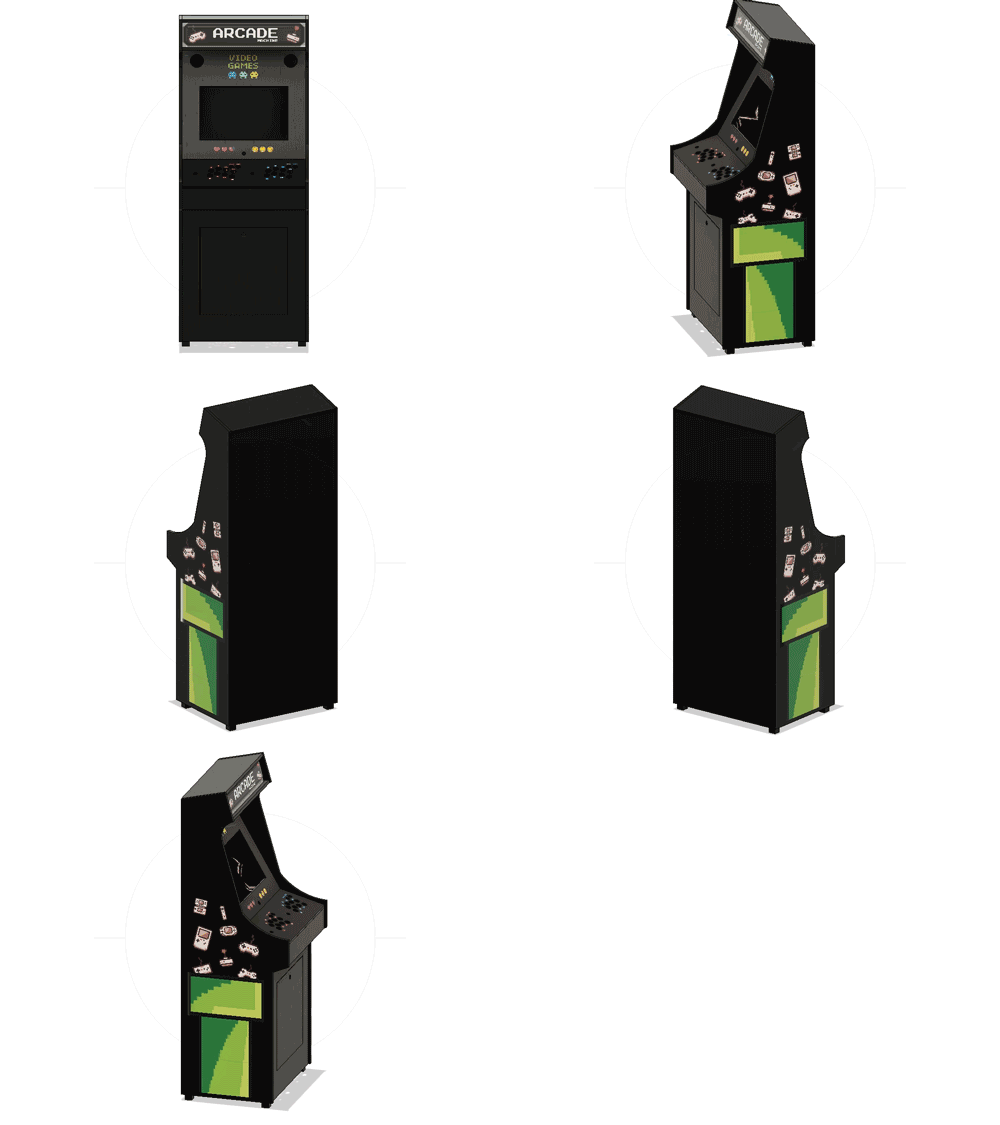
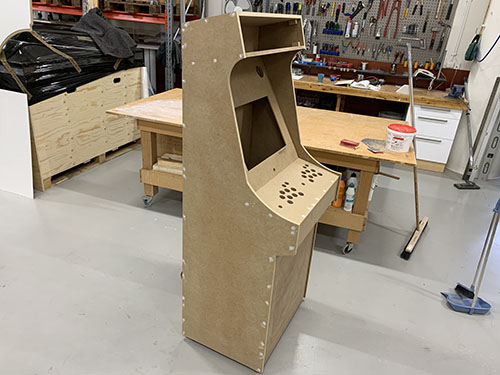
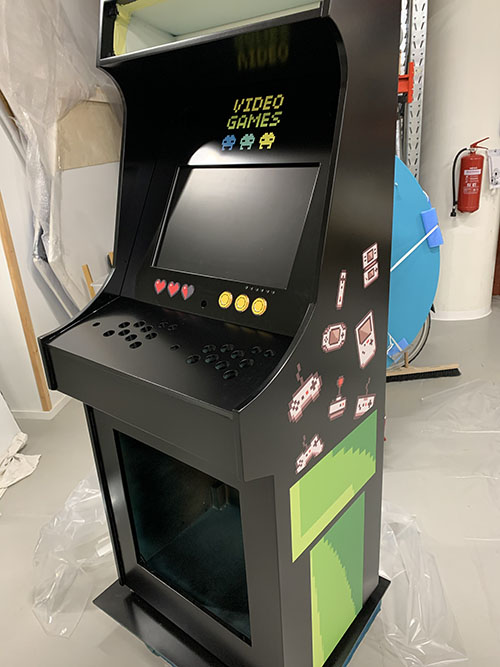
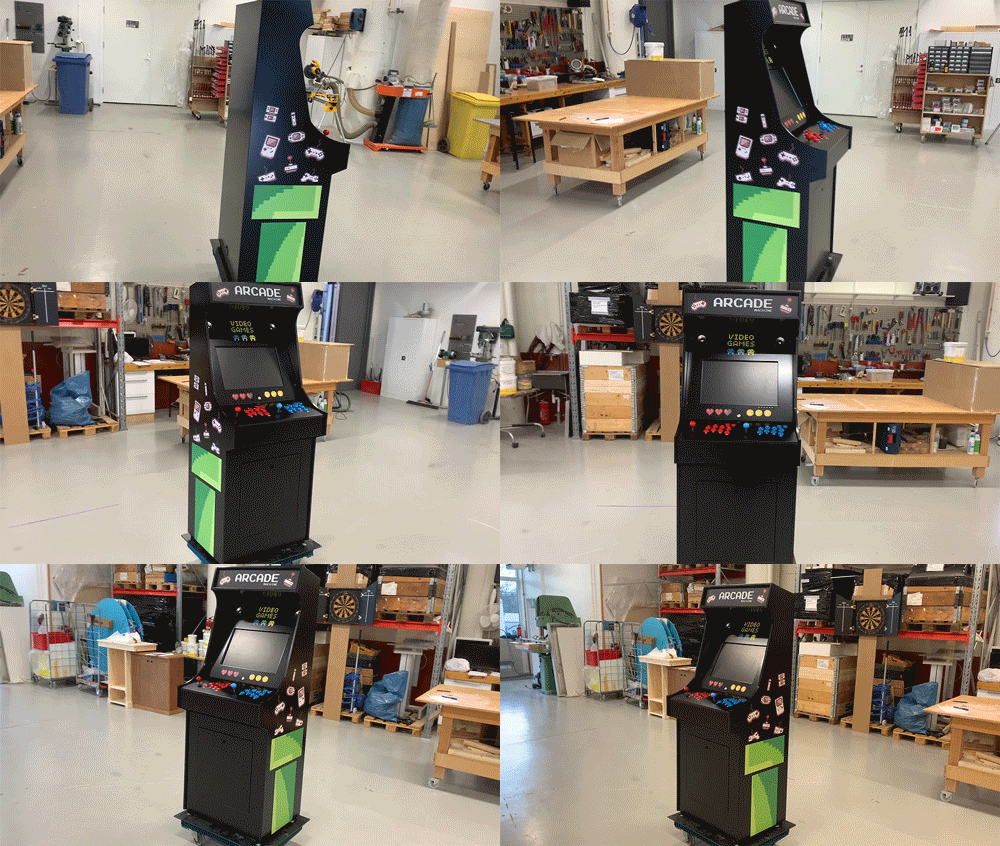
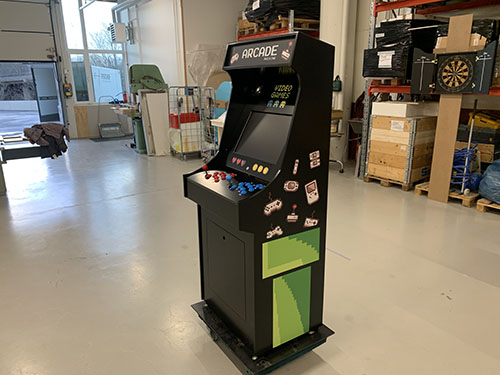
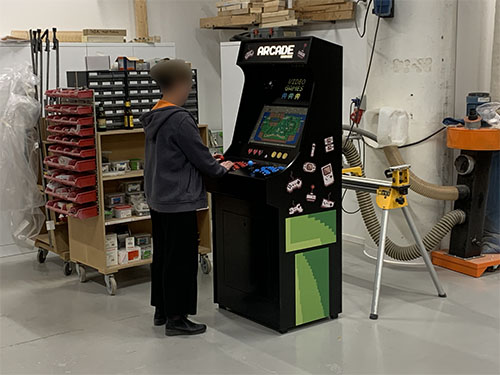
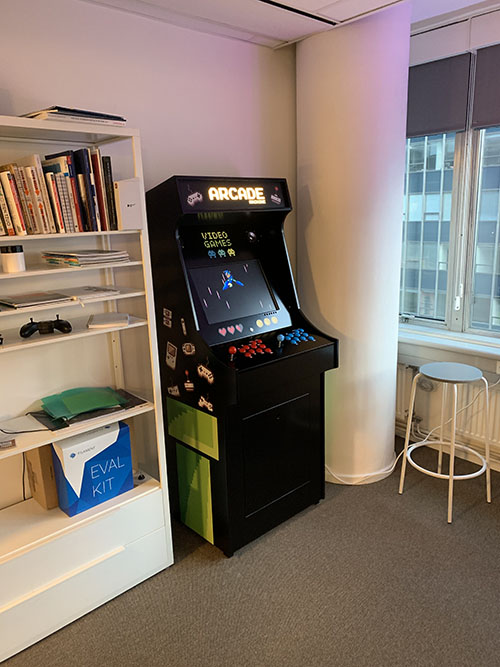
This guide goes through all the steps necessary to build your own full-size arcade machine, including the pre-designed CAD-files, how to assemble all the cabinet parts, how to set up the Raspberry Pi running the arcade program etc. The project was my first project going from CAD to actual build (actually also the first time I used a CAD program).
If you have any questions, feel free to contact me on LinkedIn: https://www.linkedin.com/in/max-fischer-92997281/
Table of content
Build the cabinet
Download the CAD-file
The CAD design was created in AutoCAD Fusion 360. This was my first experience using any CAD-program, so the design is likely far from optimal and there are probably a lot of possibilities for improvements. Note that all the CAD-files are in millimeters.
3d
Watch the CAD-file on GitHub's 3D File Viewer
2d
Download below button panel (.dxf)
Download hatch outside panel (.dxf)
Download hatch inside panel (.dxf)
Download lightbox bottom (.dxf)
CNC parts
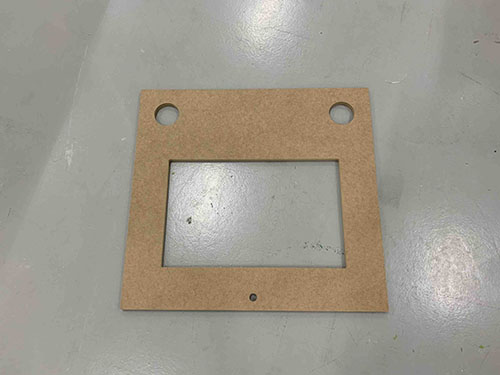
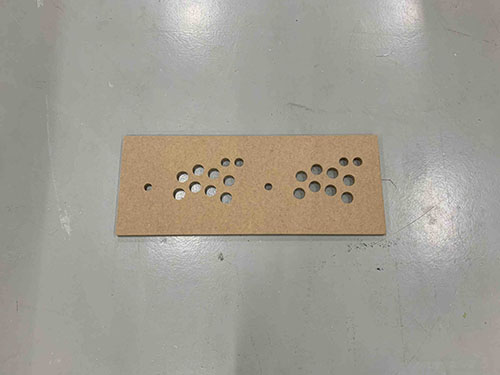
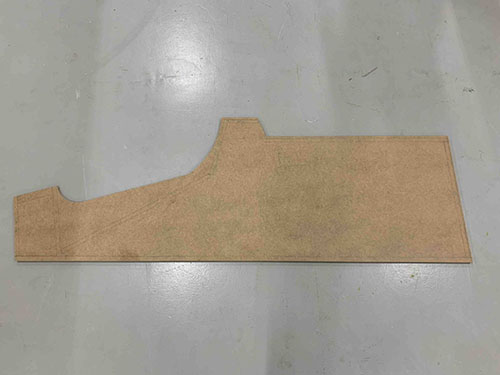
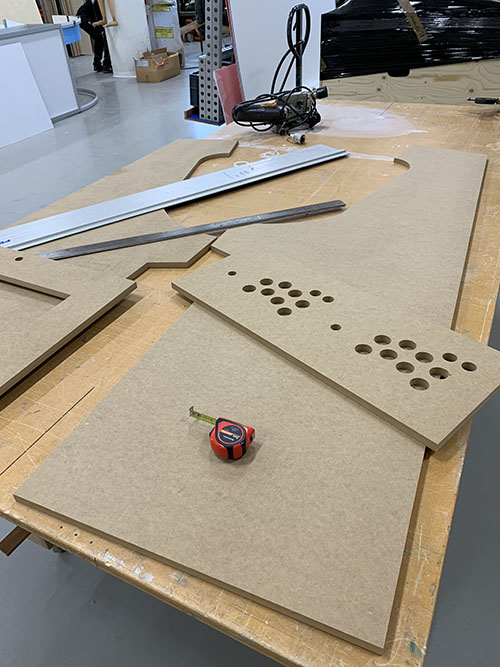
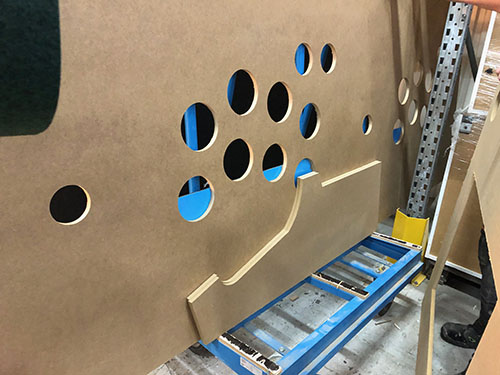
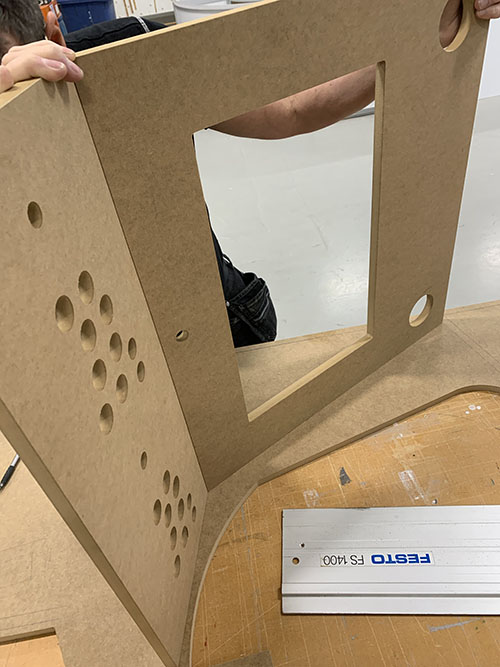
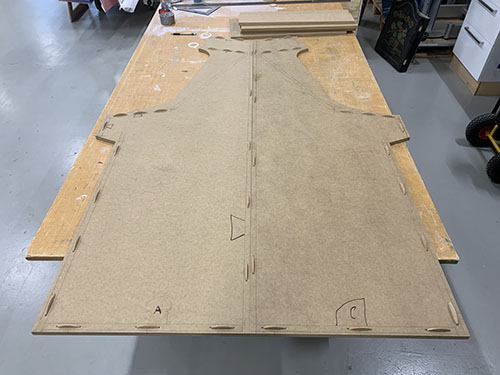
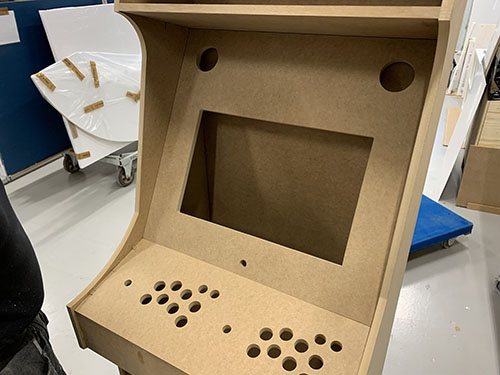
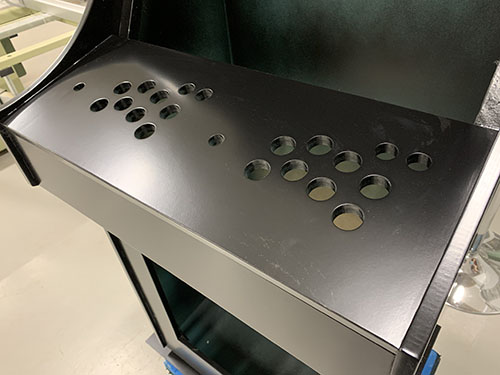
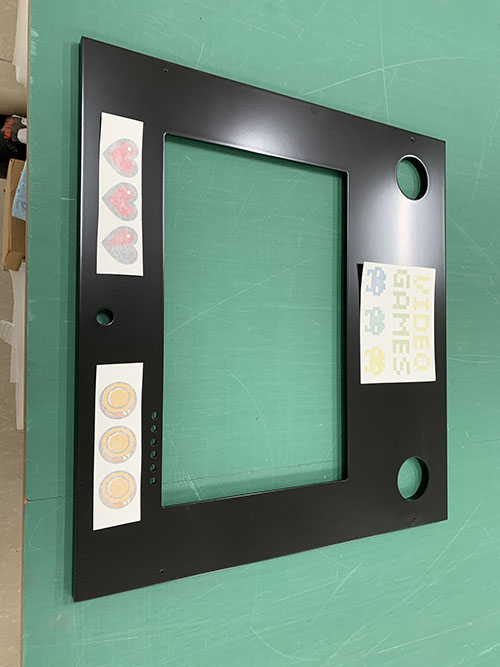
To get a perfect fit for the arcade buttons and joysticks, the screen, the power button and the speakers, the button panel and the screen panel were CNC-cut. This was more expensive than doing it by hand, but lead to a much better finish. To make the cabinet fit perfectly together, the two side panels were also CNC cut, as they have multiple rounded shapes that need to be identical on both sides.
Oh, and remember to CNC-cut the CAD file on size 1:1 and not "utilize full MDF board"... ¯\(ツ)/¯
Hand-cut parts
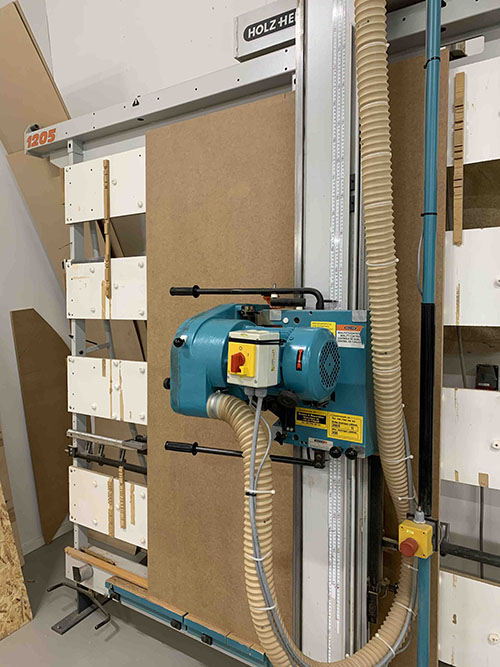
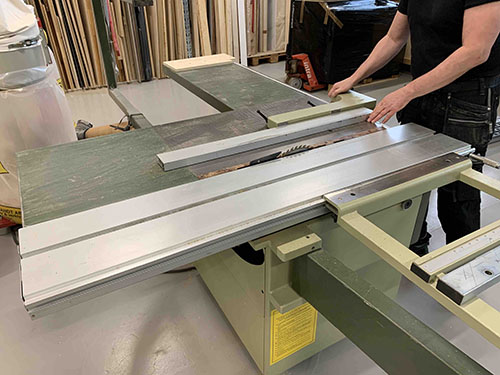
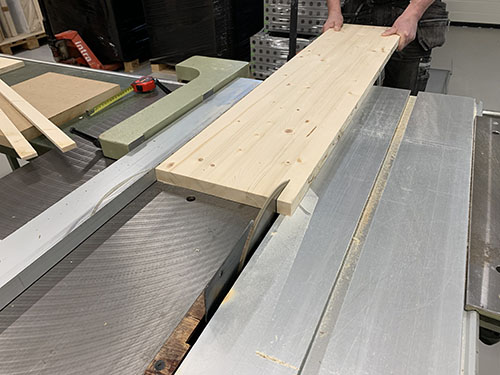
As the rest of the parts were more or less rectangular, they were cut by "hand". To do this, two different mounted saws were used:
- A vertical panel saw to cut down the MDF to smaller pieces
- A table saw to cut out the final pieces
| Piece | Image |
|---|---|
| Back panel | 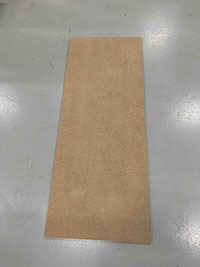 |
| Bottom panel | 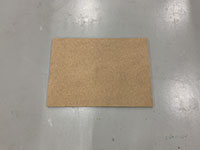 |
| Below button panel | 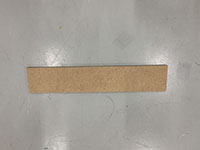 |
| Hatch panel | 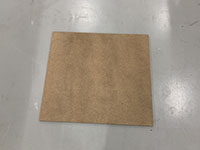 |
| Light box panel 1 | Missing |
| Light box panel 2 | 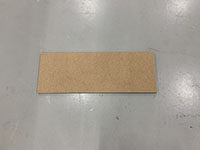 |
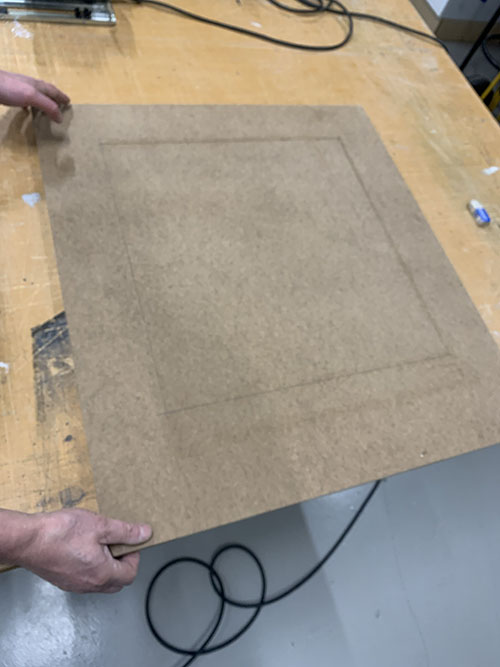
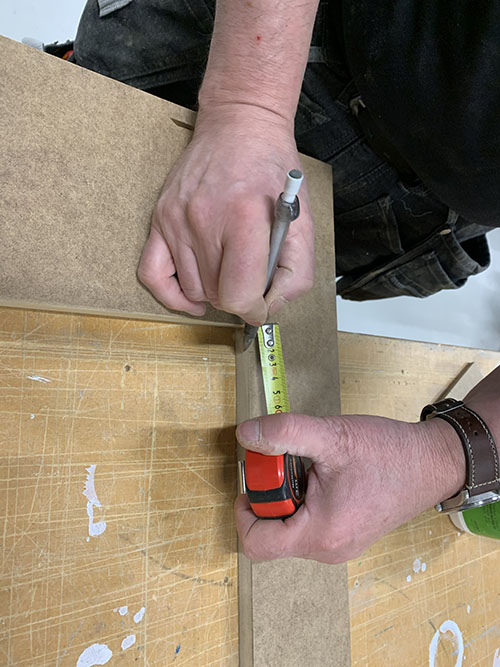
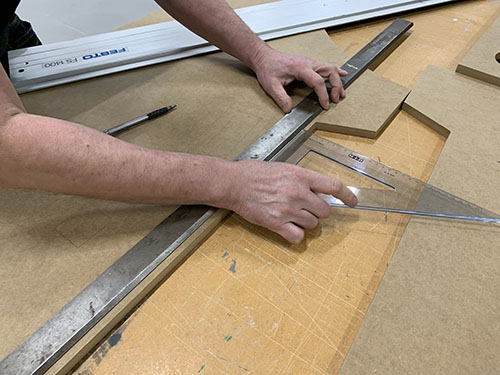
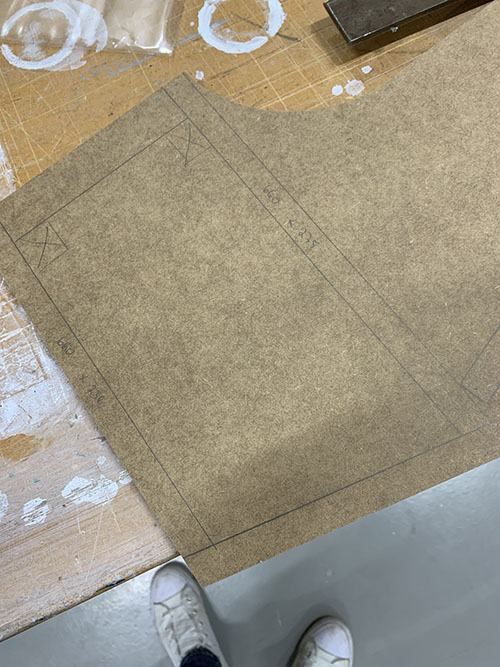
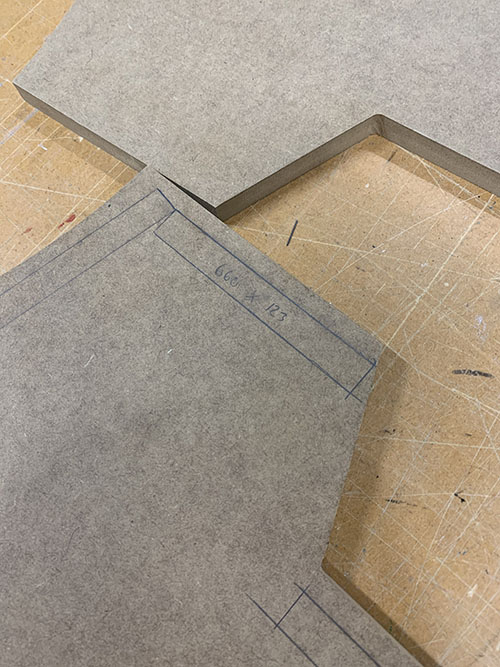
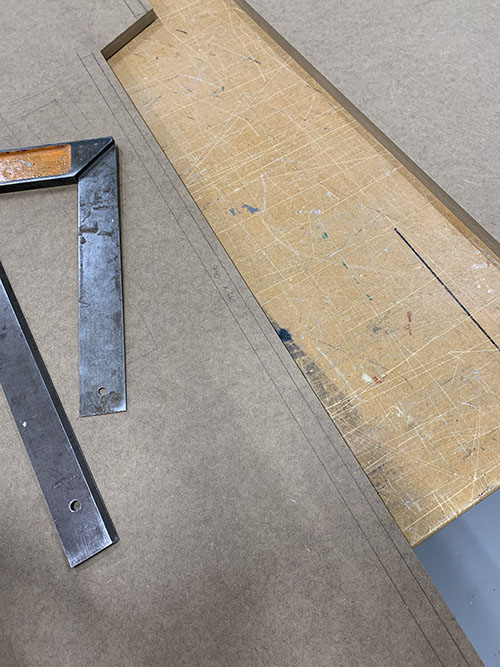
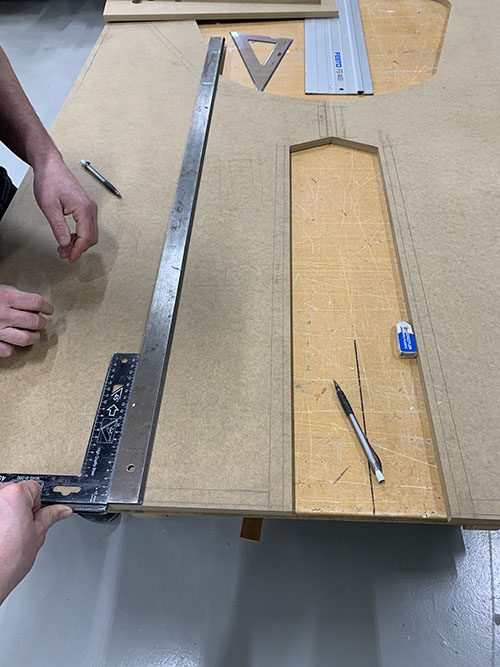
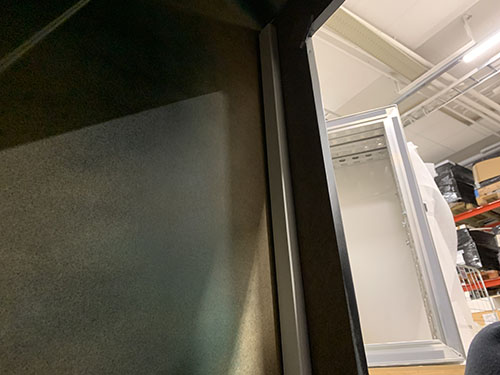
The only panel that needed some more work was the hatch panel. The outlines of the hatch were first sketched on the panel.
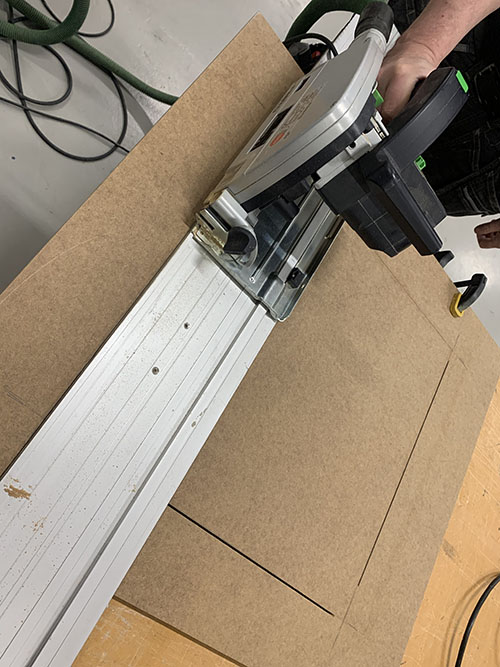
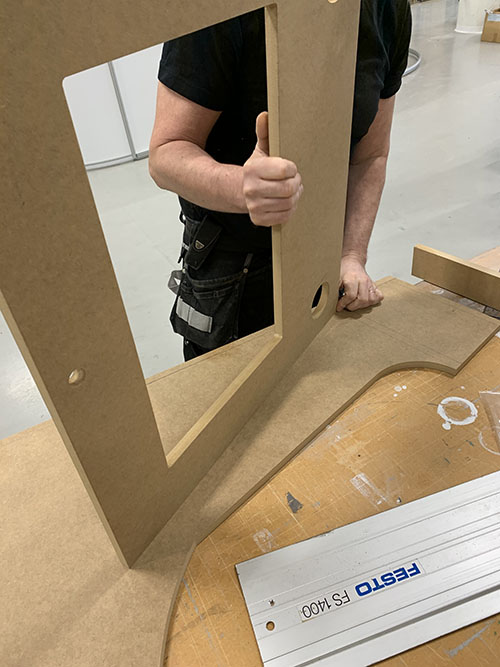
A circle saw was then used to cut out the actual hatch.
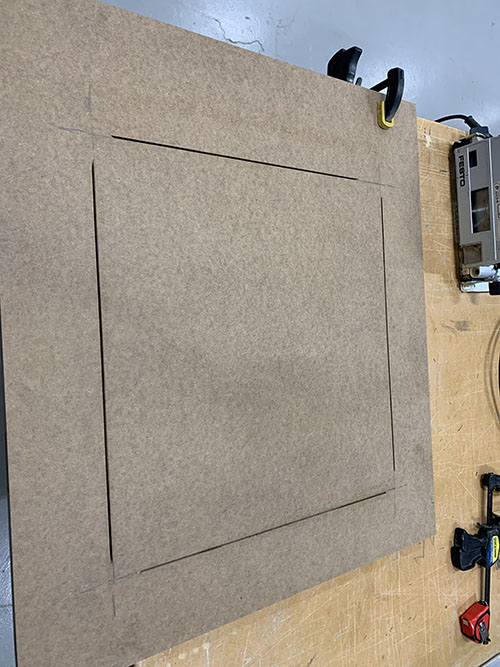
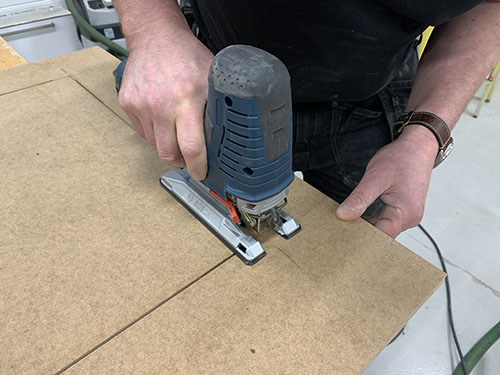
A hand held jigsaw was used for the edges as it's difficult to know how far the circle saw will cut.
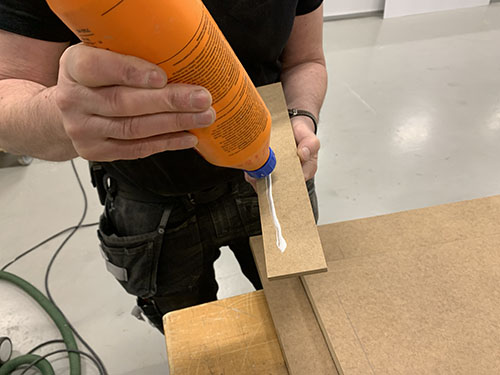
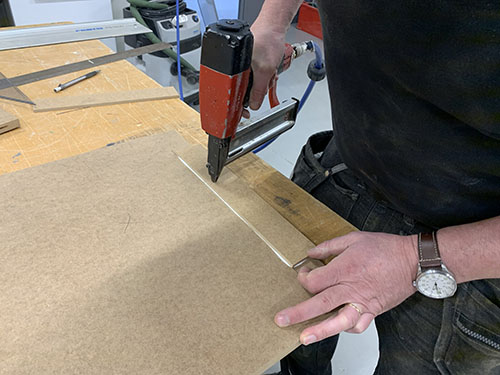
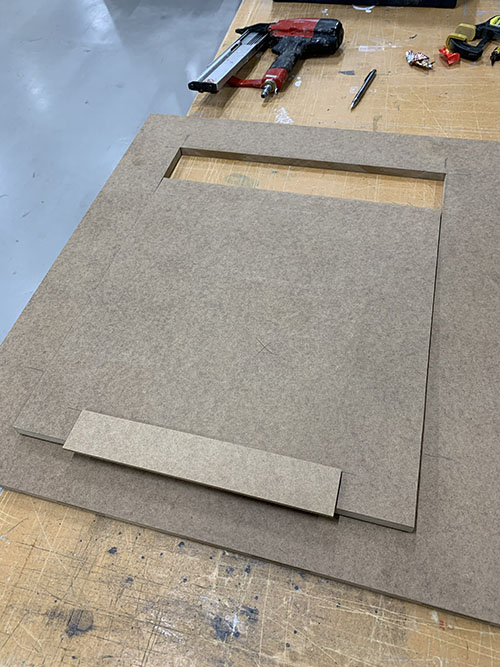
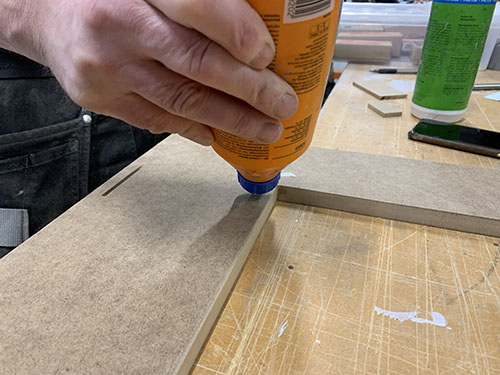
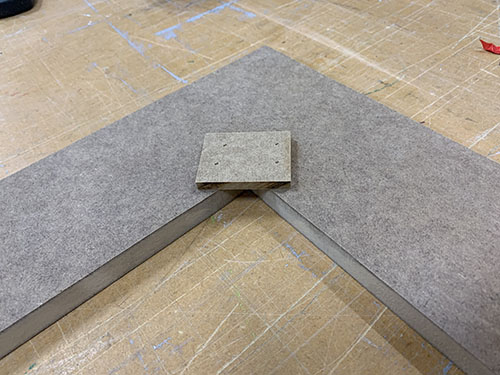
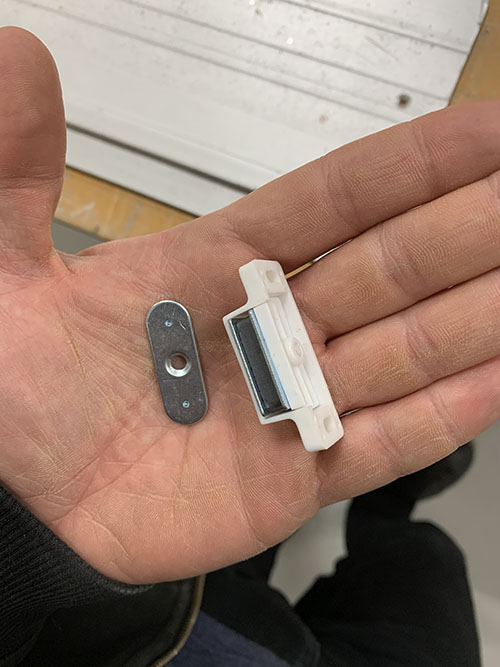
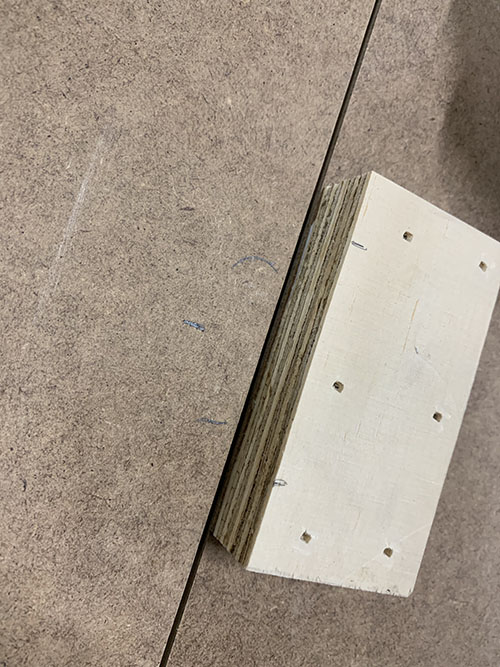
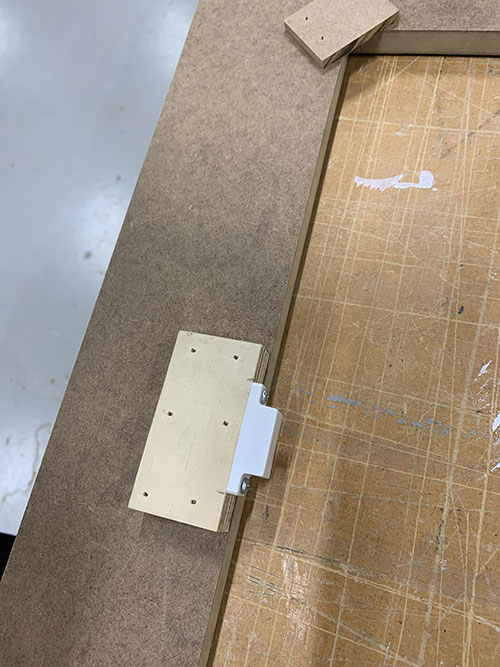
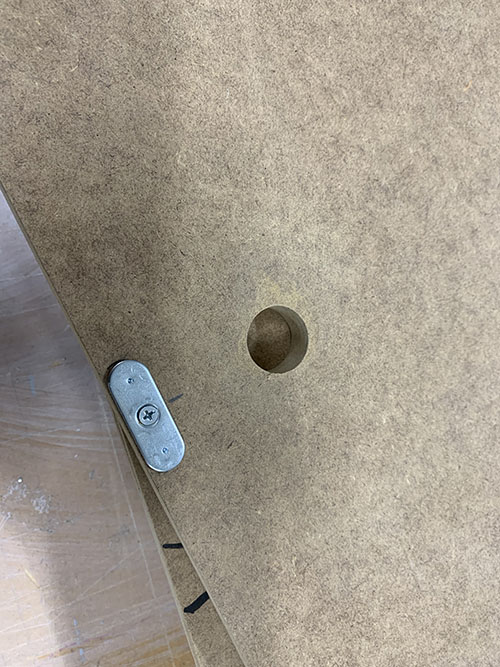
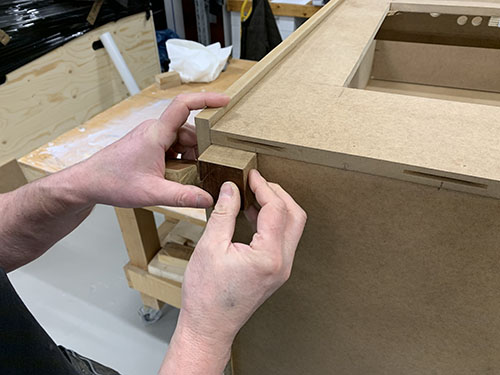
After the main part was separated into the inner and outer part, "blockers" were glued and nailed into place. This, together with a standard window magnet was used to keep the hatch in place.
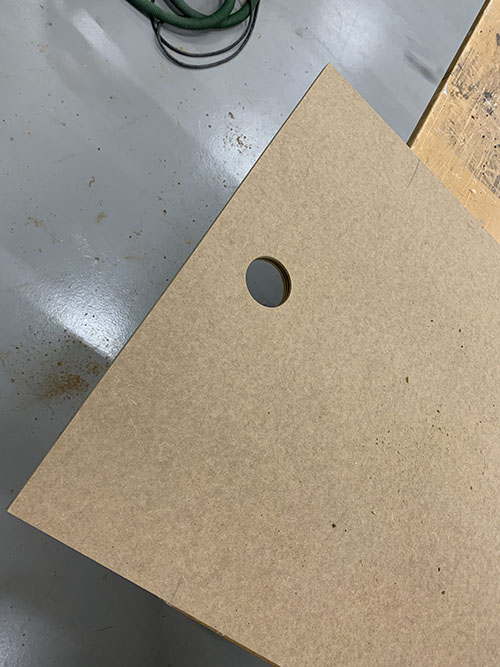
A hole was also cut at the top of the inner part to enable it to be opened.
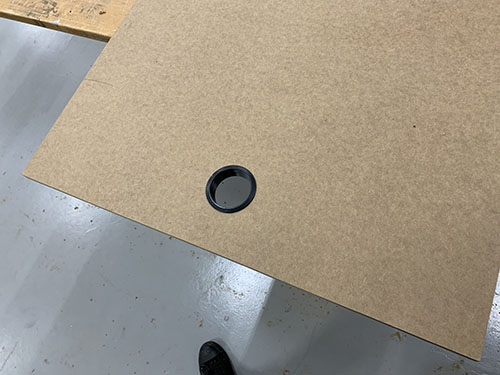
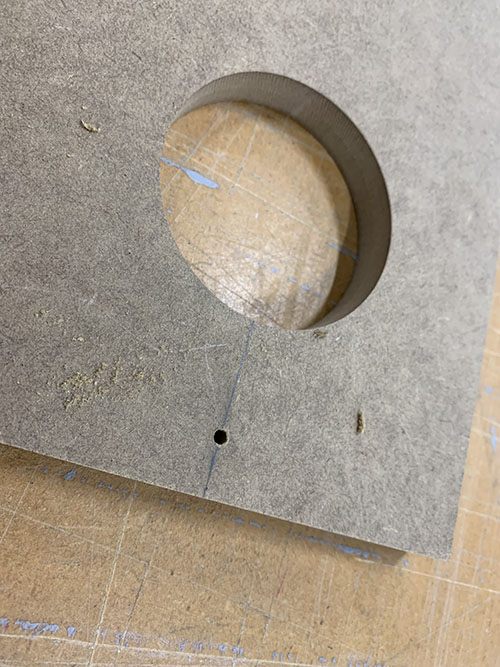
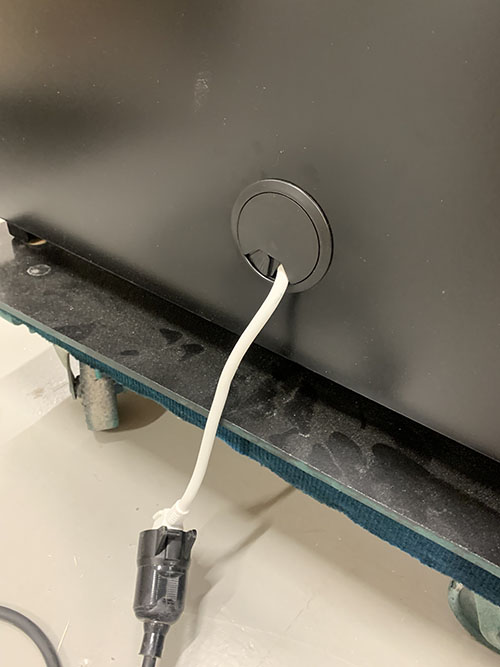
A hole was also drilled at the bottom of the large back panel to prepare for a power strip to be inserted.
Draw outlines of parts
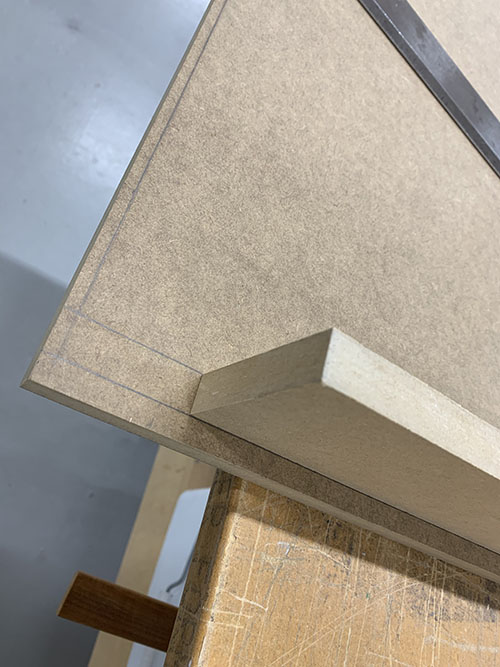
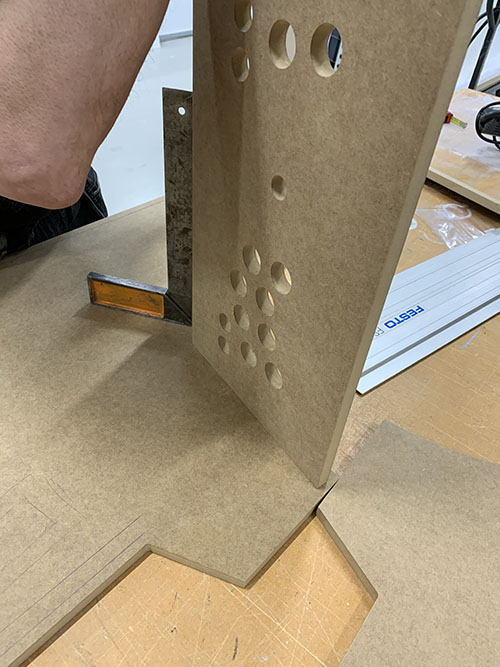
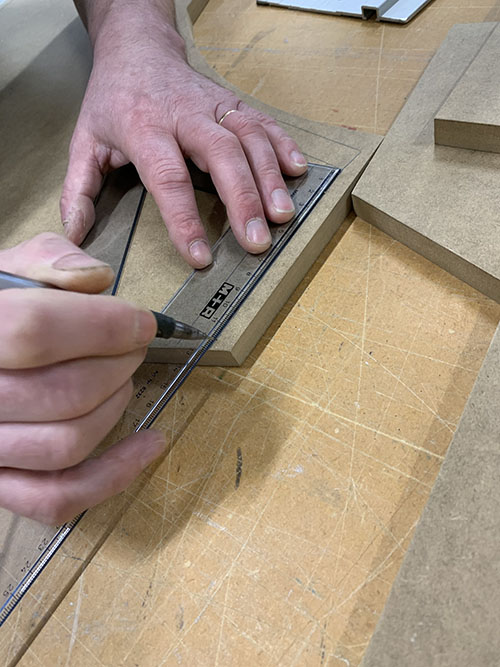
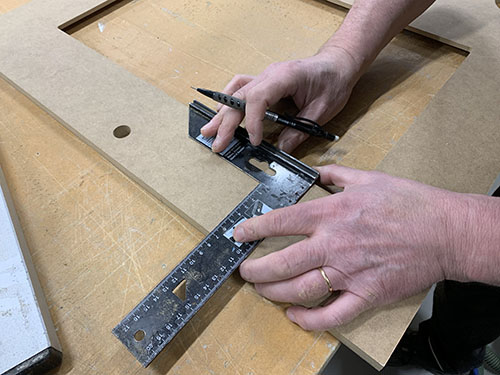
It was important to fixate all the parts at the same location on both side panels for the cabinet to be symmetrical. To simplify this, outlines were drawn where each panel was supposed to be attached to the side panels. As the button panel and the screen panel were attached at an angle, their outlines were first drawn on one of the side panels. Then the outlines were reflected and transferred to the other side panel by using some reference points. It was a bit tricky, so take your time.
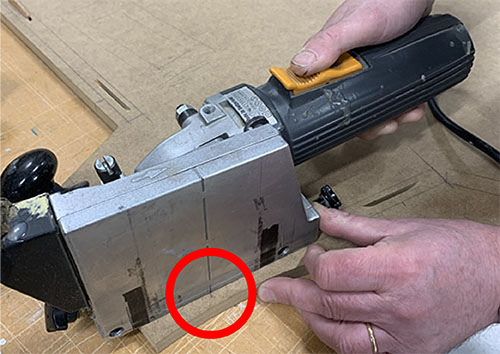
Cut wood biscuits holes
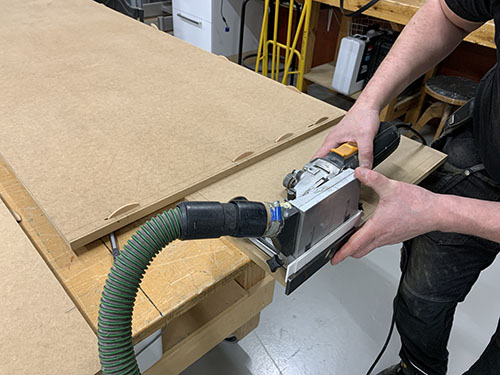
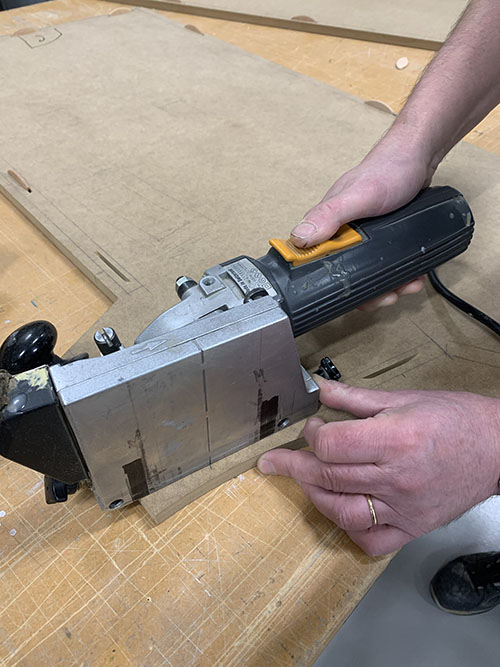
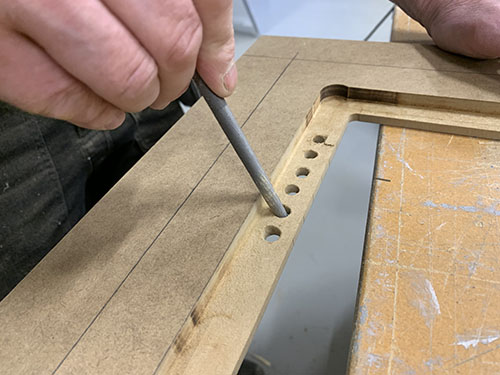
To hold all the panels together, wood biscuits, wood glue and a nail gun were used. The wood biscuits are not only good for making the cabinet robust, but they also help with fixating all the panels at the right places and angles. The only panel that wasn't attached with wood biscuits was the screen panel. The reason was for the screen to be interchangeable if it breaks, something that is not possible (or atleast very difficult) if the panel is glued in place.
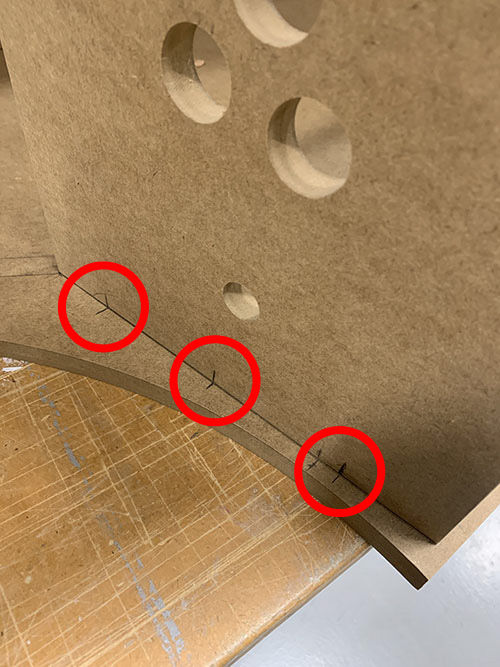
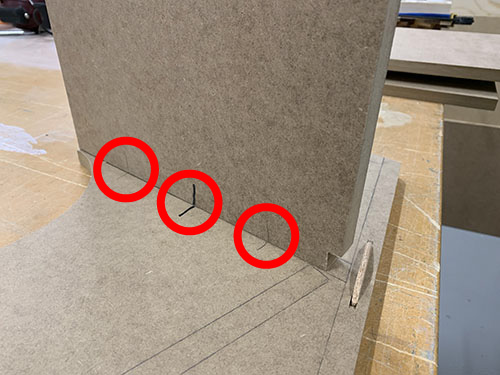
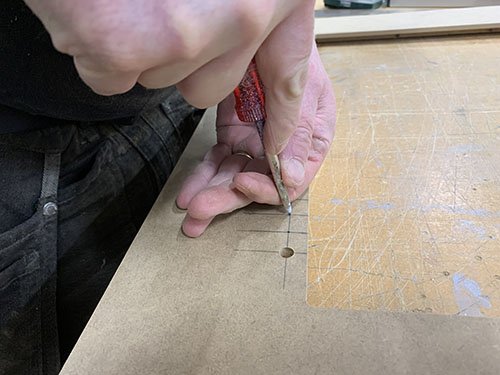
When using the wood biscuit cutter, it's important that the holes end up at the correct place at the aligning panels. One simple way of solving this is to align your panels and then draw a line on both panels at the center of where you want the biscuit to be. If you do this, the holes will end up at the right place.
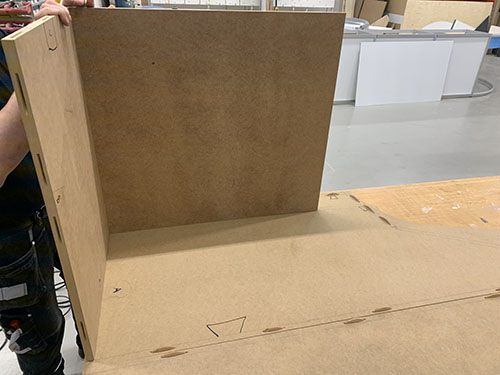
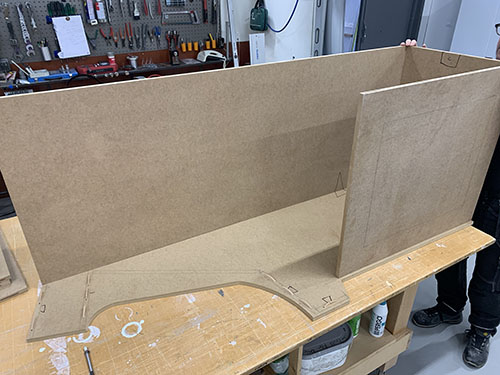
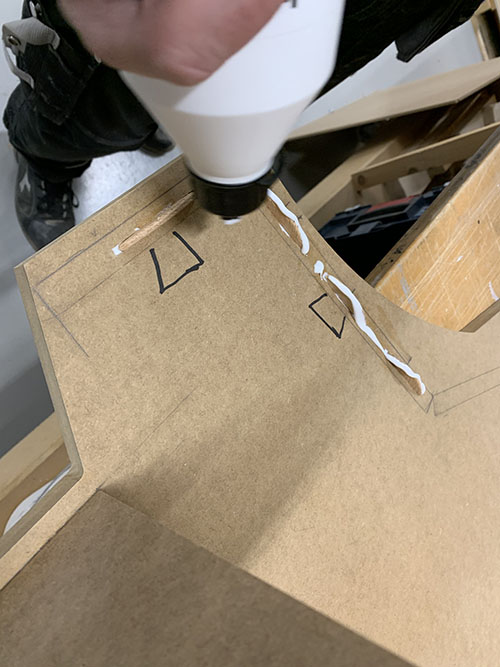
Before gluing all the parts together, make sure that they fit by placing each panel at their place. A tip is to draw shapes (triangles, circles etc) on connecting parts, so you easily know which parts that go together later on.
Glue main parts together
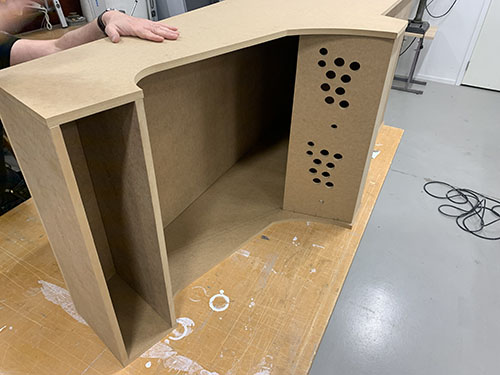
When gluing the parts together, you'll need to be fairly quick and structured. I started of by laying down one side panel first, then gluing the middle parts and finally gluing the other side panel.
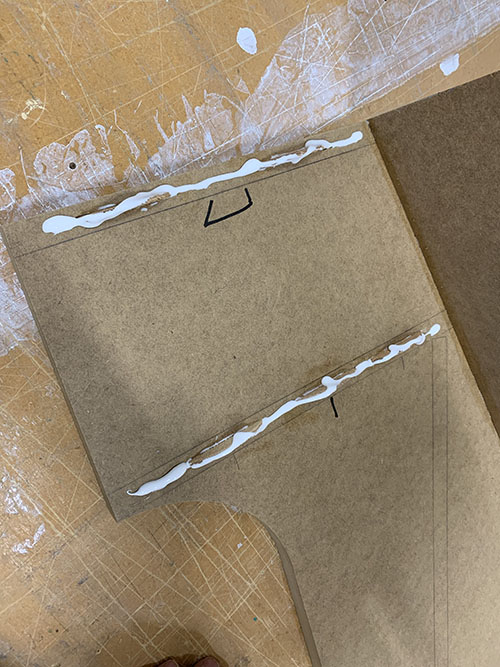
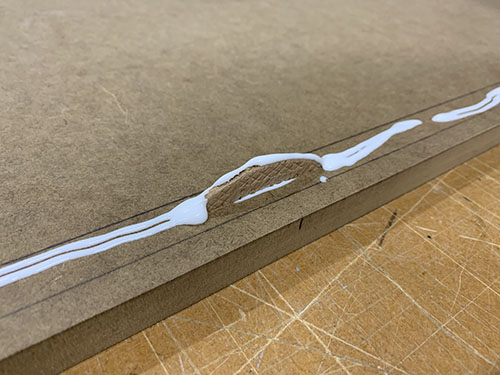
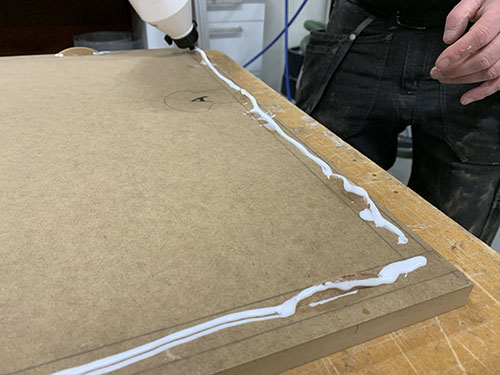
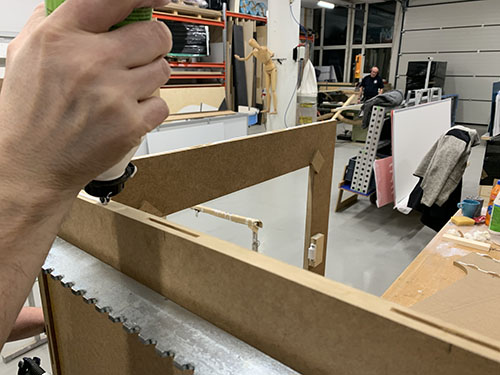
Start of by adding the glue in the wood biscuit holes. Then press down the wood biscuits into the holes. After that you apply wood glue along all the connecting parts and press them together.
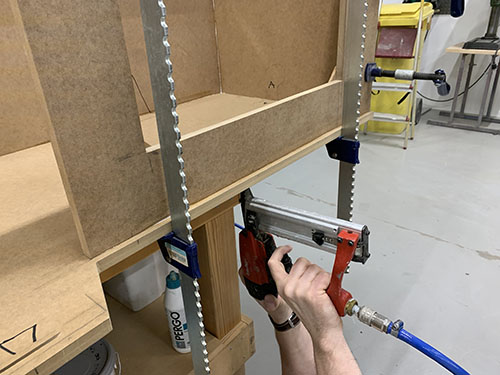
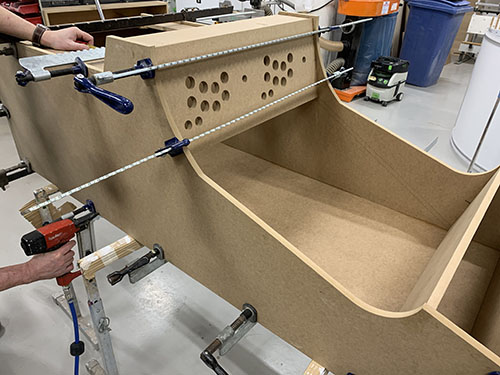
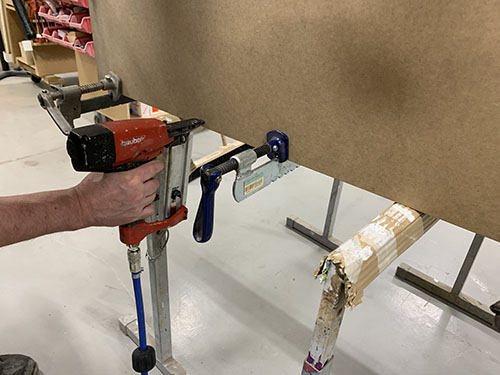
When done, make sure that all the parts are aligned and in the right position. Then apply force using large clamps and nail everything together using a nail gun.
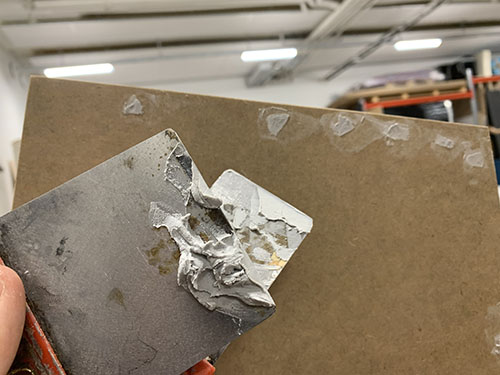
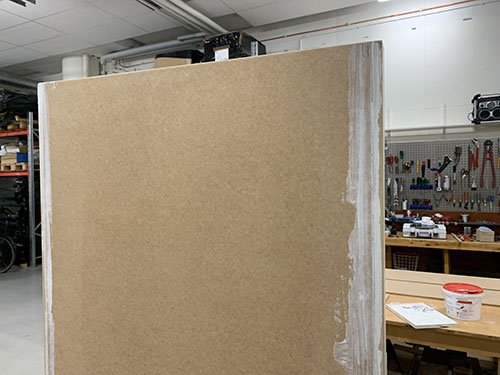
Also, don't forget to remove redundant glue dripping out from the connecting parts, it makes it much easier to get a nice finish later on.
Adding cabinet legs
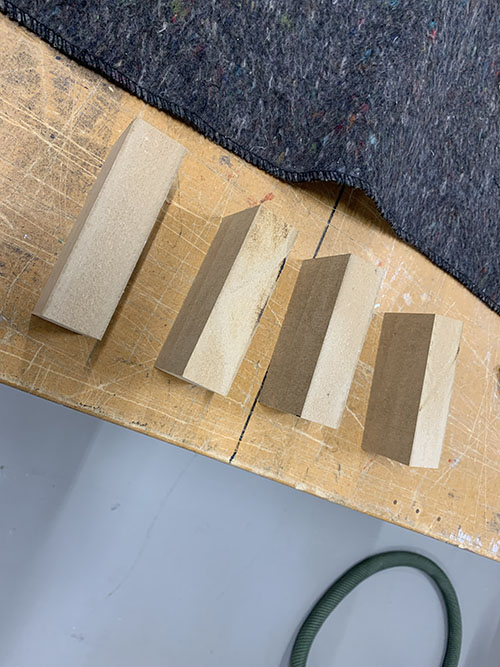
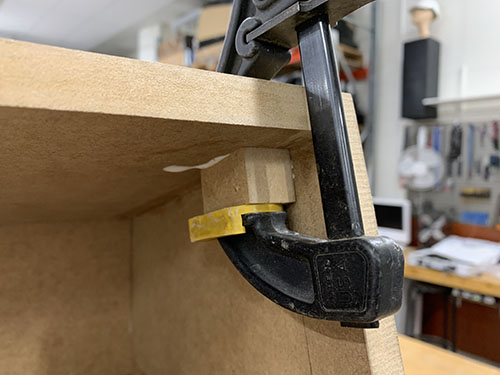
To distribute the upwards force from the legs, a small block of wood was glued and nailed in each corner inside the cabinet.
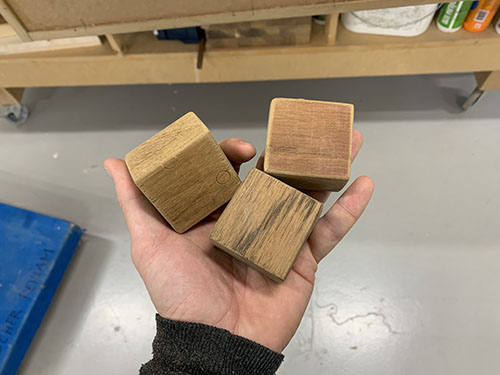
I had some wood laying around that I used as legs for the cabinet. After cutting out four squares, make sure that they fit nicely in each corner.
Use a sand paper to round the edges.
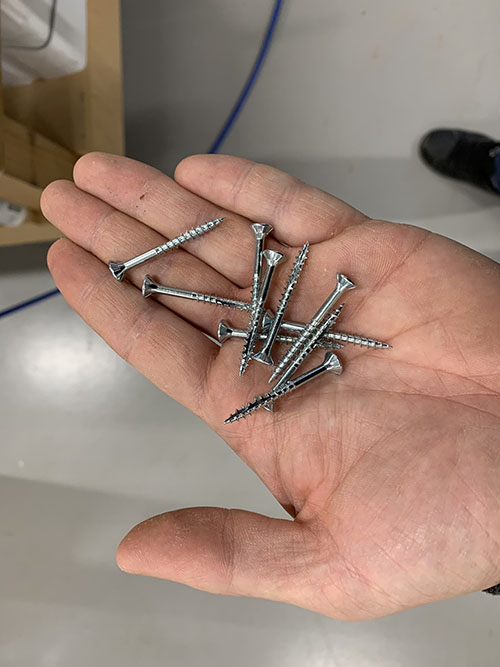
The legs was then glued from the outside and screwed from the inside.
Add screen panel
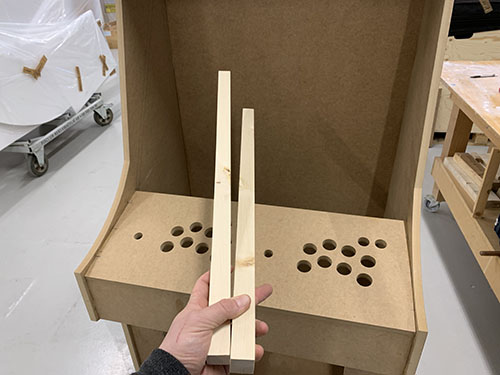
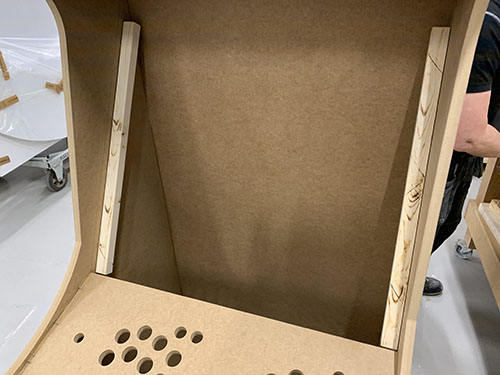
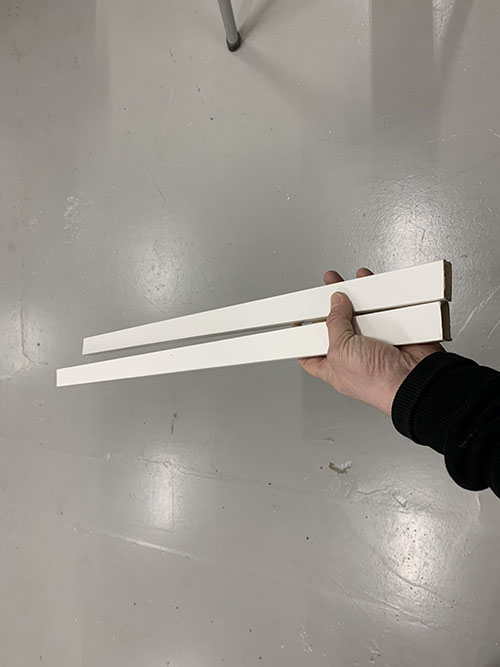
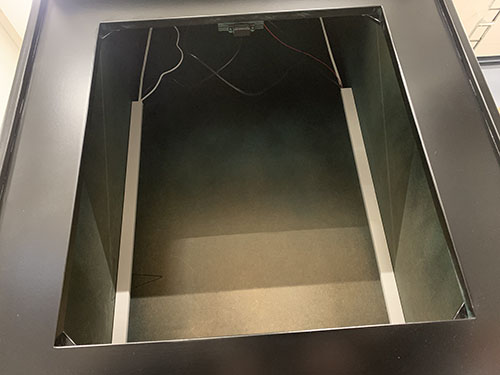
To be able to easily remove and change the screen, the screen panel was screwed in place. Two slim wood bars were glued and nailed on each inner side at the correct angle for the screen panel to rest on.
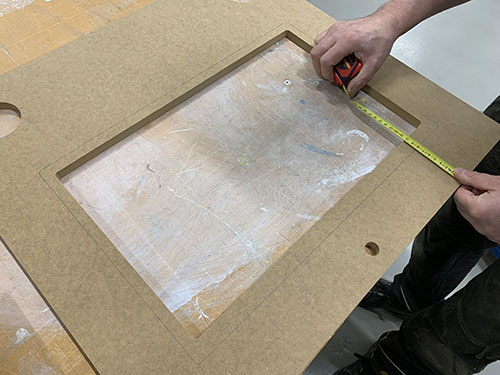
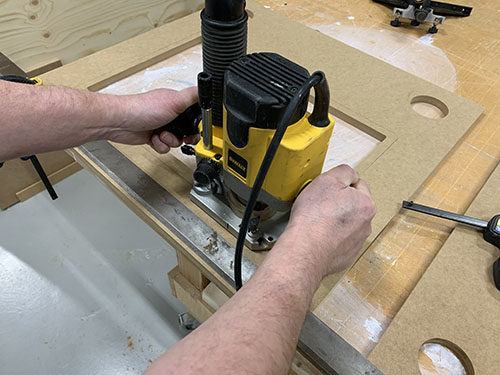
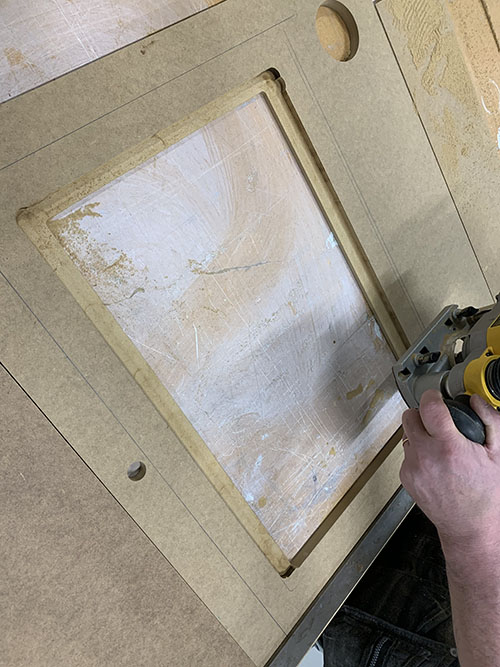
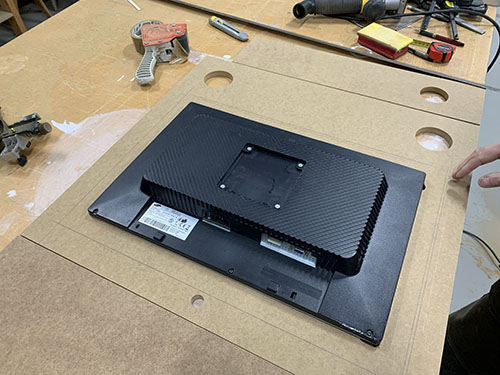
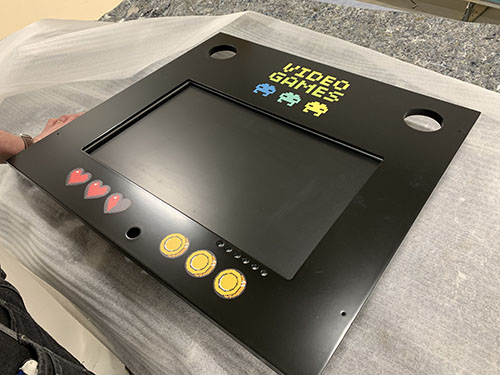
To get a nice seamless look of the screen, a handheld milling machine was used to extract a slot for the screen on the back side of the screen panel.
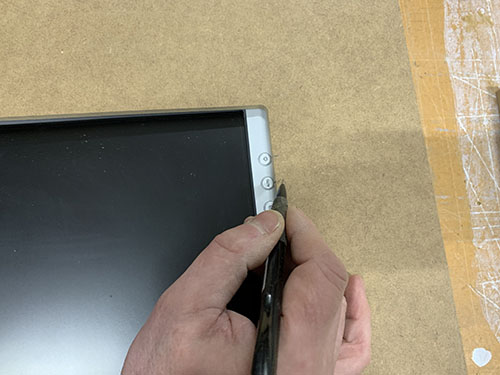
The screen I used had button on the front, so I needed to drill holes in the screen panel for them to be clickable.
Finally, the screw keeping the screen panel in place were aligned with the speakers to get a nice look.
Preparing the light box
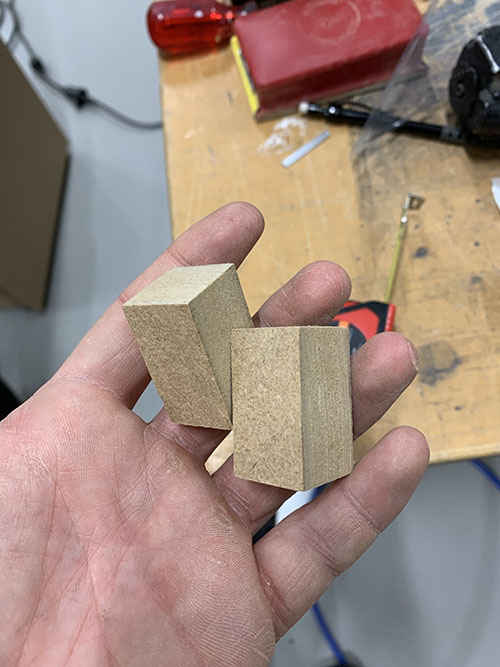
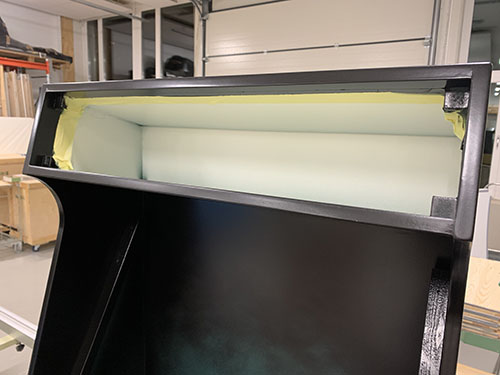
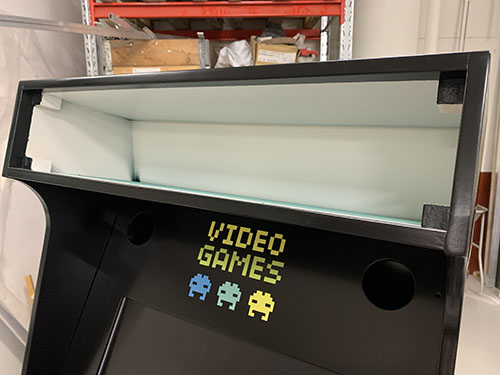
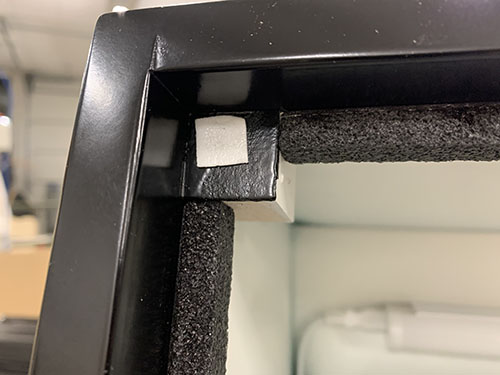
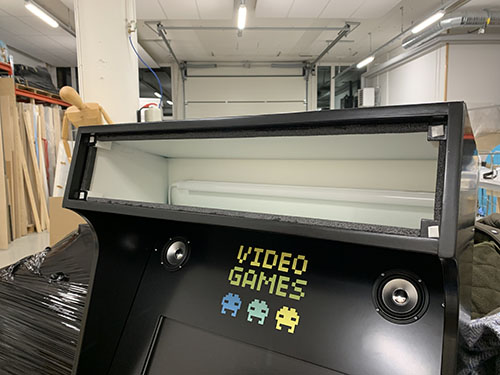
As a true retro arcade cabinet, of course we need a glowing light box at the top of the cabinet. To keep the plexiglass in place, four small wood cubes were glued and nailed at each corner for the plexiglass to rest on.
Spackling paste and sanding
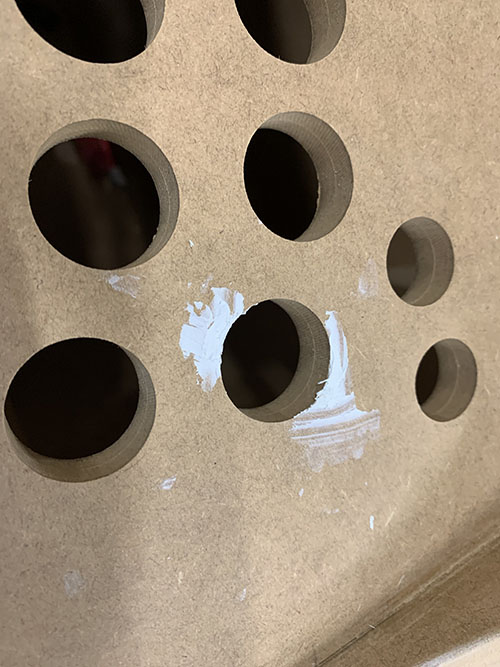
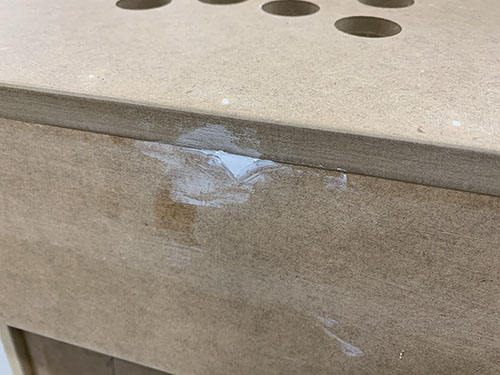
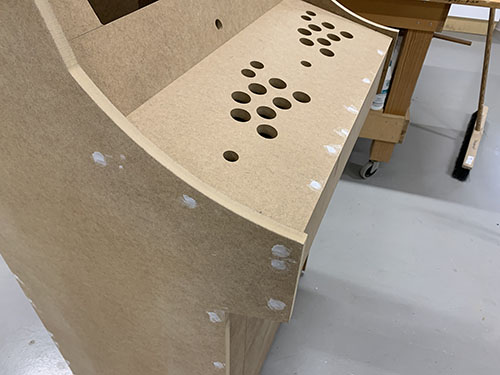
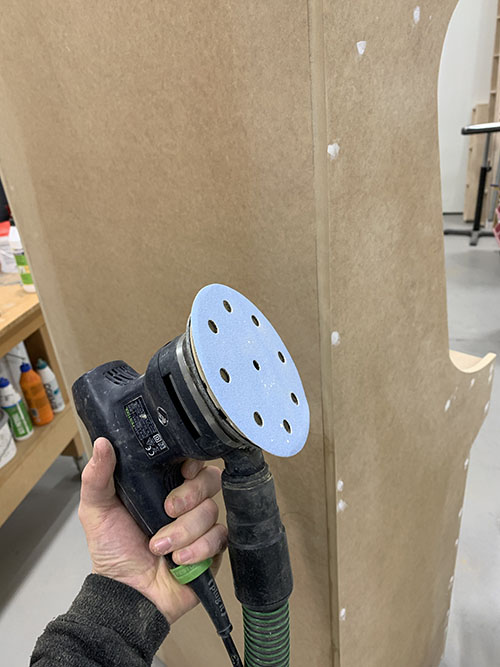
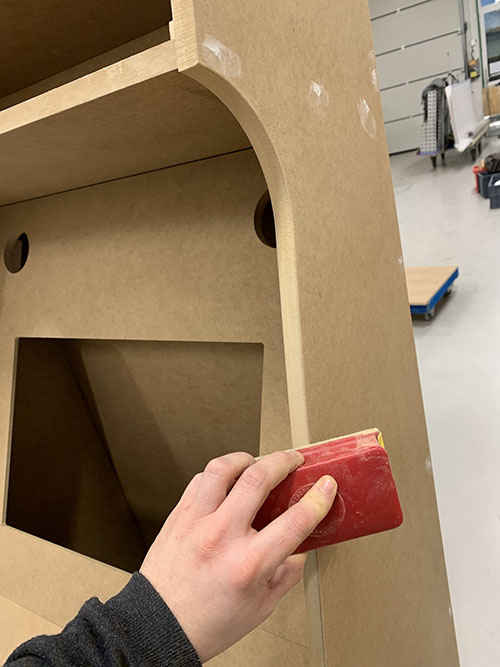
Before the cabinet was sent to spray painting, final touches were made to get a nice smooth finish. Spackling paste was applied to cover up all the nails and plastic padding was used to cover up small visible mistakes made. When everything had dried, an electric sander was used to remove redundant spackling paste and plastic padding. All the edges was smoothed by manual sanding.
Spray painting
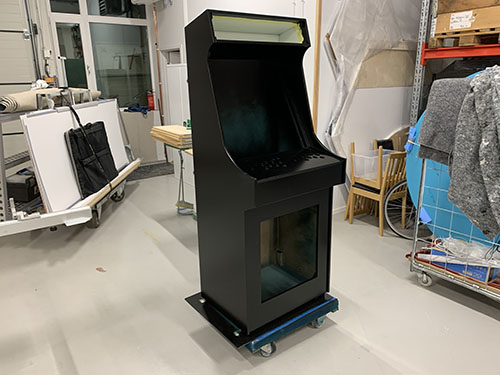
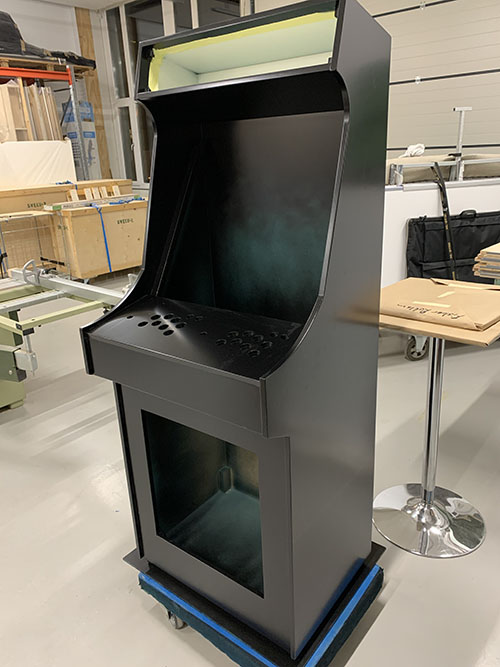
To get a nice finish, I payed a professional to spray paint the cabinet in a black lacquer color. To get a good light reflection in the light box, I got it painted white.
Art work
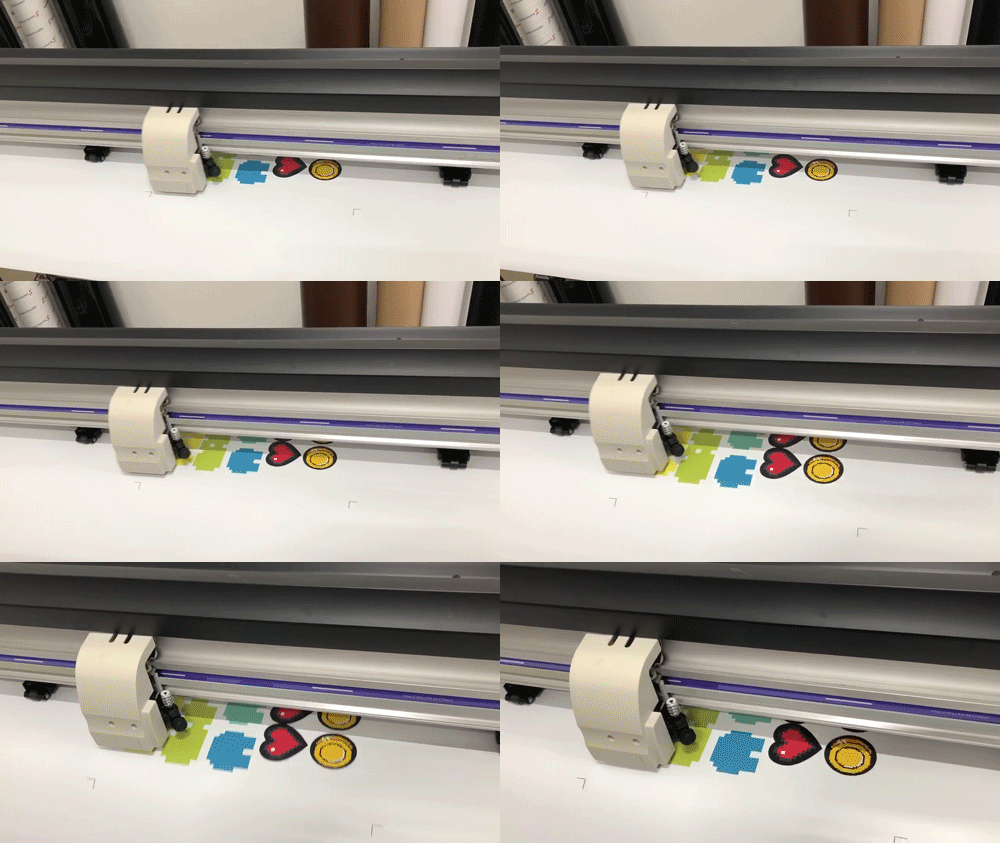
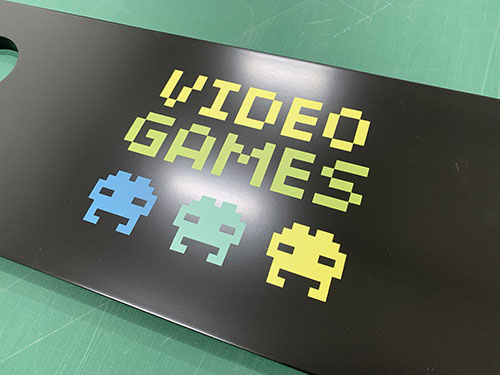
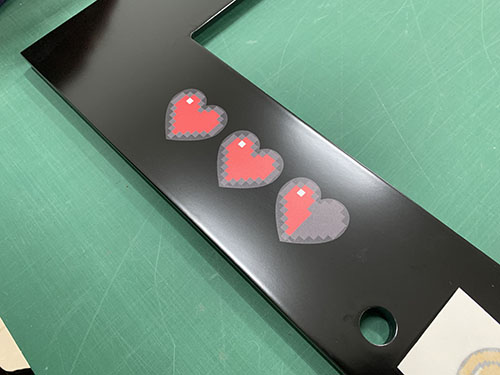
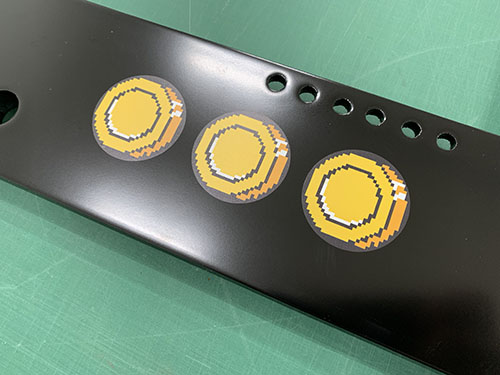
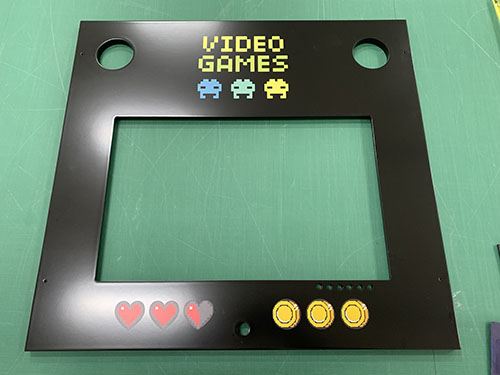
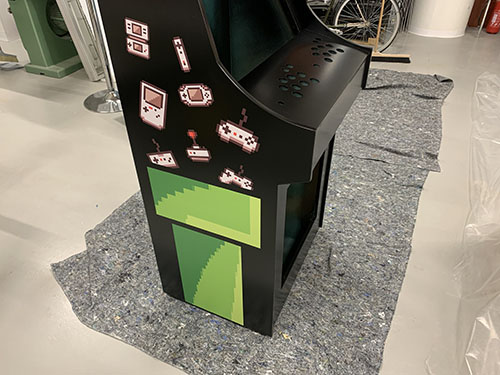
I'm familiar with Adobe Illustrator, but far from an expert in creating art work. So to create the art work, I paid for a premium subscription at Freepik (https://www.freepik.com) that costs 9.99 €/month. This enabled me to download a bunch of different high-quality vectorized retro illustrations that I combined into the final art work. When done, I printed them as stickers.
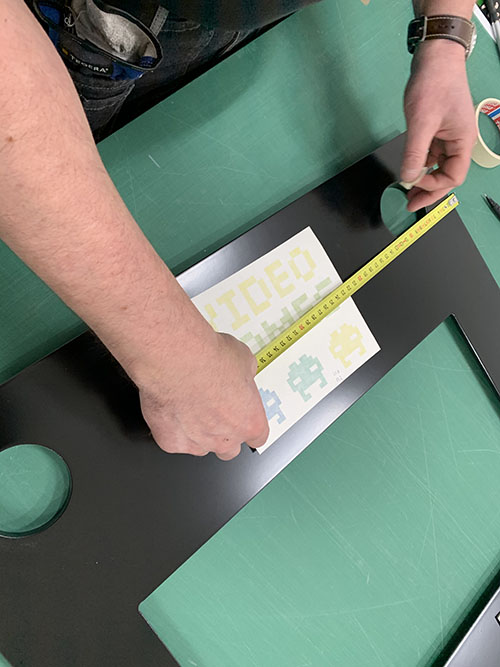
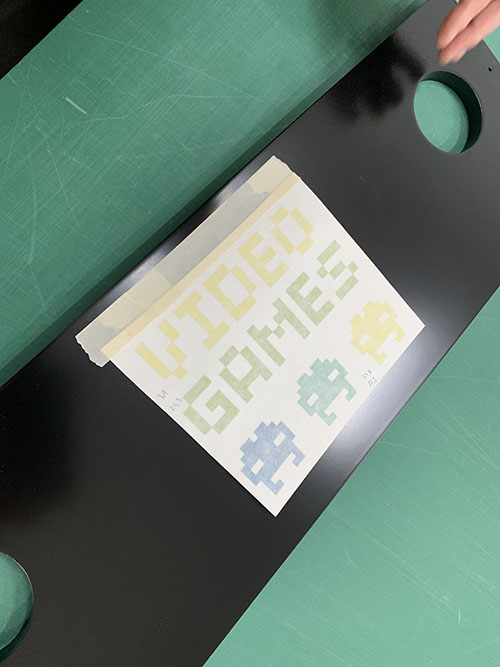
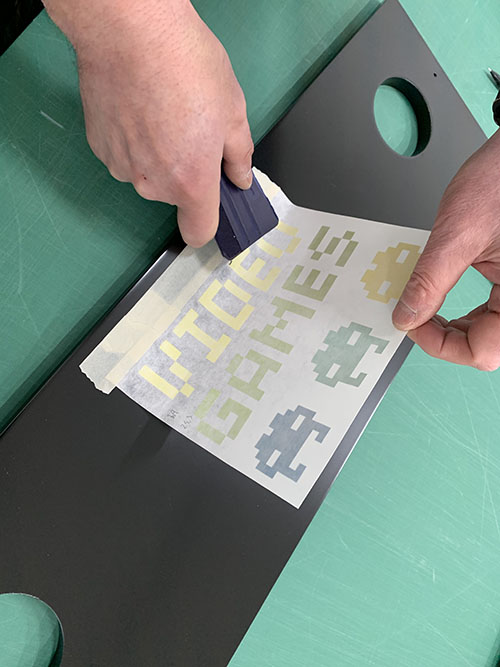
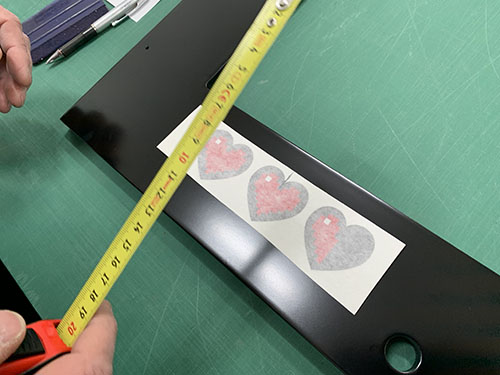
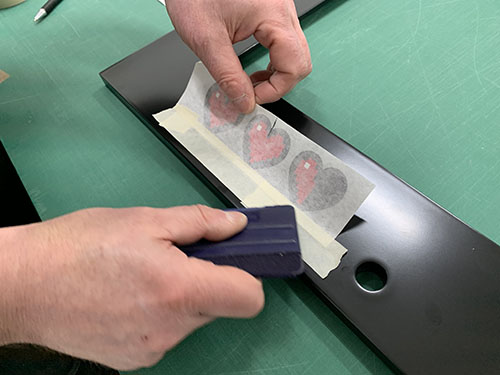
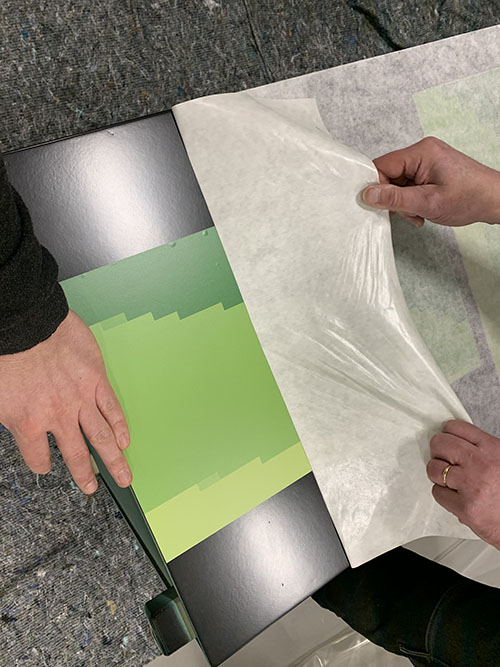
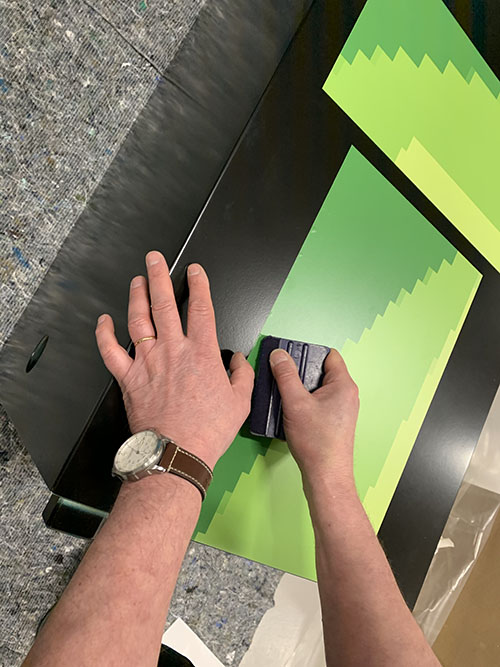
A good way to apply the art work is to tape the sticker at one side to fixate it, then you remove some of the cover and start scraping it from the bottom up. By doing so, you'll get it at the exact position while reducing the number of bubbles.
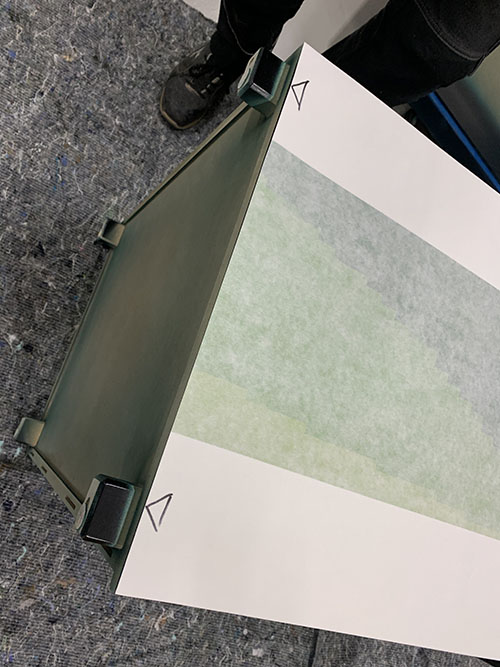
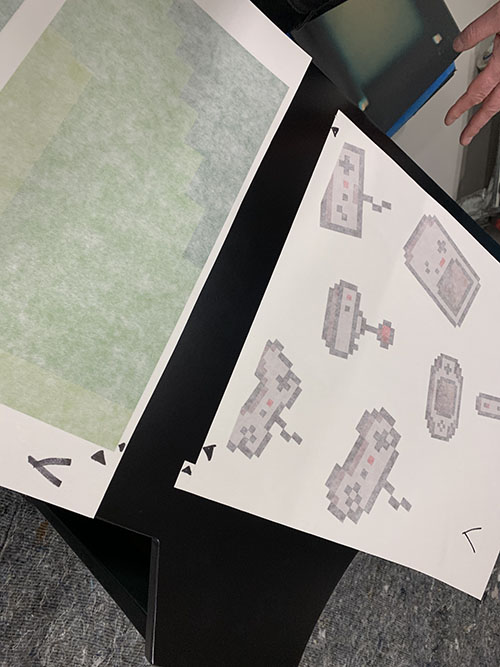
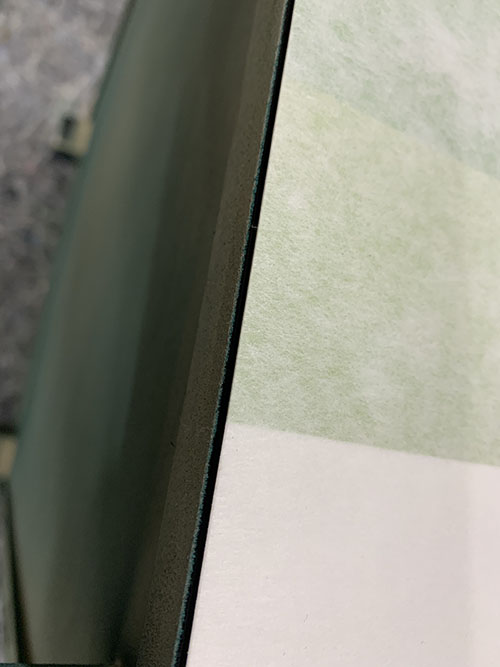
The side stickers were so large that they had to be split into two separate parts. To keep the correct alignment, arrows were drawn indicating where the two parts should align. A small space were kept at the bottom to reduce the risk of the sticker being peeled off.
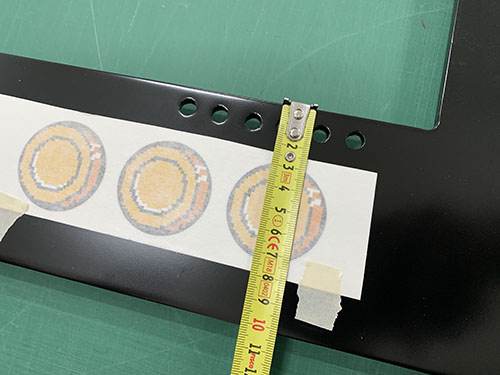
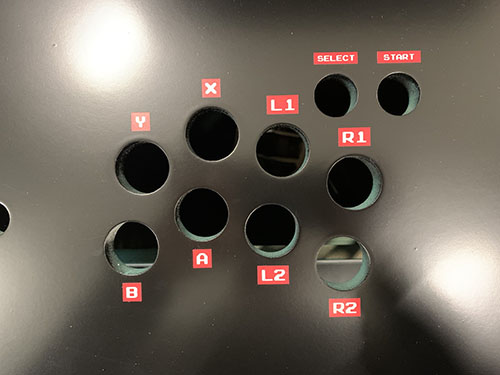
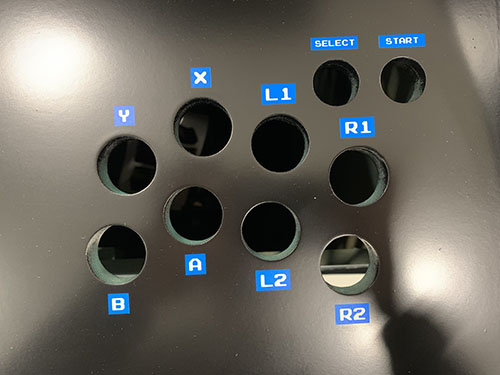
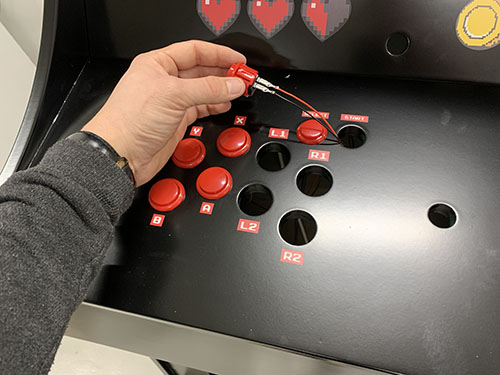
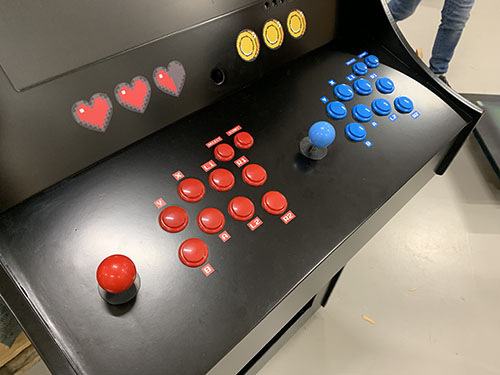
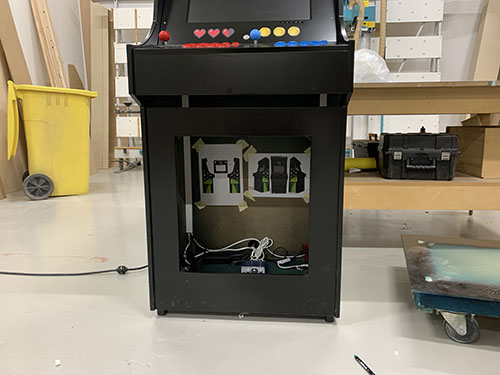
Stickers indicating the button configuration were also added.
Add electronics
Add electricity to the cabinet
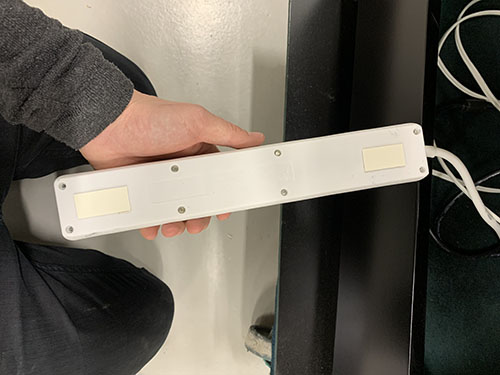
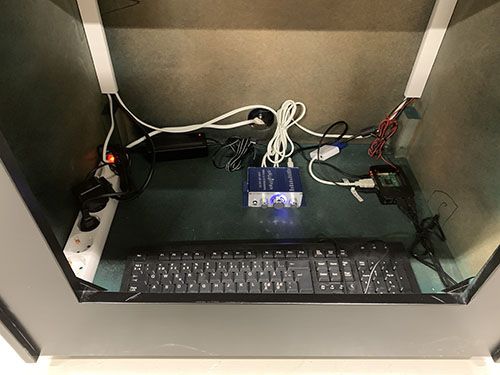
A round plastic cable grommet was inserted into the hole previously drilled at the bottom of the back panel. A power strip was then added.
Screen
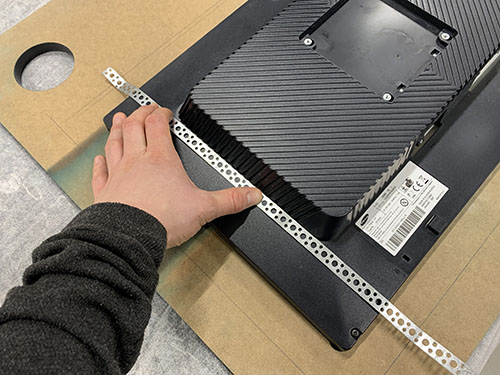
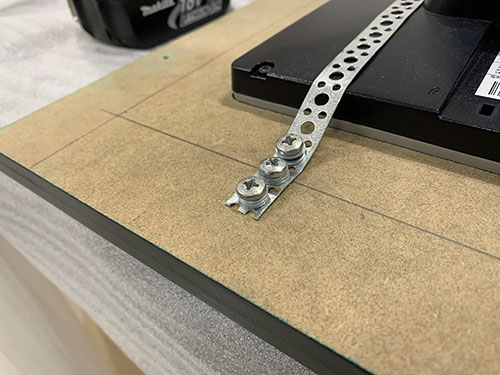
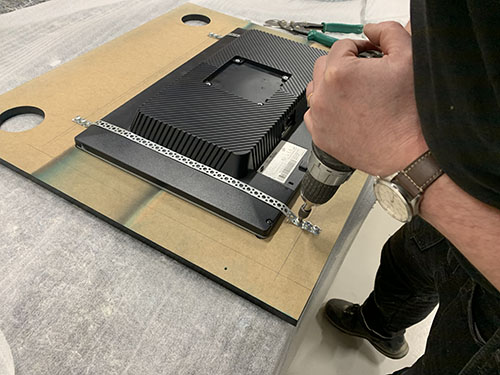
The screen was kept in place by using galvanized banding straps.
Light box
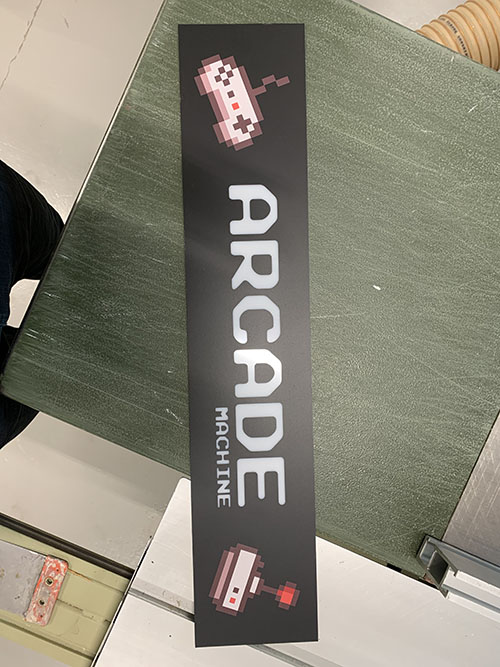
To get a consistent feel of the art work I reused some of the graphical component from the side panels.
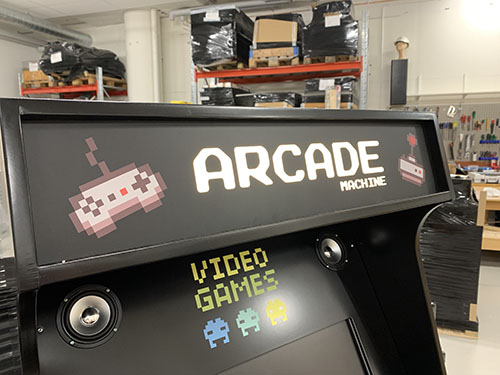
The art work was printed as one large sticker and the text "ARCADE MACHINE" was cut out to let the light through. The sticker was then attached to a frosted plexiglas.
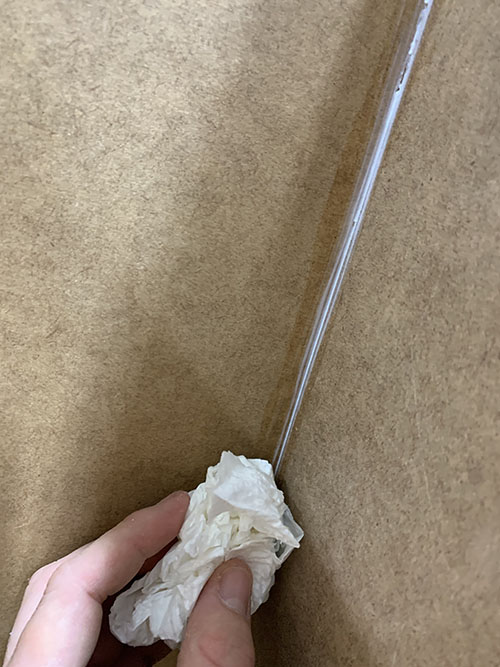
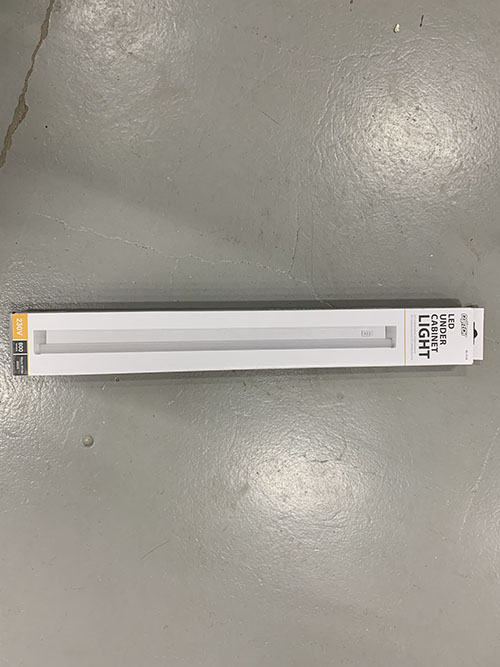
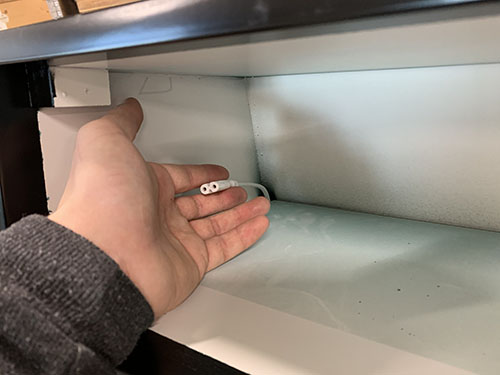
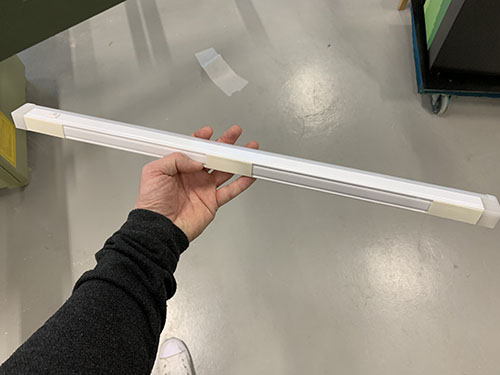
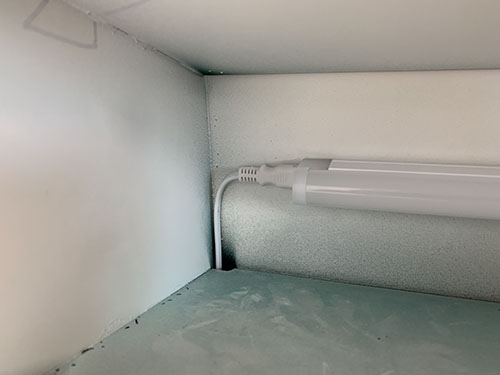
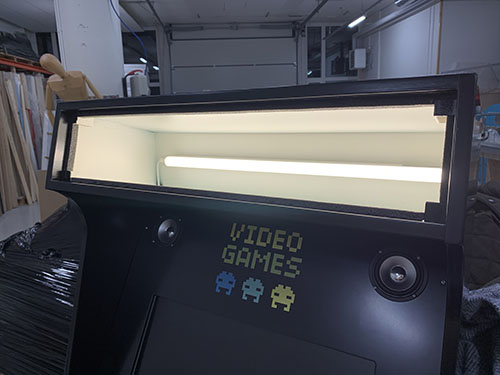
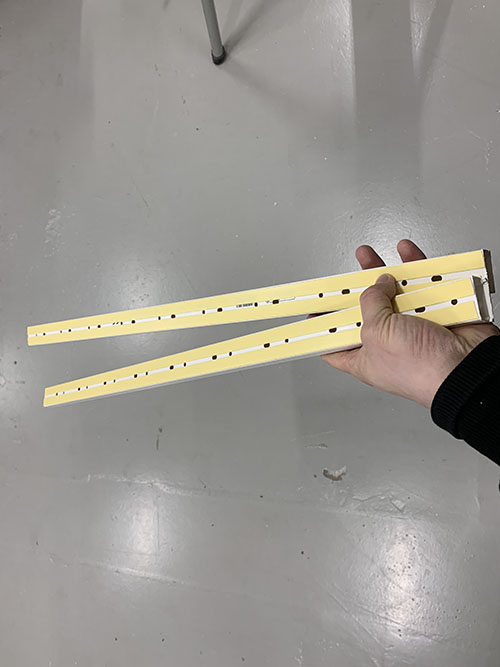
For the light source I used a LED tube of fitting length, with a wire that was long enough to go all the way down to the power strip at the bottom of the cabinet. The LED tube was attached to the back panel by using double-coated adhesive tape.
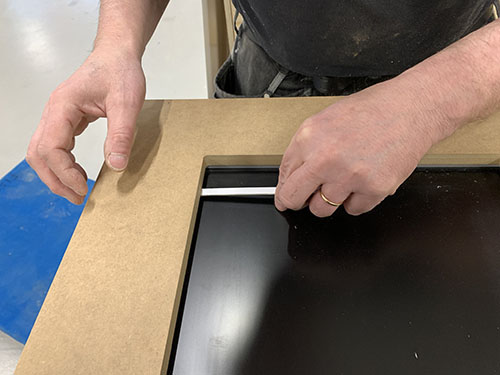
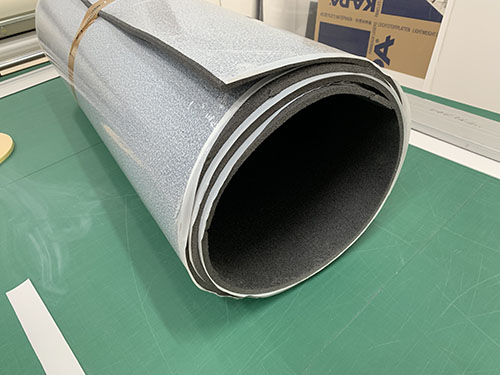
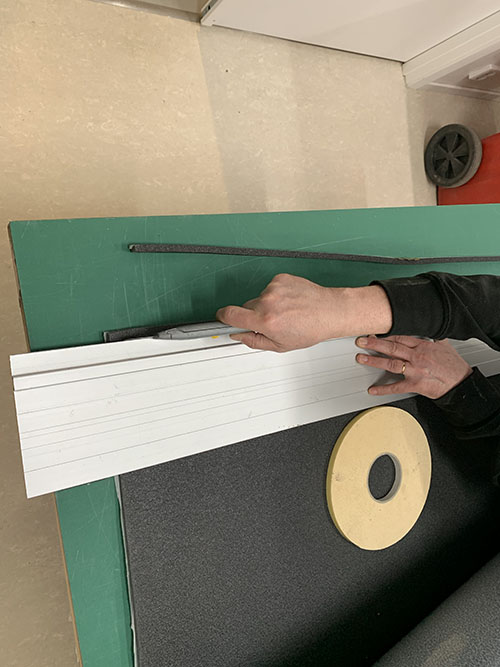
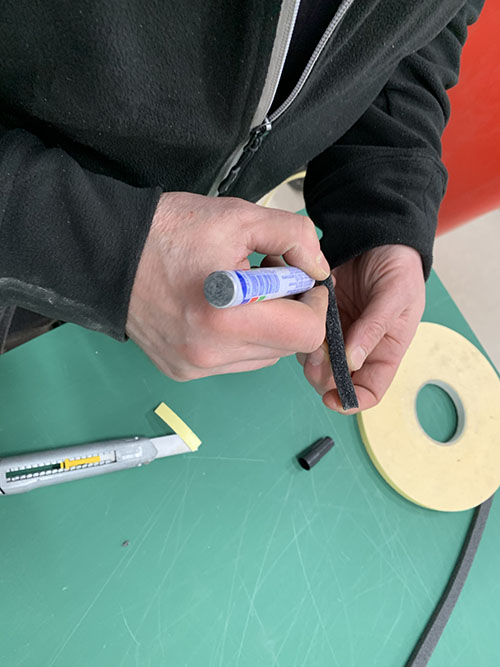
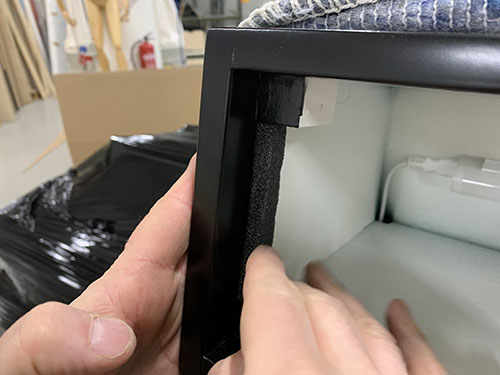
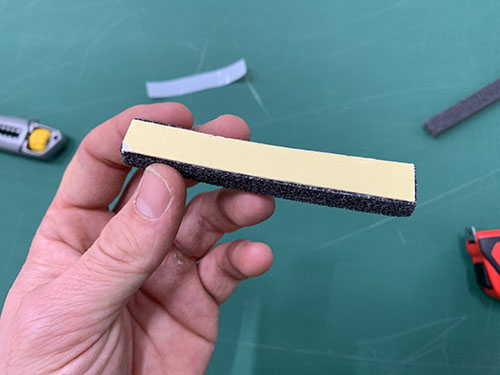
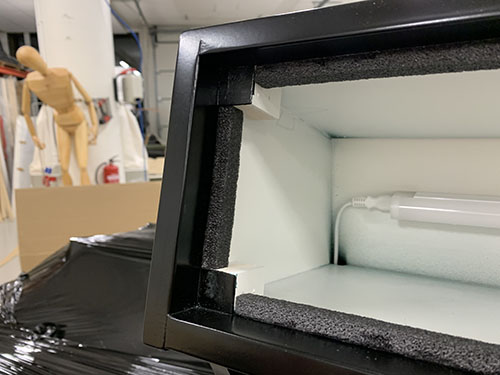
To remove potential light leakage around the plexiglas, long stripes of foam was cut and attached behind the plexiglas edges using double-coated adhesive tape.
Double-coated adhesive tape was also used to keep the plexiglas in place.
Arcade buttons and joysticks
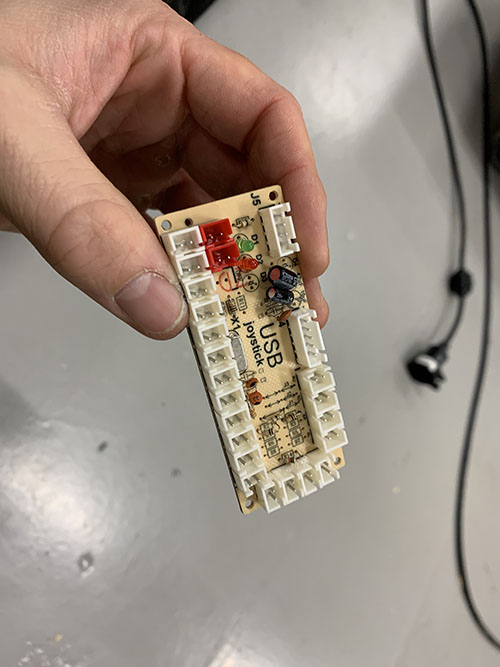
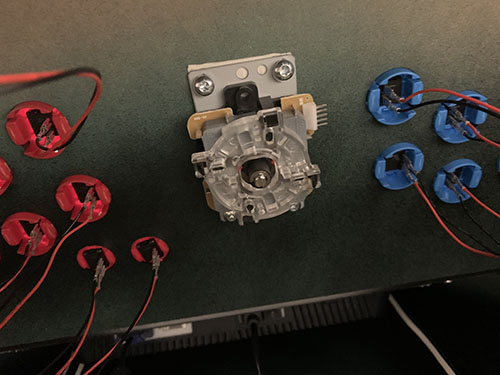
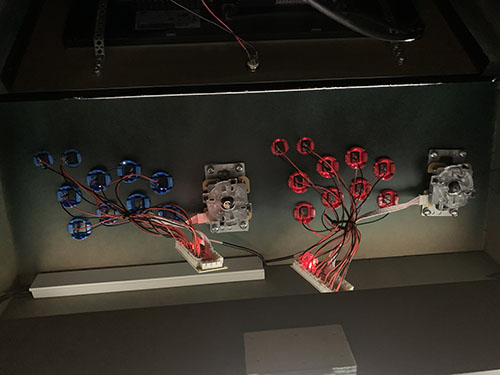
Before I started this project, I bought two sets of arcade buttons and joysticks from Aliexpress. This type of button set is very convenient to use, even without any knowledge of electronic circuit boards. I don't know if this exact set is still available, but I've seen multiple vendors selling similar types of arcade button sets.
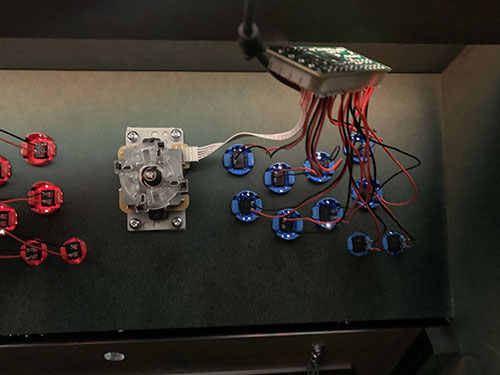
Using this type of set makes hooking up the buttons very simple. You attach each button and the joystick to the circuit board that is included in the set. Then you connect the USB-cord to the circuit board and to the computer.
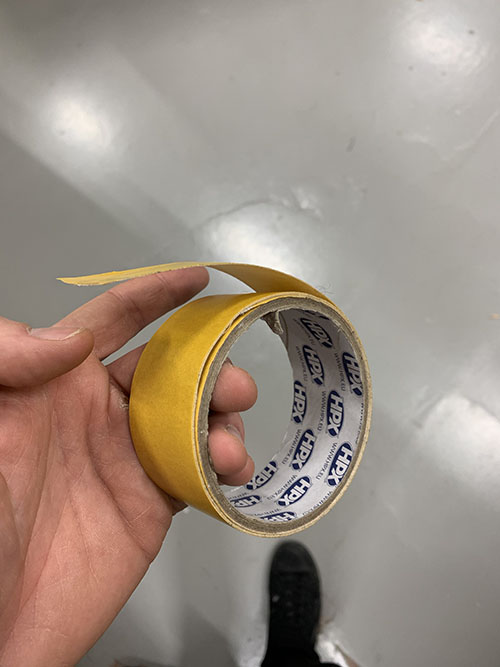
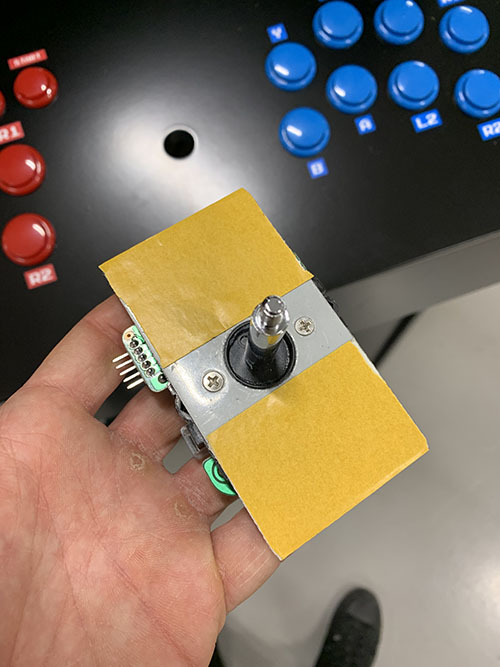
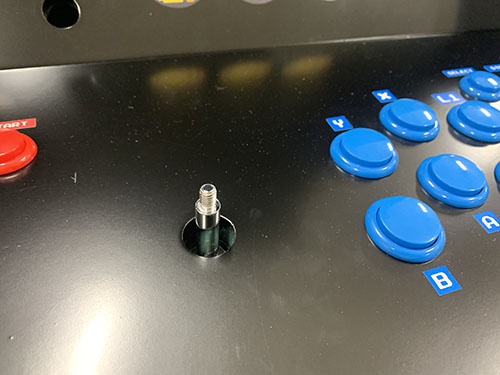
To center the joysticks in the holes, I used a wide double-coated adhesive tape normally used to attach rugs to floors. It's easier to be two people doing this, one person centering the joystick from the top, while the other person locking it in place. The joysticks were then screwed into the button panel.
Set up RetroPie on Raspberry Pi
RetroPie (https://retropie.org.uk/) is the program that enables you to create a retro gaming station out of the Raspberry Pi. As RetroPie is an open-source project that is continuously updated, it's easiest for you to follow the installation guide on their website: https://retropie.org.uk/docs/First-Installation/ (visited at 2020-09-06).
Configure arcade buttons and joysticks
The USB cables from the arcade button electronic circuit boards were connected to the Raspberry Pi. When the Raspberry Pi is turned on and RetroPie is started, a welcome screen should be visible, asking you to configure the controllers.
Power button
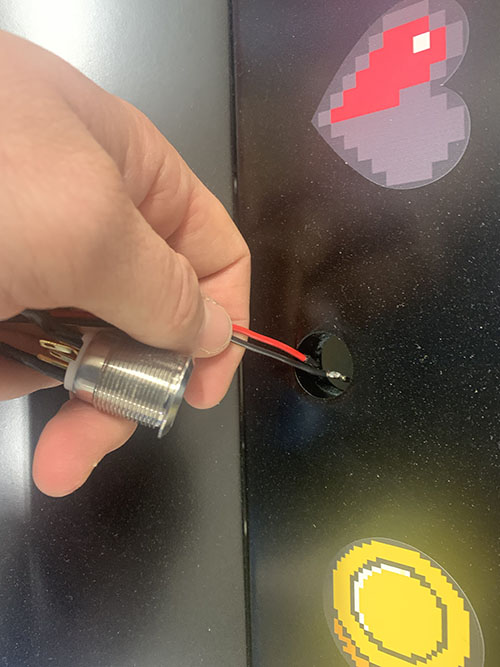
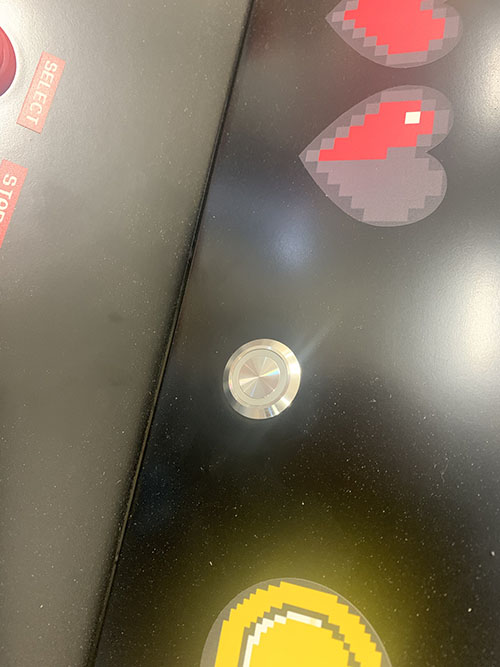
To enable a convenient way of shutting down the arcade machine, I added a hole in the screen panel, fitting a power button.
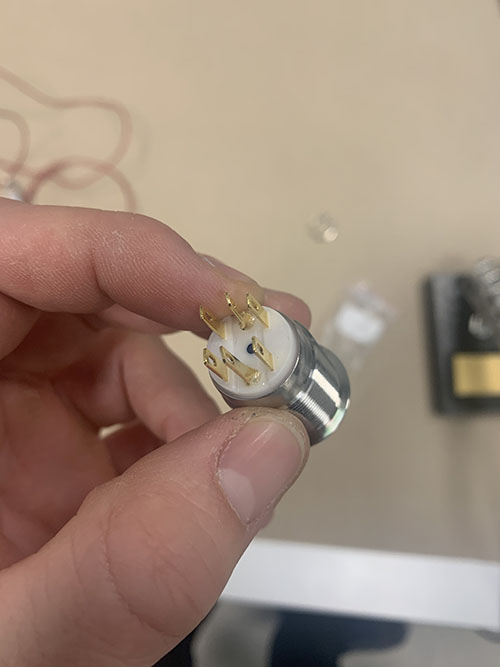
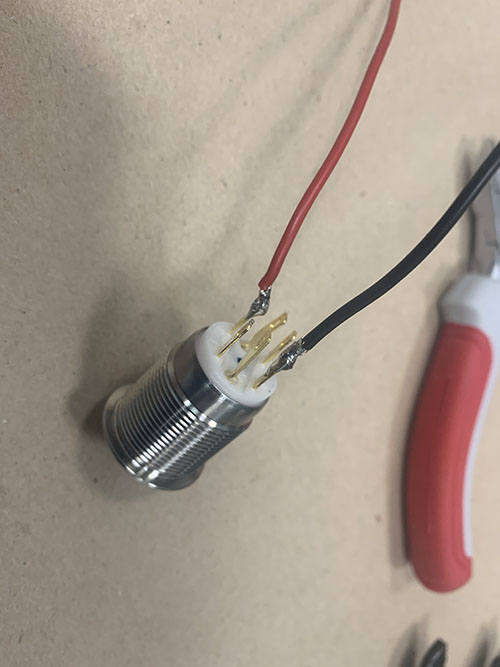
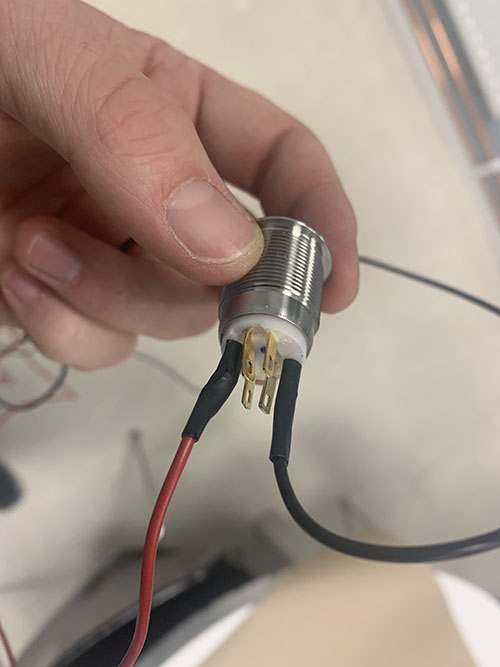
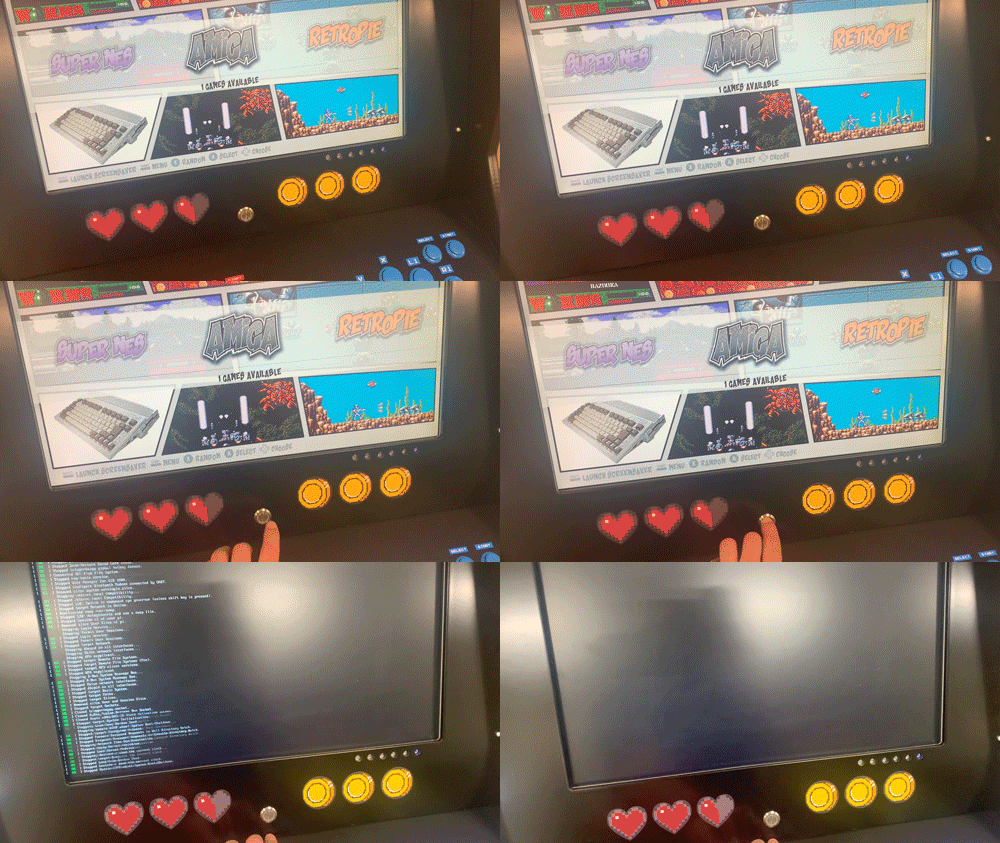
Two cables were then soldered to the button and attached to the GPIO pins 5 and 6 on the Raspberry Pi (see a GPIO diagram here: https://www.raspberrypi.org/documentation/usage/gpio/, visited 2020-09-06). When shortening the GPIO pins 5 and 6, the Raspberry Pi is natively waken up from its halted state.
A small script was then added and executed on start up of the Raspberry Pi. The script listened to another shortening of the GPIO pins 5 and 6, that then triggered a safe shutdown of the machine.
To add the shutdown script, do the following:
- Start the Raspberry Pi
- When the EmulationStation (RetroPie) has started, click F4 on your keyboard to enter bash
- Make sure that you have python and pip installed
- Install RPi.GPIO:
pip install RPi.GPIO(see https://pypi.org/project/RPi.GPIO/) - Create a utils folder under /home:
mkdir /home/utils/ - Add this script (shutdown_script.py) to the newly created utils folder
- To make the Raspberry run this script on start up, add the line
python3 /home/utils/shutdown_script.py &at the end of the file/etc/rc.local, just beforeexit 0
As of now, the power button only shuts down the Raspberry Pi. In the future, I would like to add a relay controlled by the Raspberry Pi, turning of all the other electronics as well (screen, light box etc).
Speakers
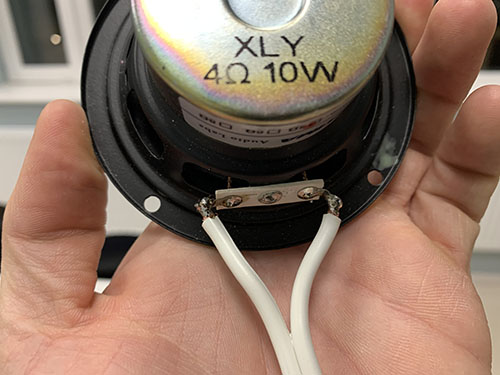
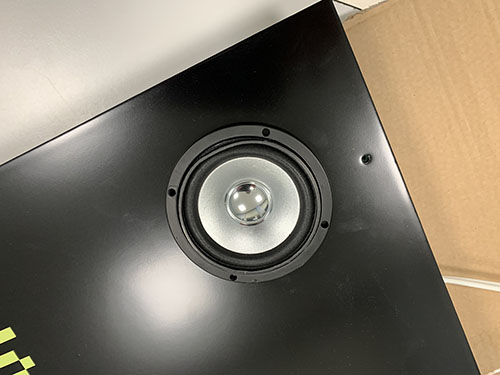
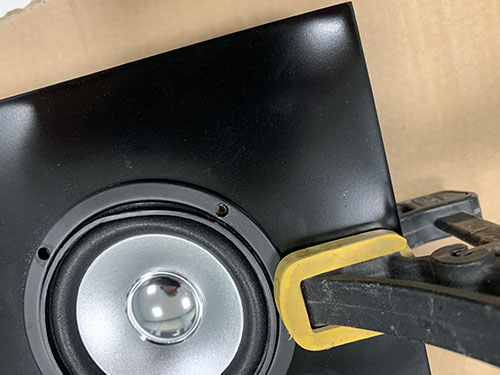
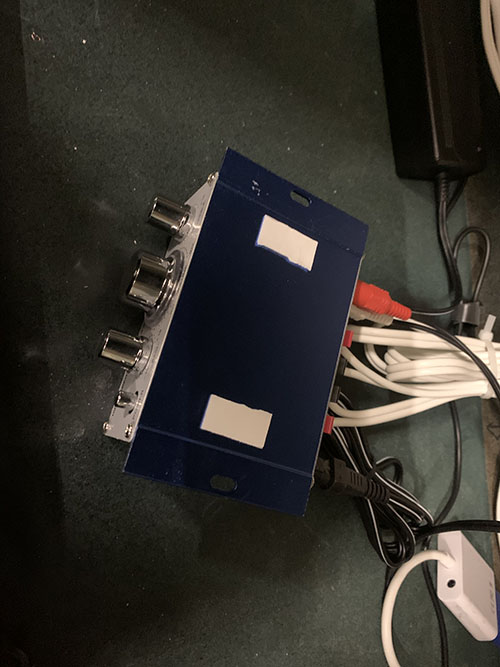
Two speaker wires were soldered to each speaker. The speakers were then placed in the CNC-cut holes and attached by screws to the screen panel. All cables were then connected to the amplifier. A 3.5mm AUX stereo cable was then connected between the amplifier and the Raspberry Pi.
Structure cables
To keep everything nice and structured inside the cabinet, I attached cable canals with double-coated adhesive tape.
Final arcade machine
Contact
If you have any questions, feel free to contact me:
