Interview Scheduler is single page React JS & MongoDB based full-stack application. It is live and deployed at: https://scheduler-sm.vercel.app/
- NextJS
- React
- MongoDB
- Axios
- Cypress@9.7.0 (only if end-to-end testing will be done with cypress)
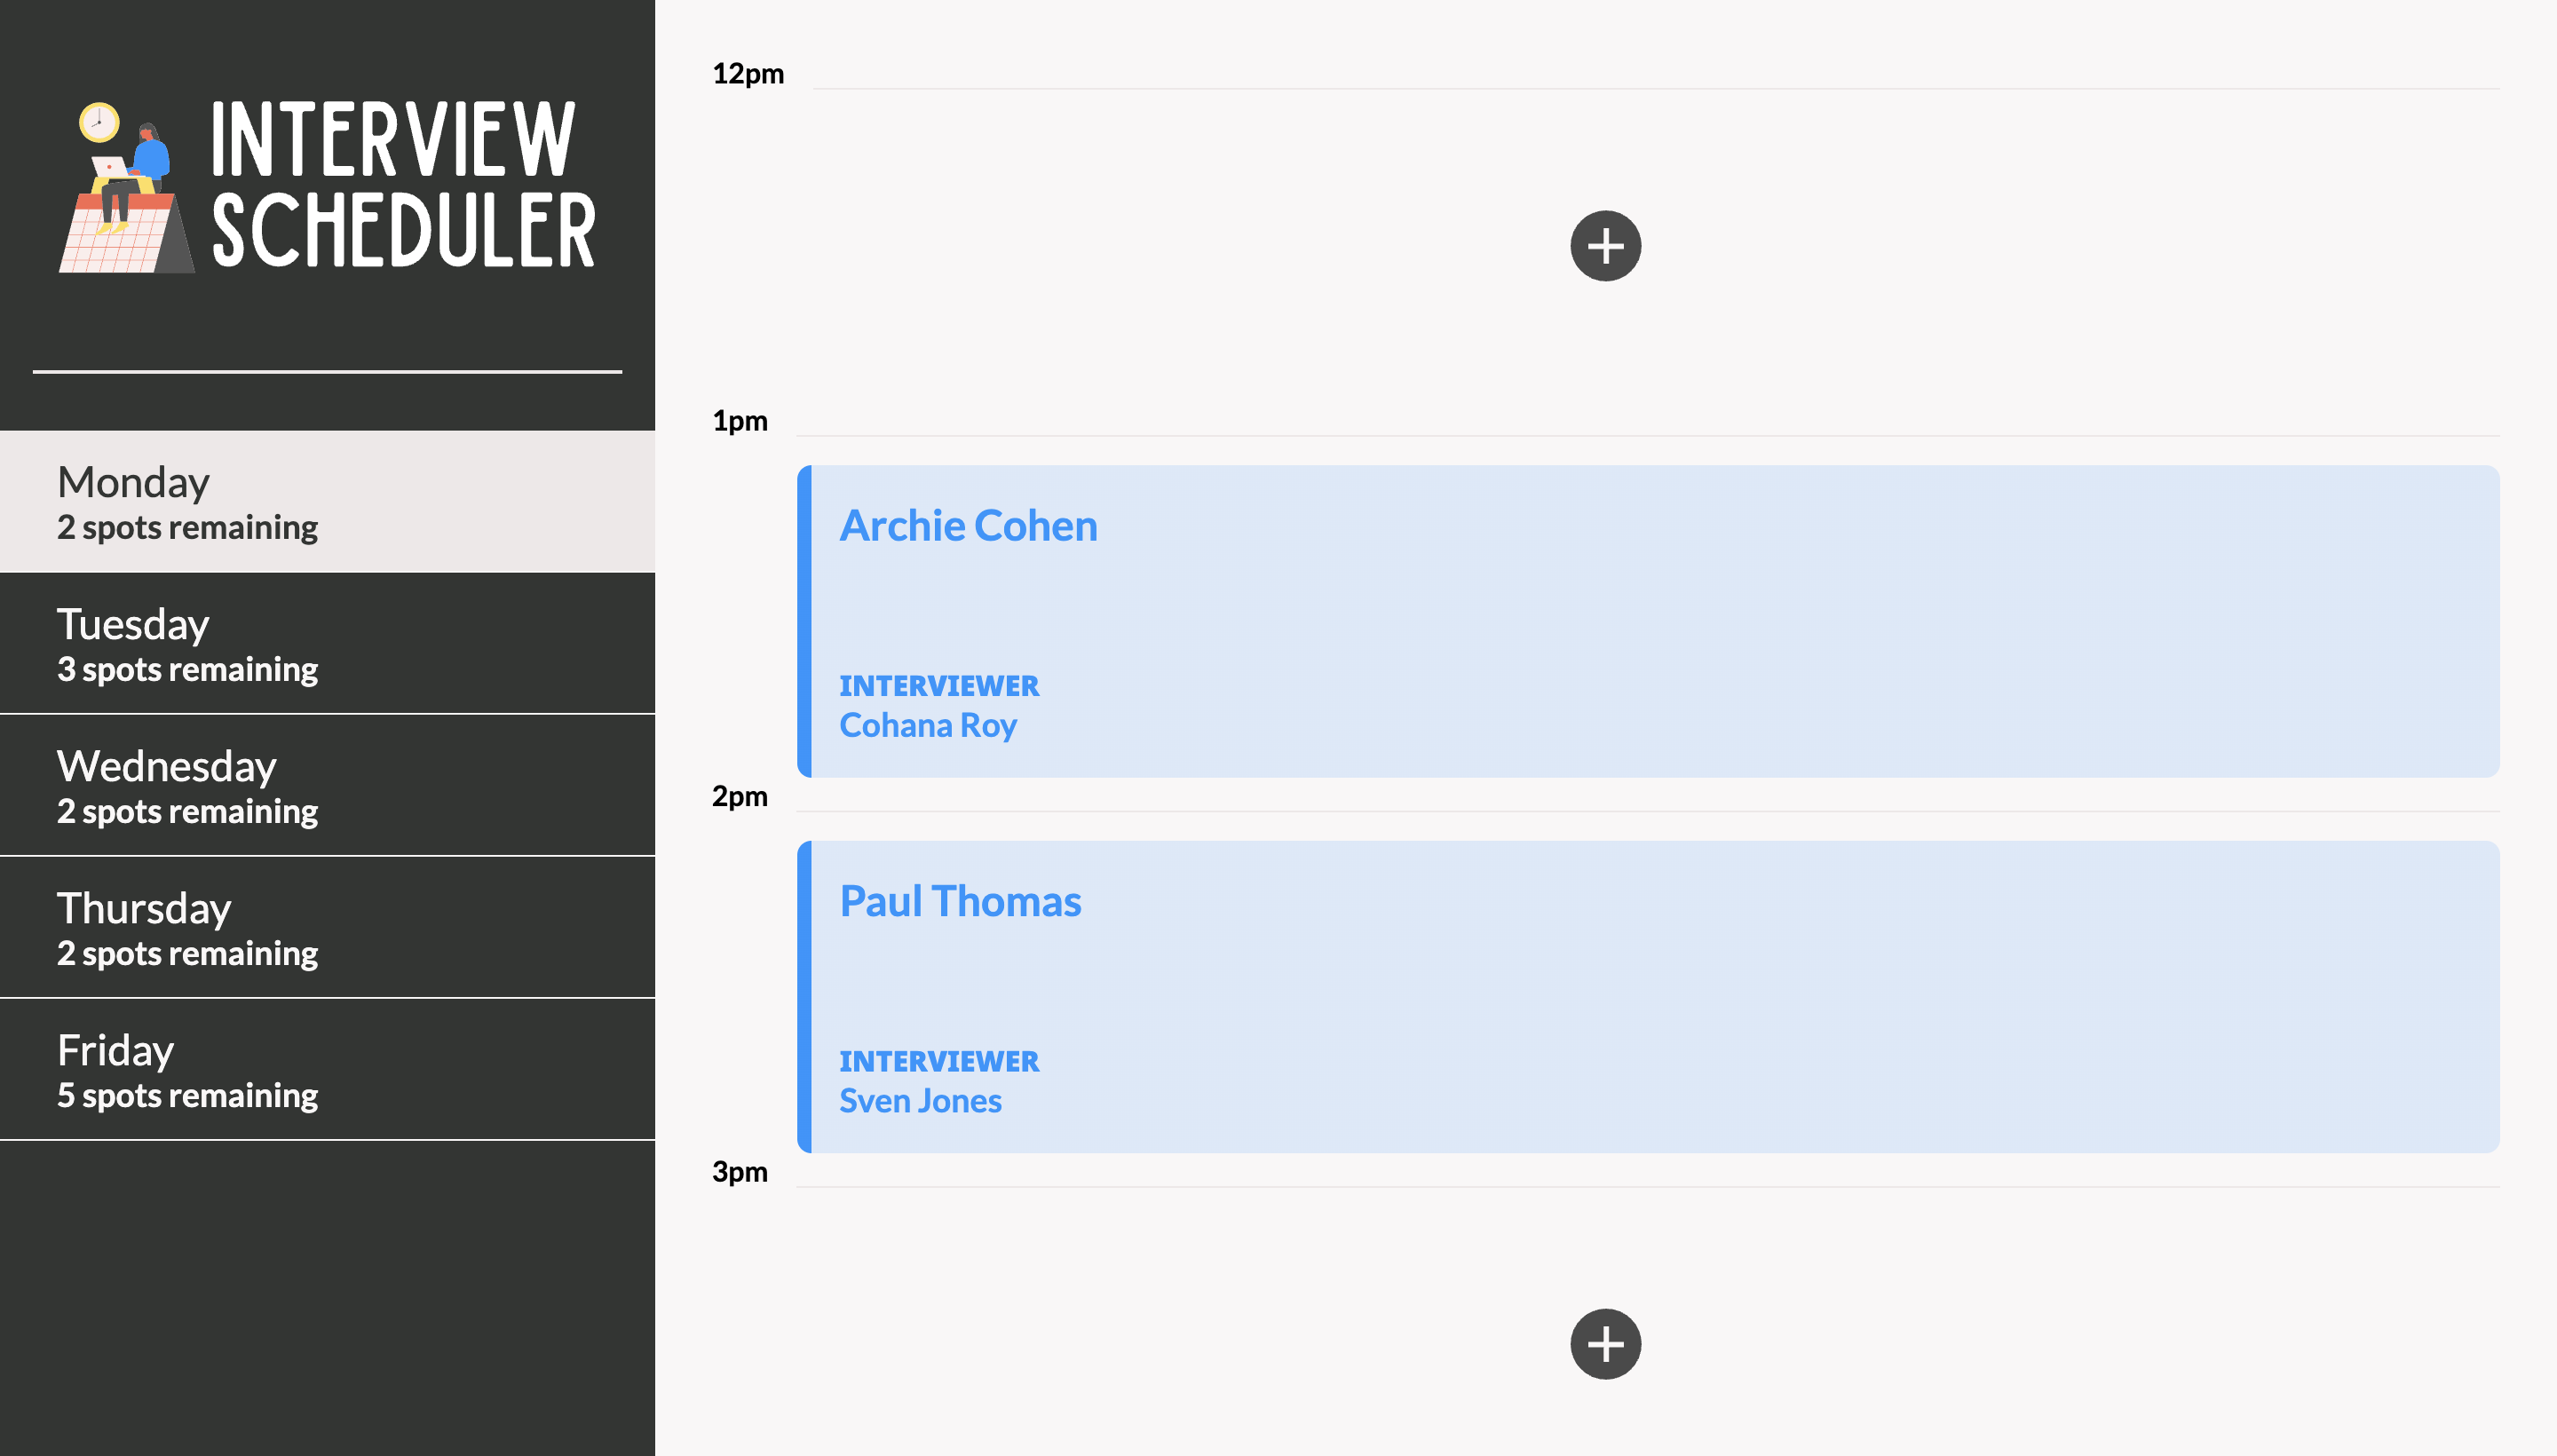
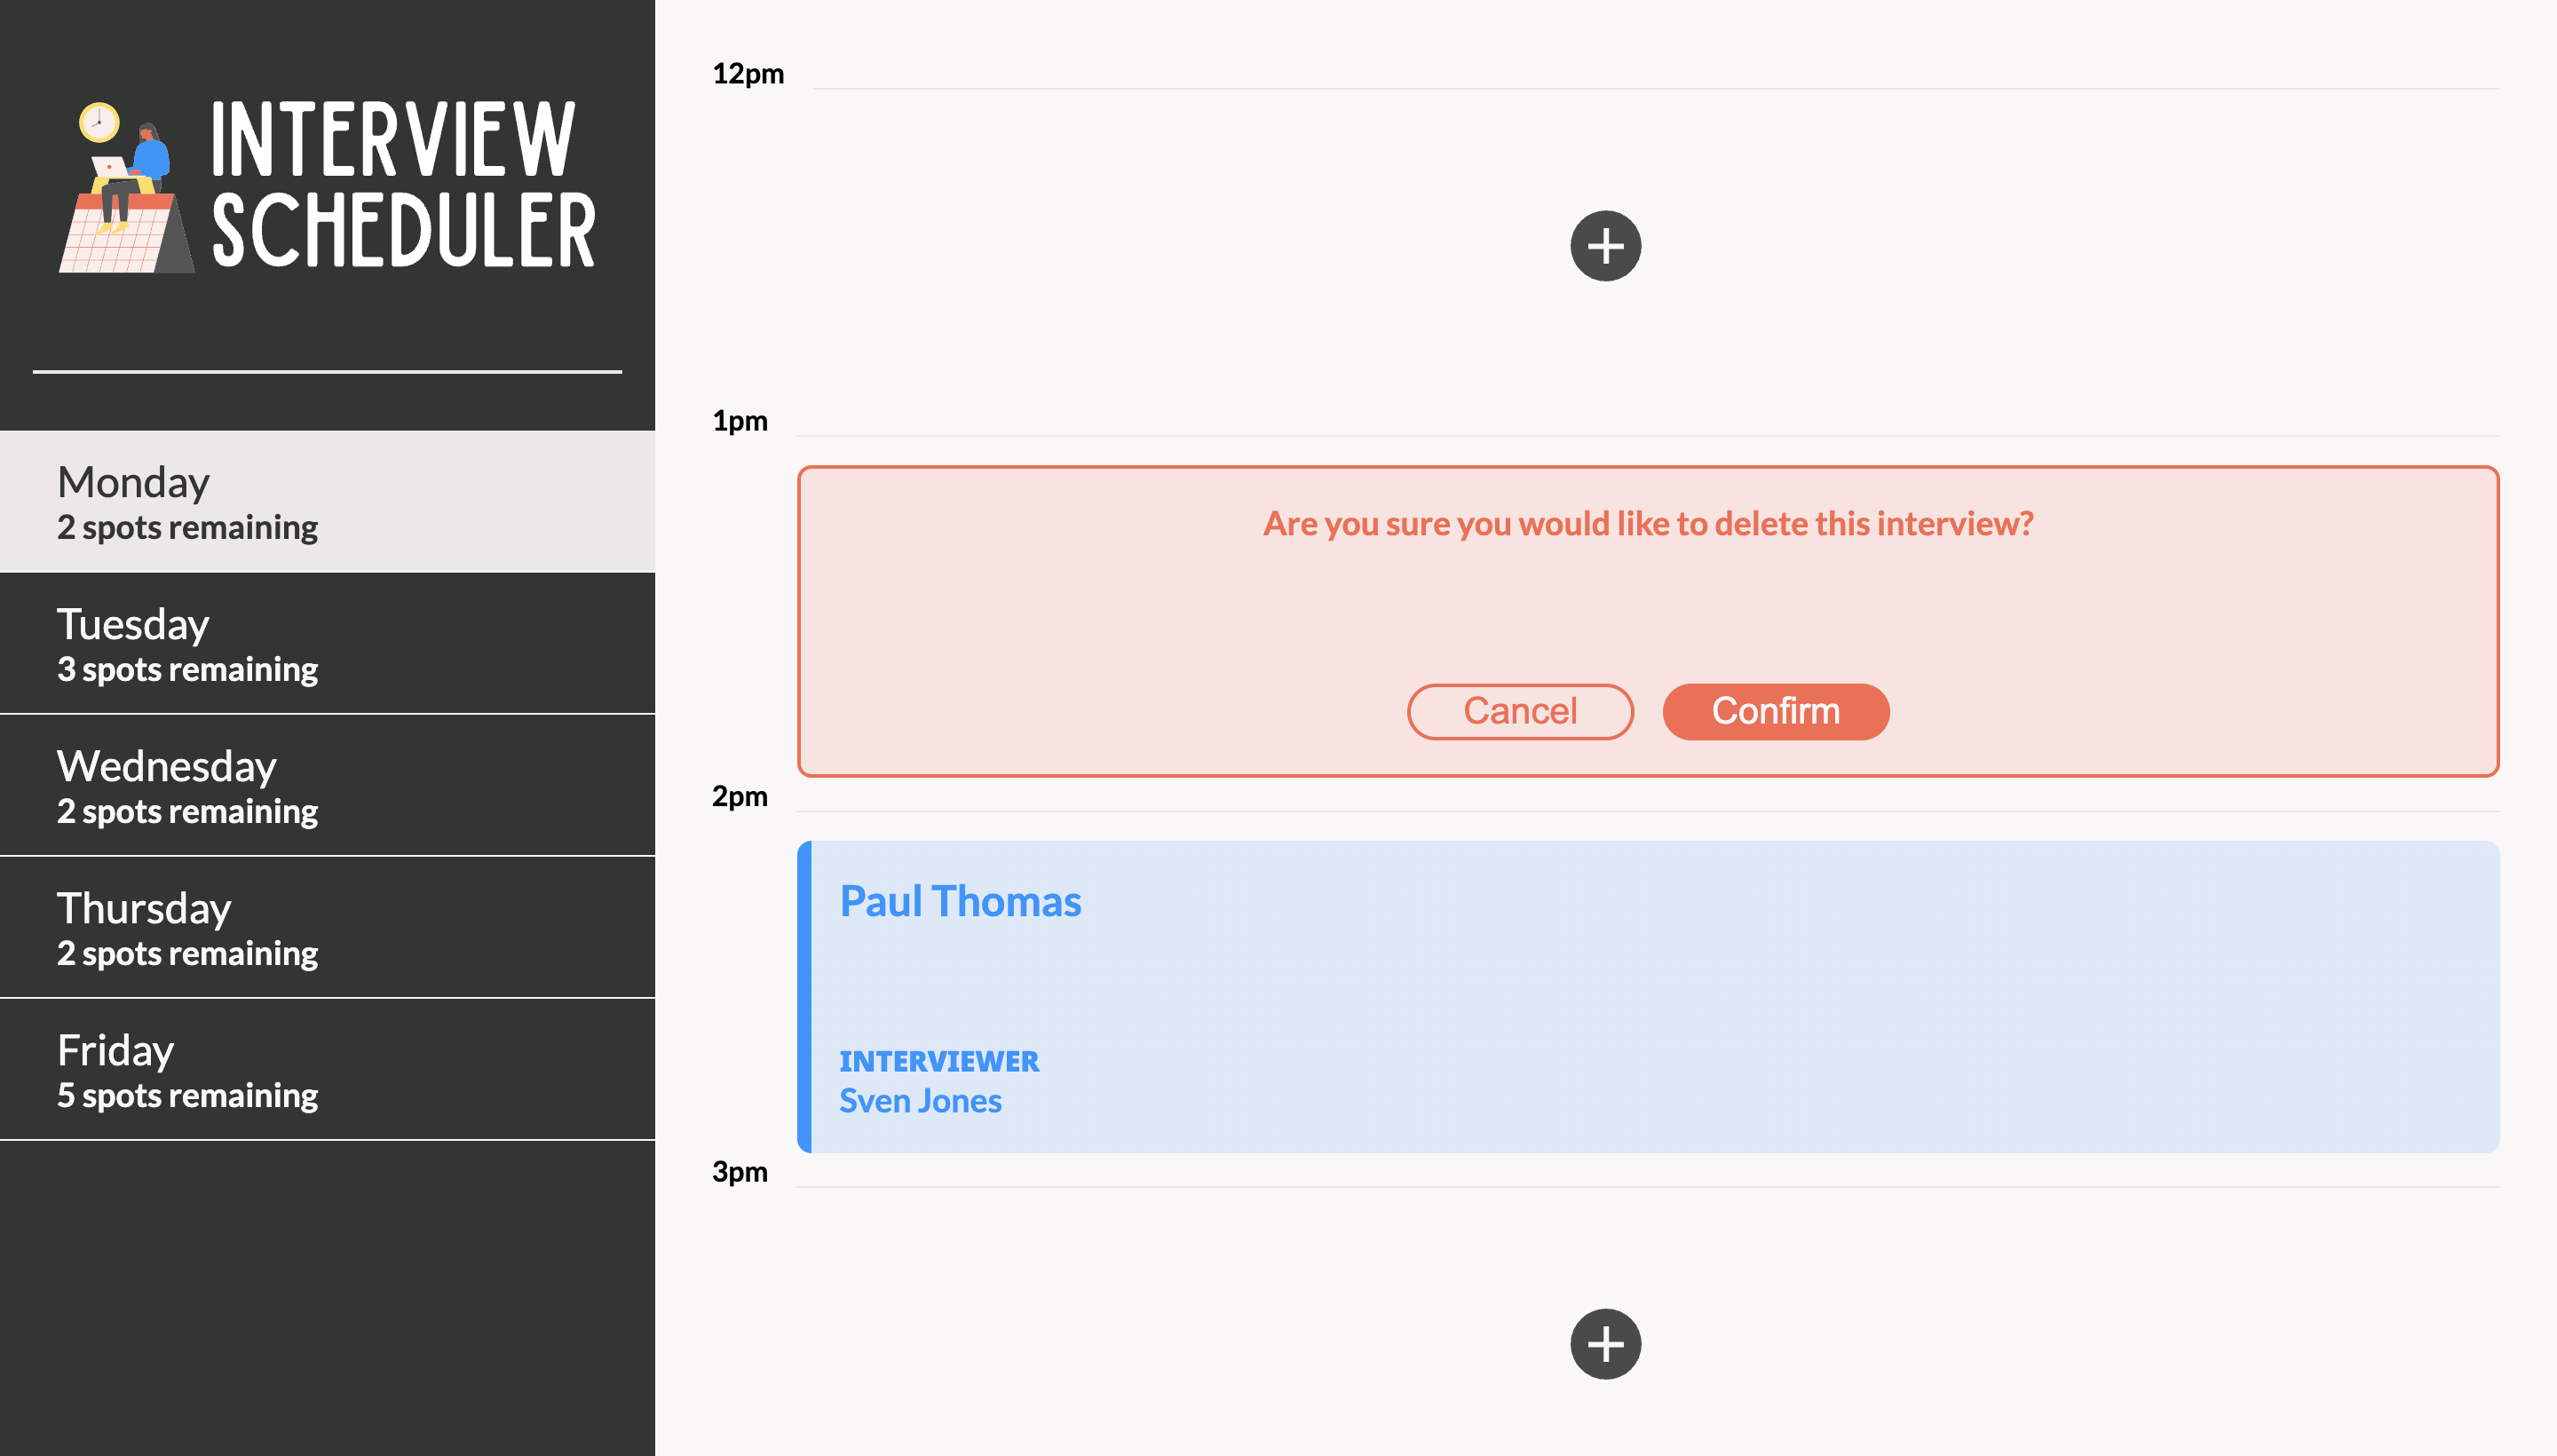
- Main application page
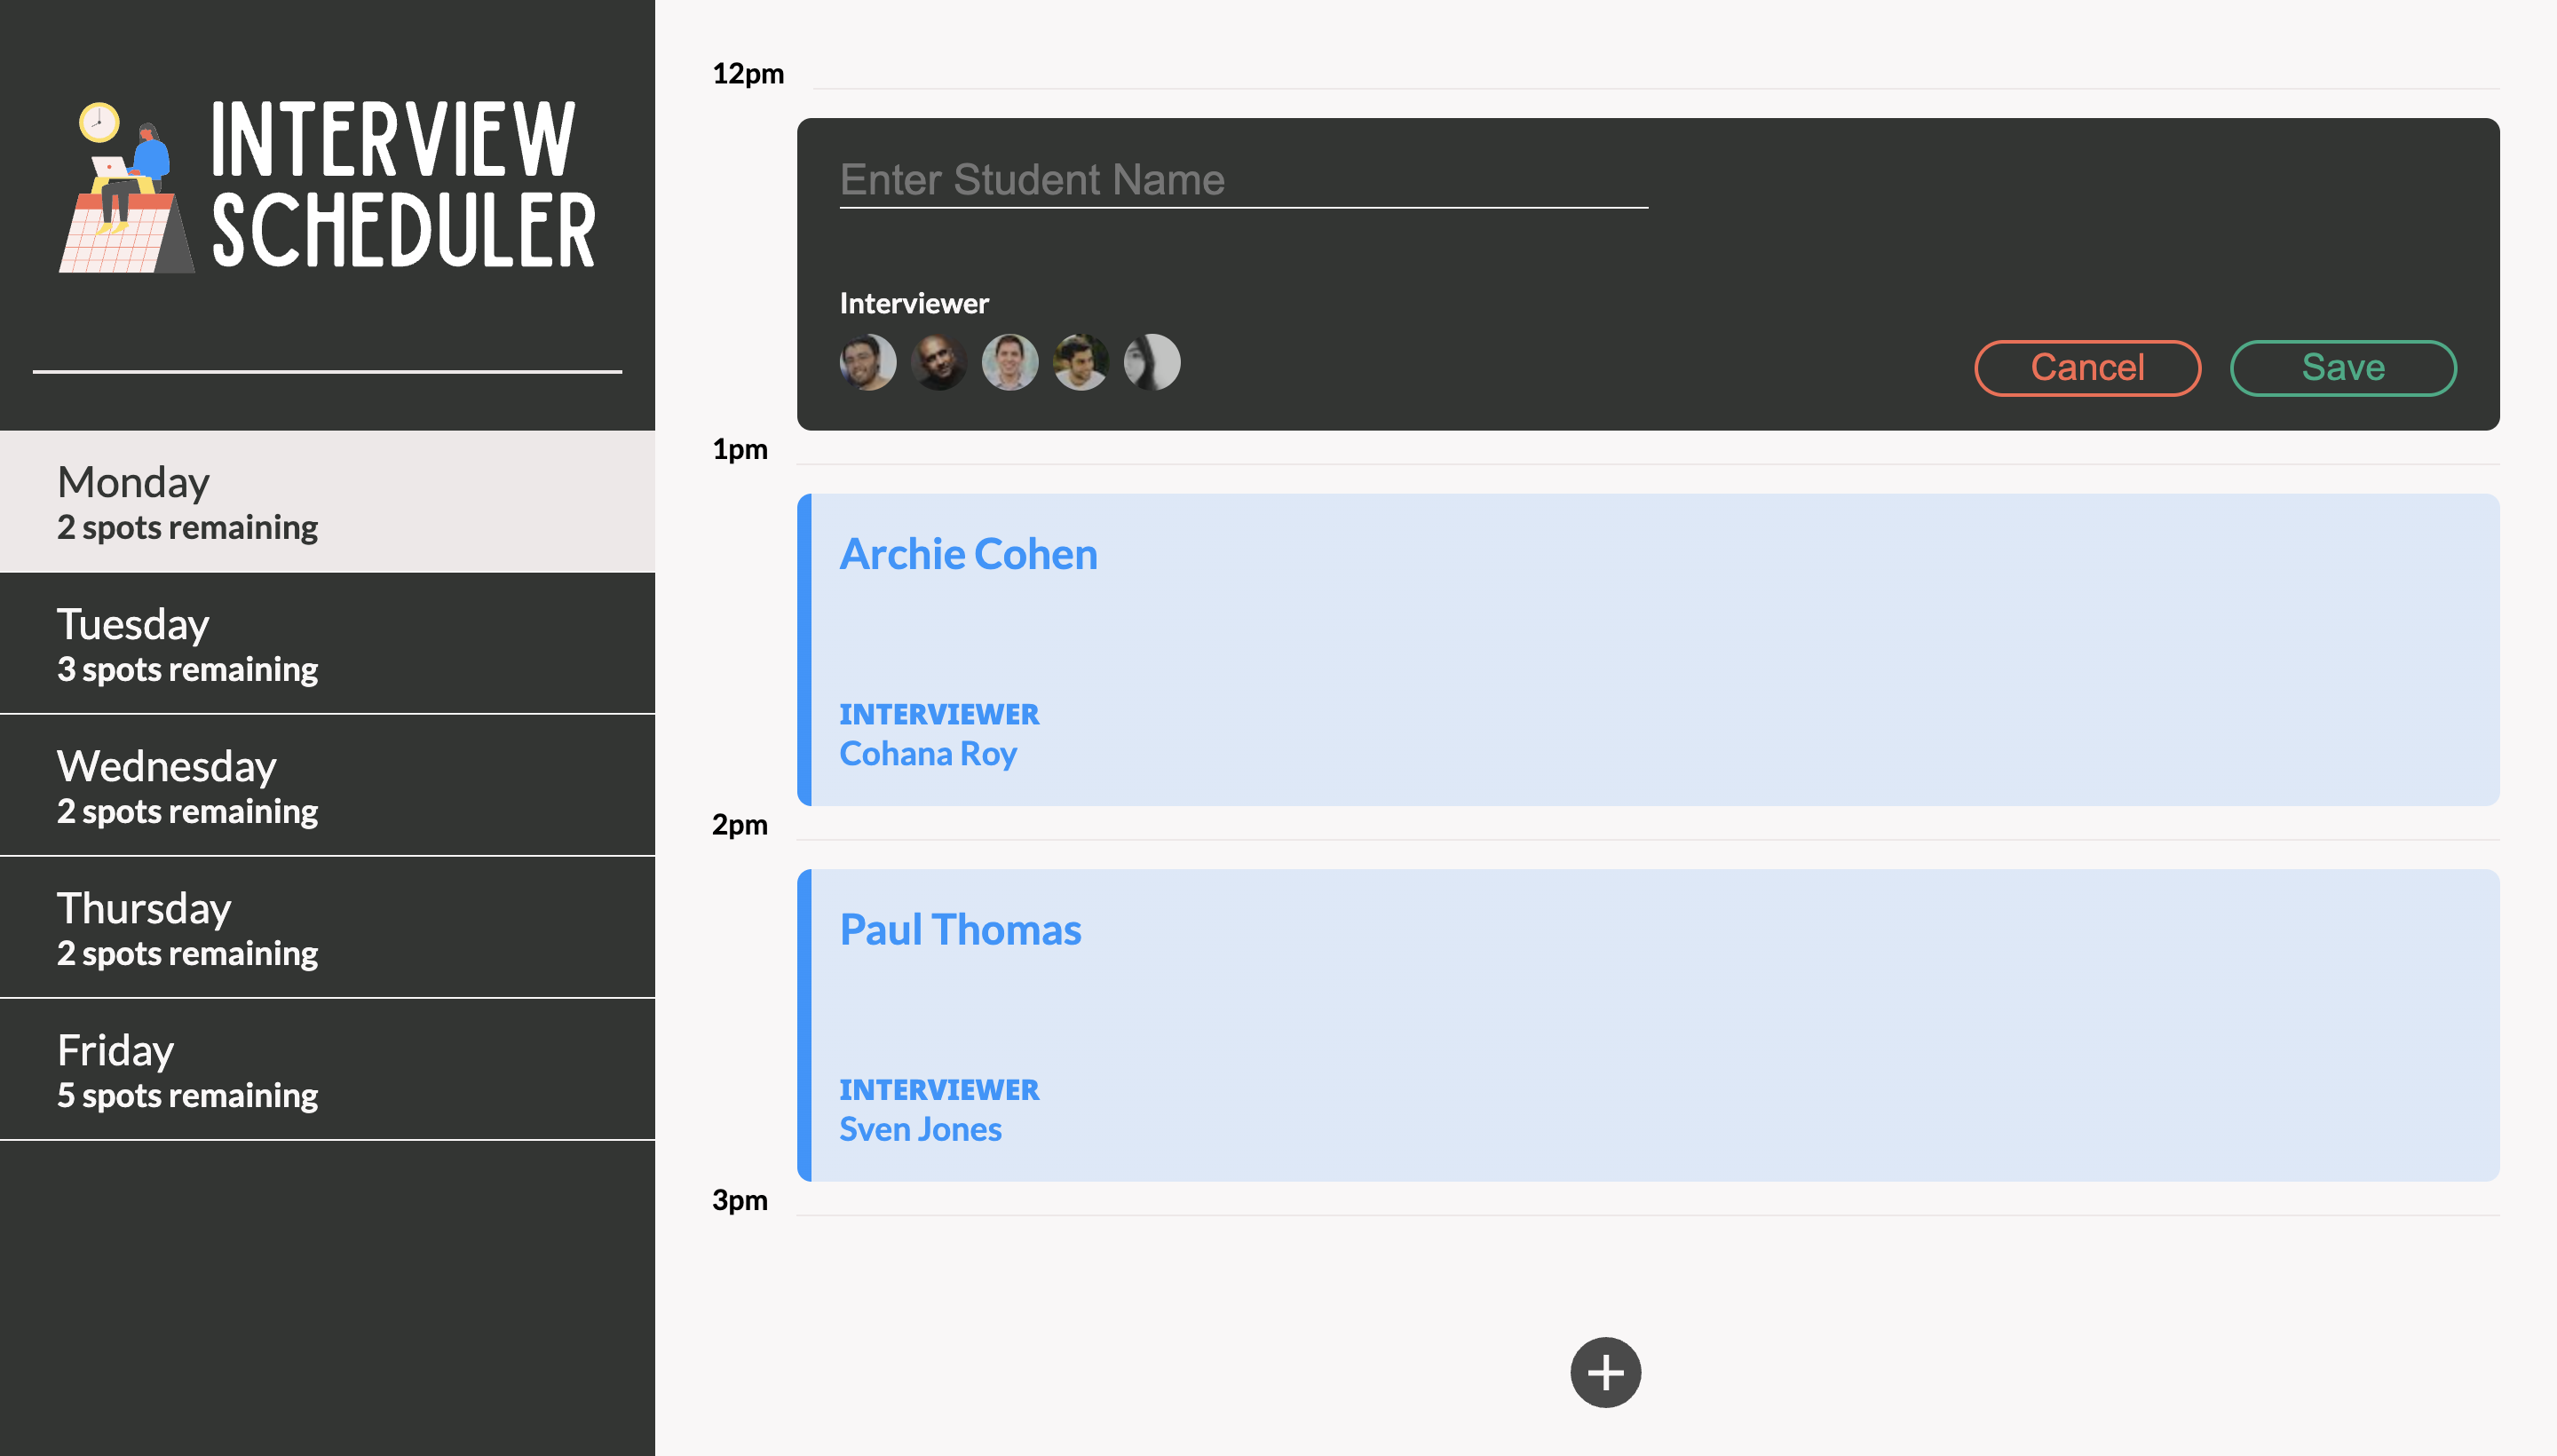
- Add a new appointment
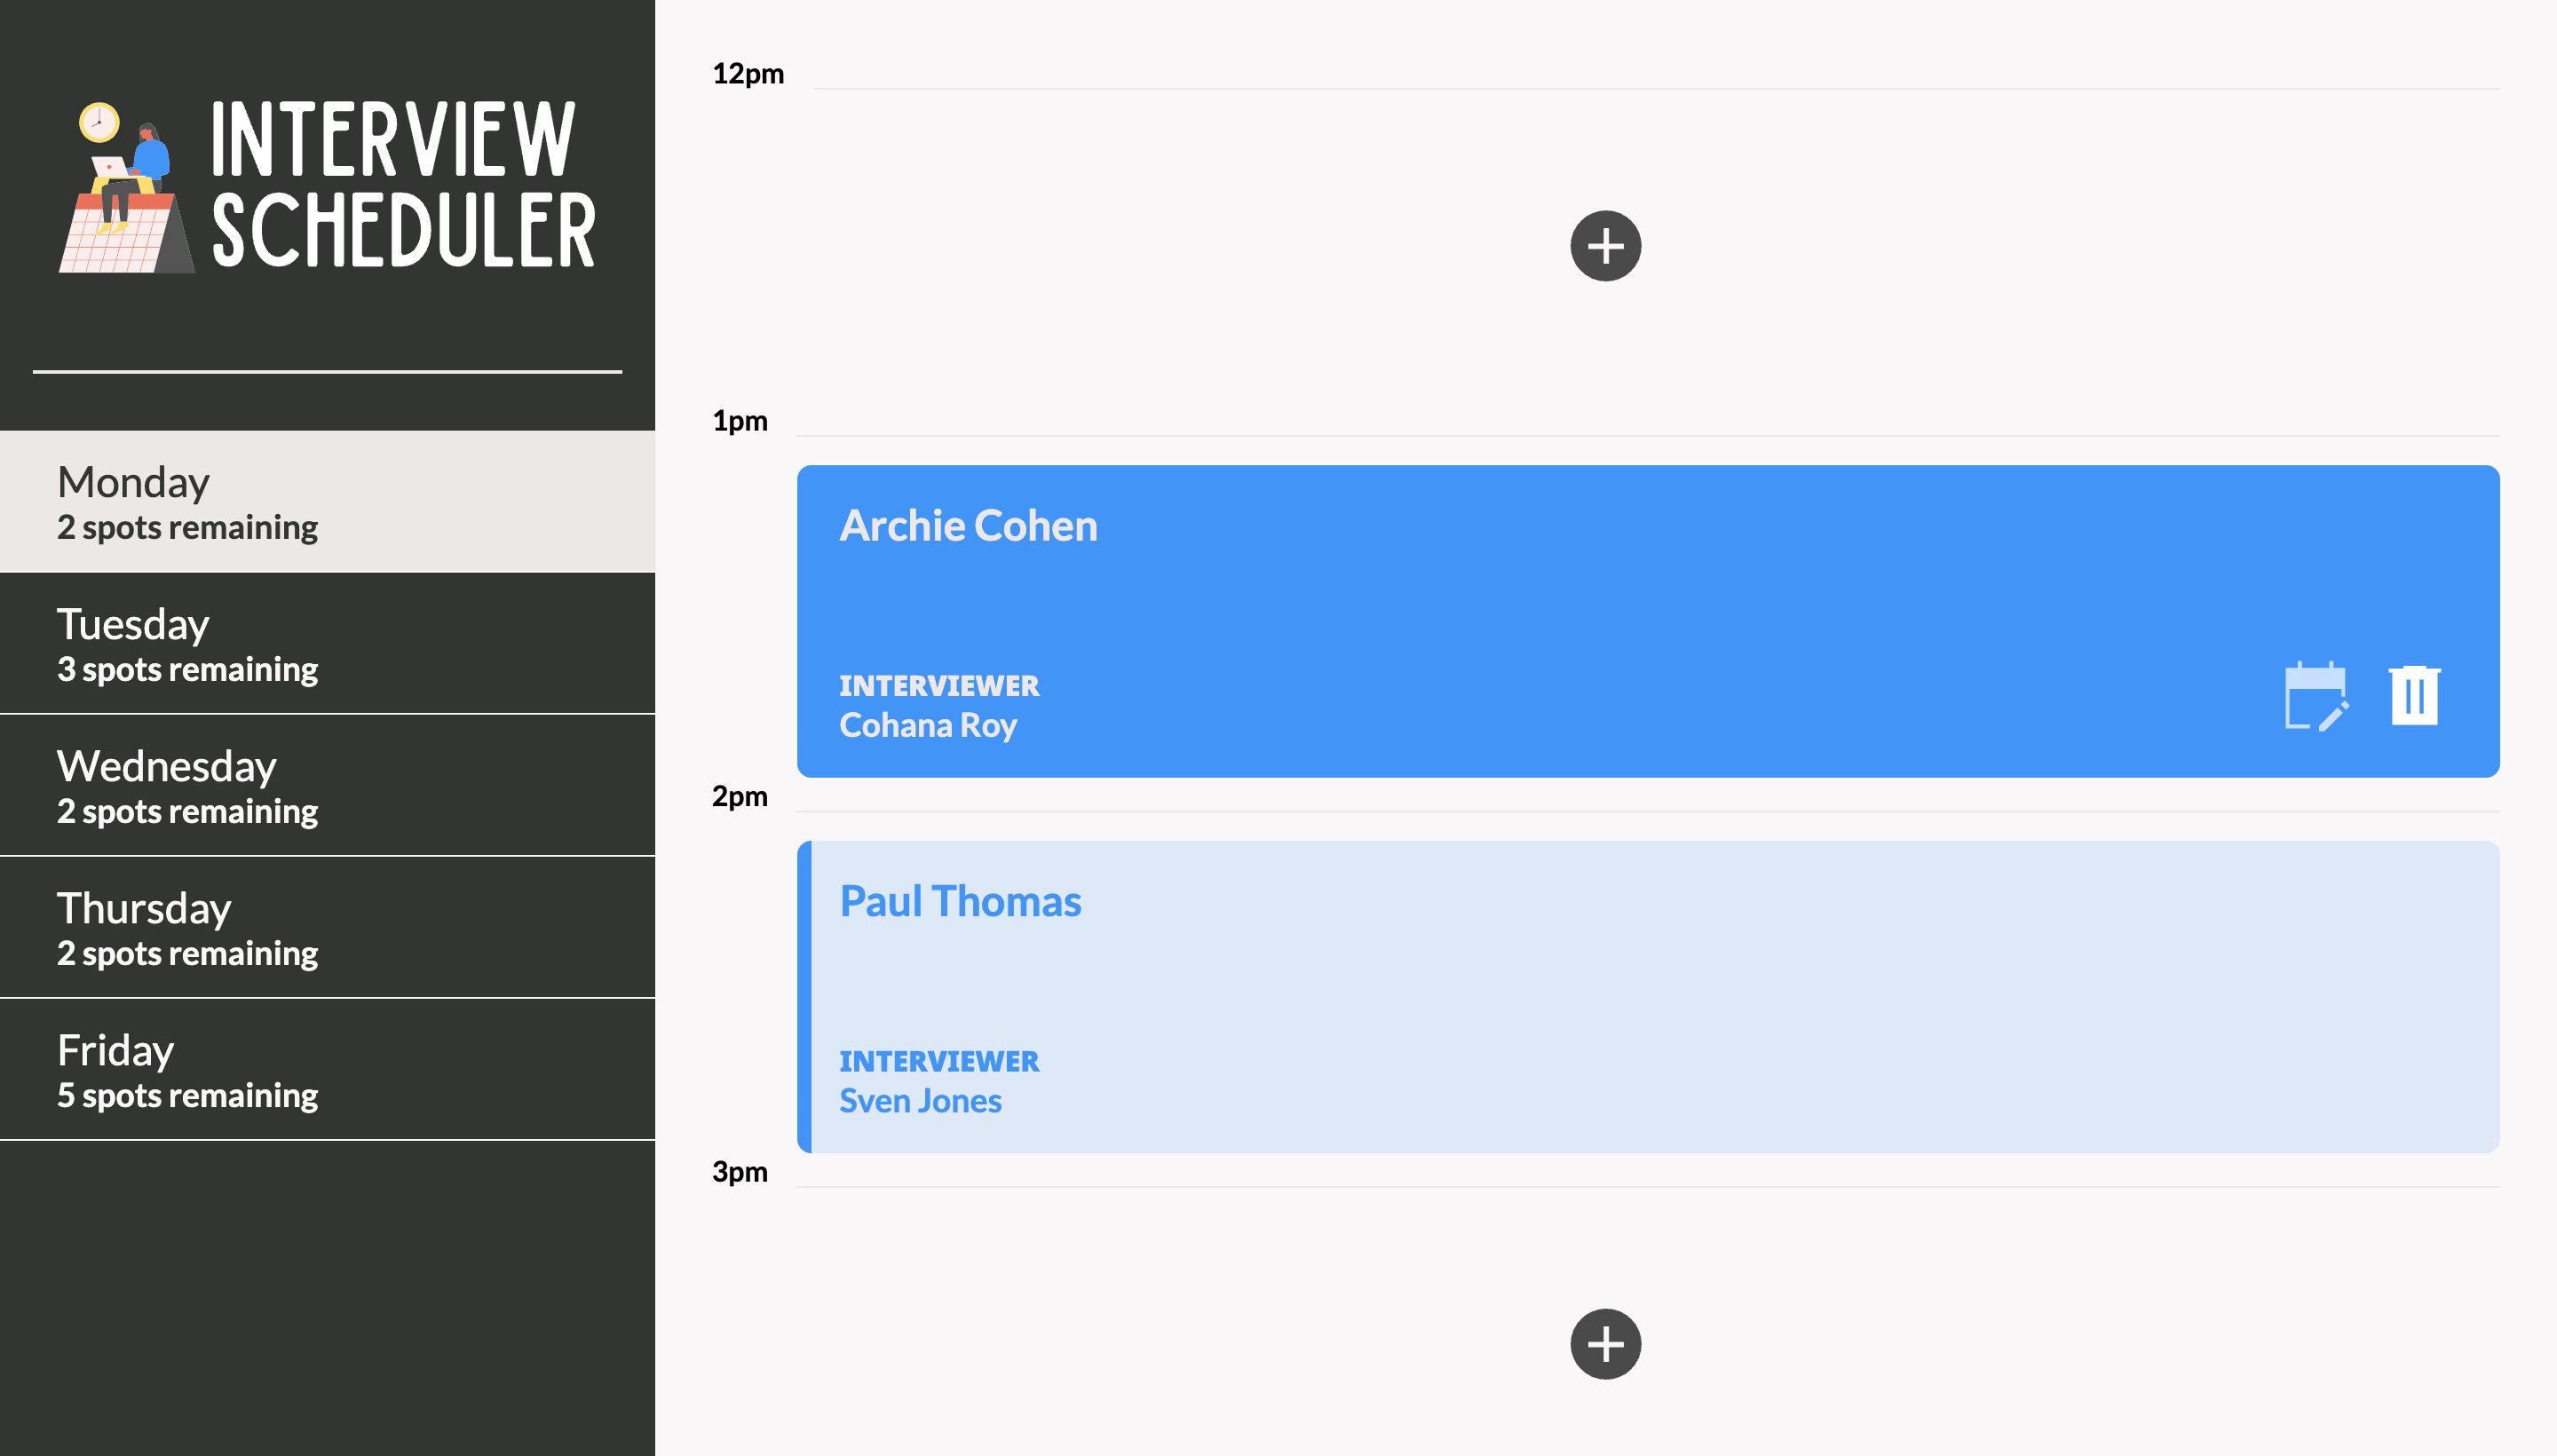
- Edit or delete an existing appointment
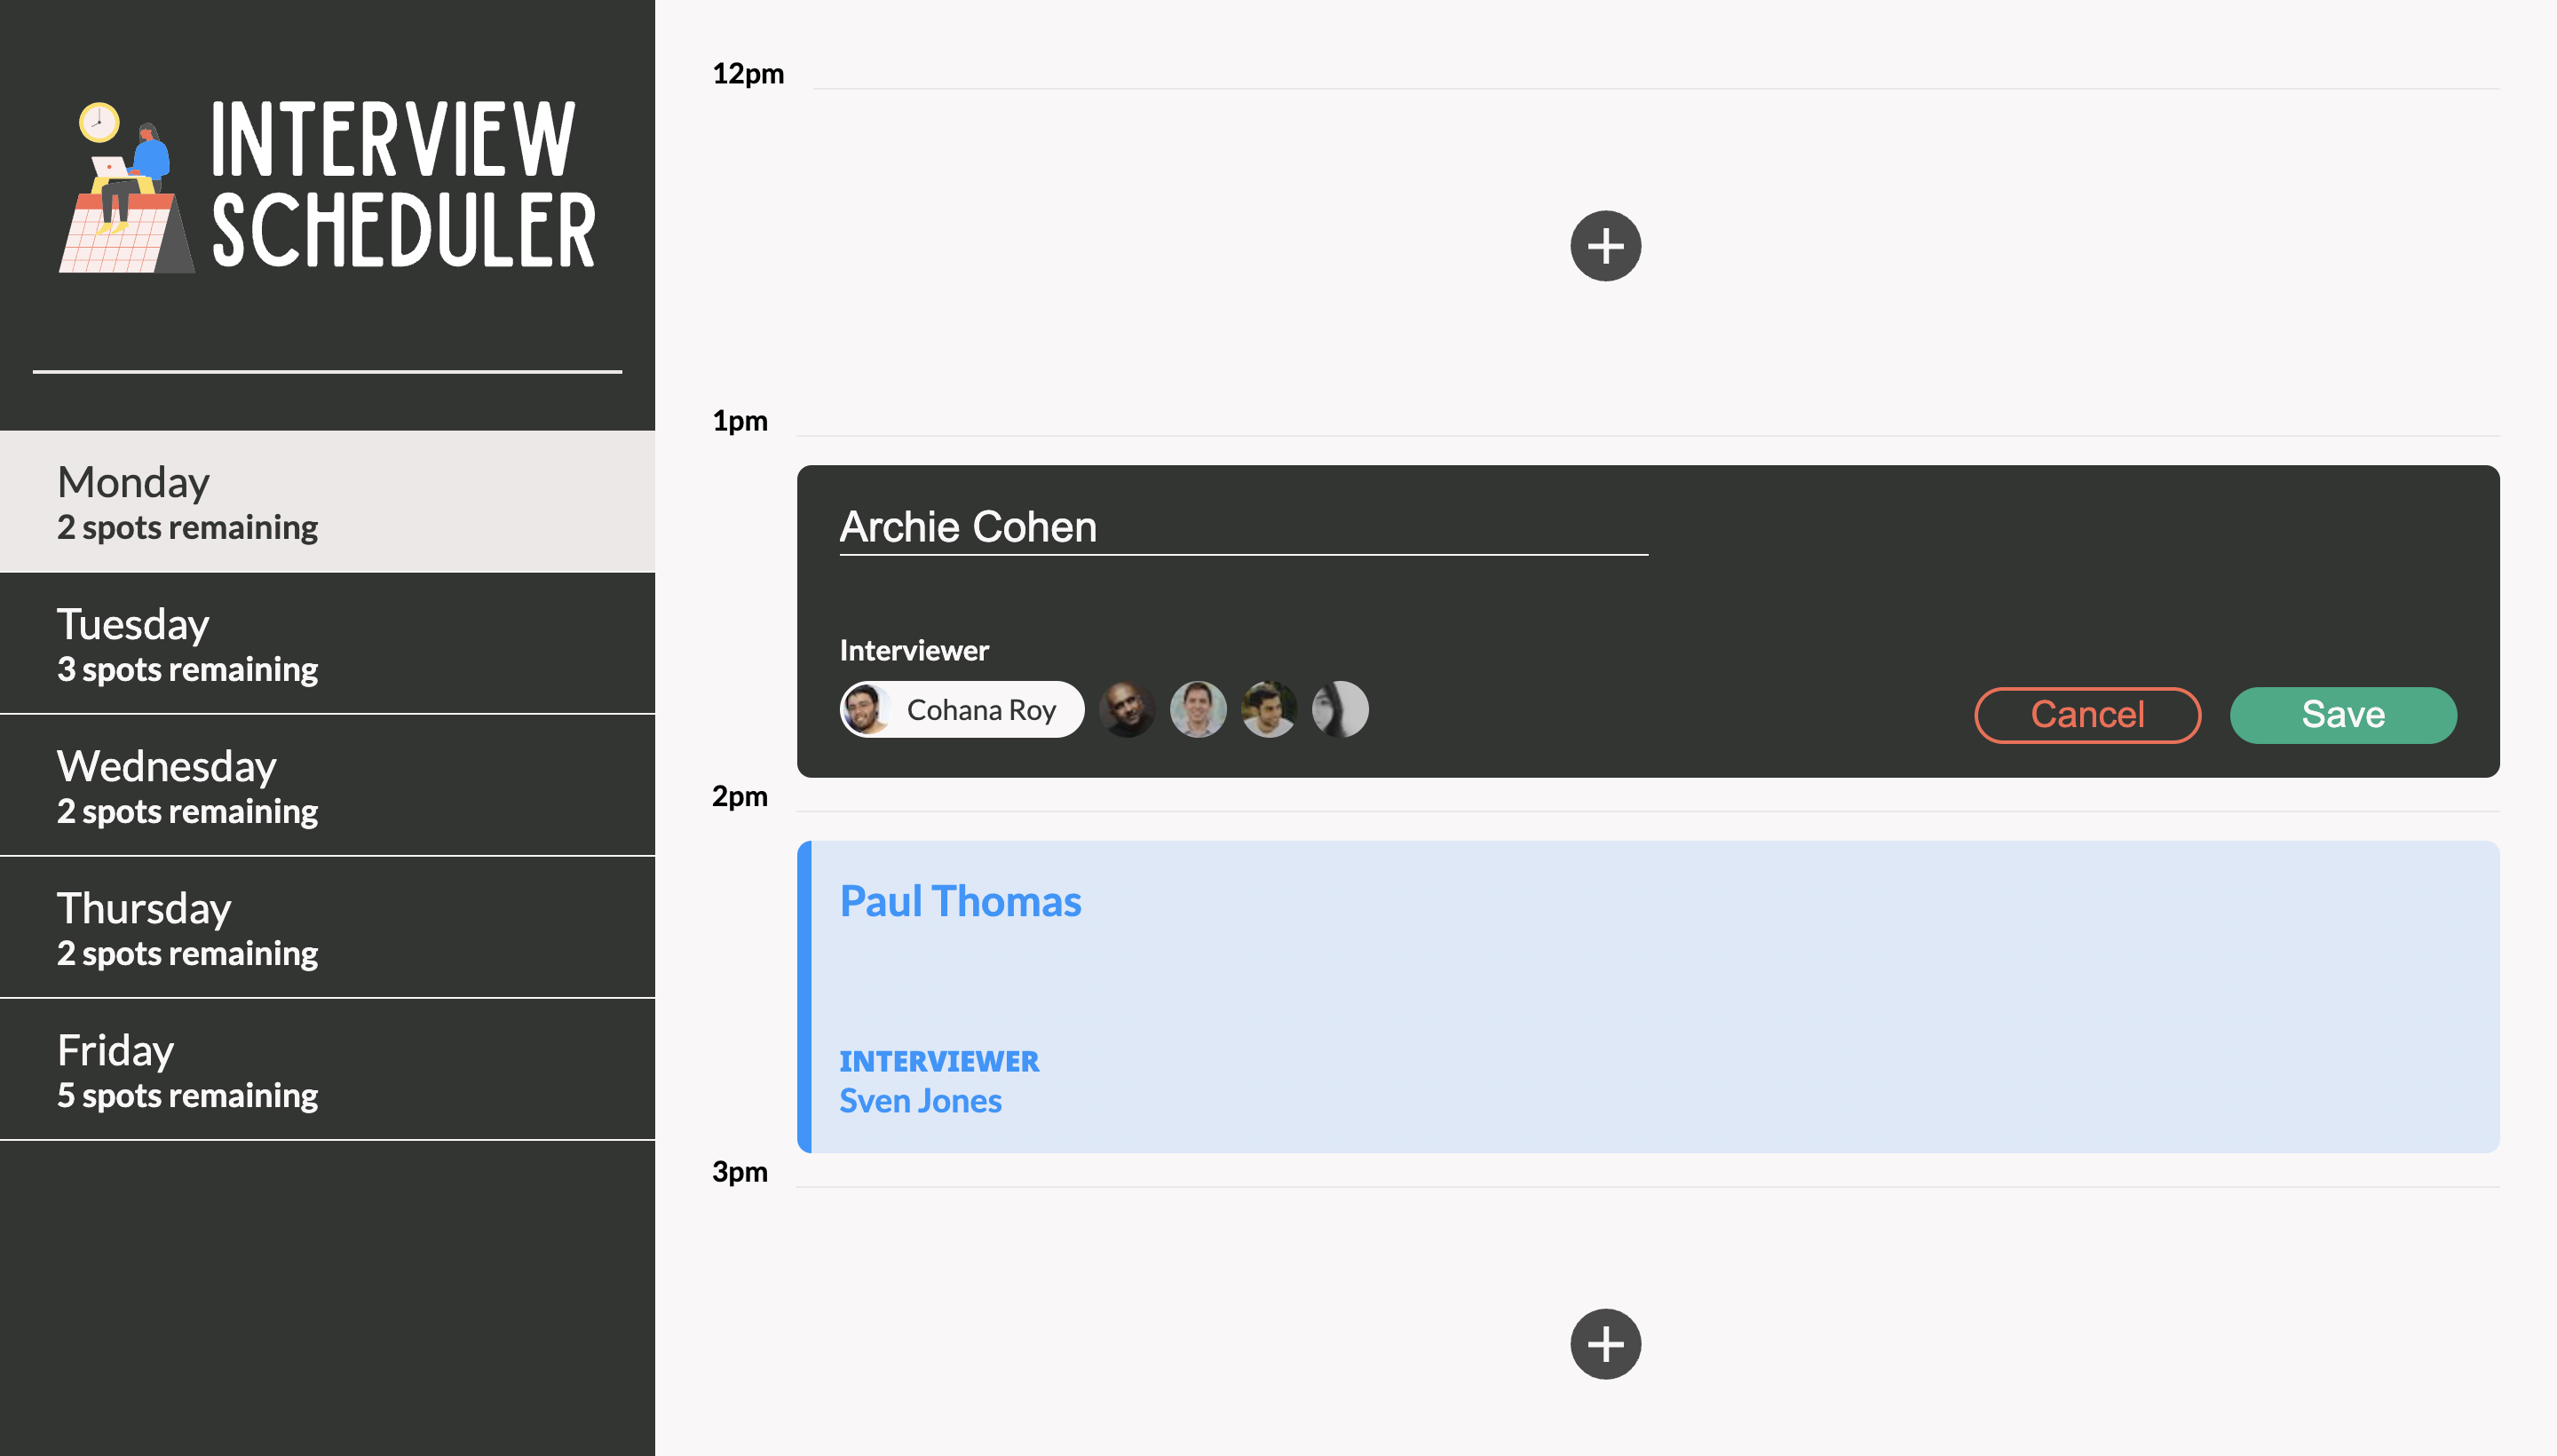
- Edit an appointment
- Delete an appointment
- Clone this repo to a folder named
schedulerand entercd scheduleron your CLI. - Run
npm installon your CLI to install all dependencies.
A test database must be created with seed data in it to allow for data persistence.
-
Create a .env file in the root of the directory like the .env.example file and add your own connection string where it says <YOUR_URI>
-
Next, you will need to create the database itself. I will not be including full instructions to do this step. You can follow MongoDB's instructions to do this here.
-
Add a database named
schedularto your M0 cluster. Add three collections, days, appointments and interviewers. Take a look a the schema required here:A. Days: https://scheduler-sm.vercel.app/api/days B. Appointments: https://scheduler-sm.vercel.app/api/appointments C: Interviewers: https://scheduler-sm.vercel.app/api/interviewers
-
You can use the files appointments.json, days.json, interviewers.json to seed the database you create.
-
If the database & env file is set up properly, you should see the relevant days data when you visit </api/days>
- The next steps assume your database was setup and seeded properly in the Database Setup section.
- Start the NextJS server using the
npm run devcommand in your scheduler CLI. The app will be typically served at http://localhost:3000/. - Go to http://localhost:3000/ in Google Chrome to access the application.
- Test data from the database we setup must be visible at this time.
- Upon hovering an existing appointment, a user may edit or cancel it.
- User will be asked to confirm their choice before deleting an appointment.
- User may add a new appointment in any of the empty spots available by clicking the +/add button.
- Data should persist after each change.
- This application has only been tested in Google Chrome so far therefore behavior could be unexpected in other browsers.
- The seed data is fake data.
- This setup process assumes user has the Mongodb database
schedularproperly setup.
