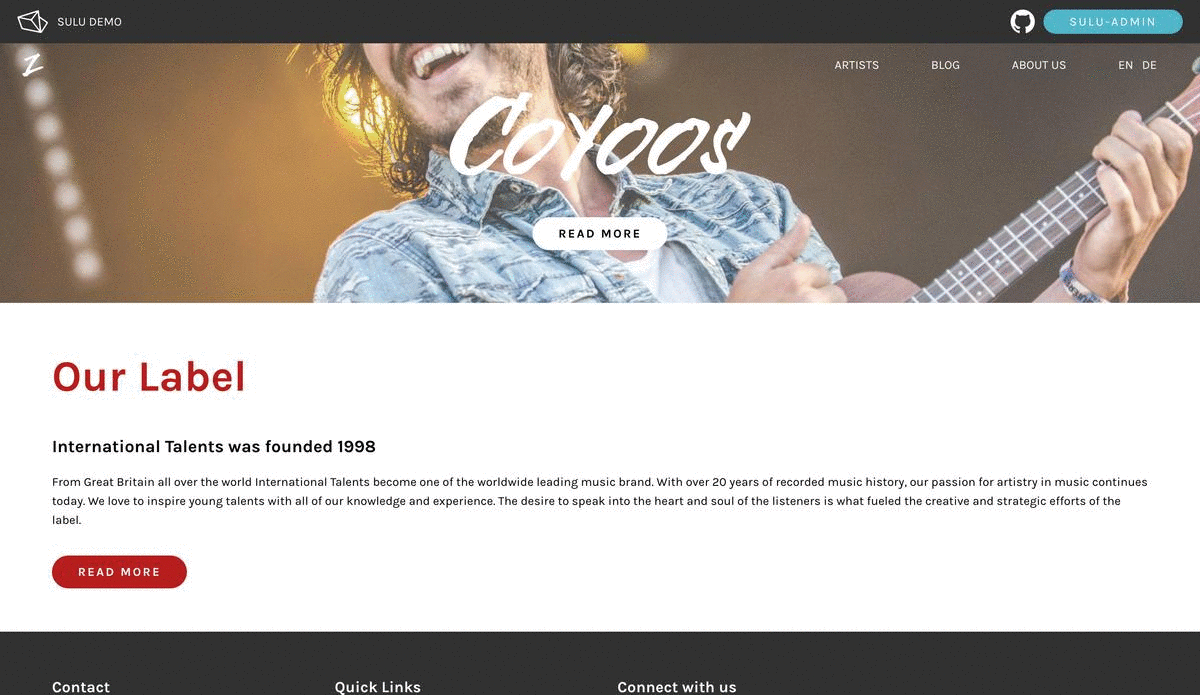
This is the official Sulu Demo. It was created to show a simple implementation of an application made with Sulu and explains the basic steps.
This project also runs here: https://sulu.rocks
For information about Sulu have a look at our Homepage: http://sulu.io/
Our documentation is available under: http://docs.sulu.io/
The SuluArticleBundle adds support for managing articles in Sulu. Articles can be used in a lot of different ways to manage unstructured data with an own URL in an admin-list. Most of the features, which can be used in pages, can also be used on articles - like templates, versioning, drafting, publishing and automation.
The SuluAutomationBundle provides a way to manages future tasks which can be scheduled for entities in the Sulu-Admin. For example schedule the publishing of a page to a specific datetime in the future.
To enable automated tasks use the command task:run manually in the terminal or in a cronjob. This tasks executes the
pending automation tasks (see SuluAutomationBundle Installation Docs).
SuluWebTwig and SuluWebJS
A collection of helpful twig extensions and a tiny js component mangaement library.
- PHP 8.0
- json extension
- xml extension
- simplexml extension
- gd or imagick extension (needed for image converts)
- MySQL or PostgreSQL Server
- Elasticsearch 7
- Composer
- NPM if you want to run npm tasks
git clone git@github.com:sulu/sulu-demo.git
cd sulu-demo
composer installThe demo requires a running MySQL and ElasticSearch instance.
Configure your DATABASE_URL and ELASTICSEARCH_HOST in the .env.local see .env as reference.
If you don't want to install the services yourself you can use the provided docker-compose.yml to start this services inside an own container:
docker-compose upInstall the demo with all fixtures by running:
bin/console sulu:build devNow you can try out our demo, there is no need to configure a virtual host. Just use the build in web servers:
php -S 127.0.0.1:8000 -t public config/router.phpThen you can access the administration interface via http://127.0.0.1:8000/admin. The default user and password is “admin”.
The web frontend can be found under http://127.0.0.1:8000.
composer bootstrap-test-environment
composer lint
composer testWe've got a #Slack channel where you can talk directly to strategists, developers and designers.
