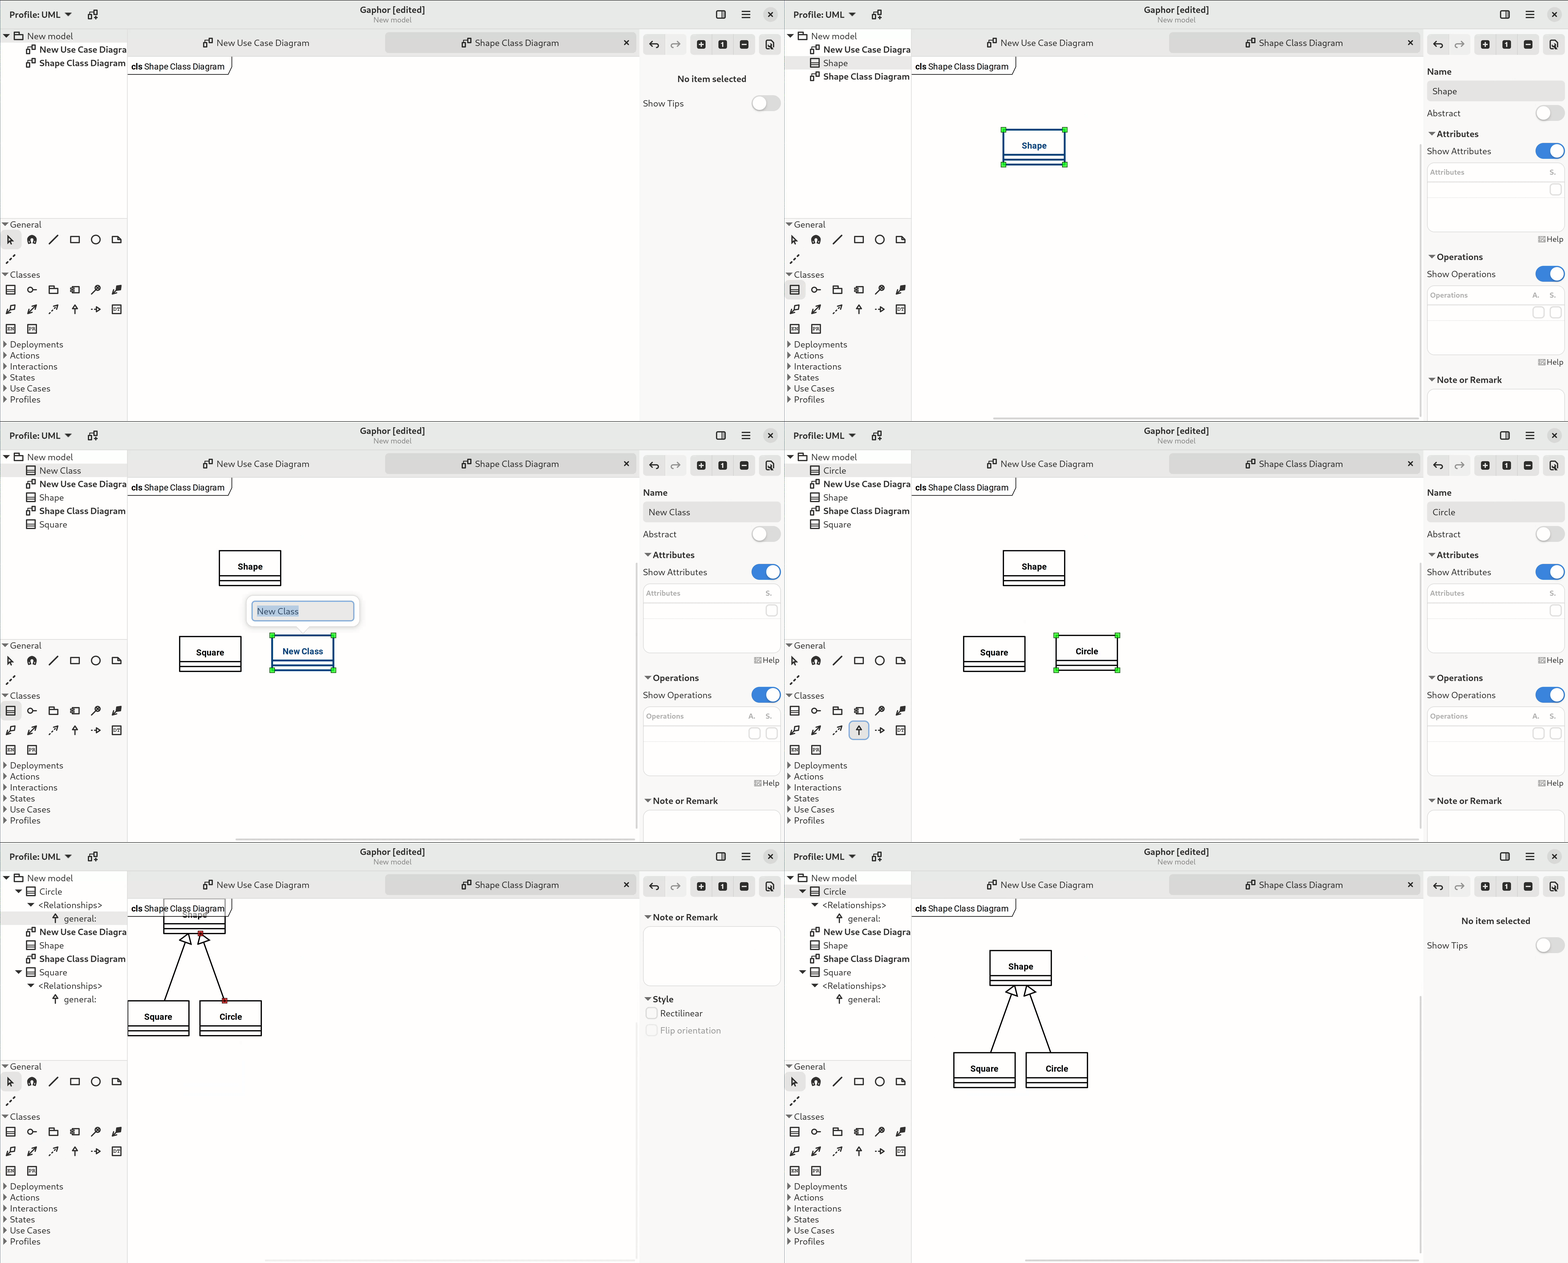
Gaphor is a UML and SysML modeling application written in Python. It is designed to be easy to use, while still being powerful. Gaphor implements a fully-compliant UML 2 data model, so it is much more than a picture drawing tool. You can use Gaphor to quickly visualize different aspects of a system as well as create complete, highly complex models.
Gaphor is a UML and SysML modeling application written in Python. We designed it to be easy to use, while still being powerful. Gaphor implements a fully-compliant UML 2 data model, so it is much more than a picture drawing tool. You can use Gaphor to quickly visualize different aspects of a system as well as create complete, highly complex models.
Gaphor is designed around the following principles:
- Simplicity: The application should be easy to use. Only some basic knowledge of UML or SysML is required.
- Consistency: UML is a graphical modeling language, so all modeling is done in a diagram.
- Workability: The application should not bother the user every time they do something non-UML-ish.
Gaphor is a GUI application that is built on GTK and Cairo. PyGObject and PyCairo provide Python bindings for those libraries. Gaphas provides the foundational diagramming functionality.
You can find the latest version on the gaphor.org website. Gaphor ships installers for macOS and Windows. Those can be found there. The Python package is also available on PyPI.
All releases are available on GitHub.
If you want to start developing on Gaphor, have a look at the Installation section of our Tech docs.
If using Gaphor for the first time you will be presented with a greeter dialog at startup in which you can select one of 5 models available to you to work in:
- Generic: (or blank) template
- UML: Unified Modeling Language template
- SysML: Systems Modeling Language template
- RAAML: Risk Analysis and Assessment Modeling language template
- C4 Model: a lean graphical notation technique for modelling the architecture of software systems template
After you select a template, the main Gaphor Window will load, and you will be ready to start modeling. Gaphor will automatically select the correct profile based on the template that you selected, but you can also select other modeling profiles if needed by clicking on the button next to the Profile dropdown menu at the top of your window.
To select an element you want to place, for example a Class, click on the icon in the Toolbox and then again on the diagram. This will place a new Class item on the diagram and add a new Class to the model (it shows up in the Navigation). The selected tool will reset itself to the Pointer tool if the option ''Diagram -> Reset tool'' is selected.
Portions of the toolbox may also be collapsed depending on the type of diagram you are modeling with. You can expand the collapsed portions of the toolbox if needed.
- Use the Navigation to select an element that can contain a diagram (a Package or Profile)
- Select the New diagram button in the upper left and select the type of diagram you would like to create from the dropdown.
It is also possible to create a new diagram by right clicking on a Package or Profile in the Navigation and selecting New Diagram.
Items in a diagram can be copied and pasted in the same diagram or other diagrams.
Ctrl+V: The default way to paste uses a link defining elements mode. This places an existing item in the diagram, but the item itself is not duplicated. In other words, if you paste a Class object in a diagram, the Class will be added to the diagram, but there will be no new Class in the Navigation.
Shift+Ctrl+V: Copy defining elements. This places a new item in the model by fully duplicating the item that was copied.
Adding an existing element to a diagram is done by dragging the element from the Navigation section onto a diagram. Diagrams and attribute/operations of a Class show up in the Navigation but can not be added to a diagram.
Elements can also be dragged within the Navigation in order to rearrange them in to different packages.
Thanks goes to these wonderful people (emoji key):
This project follows the all-contributors specification. Contributions of any kind are welcome!
- Check for open issues or open a fresh issue to start a discussion around a feature idea or a bug. There is a first-timers-only tag for issues that should be ideal for people who are not very familiar with the codebase yet.
- Fork the repository on GitHub to start making your changes to the master branch (or branch off of it).
- Write a test which shows that the bug was fixed or that the feature works as expected.
- Send a pull request and bug the maintainers until it gets merged and published. 😄
Translation of Gaphor is mostly done using Weblate.
For the Linux Flatpak, the desktop entry comment string can be translated at our Flatpak repository.
Thank you so much for your effort in helping us keep it available in many languages!
Copyright © Arjan Molenaar and Dan Yeaw
Licensed under the Apache License v2.
Summary: You can do what you like with Gaphor, as long as you include the required notices. This permissive license contains a patent license from the contributors of the code.


