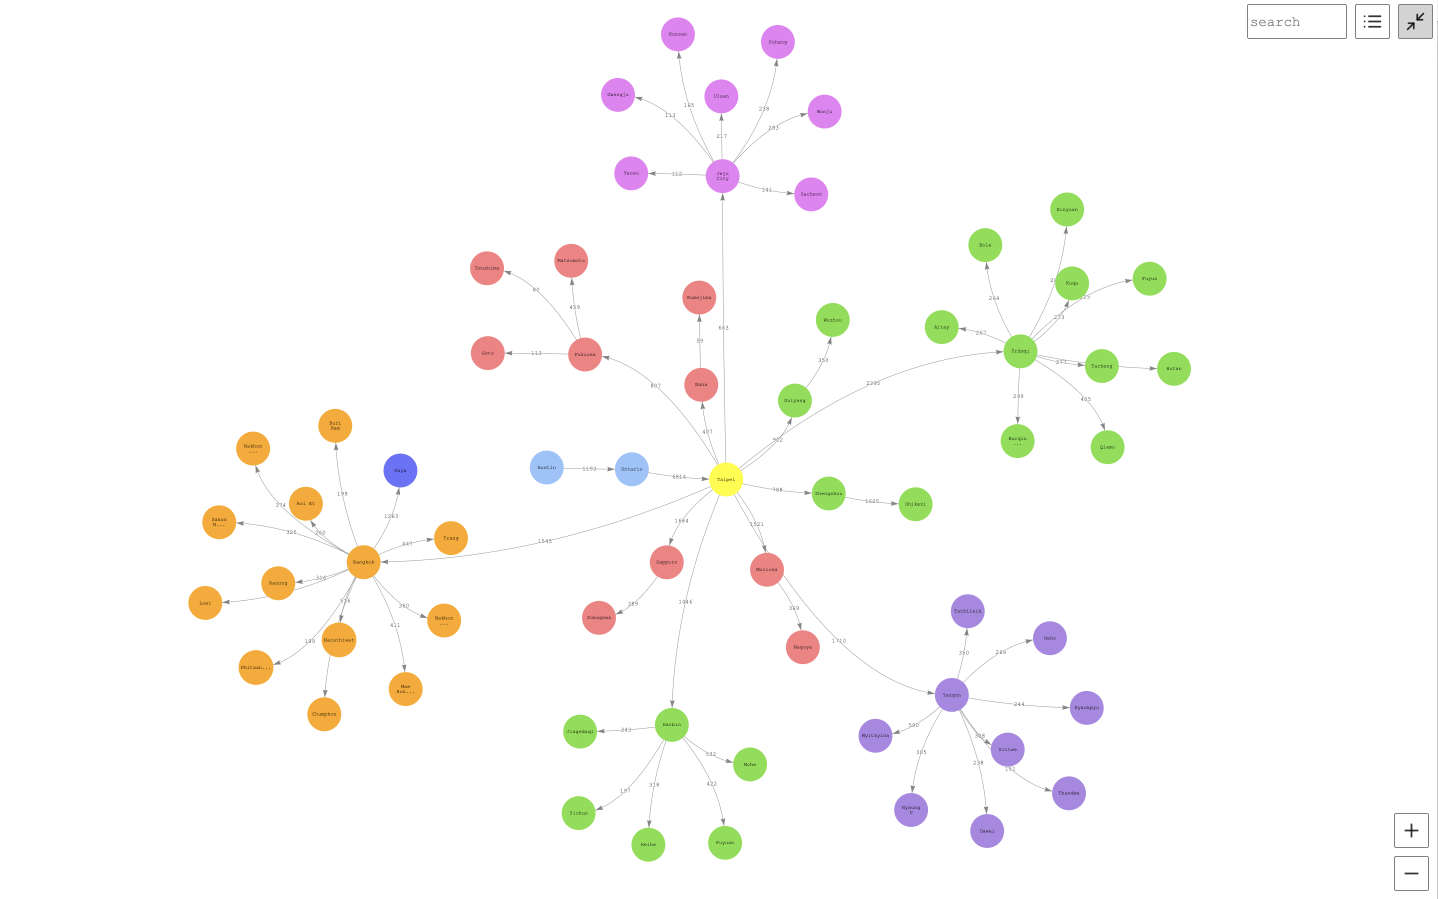
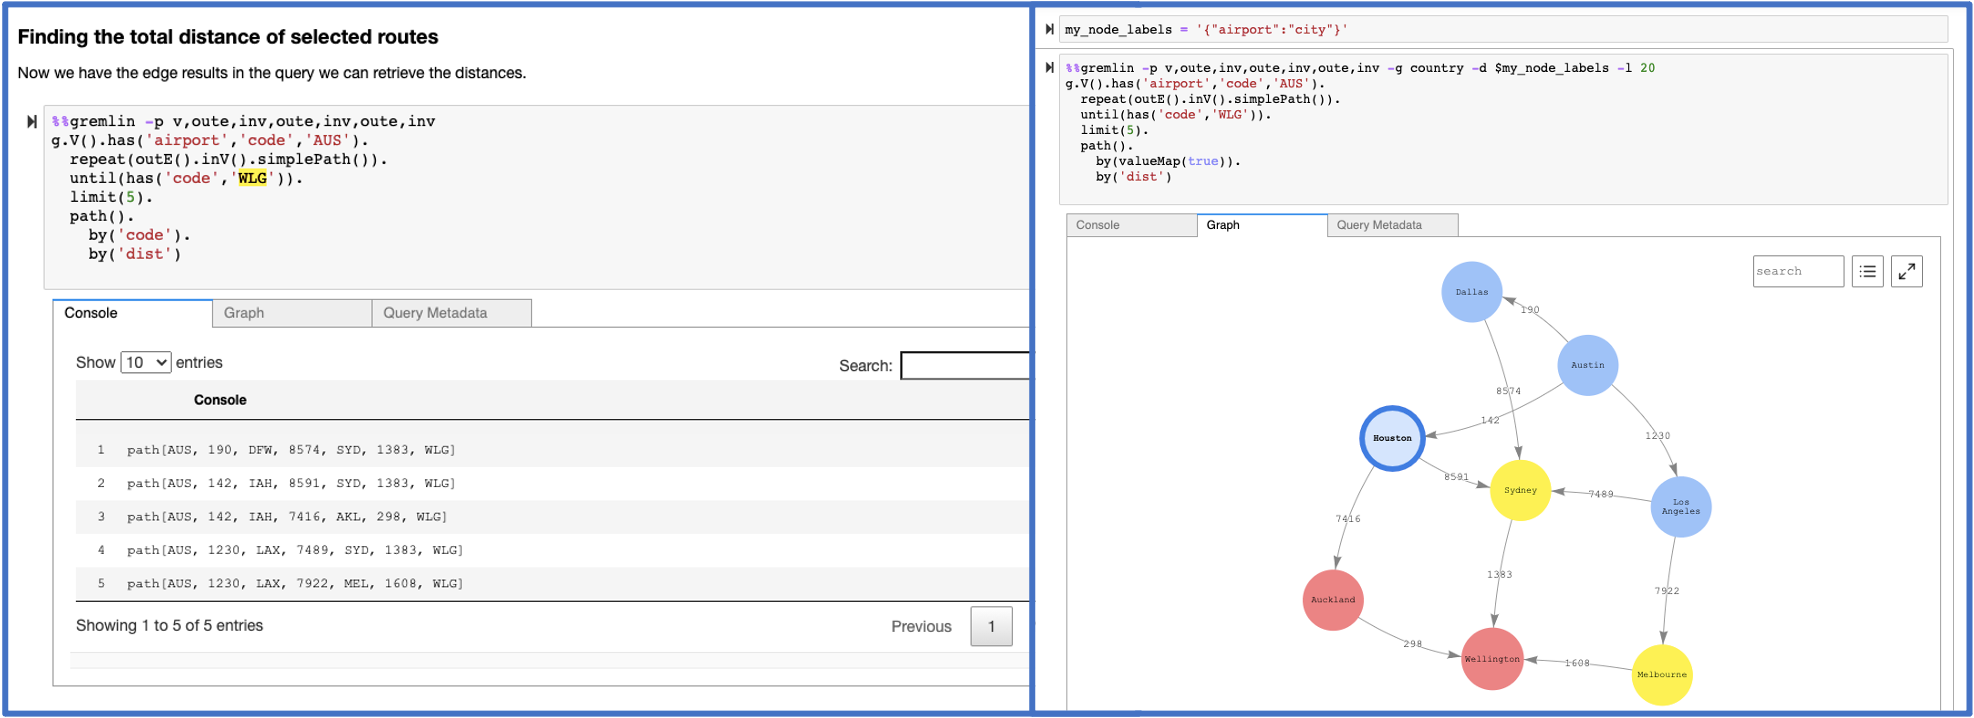
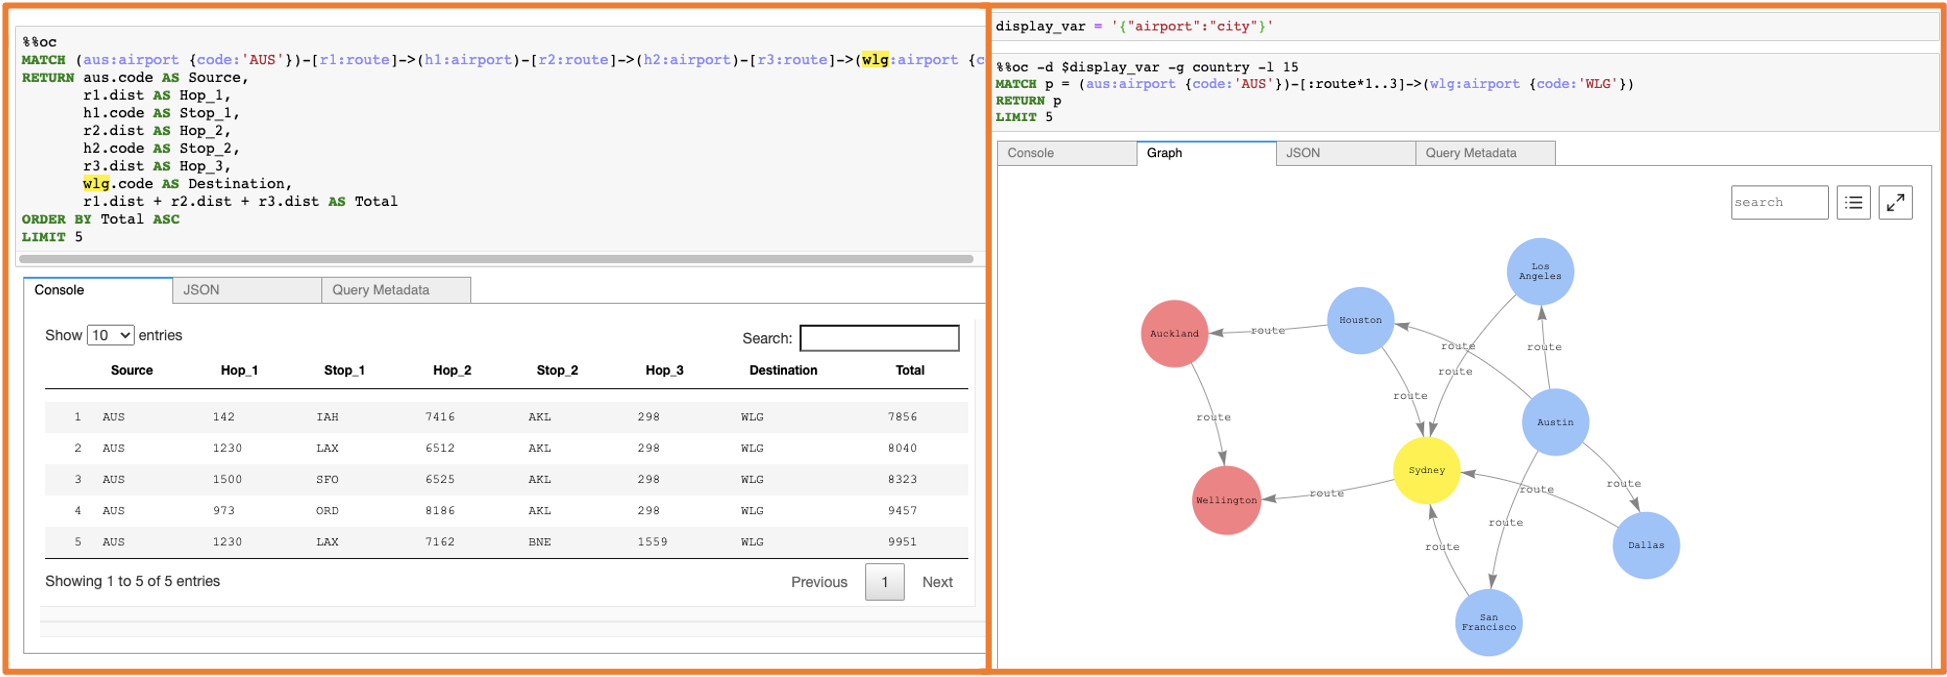
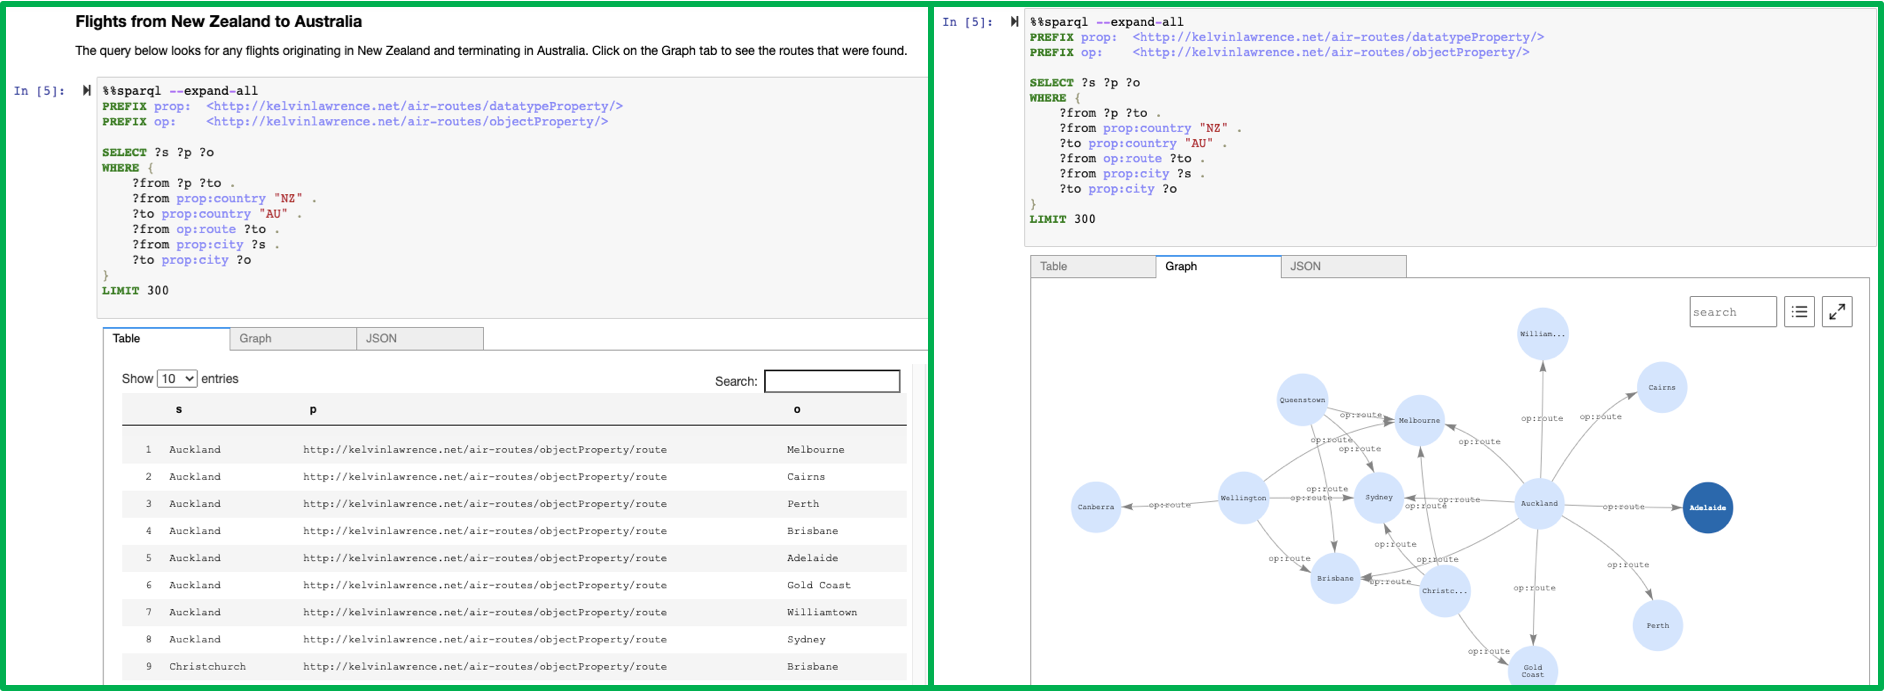
The graph notebook provides an easy way to interact with graph databases using Jupyter notebooks. Using this open-source Python package, you can connect to any graph database that supports the Apache TinkerPop, openCypher or the RDF SPARQL graph models. These databases could be running locally on your desktop or in the cloud. Graph databases can be used to explore a variety of use cases including knowledge graphs and identity graphs.
Instructions for connecting to the following graph databases:
| Endpoint | Graph model | Query language |
|---|---|---|
| Gremlin Server | property graph | Gremlin |
| Blazegraph | RDF | SPARQL |
| Amazon Neptune | property graph or RDF | Gremlin or SPARQL |
| Neo4J | property graph | Cypher |
We encourage others to contribute configurations they find useful. There is an additional-databases folder where more information can be found.
%%sparql - Executes a SPARQL query against your configured database endpoint. Documentation
%%gremlin - Executes a Gremlin query against your database using web sockets. The results are similar to those a Gremlin console would return. Documentation
%%opencypher or %%oc Executes an openCypher query against your database. Documentation
%%graph_notebook_config - Sets the executing notebook's database configuration to the JSON payload provided in the cell body.
%%graph_notebook_vis_options - Sets the executing notebook's vis.js options to the JSON payload provided in the cell body.
%%neptune_ml - Set of commands to integrate with NeptuneML functionality, as described here. Documentation
TIP 👉 %%sparql, %%gremlin, and %%oc share a suite of common arguments that be used to customize the appearance of rendered graphs. Example usage of these arguments can also be found in the sample notebooks under 02-Visualization.
TIP 👉 There is syntax highlighting for language query magic cells to help you structure your queries more easily.
%gremlin_status - Obtain the status of Gremlin queries. Documentation
%sparql_status - Obtain the status of SPARQL queries. Documentation
%opencypher_status or %oc_status - Obtain the status of openCypher queries. Documentation
%load - Generate a form to submit a bulk loader job. Documentation
%load_ids - Get ids of bulk load jobs. Documentation
%load_status - Get the status of a provided load_id. Documentation
%cancel_load - Cancels a bulk load job. You can either provide a single load_id, or specify --all-in-queue to cancel all queued (and not actively running) jobs. Documentation
%neptune_ml - Set of commands to integrate with NeptuneML functionality, as described here. You can find a set of tutorial notebooks here.
Documentation
%status - Check the Health Status of the configured host endpoint. Documentation
%seed - Provides a form to add data to your graph without the use of a bulk loader. Supports both RDF and Property Graph data models.
%stream_viewer - Interactively explore the Neptune CDC stream (if enabled)
%graph_notebook_config - Returns a JSON payload that contains connection information for your host.
%graph_notebook_host - Set the host endpoint to send queries to.
%graph_notebook_version - Print the version of the graph-notebook package
%graph_notebook_vis_options - Print the Vis.js options being used for rendered graphs
TIP 👉 You can list all the magics installed in the Python 3 kernel using the %lsmagic command.
TIP 👉 Many of the magic commands support a --help option in order to provide additional information.
This project includes many example Jupyter notebooks. It is recommended to explore them. All of the commands and features supported by graph-notebook are explained in detail with examples within the sample notebooks. You can find them here. As this project has evolved, many new features have been added. If you are already familiar with graph-notebook but want a quick summary of new features added, a good place to start is the Air-Routes notebooks in the 02-Visualization folder.
It is recommended to check the ChangeLog.md file periodically to keep up to date as new features are added.
You will need:
- Python 3.7.0-3.9.7
- A graph database that provides one or more of:
- A SPARQL 1.1 endpoint
- An Apache TinkerPop Gremlin Server compatible endpoint
- An endpoint compatible with openCypher
Begin by installing graph-notebook and its prerequisites, then follow the remaining instructions for either Jupyter Classic Notebook or JupyterLab.
# install the package
pip install graph-notebook
# Enable the visualization widget
jupyter nbextension enable  --py --sys-prefix graph_notebook.widgets

# copy static html resources
python -m graph_notebook.static_resources.install
python -m graph_notebook.nbextensions.install

# copy premade starter notebooks
python -m graph_notebook.notebooks.install --destination ~/notebook/destination/dir

# create nbconfig file and directory tree, if they do not already exist
mkdir ~/.jupyter/nbconfig
touch ~/.jupyter/nbconfig/notebook.json

# start jupyter notebook
python -m graph_notebook.start_notebook --notebooks-dir ~/notebook/destination/dir
# install jupyterlab
pip install "jupyterlab>=3"

# copy premade starter notebooks
python -m graph_notebook.notebooks.install --destination ~/notebook/destination/dir

# start jupyterlab
python -m graph_notebook.start_jupyterlab --jupyter-dir ~/notebook/destination/dir
When attempting to run a line/cell magic on a new notebook in JupyterLab, you may encounter the error:
UsageError: Cell magic `%%graph_notebook_config` not found.
To fix this, run the following command, then restart JupyterLab.
python -m graph_notebook.ipython_profile.configure_ipython_profile
Alternatively, the magic extensions can be manually reloaded for a single notebook by running the following command in any empty cell.
%load_ext graph_notebook.magics
# upgrade graph-notebook
pip install graph-notebook --upgrade
After the above command completes, rerun the commands given at Jupyter Classic Notebook or JupyterLab 3.x based on which flavour is installed.
In a new cell in the Jupyter notebook, change the configuration using %%graph_notebook_config and modify the fields for host, port, and ssl. Optionally, modify traversal_source if your graph traversal source name differs from the default value, username and password if required by the graph store, or message_serializer for a specific data transfer format. For a local Gremlin server (HTTP or WebSockets), you can use the following command:
%%graph_notebook_config
{
  "host": "localhost",
  "port": 8182,
  "ssl": false,
  "gremlin": {
    "traversal_source": "g",
    "username": "",
    "password": "",
    "message_serializer": "graphsonv3"
  }
}
To setup a new local Gremlin Server for use with the graph notebook, check out additional-databases/gremlin server
Change the configuration using %%graph_notebook_config and modify the fields for host, port, and ssl. For a local Blazegraph database, you can use the following command:
%%graph_notebook_config
{
  "host": "localhost",
  "port": 9999,
  "ssl": false,
  "sparql": {
    "path": "sparql"
  }
}
You can also make use of namespaces for Blazegraph by specifying the path graph-notebook should use when querying your SPARQL like below:
%%graph_notebook_config

{
  "host": "localhost",
  "port": 9999,
  "ssl": false,
  "sparql": {
    "path": "blazegraph/namespace/foo/sparql"
  }
}
This will result in the url localhost:9999/blazegraph/namespace/foo/sparql being used when executing any %%sparql magic commands.
To setup a new local Blazegraph database for use with the graph notebook, check out the Quick Start from Blazegraph.
Change the configuration using %%graph_notebook_config and modify the defaults as they apply to your Neptune cluster:
%%graph_notebook_config
{
  "host": "your-neptune-endpoint",
  "port": 8182,
  "auth_mode": "DEFAULT",
  "load_from_s3_arn": "",
  "ssl": true,
  "ssl_verify": true,
  "aws_region": "your-neptune-region"
}
To setup a new Amazon Neptune cluster, check out the Amazon Web Services documentation.
When connecting the graph notebook to Neptune, make sure you have a network setup to communicate to the VPC that Neptune runs on. If not, you can follow this guide.
If you are running a SigV4 authenticated endpoint, ensure that your configuration has auth_mode set to IAM:
%%graph_notebook_config
{
  "host": "your-neptune-endpoint",
  "port": 8182,
  "auth_mode": "IAM",
  "load_from_s3_arn": "",
  "ssl": true,
  "ssl_verify": true,
  "aws_region": "your-neptune-region"
}
Additionally, you should have the following Amazon Web Services credentials available in a location accessible to Boto3:
- Access Key ID
- Secret Access Key
- Default Region
- Session Token (OPTIONAL. Use if you are using temporary credentials)
These variables must follow a specific naming convention, as listed in the Boto3 documentation
A list of all locations checked for Amazon Web Services credentials can also be found here.
Change the configuration using %%graph_notebook_config and modify the fields for host, port, ssl, and neo4j authentication.
If your Neo4J instance supports multiple databases, you can specify a database name via the database field. Otherwise, leave the database field blank to query the default database.
For a local Neo4j Desktop database, you can use the following command:
%%graph_notebook_config
{
  "host": "localhost",
  "port": 7687,
  "ssl": false,
  "neo4j": {
    "username": "neo4j",
    "password": "password",
    "auth": true,
    "database": ""
  }
}
Ensure that you also specify the %%oc bolt option when submitting queries to the Bolt endpoint.
To setup a new local Neo4J Desktop database for use with the graph notebook, check out the Neo4J Desktop User Interface Guide.
A pre-release distribution can be built from the graph-notebook repository via the following steps:
# 1) Clone the repository and navigate into the clone directory
git clone https://github.com/aws/graph-notebook.git
cd graph-notebook

# 2) Create a new virtual environment

# 2a) Option 1 - pyenv
pyenv install 3.9.7  # Only if not already installed; this can be any supported Python 3 version in Prerequisites
pyenv virtualenv 3.9.7 build-graph-notebook
pyenv local build-graph-notebook

# 2b) Option 2 - venv
rm -rf /tmp/venv
python3 -m venv /tmp/venv
source /tmp/venv/bin/activate

# 3) Install build dependencies
pip install --upgrade pip setuptools wheel twine
pip install jupyterlab>=3

# 4) Build the distribution
python3 setup.py bdist_wheel
You should now be able to find the built distribution at
./dist/graph_notebook-3.7.1-py3-none-any.whl
And use it by following the installation steps, replacing
pip install graph-notebook
with
pip install ./dist/graph_notebook-3.7.1-py3-none-any.whl
See CONTRIBUTING for more information.
This project is licensed under the Apache-2.0 License.


