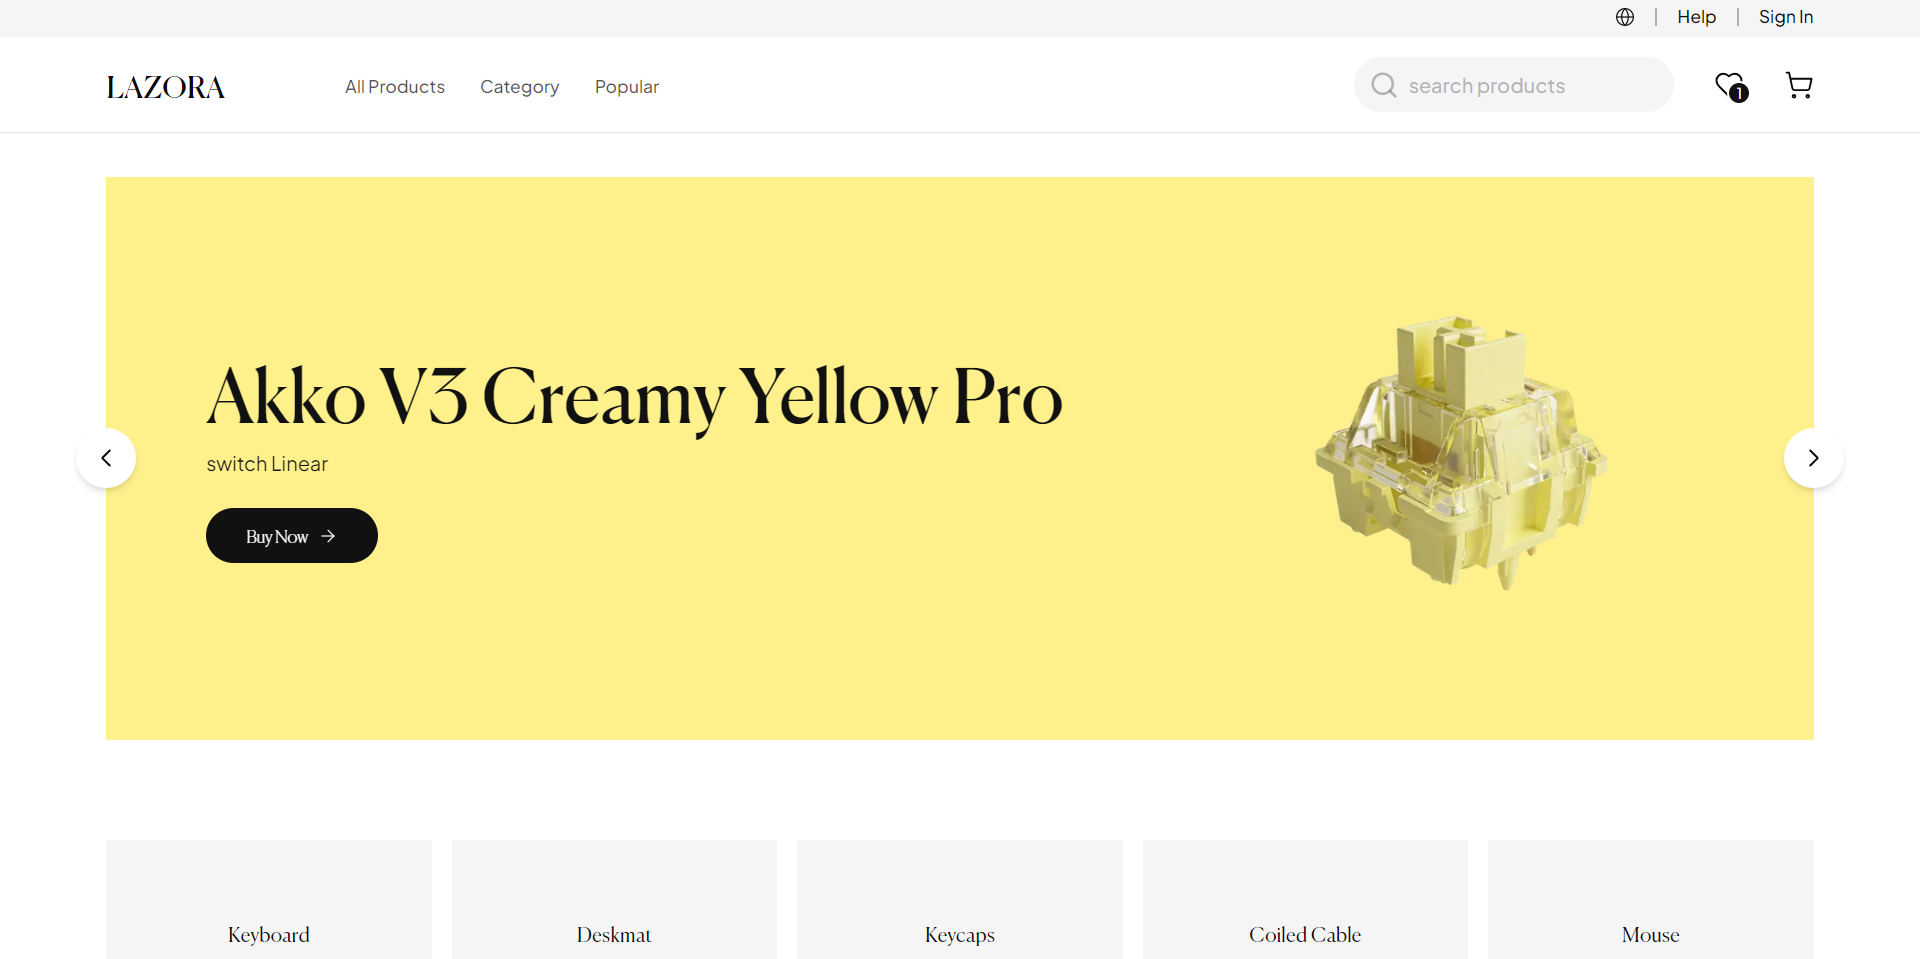
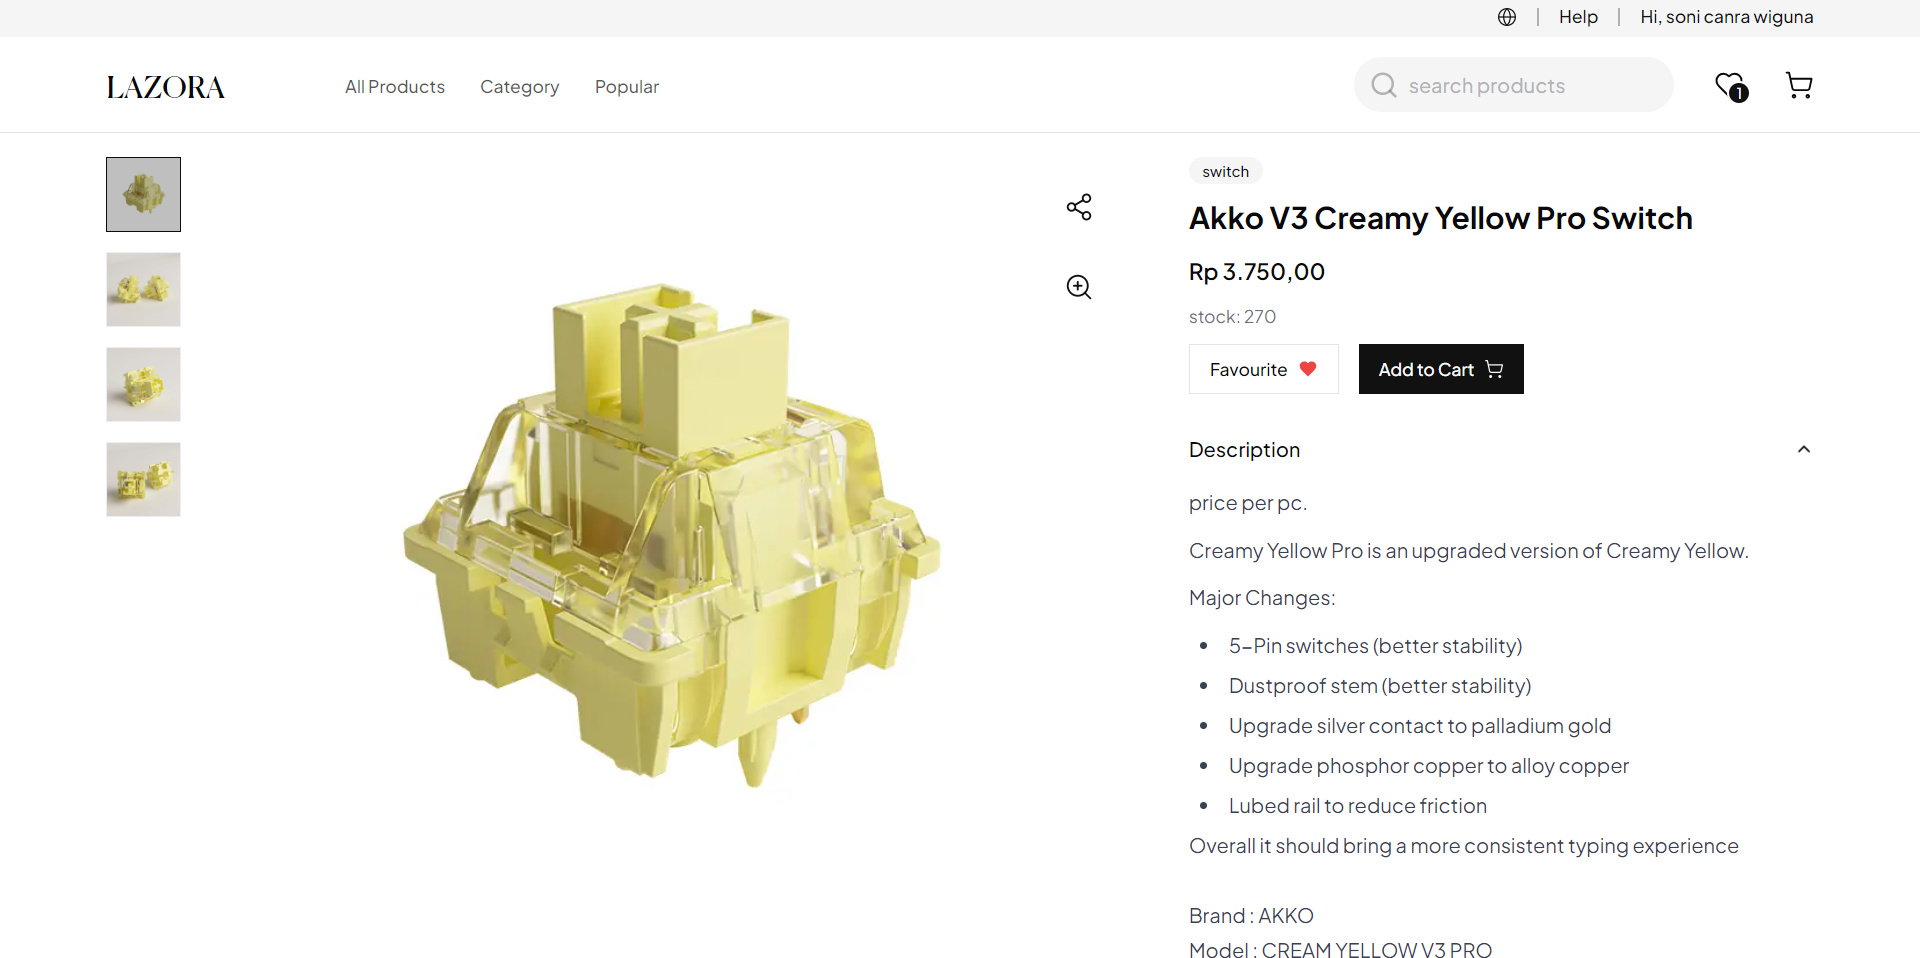
Lazora is a powerful and user-friendly e-commerce application built with Next.js and Prisma ORM. It offers a seamless shopping experience with features like user authentication, product management, favourites, filtering products, and more.
Unlike multi-vendor platforms where each user can create their own store, Lazora focuses on providing a unified store managed by a single seller. The seller has the ability to perform CRUD (Create, Read, Update, Delete) operations on products and banners, ensuring a streamlined and controlled shopping experience for customers. This app offers user authentication, product management, and secure payment processing (planning feature), making it an ideal solution for businesses looking to manage their e-commerce operations efficiently.
Warning! This app is still in development and not ready for production.
Before you clone, please see my Roadmap
npm installCreate an .env file and add the following variables.
See file example.env for more information. For a detailed guide on setting up these variables, read my article.
DATABASE_URL=""
NEXTAUTH_SECRET=""
NEXTAUTH_URL=""
PROD_URL=""
DEV_URL="htpp://locahost:3000"
UPLOADTHING_SECRET=""
UPLOADTHING_APP_ID=""
REDIS_URL=""
GOOGLE_SITE_VERIFICATION=""
CI=falseRun the following command to generate and push your prisma model to the database.
npx prisma generate && npx prisma db pushnpm run devRead my article to see how to deploy this app to Vercel. Read here.
- Navigate to your site at
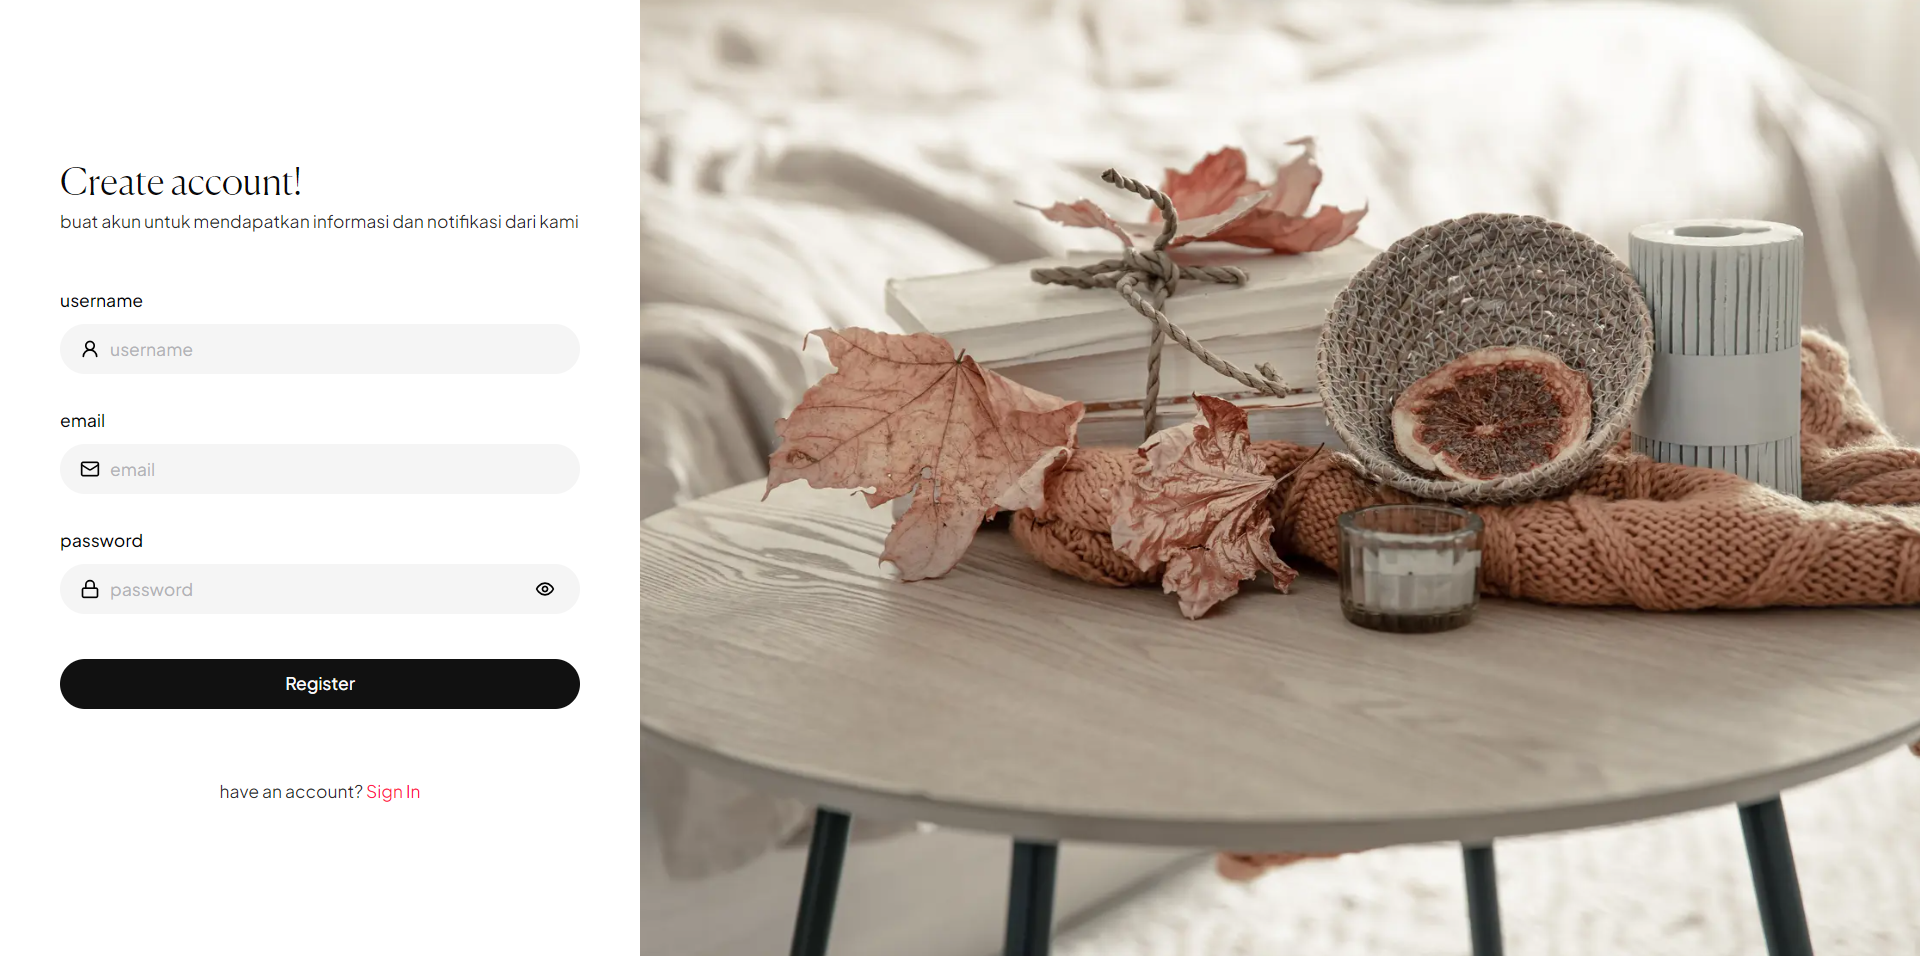
/register. - Create an account for yourself.
- Go to your MongoDB database, then go to the users collection and edit the account you've just created. Change the role from
BUYERtoSELLERand save. - Finally, go to your site, log out, and sign in again to see the changes.
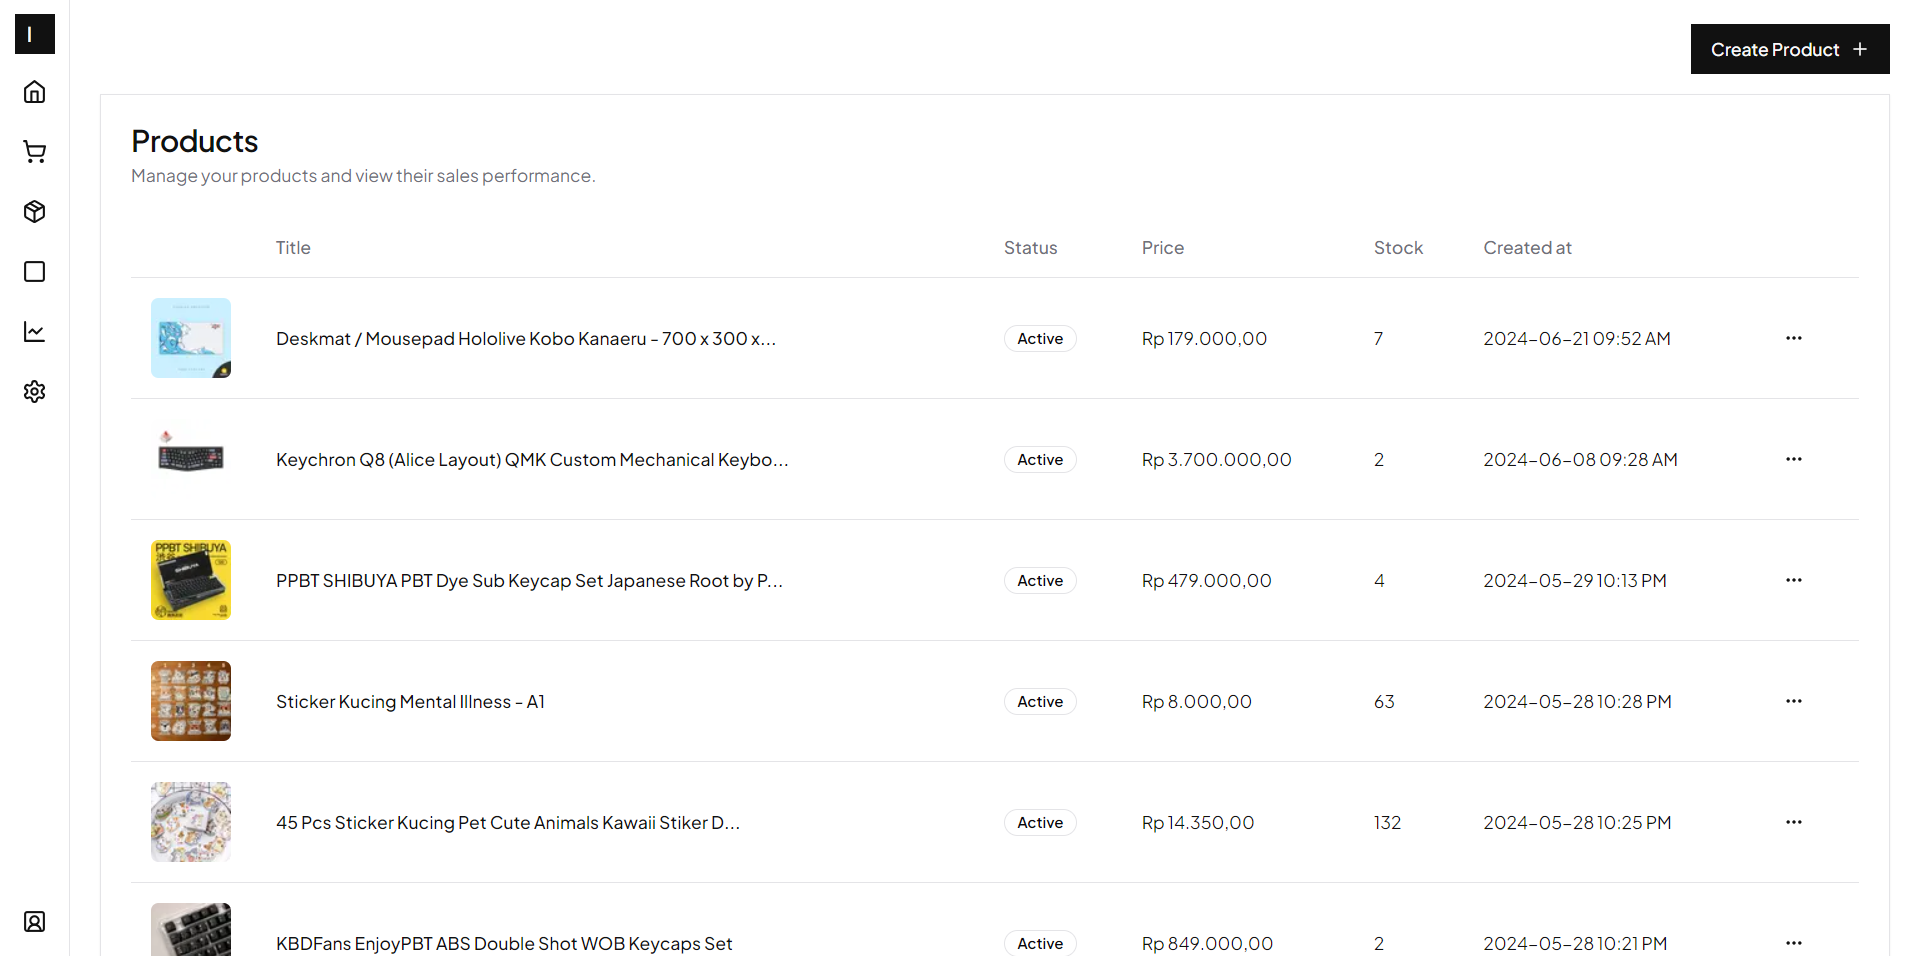
- Congratulations, you can now access the dashboard.
Licensed under the MIT License. Check the LICENSE file for details.
read API spec