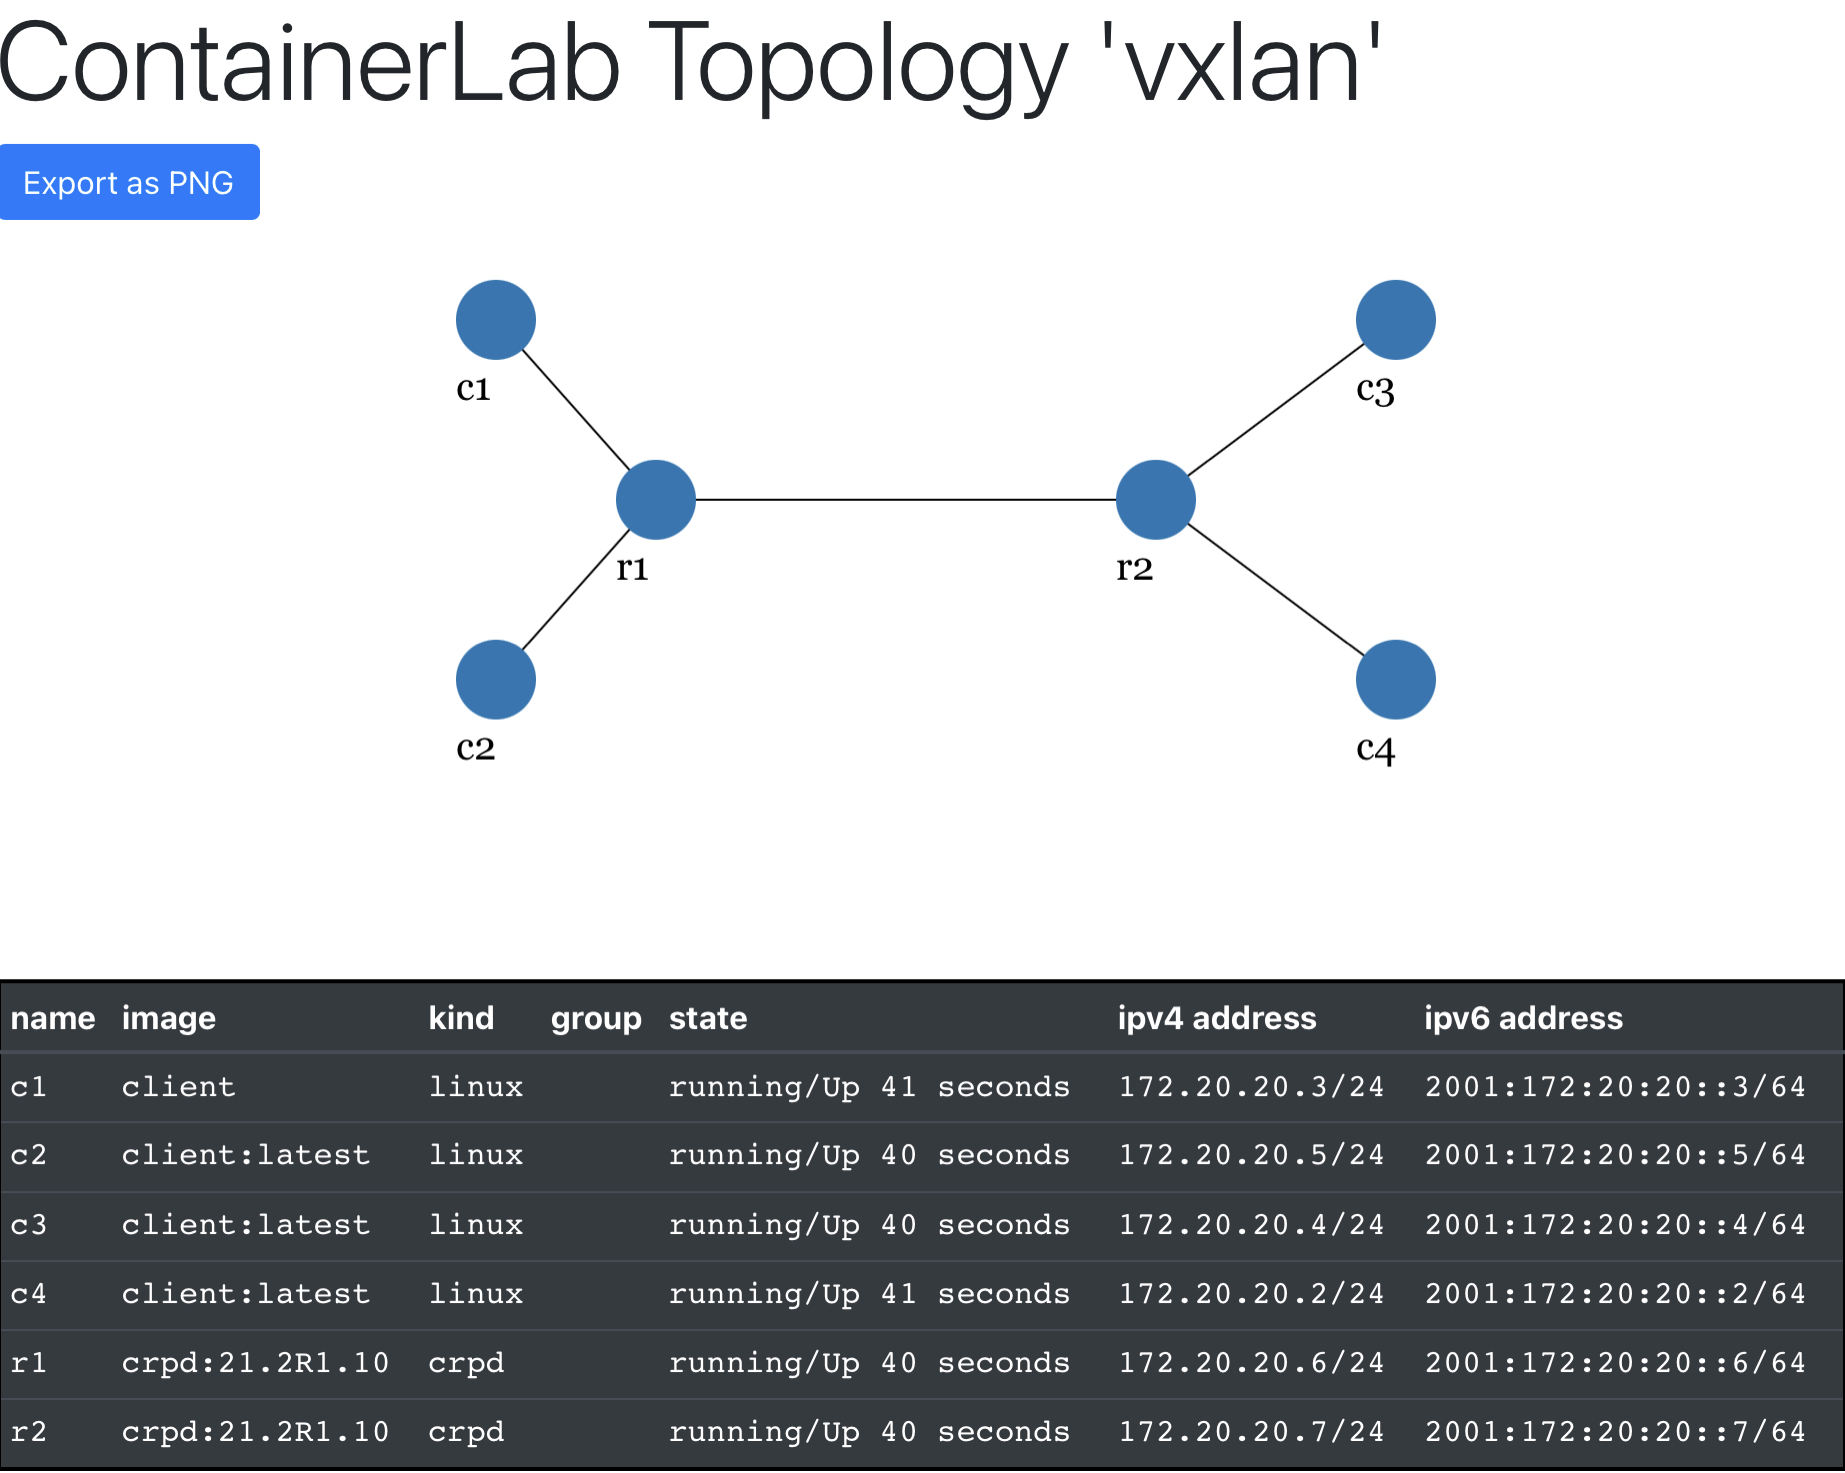
2 cRPD containers (r1 and r2) are interconnected via two IPv4 links, running ISIS and BGP. 4 Ubuntu containers (c1..c4) are connected to two separate EVPN VXLAN Type-5 based overlay networks:
- c1 and c2 are part of the overlay VPN blue (__crpd-vrf1)
- c3 and c4 belong to the overlay VPN yellow (__crpd-vrf2)
+----+   +------+        +------+   +----+
| c1 |---|      |--------|      |---| c2 |
+----+   |  r1  |  BGP   |  r2  |   +----+
+----+   |      |  ISIS  |      |   +----+
| c3 |---|      |--------|      |---| c4 |
+----+   +------+        +------+   +----+
- Juniper cRPD container image version 21.2R1 or newer
- License key, eval key works: https://www.juniper.net/us/en/dm/crpd-free-trial.html
- Ubuntu host (tested with 20.04, 18.04 should work too, other distributions might work)
- Docker and docker-compose and make installed
- Internet connection (to download and build the ubuntu based client containers)
- Containerlab (https://containerlab.srlinux.dev) as an alternative deployment method
Place the cRPD license key into the file junos_sfnt.lic in the top folder (where the docker-compose.yml and this README.md files are). Alternatively, add your license key directly into the cRPD config file found in r1/juniper.conf and r2/juniper.conf.
Simply run 'make' will do the trick. Check Makefile if you prefer to execute the steps manually. First, docker-compose is used to bring up the topology, then the license key is added to the running crpd instances unless already present (the keys persist re-deployments). Finally, the validate.sh script is executed, checking everything from isis adjacency, BGP neighbors, evpn routes in cRPD and the linux network namespace of the cRPD containers, followed by a connectivity test between c1 and c2 and c3 and c4, while capturing the traffic over the veth link between r1 and r2 in a pcap file and dump its content. Finally, a quick iperf3 test is run between c1 and c2 and the results shown.
You can find a successful output of a deployment in validate.log.txt for reference.
The yaml file vxlan-type5-crpd.clab.yml contains instructions to deploy the lab in containerlab, which offers many more functionalities, like multi-vendor, multi-node deployments and network diagrams. Check out https://containerlab.srlinux.dev for details about containerlab.
To deploy the topology, either use 'make deploy' or directly the command
$ sudo containerlab deploy --topo vxlan-type5-crpd.clab.yml
Then launch the validation script, adjusted for containerlab, to check the vxlan tunnels are working:
$ ./clab-validation.sh
To get a graphical network diagram, launch containerlabs graph via 'make graph', then connect to localhost:50080 via browser:
Run 'make down' or 'docker-compose down' will stop the running containers. If deployed via containerlab, use 'make destroy' or 'sudo containerlabs destroy --topo vxlan-type5-crpd.clab.yml'.
