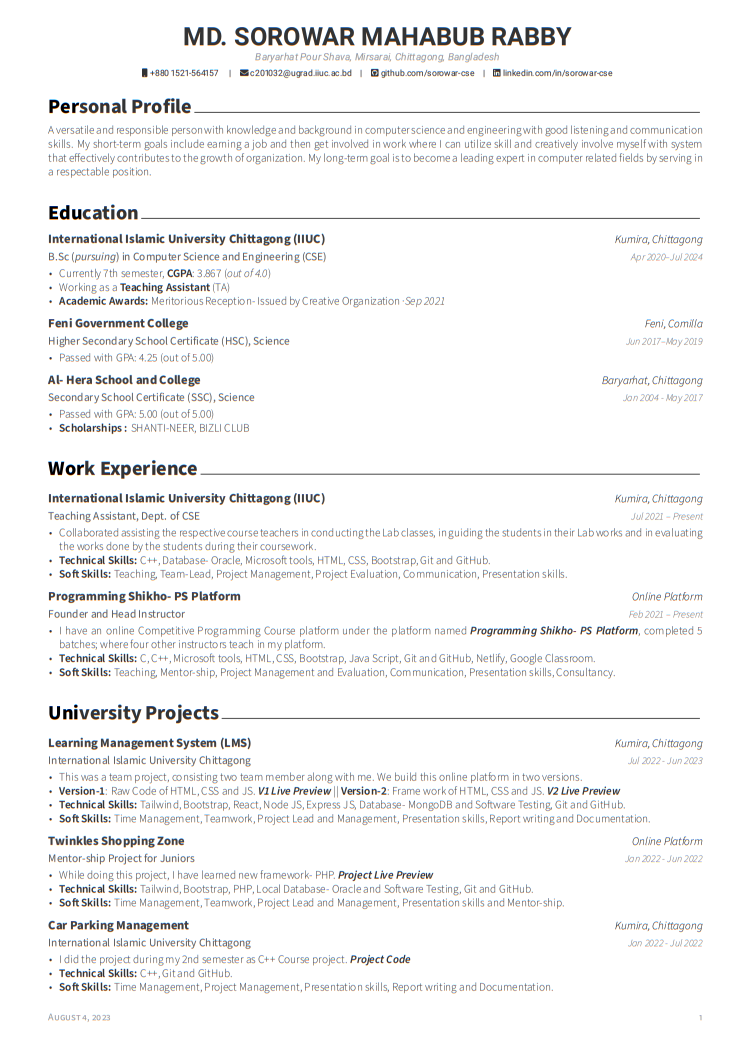
Welcome to the guide on creating your own custom LaTeX class for designing a professional curriculum vitae (CV) using Overleaf. A well-designed CV can make a strong impression, and with LaTeX, you have complete control over its formatting and layout.
- Prerequisites
- Getting Started
- Creating the LaTeX CV Class File
- Designing Your CV in Overleaf
- Previewing and Generating the CV
- Exporting Your CV
- Additional Resources
- Author
- License
- Basic knowledge of LaTeX syntax.
- An account on Overleaf.
-
Clone or download this repository to your local machine.
-
Open the
cv-template.texfile in your preferred LaTeX editor (e.g., Overleaf, TeXShop, etc.). -
Modify the content in the
cv-template.texfile to customize your CV. Pay attention to the comments provided to guide you through the customization process.
-
Open the
mycv.clsfile. This is the LaTeX class file that defines the formatting and structure of your CV. -
Customize the class file to match your desired CV layout. Refer to the comments within the
mycv.clsfile for guidance on making modifications.
-
Visit Overleaf and log in to your account (or create one if you don't have it yet).
-
Create a new project in Overleaf.
-
Upload the
mycv.clsfile and thecv-template.texfile to your Overleaf project. -
Edit the
cv-template.texfile directly in Overleaf to add your own content. You can use LaTeX commands to format text, add sections, and include details about your education, work experience, skills, etc.
-
Use the "Compile" button in Overleaf to generate a PDF preview of your CV. This will help you see how the final document will look.
-
Make adjustments to the content and formatting as needed based on the PDF preview.
- Once you're satisfied with the design and content of your CV, you can download the PDF by clicking the "Download" button in Overleaf.
This guide and repository are created and maintained by Sorowar Mahabub.
This project is licensed under the MIT License.
