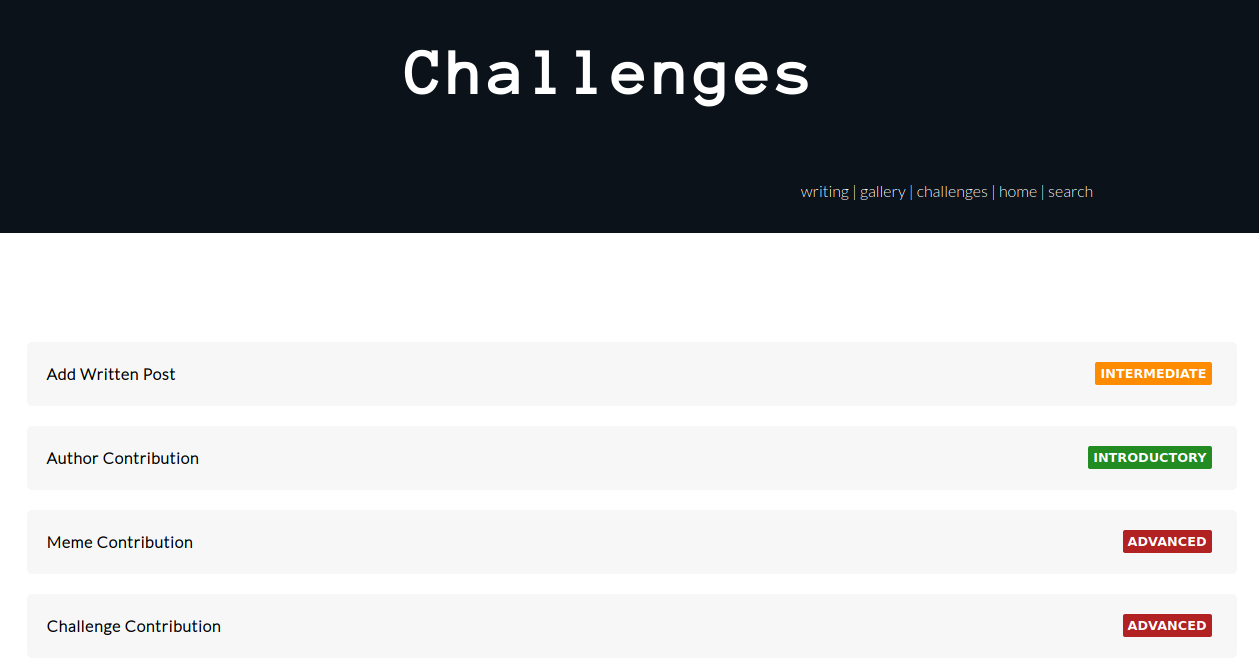
Welcome to the SourceCred Playground! If you are a new contributor, you can use this repository to try your first interactions with GitHub. See the web interface for the contributed content and challenges, or browse the challenges here by level, or continue reading to understand more about contributing to this repository (outside of challenges).
Each challenge is a markdown file under _challenges, organized in a subfolder based on the level:
- introductory
- intermediate
- advanced
By way of placing the markdown file in the folder, it will be labeled appropriately on the rendered site. Thus, to add a new challenge, you can simply use an existing challenge file as a template, and copy it to the folder of your choice. You should:
- Give the markdown file a meaningful name
- Do not include any uppercase character, or characters other than a dash "-" in the names
- include the front end matter (the seconds at the top) that you see in the other challenges.
The above points will be tested using the continuous integration setup, as an extra sanity check.
The contributor is able to choose the level of challenge, and is welcome to do as many or few as desired. For example, a new contributor might start with the introductory challenge, and once they are used to working with GitHub, work their way up to an intermediate challenge. A more advanced contributor might do more than one challenge, mainly for fun, and possibly contribute a new challenge for others to do.
If you are completely new to GitHub, this level is for you! Introductory challenges come down to adding a line of content to existing files. Take a look at the introductory challenges here.
Intermediate challenges usually come down to introductory challenges with a little extra work. For example, you might add a few lines to an existing file, but you might also add an image to a folder. Another example might be to add a new file that renders into a post for the site. You can see the intermediate challenges here.
Advanced challenges require much more than adding files or content to existing files. They might be high level actions like adding a new challenge all together, changing some design or style on the site, or proposing a new initiative all together.
While we provide these levels for general guidance, you are in no way limited to them! You are free to do as many or as few challenges as you wish, and from any set of levels. The levels are simply provided as a best effort grouping to help you choose.
The CircleCI workflow represented in .circleci/config.yml will build a preview of the site on any pull request. After running and passing, if you click on the check in the pull request, the "Artifacts" tab in the CircleCI interface will have an index.html that will take you to the main page. Note that for paths that look like this:
/playground/gallery/
Since CircleCI only can render static files (and not a web server) to preview you'll need to go to:
/playground/gallery/index.html
We use automated testing to ensure that the contributed memes and posts have required metadata. Tests are run with GitHub actions using .github/workflows/main.yml, and specific tests include:
- tests/test_challenges.py: ensures that challenges are located in an appropriate subdirectory, and have all required metadata.
- tests/test_posts.py: also tests front end matter for the posts, and that filenames and organization is correct.
- tests/test_gallery.py
If you find some consistent level of error with the site, you should open an issue to discuss how testing can be improved for it.
If you want to run a web server locally, you'll need to follow the instructions to install jekyll. Then you can generally cd into the repository, install dependencies:
bundle installand run the server!
bundle exec jekyll serveThis can be complicated so it's not required - a preview will be generated with continuous integration that you can preview.
For advanced users, you might want to preview your changes locally, and this can be done easily with Docker! First, build the container that has jekyll with ruby:
$ docker build -t playground .The entrypoint is to run a webserver with Jekyll, and files for the repository are added when you build the container. This means that you can build once, and then run using the files inside. Note that we expose port 4000, which is Jekyll's default port.
$ docker run -p 4000:4000 playgroundYou can then open the browser to http://127.0.0.1:4000/playground/ to see
the interface!
If you want to deploy changes that you are actively working on, you can bind
your directory with the repository to /code in the container, and
the interface will update with changes.
$ docker run -v $PWD/:/code -p 4000:4000 playgroundImportant if you shell inside the container when the repository is mounted, do not save files from within it, as you could change permissions as the root user. If for any reason you need to shell inside to test things, you can do:
$ docker run -it --entrypoint /bin/sh -p 4000:4000 playgroundAnd then you will be in the working directory /code with previously
added files. You can run the server manually from here:
$ bundle exec jekyll serve --host 0.0.0.0Note that exposing 0.0.0.0 will be accessible at 127.0.0.1 on the host. Happy continering!

