Servlets are Java web components used to create web applications. They respond to incoming web requests and return dynamic web pages, data, or other media. Servlets run in a Java application server such as Apache Tomcat, IBM Websphere, or Oracle WebLogic.
The advantage of using Docker for servlet development is that compiling the code and deploying it on a application server only takes a single step instead of compiling the code, packaging the application and deploying to an app server in several steps.
In this tutorial, we will cover building and deploying a simple servlet and web page using Docker.
This example requires Docker CE 17.06 or higher. Clone the repository and build the application. The servlet is deployed in an Apache Tomcat container.
docker image build -t catweb_java .
The Dockerfile uses a multi-stage build to compile the servlet and package it into a Web Archive or war file.
FROM maven:latest AS warfile

# Compile servlet and create war file
WORKDIR /usr/src/catweb
COPY pom.xml .
RUN mvn -B -f pom.xml -s /usr/share/maven/ref/settings-docker.xml dependency:resolve
COPY . .
RUN mvn -B -s /usr/share/maven/ref/settings-docker.xml package
The pom.xml file is copied to a maven container and dependencies are added to the maven container. Note that the Dockerfile packages a local repository with the image. The code is copied to the maven container and the servlet war file is generated.
FROM tomcat:9.0-jre8-alpine

# ADD tomcat/catalina.sh $CATALINA_HOME/bin/
WORKDIR /usr/local/tomcat/bin
COPY run.sh run.sh
RUN chmod +x run.sh

#Copy war file
WORKDIR /usr/local/tomcat/webapps
COPY  --from=warfile /usr/src/catweb/target/java-servlet-example-0.0.1-SNAPSHOT.war CatWeb.war

# Expose ports
ENV JPDA_ADDRESS="8000"
ENV JPDA_TRANSPORT="dt_socket"
EXPOSE 8080
WORKDIR /usr/local/tomcat/bin
CMD ["run.sh"]
In the second part of the build, the war file is copied from the maven container to a Tomcat image and ports are exposed for the servlet engine and debugging.
The advantage of a multi-stage build is that tools for compiling and packaging the application are in the maven container and only the war file is copied to the Tomcat image. This results in a leaner and more efficient image.
To run the image:
docker container run -d --name catweb -p 8080:8080 -p 8000:8000 catweb_java
The catpic servlet responds to a request by randomly selecting a link from an array URLs. The image is read into a buffered image and written to the servlet's response stream.
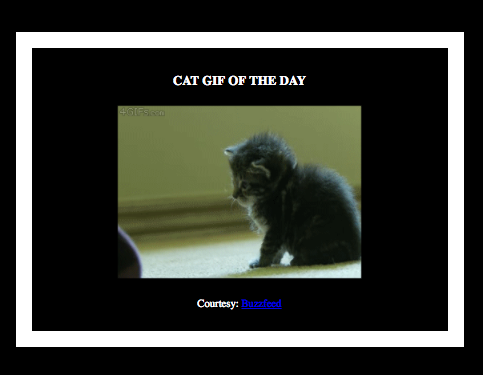
The image is rendered in an HTML page. Reloading the page calls the catpic servlet and loads a new cat picture in the frame.
The application consists of a servlet that renders images from a list of URLs and the default Tomcat servlet. It is configured via the web.xml file, making use of the default servlet to serve the index.html page.
  <servlet>
    <servlet-name>default</servlet-name>
    <servlet-class>org.apache.catalina.servlets.DefaultServlet</servlet-class>
  </servlet>

  <servlet-mapping>
    <servlet-name>default</servlet-name>
    <url-pattern>*.html</url-pattern>
  </servlet-mapping>

  <servlet-mapping>
    <servlet-name>default</servlet-name>
    <url-pattern>*.css</url-pattern>
  </servlet-mapping>
The catpic servlet that renders images from URLS is configured as a separate servlet.
 <servlet>
    <servlet-name>catpic</servlet-name>
    <servlet-class>com.docker.catpic</servlet-class>
 </servlet>

  <servlet-mapping>
    <servlet-name>catpic</servlet-name>
    <url-pattern>/</url-pattern>
  </servlet-mapping>
Please see the java debugging tutorial to see how to use Eclipse to debug your code.
