If you’re new to AngularJS check out the AngularJS in 60-ish Minutes video tutorial or download the free eBook. Also check out The AngularJS Magazine for up-to-date information on using AngularJS to build Single Page Applications (SPAs).
A presentation on all samples can be found in the presentation folder within this repository.
An on-demand web cast recorded by Jeremy Thake can be found on Channel 9.
This application is a stand-alone AngularJS application that performs CRUD operations against SharePoint/Office 365. Authentication relies on Windows Azure Active Directory (WAAD). This application demonstrates:
- Consuming data provided by SharePoint/Office 365 RESTful APIs
- Authentication against Windows Azure Active Directory (WAAD)
- A custom "middle-man" proxy that allows cross-domain calls to be made to SharePoint/Office 365
- A complete application with read-only and editable data
- Using AngularJS with $http in a factory to access a backend RESTful service
- Techniques for showing multiple views of data (card view and list view)
- Custom filters for filtering customer and product data
- A custom directive to ensure unique values in a form for email
- A custom directive that intercepts $http and jQuery XHR requests (in case either are used) and displays a loading dialog
- A custom directive that handles highlighting menu items automatically based upon the path navigated to by the user
- Form validation using AngularJS
#Prerequisites
- Azure subscription (trial will work)
- Office 365 tenant
- SharePoint site collection in your Office 365 tenant
#Office 365 and SharePoint Setup
- Upload the ExpensesTrackerSiteTemplate.wsp template into an existing Office 365/SharePoint site collection solution folder. Then create a Site instance within that site collection based on that site template called "Expense Tracker Site Template". This will create an Expenses site with 3 lists for employees, expenses, and states.
#Azure and Application Setup To get the application running you'll need to do the following:
-
Login to your Azure Management Portal and select Active Directory from the left menu.
-
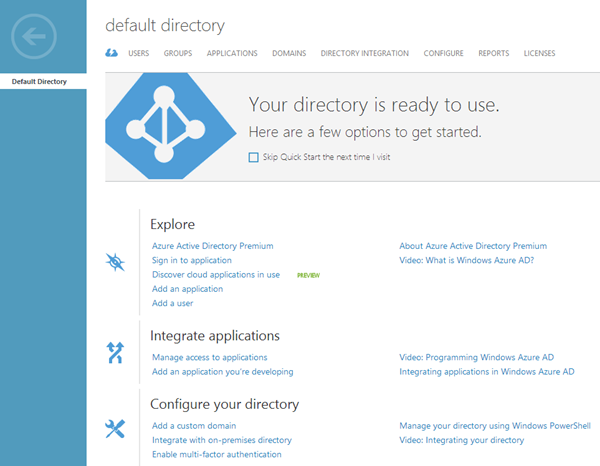
Click on the directory you'd like to use (Default Directory will work fine)
-
Click the "Add an application you're developing" link
-
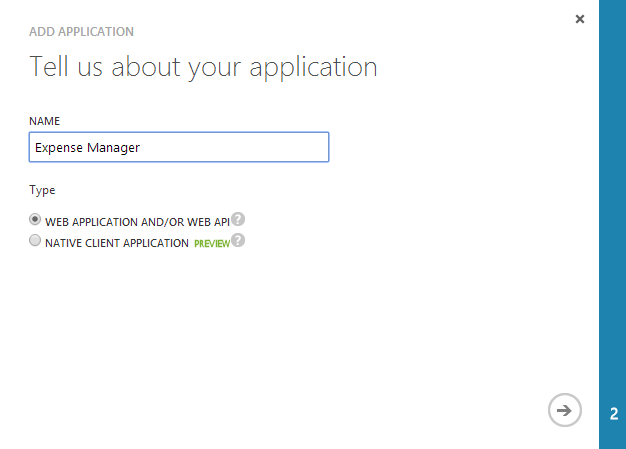
Give the application a name of Expense Manager:
-
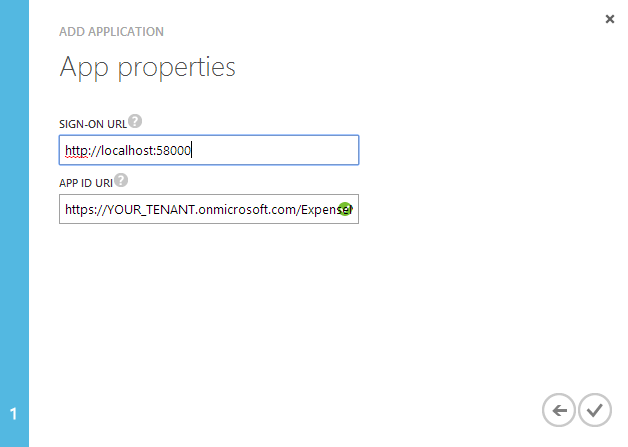
Click the arrow to go to the next screen and enter the following for the information in the screen. Substitute your Office 365 Tenant ID for YOUR_TENANT:
-
Press the Complete button in the wizard to create the application.
-
Click the CONFIGURE link at the top of the Expense Manager application screen.
-
Scroll to the "keys" section and select 1 year from the dropdown.
-
Note the Client ID and key value that are displayed. You'll need to update the application's web.config file with these values in a moment.
-
Scroll down to the "permissions to other applications" section of the screen.
-
In the first dropdown in the Microsoft Azure Active Directory column select Office 365 SharePoint Online and make the selections shown next:
-
Click the Save icon at the bottom of the interface.
-
Open the Expense Manager's .sln file in Visual Studio 2013 or higher (click Download Zip in Github and extract the project if you haven't already)
-
Open web.config and replace ClientID and Password values with the ClientID and Key displayed in the Azure Directory screen shown earlier:
    <add key="ida:ClientID" value="Your WAAD Application ClientID" />
<add key="ida:Password" value="Your WAAD Application Password" />- Locate the SharePointResourceId and SharePointServiceRoot keys in web.config and update YOUR_TENANT with your Office 365 tenant ID.
- Open index.html from the root of the project and scroll to the bottom.
- Locate the expenseManager.baseSPUrl variable and update YOUR_TENANT with your Office 365 tenant ID.
- Press F5 to build and run the application.
- You should be taken to a login screen where you can login using your Office 365 credentials.


