Code for MAE 423 Heat Transfer (Fall 2019-20).
Team Members: Morgan Baker, Jens Clausen, and Sam Dale
Programming Language: MATLAB
Final Report
Part I Video
Part II Video
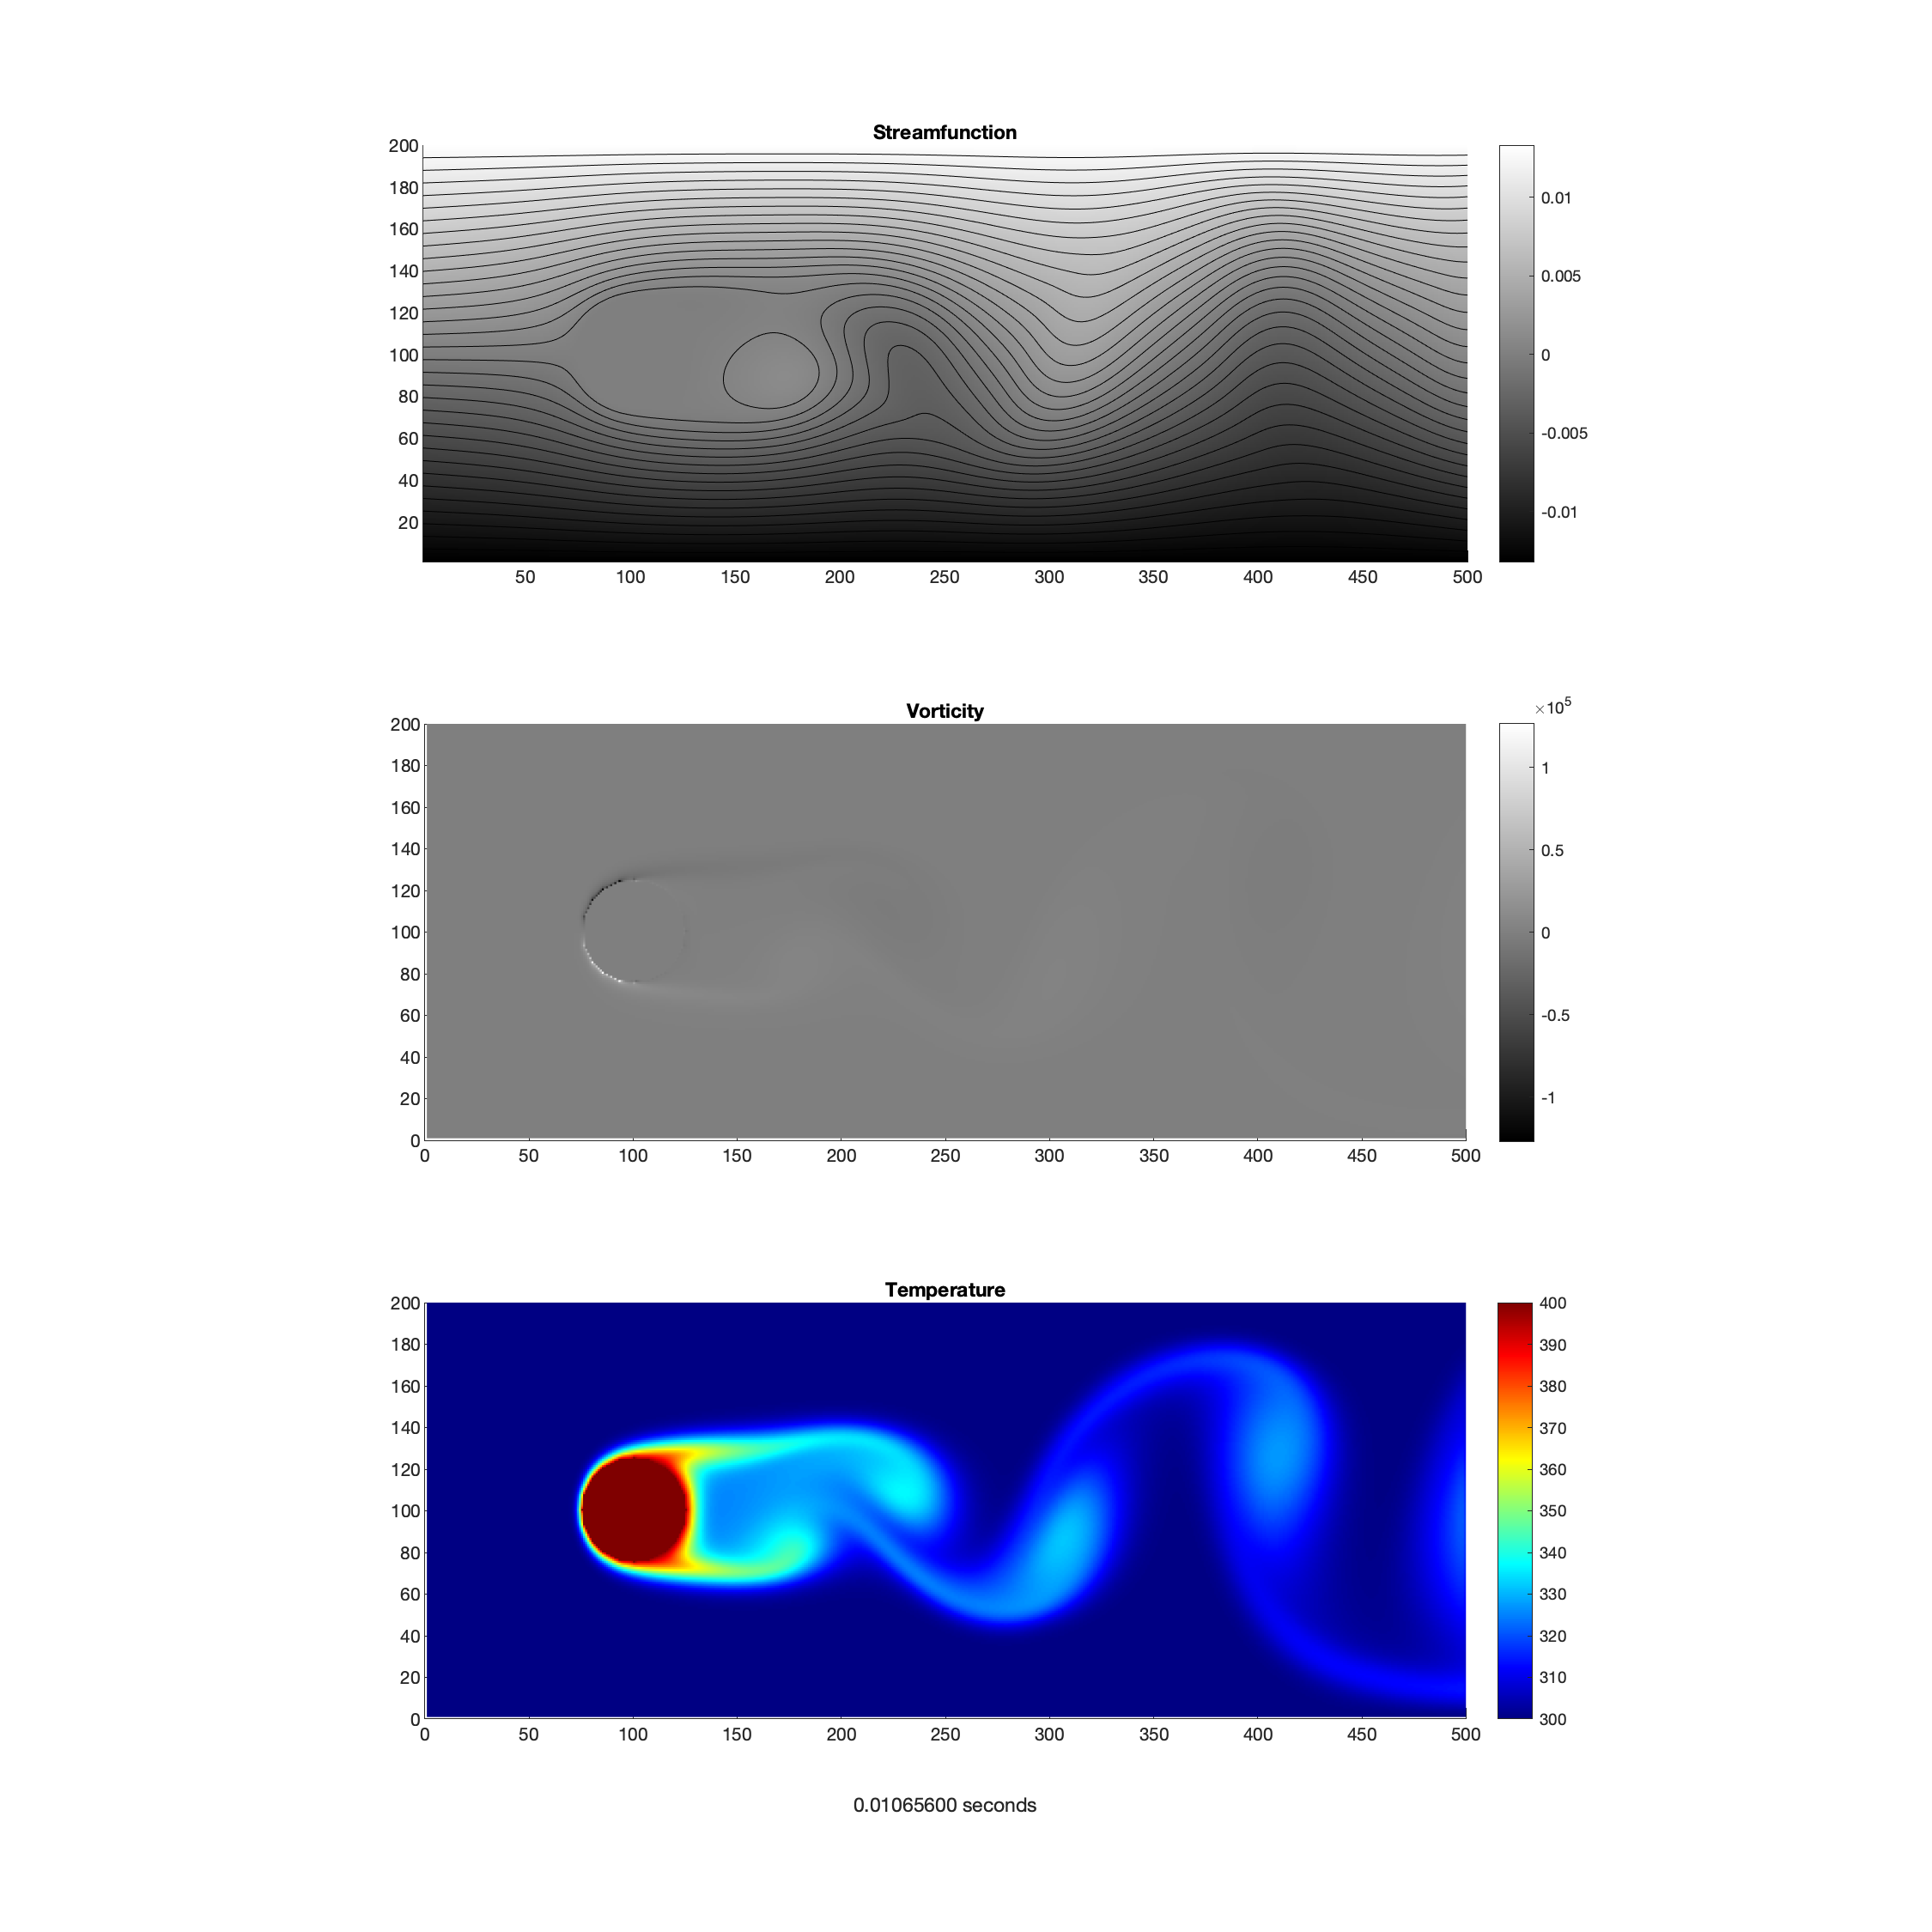
Numerically simulate 2D unsteady heat convection from bodies of arbitrary geometry. Use the Streamfunction-Vorticity(ψ-ω) method for an unsteady, incompressible, viscous flow at relatively low Reynolds numbers (and negligible 3D effects).
Use the inviscid solution (∇ψ2=0) of the streamfunction (ψ) as the initial condition for the viscous simulation. Use the velocity (u,v) and vorticity (ω) fields as inputs into the unsteady energy equation (in finite-difference form) to determine the heat transfer and diffusion at each timestep.
- Project Folder: "Final-Project-v2"
- Main Code: "final_project.m"
- Video Generator: "video-generator.py"
- Latex File: "Final-Project.tex"
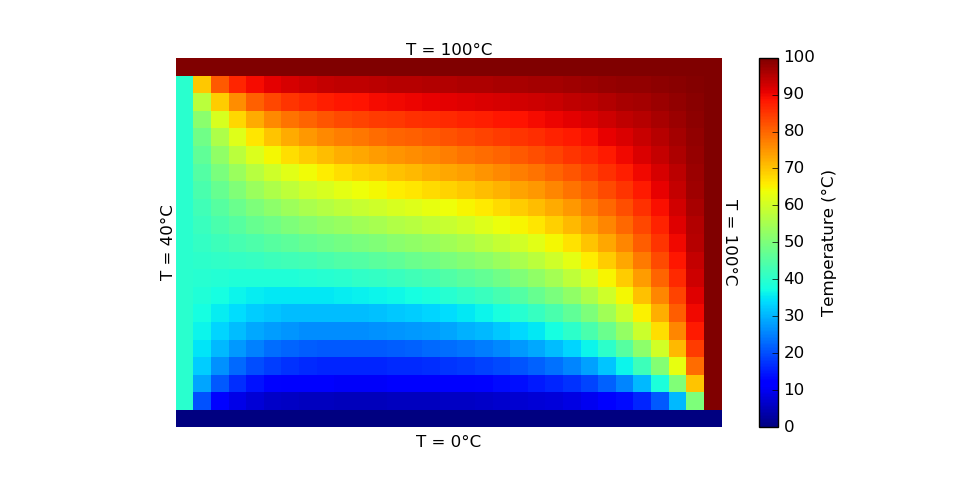
Use Gauss-Seidel Iteration to relax the temperature to reach equilibrium for data points. "PSet-3.py" is the project code. "p-set-3-code.tex" compiles images and the code into a PDF for printing.
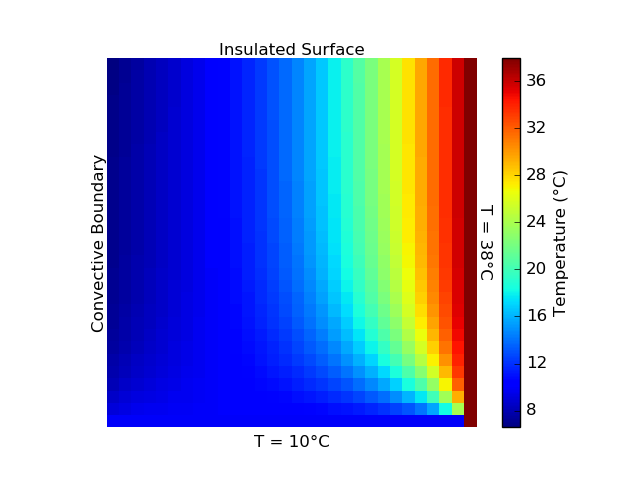
Numerically solve a specified grid for temperature across time-steps until reaching steady-state using finite difference approximations. This problem has unsteady heat conduction with an insulated boundary, convective boundary, and two boundaries maintained at constant temperature. "PSet-5.py" is the project code. "PSet-5-Print.tex" compiles images and the code into a PDF for printing.
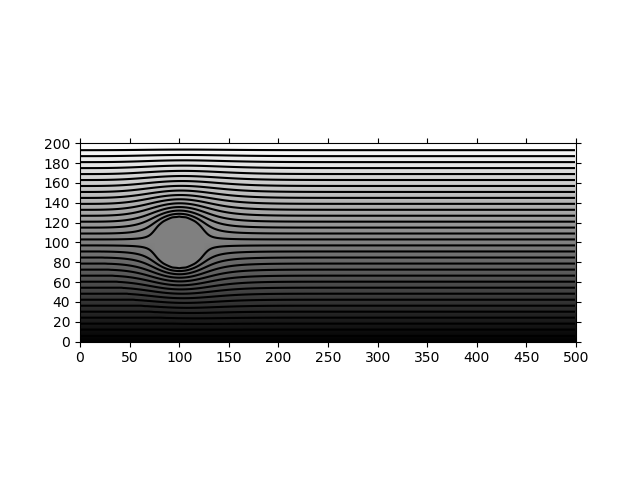
Establish an initial flow around the circular cylinder. Use the boundary conditions: uniform inflow, straight streamlines for the upper and lower lids, and a uniform velocity for the outflow. Solve the potential flow equations (∇ψ2=0) for the bulk flow, using a convergence of less than 1% change for ψ. "PSet-6.py" is the project code. "PSet-6-Print.tex" compiles the image and the code into a PDF for printing.
(In Command Prompt or Terminal)
- numpy:
pip install numpy - cv2:
pip install opencv-python - matplotlib:
pip install matplotlib
Setup Python Code:
- Virtual Studio Code
- Python (For Windows: "Windows x86-64 executable installer")
- Python Extension for VS Code
Setup Github:
- Windows: Install Git
- Mac: Go to Terminal, enter the command "git --version". If you don't have git, Apple's XCode Extension will automatically prompt to be installed.
- Github Desktop
- In VS Code Settings, search for "Post Git Commit", change to "Push".
To Run Python Code:
- Have the desired Python file open in VS Code (e.g. "PSet-3.py").
- Hit the green play button to the right of the tabs.
Recommended VS Code Setting:
- File > Preferences > Keyboard Shortcuts
- Search for "Python: Run Python File in Terminal".
- Set this to "Shift + Enter".
- Now you can just hit "Shift + Enter" to run the Python code.
To Get the Code:
- Open Github Desktop
- File > "Clone Repository..."
- Select URL Tab
- URL of this repo: https://github.com/sdale28/Heat-Transfer.git
- Make sure the local path is where you want it, as you cannot move this folder in the future (if you do, it will no longer sync with Github).
To Make Sure Code is Up to Date:
- On left menu, click on the three connected points that branch ("Source Control").
- Click three dot icon to the right of the checkmark and refresh arrow ("More Actions").
- Select "Pull".
- (If you want to force reset back to the version that is stored on Github: "Pull (rebase)". Note that this overwrites all changes you've made locally).
To Become a Contributor to the GitHub Repo:
- Send Sam your GitHub username to contribute to the code. Here's the link for Sam to add collaborators.
To Post Code to GitHub:
- Always "push" your code at the end of your programming session! Otherwise no one can see your code changes and if something happens to your computer, the code is lost forever.
- On left menu, click on the three connected points that branch ("Source Control").
- Put note in textbox (usually required in Git, example "Added color bar to plot").
- Click checkmark (or "Ctrl + Enter" in message text area).
Helpful Git Terms:
- Repo = repository: the folder of all of the files in the project.
- Push = Push all local branch commits to the repository branch on the GitHub servers.
- Commit = Record snapshot of files in repository (permanently available in version history).
- Pull = Download and incorporate changes.


