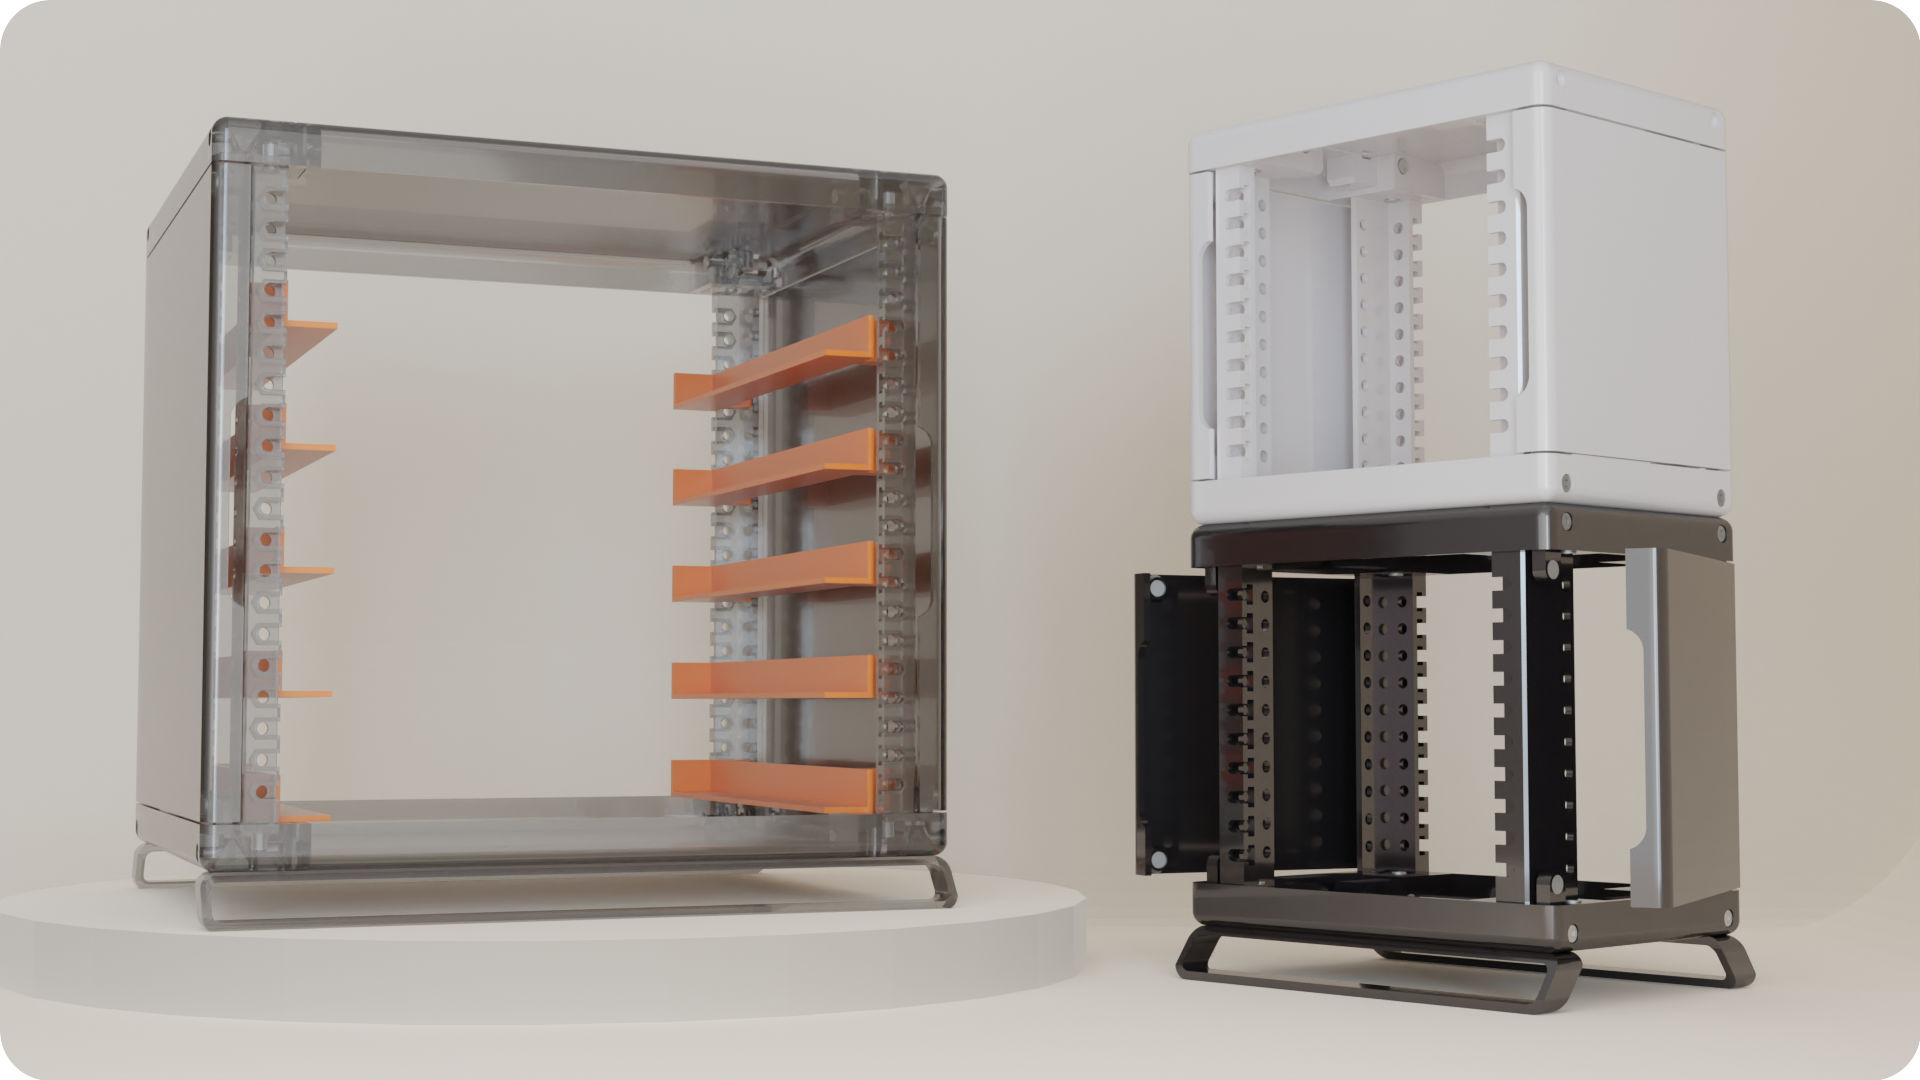
- Mount Anything: Perfect for organizing SBCs, mini PCs, small switches, power hubs, etc.
- Fully customizable: Fully written in OpenSCAD. Everything, from the dimensions of the rack, to the roundness of the corners, can be modified with a simple code change.
- Printable from home: Designed to be printed with conventional FDM printers. Requires minimal supports when printing, and final assembly needs only a few easy-to-source parts.
- No cage nuts: Sliding hex nut design for the front rails allows one to easily mount items, without dealing with cage nuts.
- Stackable: Individual racks can be easily stacked and fastened together. Mix and match different color and design combinations!
Pre-generated STLs for roughly 200mm^3 (mini), 180mm^3 (micro), and 100mm^3 (nano) rack frames can be found in the stl dir. These STLs are generated from the files in rack/print - further information about printing these parts (supports, orientation) can be found in these files.
Please see the assembly guide.
- 3d FDM Printer - build size requirements depend on configured rack profile
- M3 Allen Key (for constructing the rack)
- M4 Allen Key (for mounting rack-mount items)
| Part | Quantity |
|---|---|
| Y-Bar | 4 |
| X-Bar | 4 |
| Main Rail | 4 |
| Left Magnet Module | 2 |
| Right Magnet Module | 2 |
| Hinge Module | 4 |
| Left Side Wall | 1 |
| Right Side Wall | 1 |
| XY-Plate | 2 |
| Feet (optional) | 2 |
⚠️ Before printing the actual parts. It's recommended to print this evaluation part: eval_P.scad to test tolerances. If you find the fits too tight/loose, you can adjust them here. Please make sure also adjust the layer height in that file, too.- Omitted actual plastic for printing. Any conventional 3d printing plastic should do (PLA, PETG, ABS), but beware of PLA's thermal limits. Higher infill is recommended for all parts.
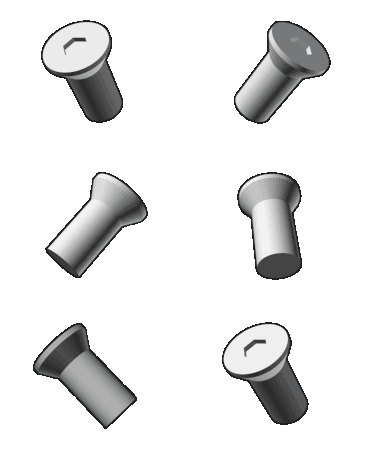
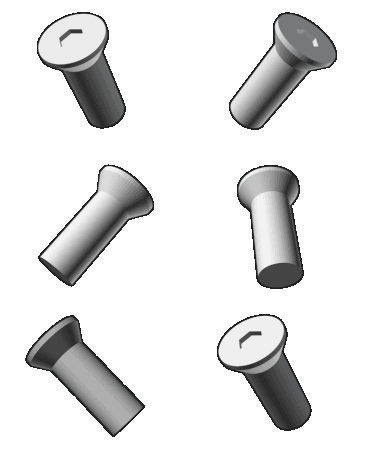
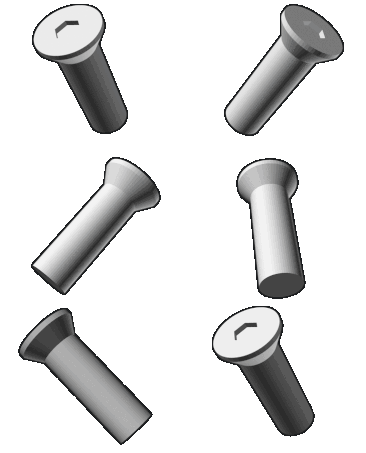
- For joining two racks, you will need to print 4 rackJoiners, as well as 8 M3 hex nuts, and 8 M3x12 FHCS.
- Main front rails use M4 hex nuts and screws.
- Side rails are mounted using M3 hex nuts and screws.
Some parametric rack mount systems can be found in rack-mount. The following rack-mount systems are currently supported:
- Enclosed Box: For mounting box-shaped objects, without the need for any mounting holes on the box.
- Tray: Simple tray mounted using only the front rails. Can be configured to have screw mounts at the bottom of the tray.
- Patch Panel: Linear patch panel array. Number of keystone slots can be configured.
A python script: rbuild.py is provided to generate different project stls. Before running the script, please configure the path to the OpenSCAD binary in rbuild.py.
Requirements:
openscadCLI binarypython3
Generate all project files for the micro profile:
python3 rbuild.py -b all -c micro
This will build all the parts defined in rack/print, and put the STLs in stl/micro.
You can also provide a -dz {n} parameter to adjust the height of the generated rack. Configuring other rack
variables can be done in config/rackframe.scad.
For generating a specific part, and putting it into a new stl/custom target directory:
python3 rbuild.py -b yBar -c micro -t custom
rbuild.py also support an optional --nightly flag, which will run a nightly build of OpenSCAD. Please make sure the
path to the nightly build is also configured in rbuild.py.
Before committing to a full print, please try printing an evaluation print: eval_P.scad to test tolerances. It is very likely you will need to edit the default tolerances in print.scad for a nice fit.
Some useful variables for designing your own rack-mount items can be found in rack-mount/dimensionHelper.scad.
