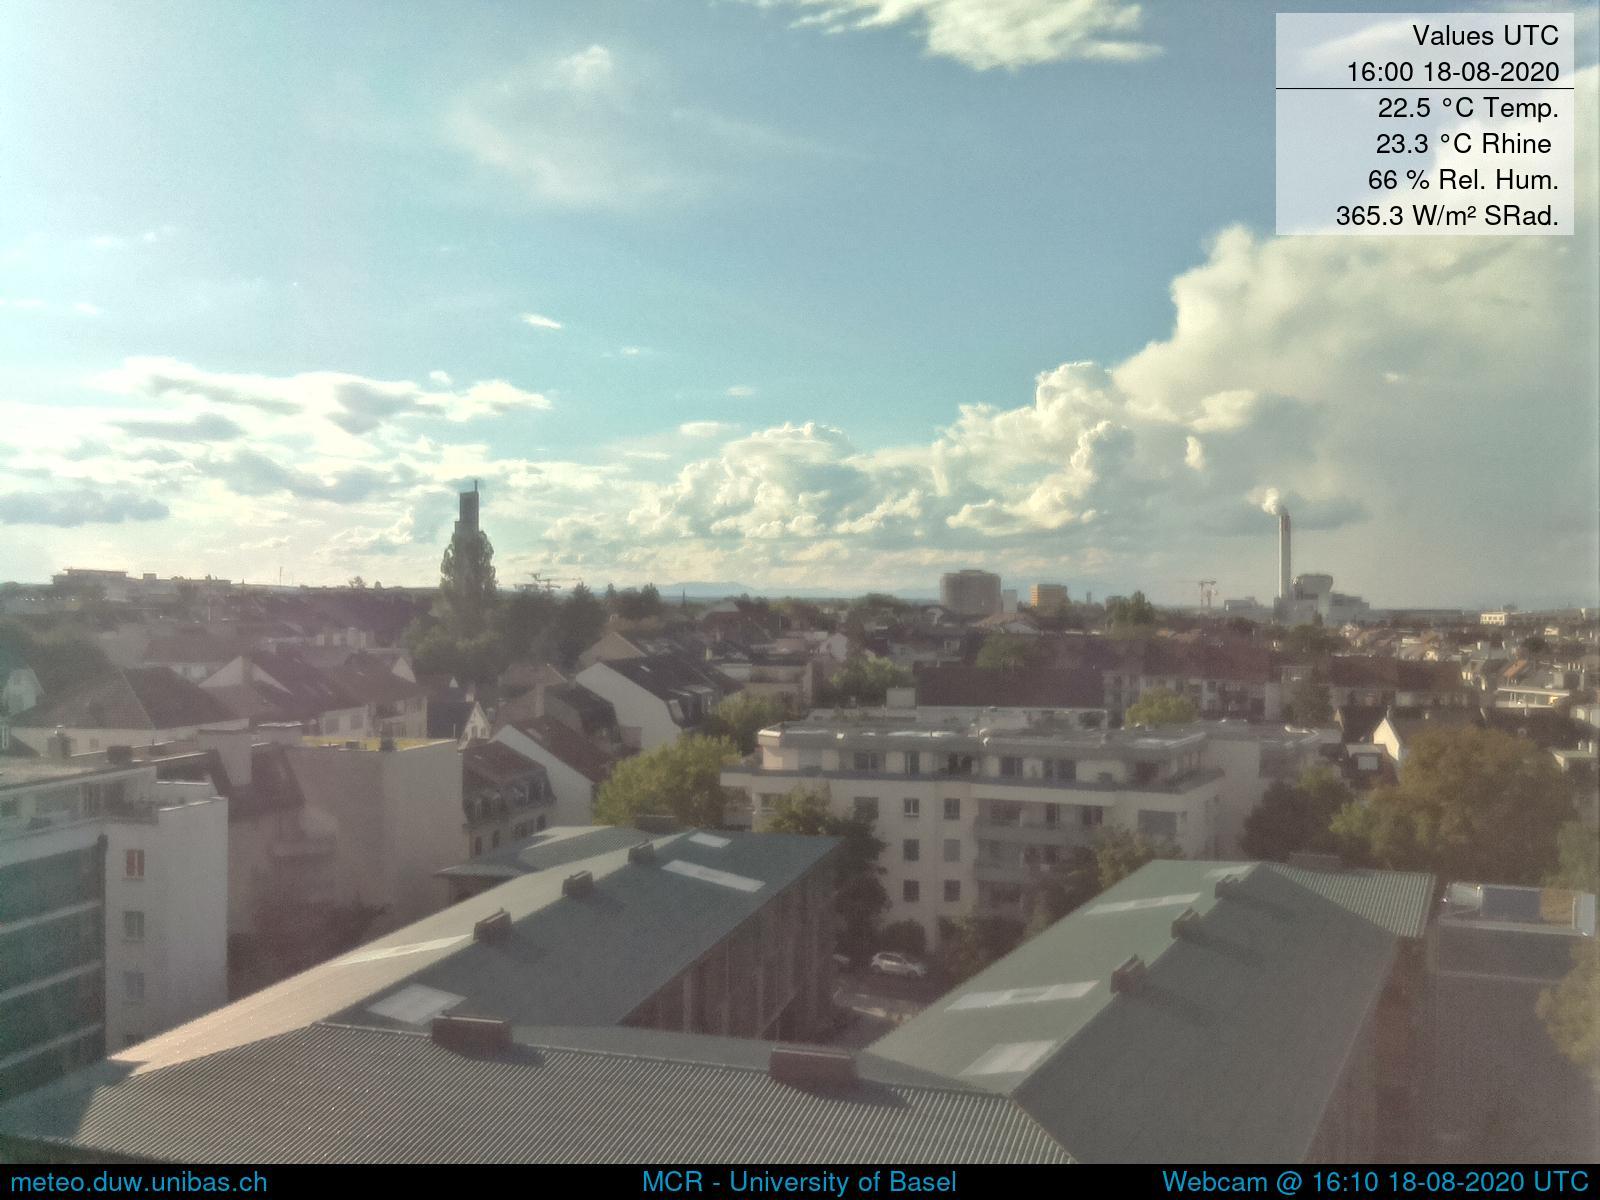
This is the relevant code for the MCR webcam at Klingelbergstrasse 27 in Basel. This can be linked to dolueg2, i.e. to dolueg2page and dolueg2page The files here have been adjusted to be generic enough for use but may require other adjustments
webcam takes pictures -> uploads to FTP and a webdav (instant picture) second computer downloads images from FTP, makes a timelapse of the picture and uploads it to a webdav as well
Our webcam is a Raspberry Pi model A+ (used to be A but often needed a manual reset due to too little memory) It runs a Raspbian as default with some added packages, namely:
- graphicsmagick and imagemagick (one is faster for a part of the imagehandling)
- wput (put files on FTP)
- mariadb-client to get measurement data from our MySQL database
- python3 with installed pysolar (to change exposure mode, see sunelevation.py)
The primary relevant file is rpistill_pic2.sh, which can be added as a cronjob to make a picture every minute for example.
It uses the standard Raspberry Pi interface (raspistill) to make a photo and thus requires that the interface is enabled, a camera is connected etc. Several changes are required:
- webdav has to be entered and a .netrc file with the login credentials has to be passed. We choose curl instead of proper mounting of a webdav via davfs as our webserver intermittenly refused connection. The netrc file has the syntax (machine X, login X, password X each on a new line, no commas only spaces)
- the login credentials of the FTP (after wput is installed)
- the login credentials to the SQL server that hosts measurement data are easiest stored in the specific config file, in our case this is ~/.my.cnf ( in the form [client], user=X, password=X, host=X; replace commas with newlines)
Pictures will be moved/deleted after the Raspberry Pi is done with the program. Available diskspace is checked before any pictures are taken and if space is below 1G, all possible photos are removed from the workingdirectory used for the scripts. This can help to keep the Pi response and running, but if other processes fill the disk, this will not help.
All of the above can also be removed from the file/changed to the specific situation at hand) and just use the picture taking.
It uses pysolar to calculate the sunheight and simply prints it out to be used by rpistill_pic2.sh on the command line. The latitude, longitude and elevation have to be adjusted to match your location. Additionally, we added an offset of 6° to the calculation. This helps with the sunset transition as the webcam still gets too much light for the night exposure when the sun is just below the horizon.
This file creates the actual timelapse movie. A mp4 and webm file is created, which can be moved by the script to a required location. Since this may require some ressources we recommend this to be done on another machine than the Raspberry Pi. However, depending on the chosen model/frequency of picture that are taken it should be possible to do the videocreation on the Pi too. The required librbary are:
- ftplib (standardlib)
- ffmpeg (commandline version), we use a linuxmachine where it is available from the standardrepos
- natsort (available from pip and others)
- davfs (optional, depending on your solution)
The script downloads the files from an FTP (this can be different for your solution) and sorts them according to timestamp that is contained in the filename and for easier handling creates a link with the ascending number of the file. This makes the calling of the ffmpeg command easier as a startnumber and digitformat can be passed. Because we have our webdav mounted via davfs, we directly move the file to the requested location (this location has to be adusted in webcamvideo.php as well).
This is the php file that contains links to the current picure and the timelapse. If they are outdated (older than 2 hours), a maintenance picture is shown instead. Adjust the paths in the file according to your webserver folder structure. Additionally, a section has to be added to the index.php file from the dolueg2page repository, ideally on line 95:
  elif ($project =='webcam') {
      echo '<button id="vid0" class="btnselector" onclick="show('."'0'".')" onfocus="show('."'0'".')">Current</button>'."\n";
      echo '<button id="vid1" class="btnselector" onclick="show('."'1'".')" onfocus="show('."'1'".')">Timelapse</button>'."\n";
                     }
and "webcam" has to be added to the array "$specialprojects" on line 27 and as a menuentry in the file "projects/proj_list.php" as an entry in the very first array "$availabletabs", for example 'webcam' => 'Webcam'.
